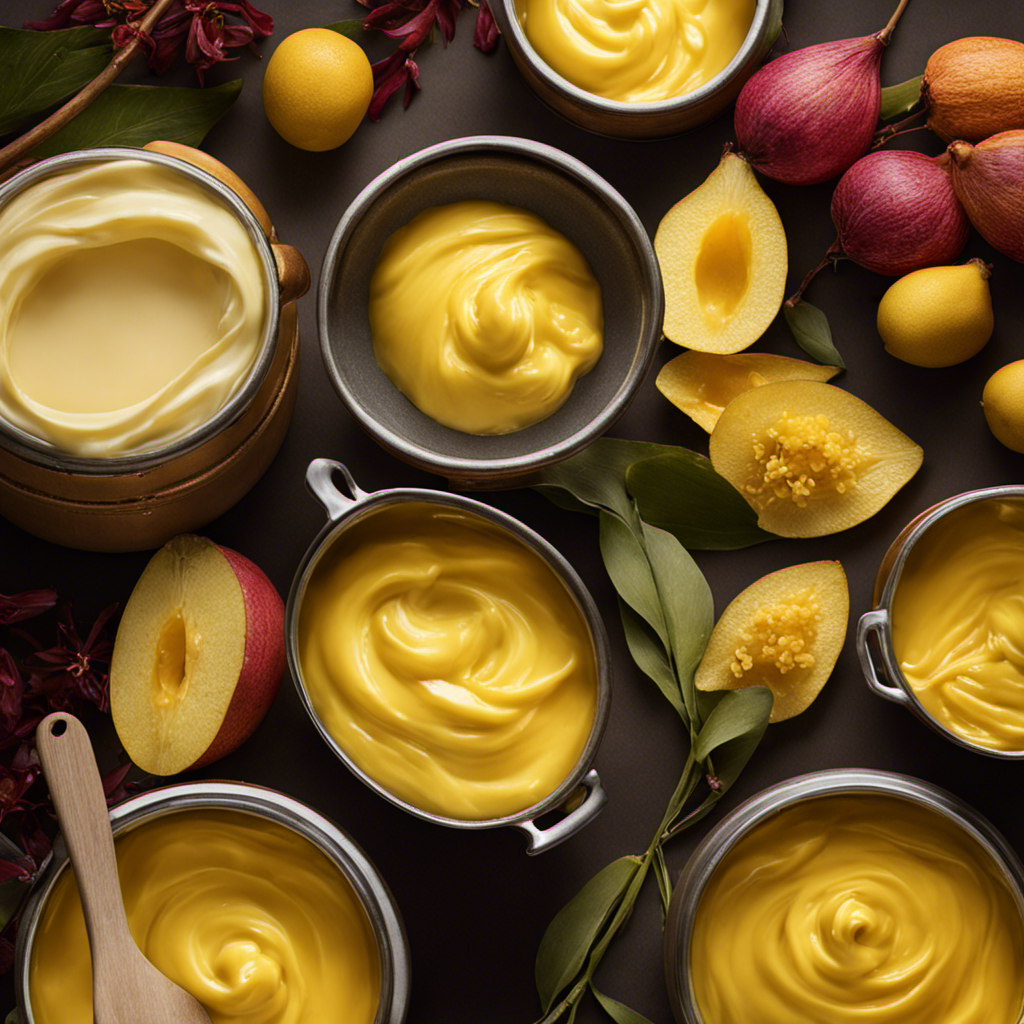
I have always been of the opinion that the key to a flawless seafood meal is the simplicity of clarified butter. Allow me to present to you my reliable technique for making this rich, golden sauce that will enhance any dish.
In this article, I’ll guide you through the process of selecting the right butter, melting it to perfection, and skimming off those pesky milk solids. With my expert tips, you’ll soon be enjoying the smoothest, most delicious drawn butter you’ve ever had.
Key Takeaways
- Unsalted butter is often preferred for drawn butter to control the saltiness.
- Clarified butter is a popular choice for its rich and smooth texture.
- Straining ensures a smooth and clear consistency.
- Drawn butter enhances the richness and overall flavor profile of dishes.

Iceman by Chefman Slush-Ease 68oz Slushie Machine, 48oz Liquid Capacity Frozen Drink Maker & Slushy Machine with 5 Presets and LED Display, Perfect for Frozen Margaritas, Frappes, Smoothies & Shakes
FREEZES WITHOUT ICE: Make slushies out of any beverage you can think of right at home on your...
As an affiliate, we earn on qualifying purchases.
Selecting the Right Butter
To make the perfect drawn butter, you’ll want to start by selecting the right butter.
When it comes to butter types, there are a few options to consider. Firstly, unsalted butter is often preferred for drawn butter as it allows you to control the saltiness of the final product. Additionally, clarified butter is a popular choice for drawn butter due to its rich and smooth texture.
As for butter flavors, you can choose between regular butter or opt for specialty flavored butters such as garlic or herb-infused varieties. These flavored butters can add an extra dimension of taste to your drawn butter, enhancing the overall flavor profile.

Ninja SLUSHi Max XXL Smart Frozen Drink Maker, Top Performance and Smart Technology, Party Size 150 Ounces Capacity, No Ice Needed, 6 Programs, Ideal Temp and Texture up to 12 Hours, Peach, FS605
#1 SMART FROZEN DRINK MAKER: Ninja pioneered the smart frozen drink maker category and SLUSHI MAX XXL is...
As an affiliate, we earn on qualifying purchases.
Melting the Butter
Melt the butter by placing it in a microwave-safe bowl and heating it for 30 seconds. This is one of the easiest and quickest melting techniques for butter. However, it’s important to consider the butter’s temperature before melting it.
Here are some key points to remember when melting butter:
- Ensure the butter is at room temperature before melting. Cold butter may result in uneven melting or hot spots.
- To bring butter to room temperature, leave it out on the counter for about 30 minutes.
- Alternatively, you can soften butter in the microwave on low power for 10-second intervals until it reaches room temperature.
If you need to melt a larger amount of butter, it’s best to use a stovetop method. Place the butter in a saucepan over low heat and stir gently until completely melted.

Ninja SLUSHi Frozen Drink & Slushie Machine with RapidChill Technology | 88 oz. Easy Fill Vessel | 5 Preset Programs | Make Margaritas, Frappés, & More | With Dishwasher Safe Parts | Black | FS301
NO ICE NEEDED: RapidChill Technology is our innovative two-part system that spins an auger around a cooling cylinder...
As an affiliate, we earn on qualifying purchases.
Skimming Off the Milk Solids
One way you can remove the milk solids from the melted butter is by using a fine-mesh strainer.
This process is essential in clarifying butter and differentiating it from regular butter.
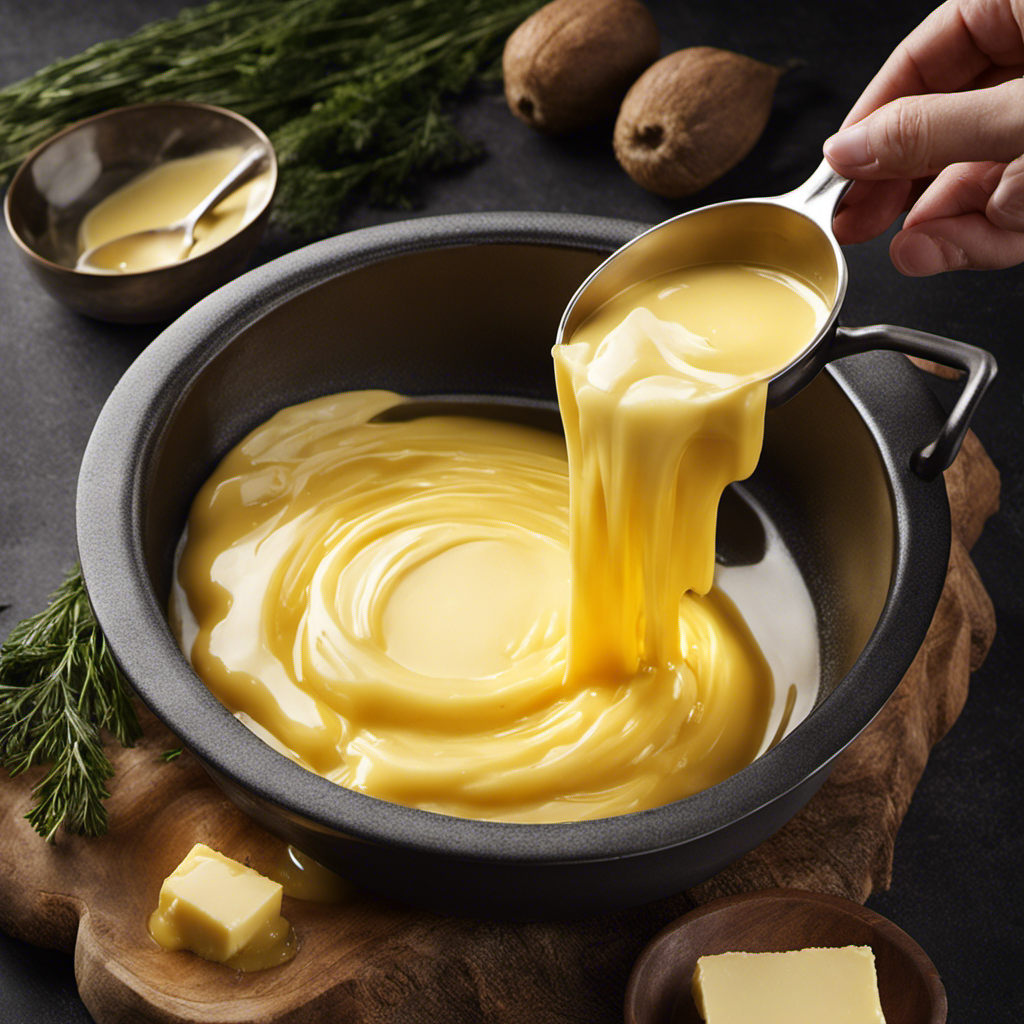
Clarified butter is butter that has been melted and separated from the milk solids and water content.
By removing the milk solids, you are left with a pure, golden liquid that has a higher smoke point and a longer shelf life compared to regular butter.
The fine-mesh strainer allows you to strain out the milk solids, ensuring that only the clarified butter passes through.
This step is important in achieving a smooth and clear consistency, making it perfect for cooking, baking, or even drizzling over popcorn or lobster.

Iceman by Chefman Slush-Ease MAX 90oz Slushie Machine, 64oz Liquid Capacity Frozen Drink Maker & Slushy Machine with 5 Presets and LED Display, Perfect for Frozen Margaritas, Frappes, Smoothies
JUST POUR AND CHILL: Ditch the ice trays and loud, clunky blenders. With the Iceman Slushy Maker, you...
As an affiliate, we earn on qualifying purchases.
Straining the Drawn Butter
Using a fine-mesh strainer, you’ll strain out the solids, ensuring a smooth and clear consistency. Straining the drawn butter is an important step in the process to achieve the desired result.
Here are some straining techniques and troubleshooting common issues to consider:
- Place the fine-mesh strainer over a clean container or bowl.
- Slowly pour the melted butter through the strainer, allowing it to pass through the fine mesh while catching any solids.
Troubleshooting Common Issues:
- If the butter is not straining properly, check if the mesh is clogged. Clean the strainer and continue straining.
- If the butter appears cloudy after straining, you may need to repeat the straining process to ensure a clear consistency.
Storing and Reheating Drawn Butter
When it comes to storing drawn butter, it is important to consider optimal storage conditions in order to maintain its flavor and quality.
By storing it in an airtight container in the refrigerator, you can help prevent the butter from absorbing unwanted odors or flavors.
Additionally, it is crucial to avoid reheating the drawn butter multiple times, as this can lead to flavor deterioration.
Optimal Storage Conditions
To keep your drawn butter fresh, you’ll want to store it in an airtight container in the refrigerator. Storing in the refrigerator is essential to prevent oxidation and maintain the quality of your drawn butter.
Here are some key points to consider for optimal storage conditions:
- Temperature: Set your refrigerator to a temperature between 32°F and 40°F (-2°C to 4°C) to ensure the butter stays solid and doesn’t melt.
- Airtight container: Choose a container that seals tightly to prevent air from entering and causing oxidation. Glass jars with rubber seals or plastic containers with secure lids are excellent options.
- Make sure the container is clean and dry before transferring the drawn butter.
- Shelf placement: Store the container of drawn butter on the top shelf or in the dairy compartment to maintain a consistent temperature. Avoid storing it on the door, as temperature fluctuations can occur.
Following these storage guidelines will help keep your drawn butter fresh and flavorful for longer periods.
Avoiding Flavor Deterioration
To ensure the drawn butter stays fresh and free from rancidity, proper storage is crucial. The key is to keep it in a cool, dark place, away from direct sunlight and heat sources. A tightly sealed container is essential to prevent air from entering and causing oxidation. I recommend using a glass jar with a tight-fitting lid or an airtight plastic container.
It’s important to check the expiration date on the butter used to make drawn butter and use it within that timeframe. If you notice any off smells or flavors, it’s best to discard the drawn butter to avoid any potential health risks. By preserving the freshness and preventing rancidity, you can enjoy the rich and savory taste of drawn butter in your favorite dishes.
Now that we’ve covered how to store drawn butter properly, let’s move on to some serving suggestions that will take your culinary creations to the next level.
Serving Suggestions for Drawn Butter
When it comes to serving drawn butter, there are a few ideal accompaniments that can take your dish to the next level.
From succulent lobster tails to tender crab legs, the rich and creamy flavor of drawn butter complements seafood perfectly.
Additionally, drawn butter can be used creatively in various recipes. For example, drizzling it over roasted vegetables or using it as a dipping sauce for bread.
Ideal Accompaniments for Drawn Butter
Some ideal accompaniments for drawn butter include freshly steamed lobster and grilled seafood. These dishes complement the rich, buttery flavor and enhance the overall dining experience. Here are some of the best seafood dishes to serve with drawn butter:
- Grilled shrimp: The smoky char from the grill pairs perfectly with the creamy drawn butter.
- Baked salmon: The tender and flaky texture of salmon goes hand in hand with the velvety smoothness of drawn butter.
For those looking for vegetarian alternatives, there are options to enjoy drawn butter as well:
- Grilled vegetables: Grilling vegetables brings out their natural sweetness and adds a smoky depth that pairs beautifully with drawn butter.
- Artichokes: Steamed or grilled artichokes have a unique texture and flavor that complements the richness of drawn butter.
Whether you prefer seafood or vegetarian options, drawn butter can elevate your meal to a whole new level of deliciousness.
Creative Uses for Drawn Butter
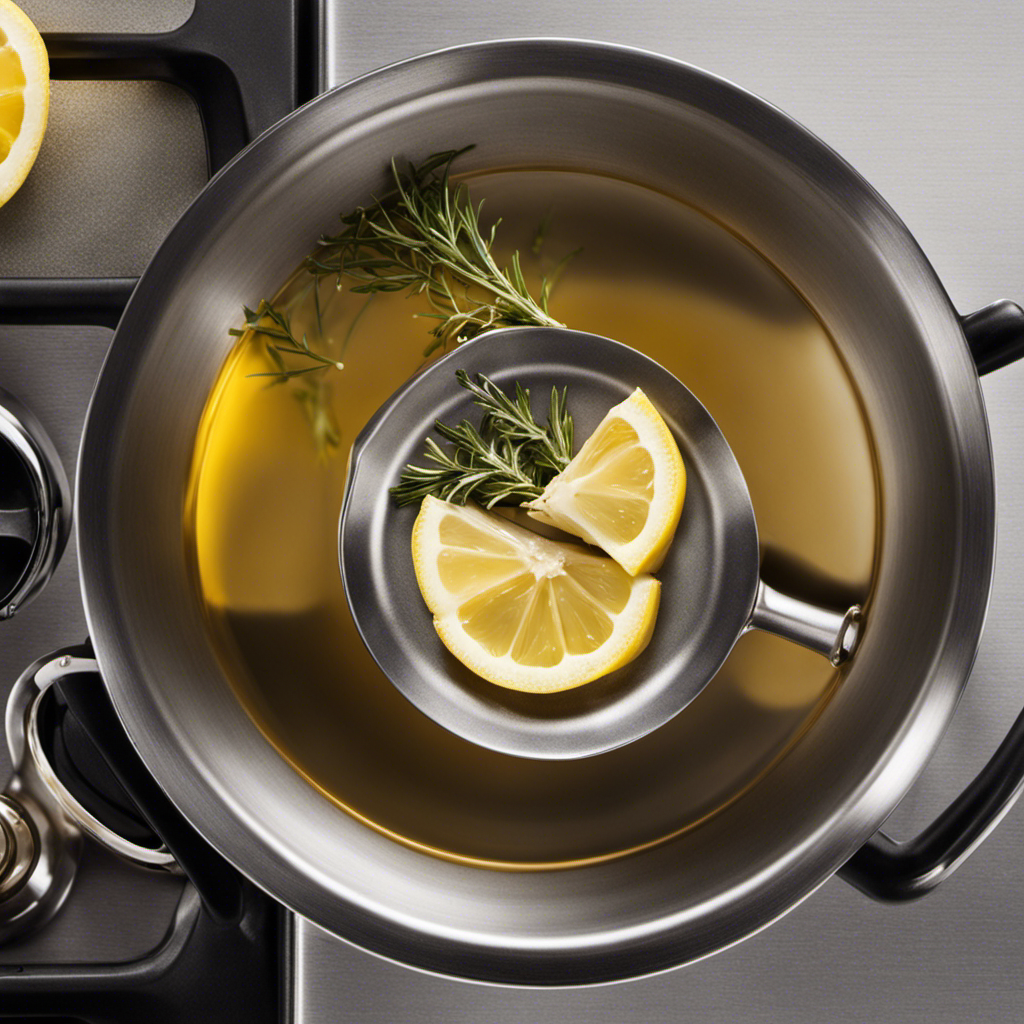
One way you can get creative with drawn butter is by experimenting with different herbs and spices. By adding a touch of creativity to your plating ideas, you can elevate the flavors and presentation of your dishes.
Consider incorporating unique flavor combinations such as lemon zest and dill for a fresh and tangy twist, or smoked paprika and garlic for a smoky and savory flavor profile. These herbs and spices can add depth and complexity to your drawn butter, making it a versatile accompaniment for a variety of dishes.
Whether you’re serving seafood, vegetables, or even grilled meats, the addition of different herbs and spices to your drawn butter can take your culinary creations to the next level.
Frequently Asked Questions
Can I Use Margarine or a Butter Substitute Instead of Real Butter?
Yes, you can use margarine or a butter substitute instead of real butter. When looking for alternatives to real butter, using margarine as a butter substitute is a common choice.
Should I Use Salted or Unsalted Butter for Making Drawn Butter?
I prefer using unsalted butter for drawn butter as it allows me to control the amount of salt in the final dish. Salted butter can alter the flavor, so it’s best to stick with unsalted. As for using margarine or butter substitute, they may affect the taste and texture of the drawn butter.
Can I Use a Microwave to Melt the Butter Instead of Using a Stovetop?
Yes, you can use the microwave method to melt the butter for drawn butter. However, it’s important to note that using unsalted butter is recommended for a better flavor and texture.
Is It Necessary to Skim off the Milk Solids in Drawn Butter?
Skimming the milk solids is necessary when making drawn butter. It ensures a smooth and clarified butter, free from impurities. Removing the solids improves the taste and texture, making it perfect for dipping seafood or drizzling over dishes.
How Long Can I Store Drawn Butter in the Refrigerator Before It Goes Bad?
I can store drawn butter in the refrigerator for about 2 weeks before it goes bad. To prolong its shelf life, I recommend using an airtight container and keeping it away from strong odors.
Conclusion
In conclusion, making drawn butter is a simple yet essential skill for any home cook. By selecting the right butter and following the steps of melting, skimming, straining, and storing, you can create a smooth and rich sauce that elevates your dishes to a whole new level.
So why settle for plain butter when you can indulge in the velvety goodness of drawn butter? Give it a try and experience the difference it makes in your culinary creations.