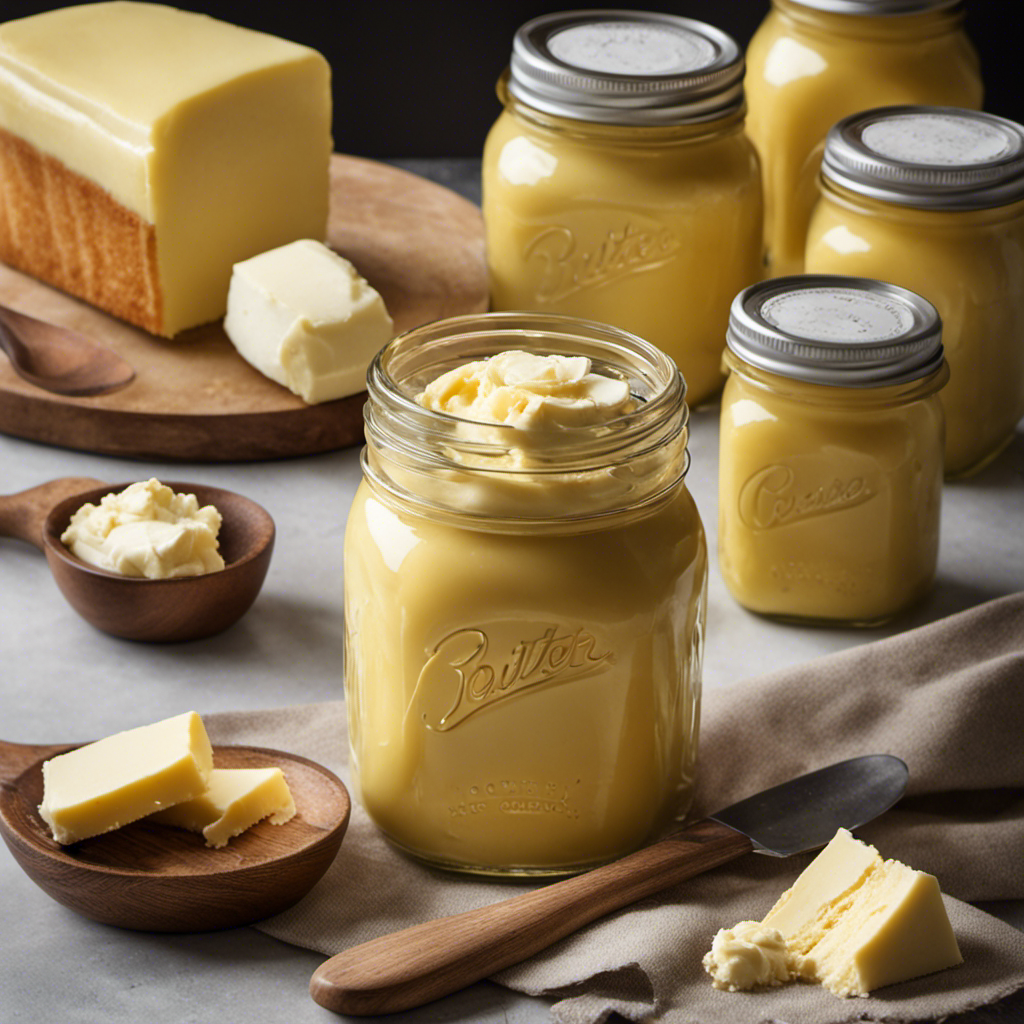
Ever thought about making your own butter from scratch? This article will show you how to make homemade butter using a jar.
With just a few ingredients and a little bit of effort, you can create your very own creamy, delicious butter right at home.
From gathering the ingredients to storing and enjoying the final product, I’ll provide you with precise and detailed instructions every step of the way.
Let’s get started!
Key Takeaways
- Choose heavy cream or whipping cream for a smooth and creamy texture.
- Experiment with different salts to find your favorite taste.
- Use a clean, glass jar with a tight-fitting lid for churning the cream.
- Properly label the containers with the date of preparation for freshness tracking.
As an affiliate, we earn on qualifying purchases.
Gathering the Ingredients
First, make sure you’ve got all the necessary ingredients on hand. When it comes to choosing the right cream for making homemade butter, it’s important to opt for heavy cream or whipping cream. These creams have a higher fat content, which is essential for achieving a smooth and creamy texture.
Additionally, you can enhance the flavor of your butter by adding different types of salt. Common options include kosher salt, sea salt, and Himalayan pink salt. Each type of salt imparts a unique taste to the butter, so feel free to experiment and find your favorite.
Now that you have selected your cream and salt, let’s move on to preparing the jar for making homemade butter.
Preparing the Jar
Before you start, make sure to gather all the necessary ingredients and materials.
Now, let’s move on to preparing the jar for making homemade butter. This step is crucial to ensure the cleanliness and safety of your butter. Follow these precise steps to clean and sterilize the jar:
-
Cleaning the jar: Start by washing the jar with warm soapy water. Use a bottle brush to scrub the inside and outside of the jar thoroughly. Rinse it well with hot water to remove any soap residue.
-
Sterilizing the jar: Fill a large pot with water and bring it to a boil. Submerge the jar in the boiling water for at least 10 minutes. This process will kill any bacteria or microorganisms that may be present.
-
Air drying: After sterilizing, carefully remove the jar from the boiling water using tongs or heat-resistant gloves. Place it upside-down on a clean towel or drying rack to air dry completely.
-
Covering the jar: Once dry, cover the jar with a clean cloth or lid to protect it from dust or contaminants until you are ready to use it.
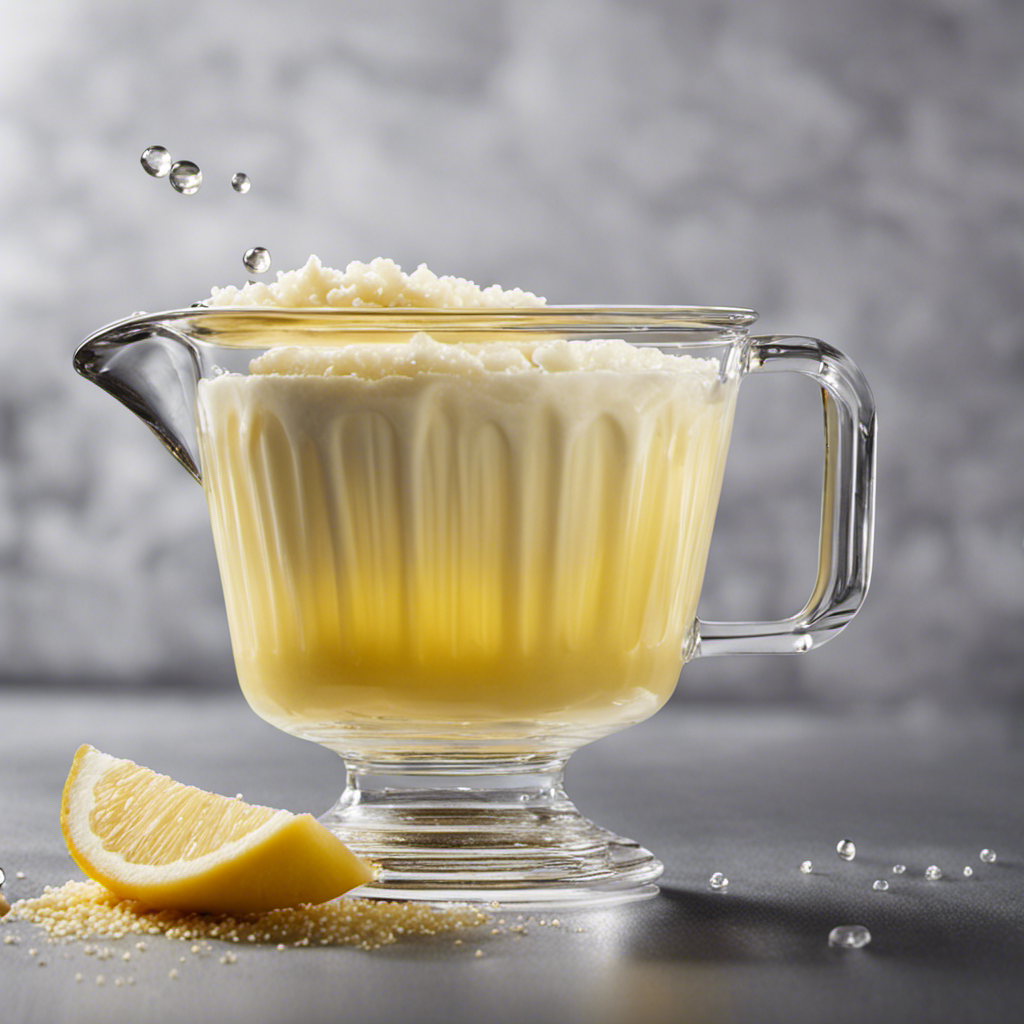
Churning the Cream
Now let’s move on to churning the cream to make your delicious homemade spread.
To achieve the desired cream consistency, it is important to churn the cream for an appropriate amount of time. This process involves agitating the cream vigorously until it separates into butter and buttermilk.
The churning time can vary depending on factors such as the temperature of the cream and the speed at which it is churned. Generally, it takes about 10-15 minutes of continuous churning to reach the desired consistency. It is important to monitor the cream closely during this process to avoid over-churning, which can result in a grainy texture.
Once the cream has transformed into butter, it is ready to be strained and washed to remove any remaining buttermilk.
Separating the Butter From the Buttermilk
To achieve the desired cream consistency, it’s important to churn the cream for an appropriate amount of time, separating the butter from the buttermilk. Here are some essential steps to follow for a successful separation:
-
Churn the cream in a jar vigorously until you notice the cream thickening and separating into solid butter and liquid buttermilk.
-
Once the separation occurs, carefully pour off the liquid buttermilk, being careful not to lose any of the butter solids.
-
Transfer the butter solids to a bowl and rinse them with cold water to remove any remaining buttermilk. This step helps prevent spoilage.
-
Press the butter solids together using a spatula or your hands to remove any excess liquid. This will give your homemade butter a smoother texture.
Buttermilk, the byproduct of making butter, has various uses in cooking and baking. It adds a tangy flavor to pancakes, biscuits, and cakes. Additionally, buttermilk can be used as a marinade for meat, as it helps tenderize and add flavor.
Troubleshooting separation may occur if the cream is not churned long enough or if the temperature is too high. Adjusting these factors can help ensure a successful butter separation process.
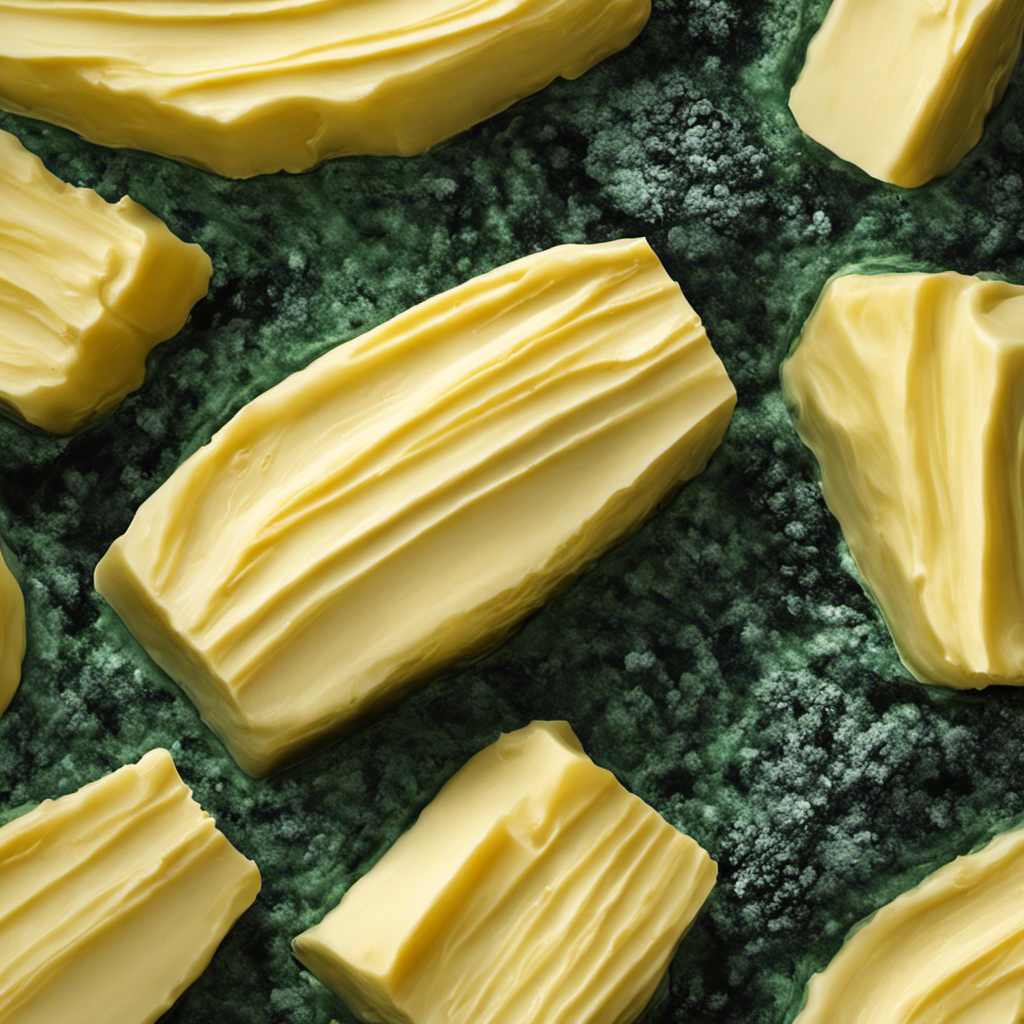
Washing and Shaping the Butter
When it comes to washing butter, the water temperature plays a crucial role in achieving the desired texture and quality. I will discuss the optimal water temperature for washing butter to ensure it is clean and free from excess buttermilk.
Additionally, I will delve into the different shaping techniques and tools that can be used to mold the butter into various forms, such as blocks or rolls.
Water Temperature for Washing
The ideal water temperature for washing the butter is warm, not hot. This is because the temperature of the water can greatly impact the quality of the butter. Here are four reasons why the water temperature is important:
-
Preservation of flavor: Hot water can cause the butter to melt and lose its flavor. By using warm water, the butter retains its original taste.
-
Texture preservation: Hot water can melt the butter and make it greasy. Using warm water helps maintain the desired creamy texture.
-
Separation of impurities: Warm water effectively separates impurities from the butter, such as milk solids and excess salt.
-
Retention of nutrients: Exposing the butter to hot water can lead to the loss of important nutrients. Warm water helps preserve the nutritional value of the butter.
Shaping Techniques and Tools
Using a silicone mold can help you easily shape the butter into desired forms. Butter molds are a great tool for shaping and adding decorative elements to your homemade butter. There are various shaping techniques that you can use to create different shapes and designs. One popular technique is using a silicone mold to shape the butter into fun and unique shapes. The silicone mold provides a non-stick surface, making it easy to remove the butter once it has solidified. You can also use butter molds that have intricate designs to add a touch of elegance to your butter. These molds come in various shapes and sizes, allowing you to experiment and create beautiful designs. Here is a table showcasing some popular butter molds and their designs:
| Butter Mold | Design |
|---|---|
| Flower | Daisy, rose, sunflower |
| Animal | Butterfly, cow, duck |
| Holiday | Christmas tree, pumpkin, heart |
Best Storage Containers
Now that we’ve learned about shaping techniques and tools for homemade butter, let’s move on to the best storage containers.
Proper storage is crucial in maintaining the quality and freshness of your homemade butter. Here are four key considerations:
-
Airtight containers: Choose containers that have airtight seals to prevent air from getting in and causing oxidation.
-
Glass jars: Glass jars are ideal for storing butter as they are non-reactive and do not retain odors. Plus, they allow you to see the butter inside.
-
Proper labeling: Make sure to label your containers with the date of preparation to keep track of freshness and avoid confusion.
-
Temperature control: Store your homemade butter in the refrigerator at a consistent temperature of around 40°F (4°C) to maintain its texture and prevent spoilage.
Storing and Enjoying Your Homemade Butter
To properly store and enjoy your homemade butter, make sure you refrigerate it in an airtight container. This will help maintain its freshness and prevent any unwanted odors from affecting its flavor.
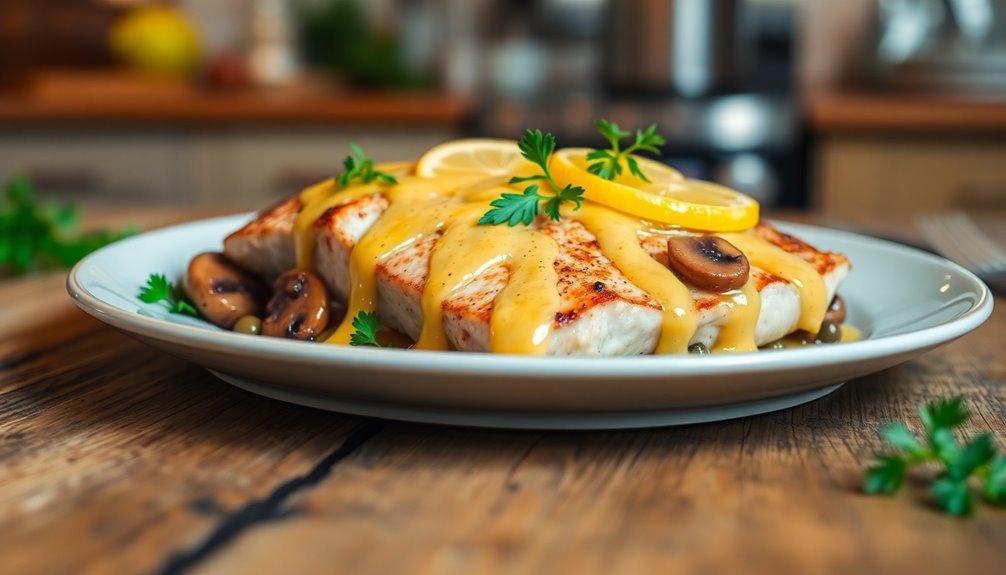
When it comes to serving suggestions, homemade butter is incredibly versatile. Spread it on warm toast for a simple and delicious breakfast option, or use it as a base for sauces and dressings to add richness and depth.
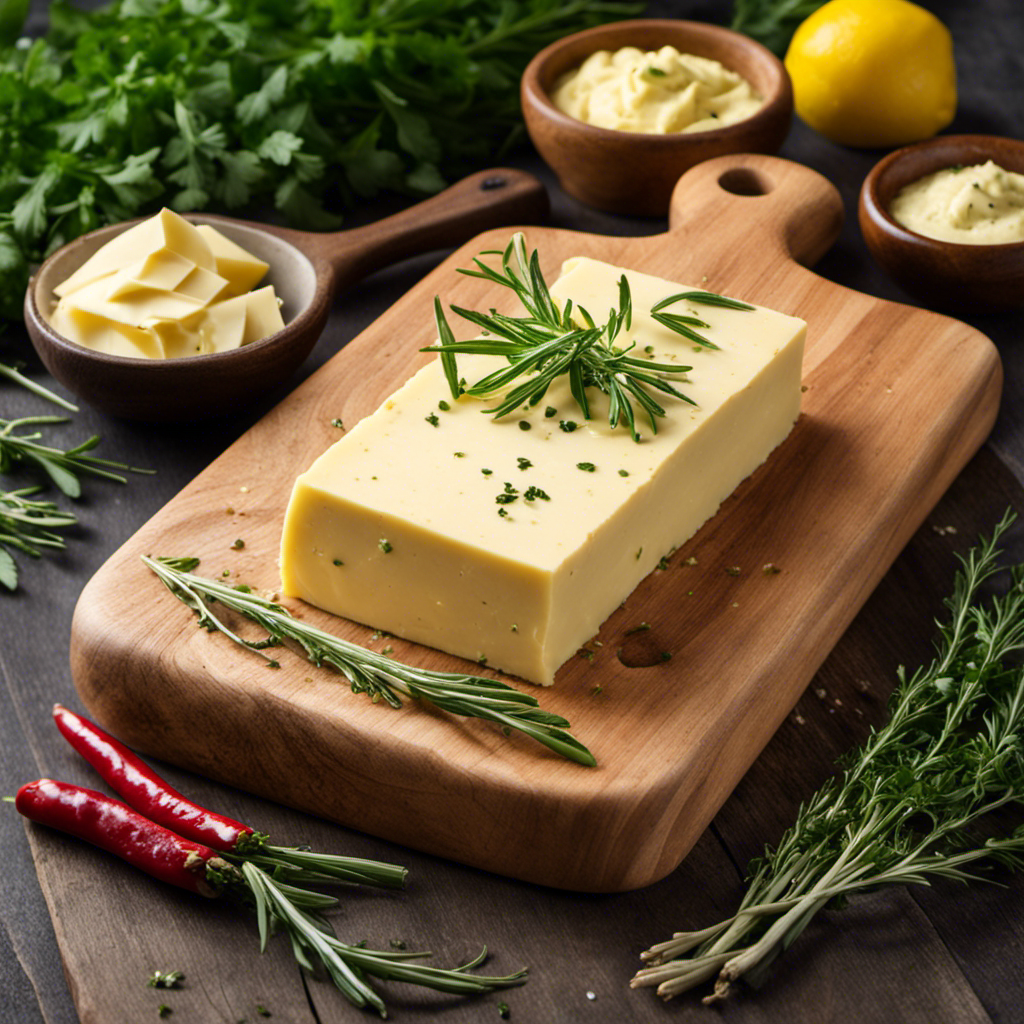
You can also incorporate different flavor variations to enhance your butter. For a savory twist, try adding herbs like rosemary or thyme. For a hint of sweetness, mix in a touch of honey or maple syrup.
Don’t be afraid to get creative and experiment with different combinations to find your favorite flavor!
Frequently Asked Questions
How Long Does It Take for the Cream to Turn Into Butter?
The time it takes for the cream to turn into butter can be influenced by various factors. One important factor is the temperature of the cream, as higher temperatures can speed up the process.
Can I Use Any Type of Cream to Make Homemade Butter?
Certainly! Different types of cream can be used to make homemade butter, but it’s important to choose a cream with a high fat content. Cream substitutes may not work as effectively due to their lower fat content.
Is It Possible to Add Flavorings to the Butter During the Churning Process?
Yes, it is possible to add flavorings to homemade butter during the churning process. By incorporating various ingredients such as herbs, spices, or even fruits, you can create a wide range of flavorful butter options. This adds variety and enhances the taste of the butter.
How Can I Tell if the Butter Has Been Thoroughly Washed of Buttermilk?
When determining if homemade butter has been thoroughly washed of buttermilk, it is important to observe the separation of buttermilk from the butter. Proper washing ensures the removal of excess buttermilk, resulting in a higher quality and longer-lasting butter.
Can I Use Store-Bought Butter to Make Homemade Butter in a Jar?
I’ve pondered the idea of using store-bought butter to make homemade butter in a jar. There are pros and cons to consider: convenience and consistency versus potential additives and lack of control over the source.
Conclusion
In conclusion, the process of making homemade butter in a jar is a truly transformative experience.
As I witnessed the cream being churned vigorously, I couldn’t help but feel a sense of liberation and empowerment.
The separation of the butter from the buttermilk symbolizes the shedding of burdens and the emergence of something pure and delightful.
Washing and shaping the butter with meticulous care represents the attention and love we put into creating something extraordinary.
Finally, storing and savoring our homemade butter is a celebration of our ability to create simple yet exquisite pleasures.