Did you realize that creating homemade raw butter is not only simple, but also gives you full control over the quality and taste?
In this article, I’ll guide you through the simple steps to create delicious homemade raw butter.
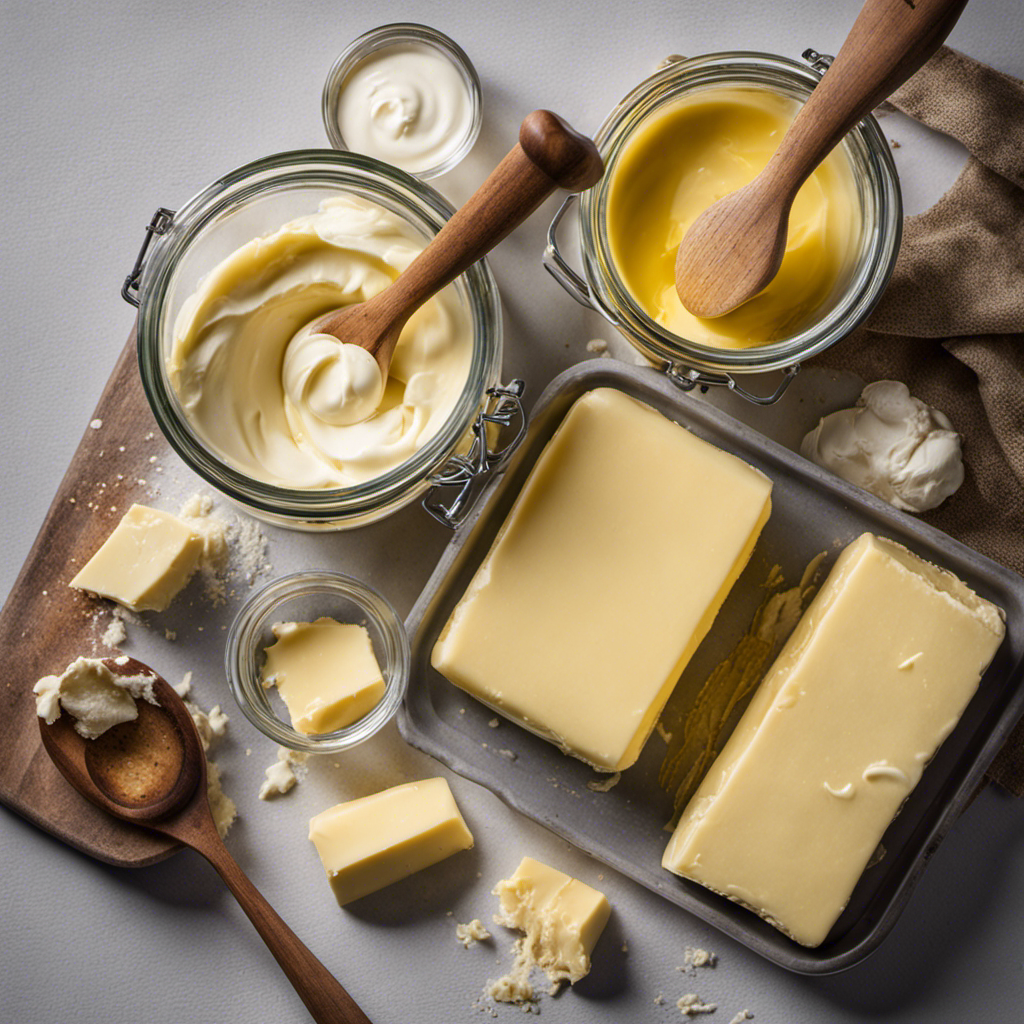
From selecting the right cream to churning it into butter, separating the buttermilk, washing the butter, and even adding salt if desired, you’ll learn everything you need to know to enjoy the rich and creamy goodness of homemade raw butter.
Key Takeaways
- Fresh, high-quality cream is crucial for the taste and texture of homemade raw butter.
- Churning at different speeds results in different consistencies of butter.
- Grass-fed cows produce cream with a richer flavor and higher nutritional value.
- Washing butter in cold water removes excess moisture and impurities.

Alpha Grillers Meat Thermometer Digital – Instant Read Food Thermometer for Cooking & Grilling – Professional Kitchen Fathers Day Gift for Dad Men Him Husband
Instant Read Food Thermometer | Our instant read thermometer features a temperature probe and advanced, highly accurate technology...
As an affiliate, we earn on qualifying purchases.
Selecting the Right Cream
To make raw butter, you’ll want to start by selecting the right cream. The quality of the cream you use is crucial in determining the taste and texture of the final product. Look for cream that is fresh and of high quality.
Opt for cream that is sourced from grass-fed cows, as it tends to have a richer flavor and higher nutritional value. Grass-fed cows produce milk that is higher in beneficial fats, such as omega-3 fatty acids and conjugated linoleic acid (CLA). These fats not only enhance the taste of the butter but also offer potential health benefits.
Additionally, cream from organic or local farms is often a good choice, as it is less likely to contain additives or hormones. So, when making raw butter, be sure to prioritize cream quality and source.
ComfyCorner 60" Rolling Large Kitchen Island on Wheels with Extendable Table, Drop Leaf & Power Outlet, Mobile Kitchen Cart with Storage Cabinet, 2 Drawers, Spice Rack, Towel & Knife Holder, Black
Spacious & Large Mobile Kitchen Island: This generously sized kitchen cart (60.2"L x 27.4"W x 35.5"H) offers ample...
As an affiliate, we earn on qualifying purchases.
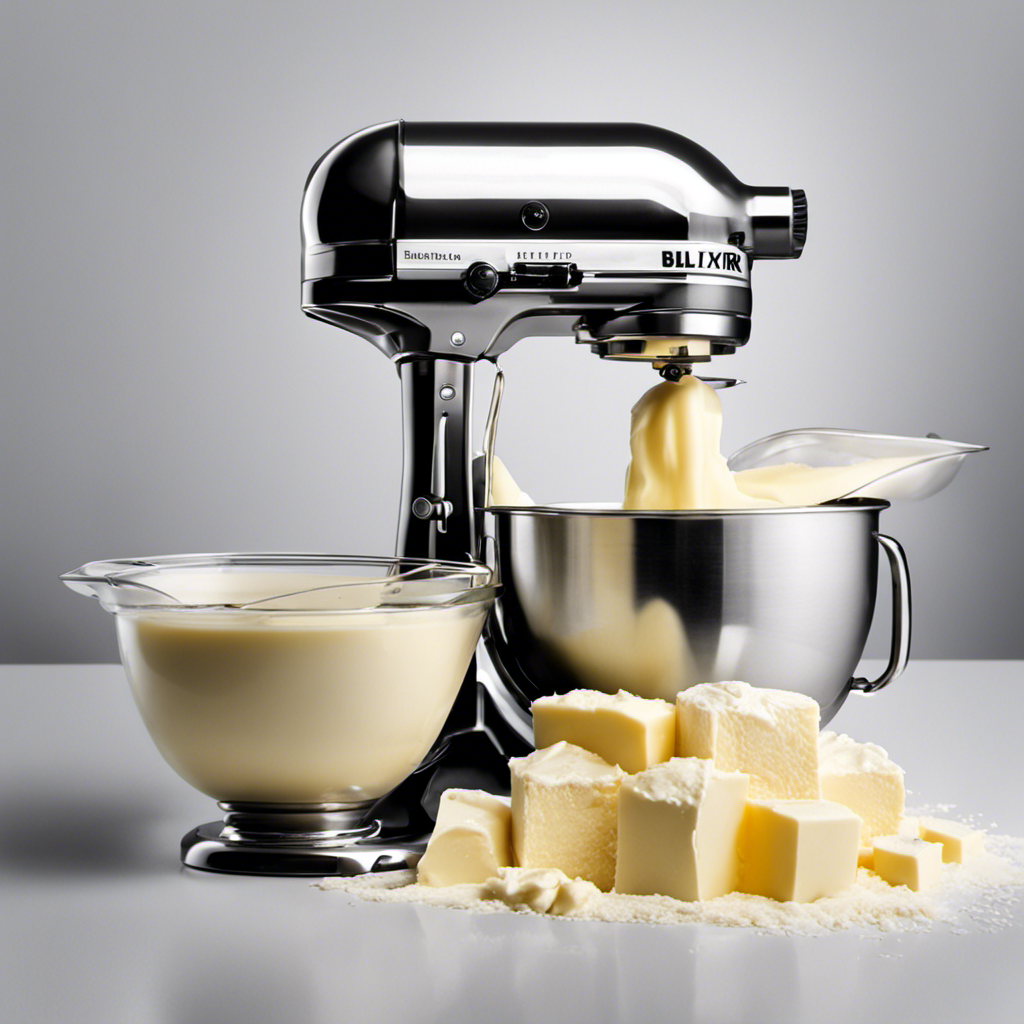
Churning the Cream
When it comes to churning the cream, there are several key points to consider: the speed of churning, the techniques used, and the time required for churning.
The speed of churning can greatly affect the outcome of the butter, as too fast or too slow can result in different textures.
Different churning techniques, such as using a churn or a stand mixer, can also impact the final product.
Speed of Churning
The speed of churning affects the consistency of the raw butter. When churning at a higher speed, the cream is agitated more vigorously, resulting in faster separation of the butterfat from the buttermilk. This produces a firmer and more solid butter.
On the other hand, churning at a slower speed allows for a gentler separation, resulting in a softer and creamier butter. Speed variations can be adjusted based on personal preference and the desired texture of the butter.
Additionally, alternative methods such as using a blender or a food processor can be employed to churn the cream. These methods offer convenience and control over the churning process, allowing for customized results.
However, it is important to note that the traditional hand-churning method still remains popular for its simplicity and nostalgic appeal.
Churning Techniques
You can adjust the speed of churning to achieve your desired texture and consistency. When it comes to making butter, the temperature of the cream and the techniques you use are key factors in achieving the best results.
Here are some hand churning techniques to consider:
-
Use cream at room temperature: Churning cream that is too cold can result in a longer churning process and a less smooth texture.
-
Start with gentle, slow churning: Begin by gently rocking the churn back and forth to distribute the fat globules throughout the cream.
-
Gradually increase the speed: As the butter starts to form, you can increase the speed of churning by using a more vigorous up-and-down motion.
Time Required for Churning
Churning takes less time if the cream is at room temperature. By ensuring that the cream is at the right temperature, the churning process becomes faster and more effective. When the cream is at room temperature, it softens and becomes easier to agitate, allowing the fat globules to release more quickly. This results in a shorter churning time and a more efficient butter-making process.

iSpring RCC7AK, NSF Certified, 75 GPD, Alkaline 6-Stage Reverse Osmosis System, pH+ Remineralization RO Water Filter System Under Sink, Patented Top-Mounted Faucet Design for Easy Installation
PATENTED DESIGN – The top-mounted fastener allows for easy countertop installation entirely from above, eliminating the hassle of...
As an affiliate, we earn on qualifying purchases.
Separating the Buttermilk
Once the butter has formed, it’s time to strain out the buttermilk. This step is crucial in achieving the desired consistency and flavor of the butter.
To separate the buttermilk, here are three important things to keep in mind:
-
Use a fine-mesh strainer or cheesecloth: This will help remove any remaining buttermilk from the butter and ensure a smooth texture.
-
Save the buttermilk for other uses: Buttermilk is not only delicious in pancakes and baked goods, but it also offers several health benefits. It is rich in probiotics, vitamins, and minerals, which can aid digestion and boost the immune system.
-
Store the butter properly: Raw butter should be kept in an airtight container in the refrigerator. It can last for several weeks, but if you want to extend its shelf life, consider freezing it in smaller portions.

Waterdrop G3P600 Reverse Osmosis System, 8 Stage Tankless Reverse Osmosis Water Filter, NSF/ANSI 42 & 53 & 58 & 372 Certified, Under Sink RO System, 2:1 Pure to Drain, Smart LED Faucet
[Trusted certifications]: Waterdrop G3P600 reverse osmosis system is certified against NSF/ANSI 58 for TDS reduction and NSF/ANSI 372...
As an affiliate, we earn on qualifying purchases.
Washing the Butter
To wash the butter, start by placing it in a bowl of cold water. This step is crucial for achieving the desired butter consistency and removing excess moisture.
As the butter sits in the water, gently agitate it with your hands or a spoon. This helps to separate any remaining buttermilk and other impurities from the butterfat.
After a few minutes, pour out the water, being careful to keep the butter in the bowl. Fill the bowl with fresh cold water and repeat the process until the water runs clear. This ensures that all traces of buttermilk are removed, which helps to extend the shelf life of the butter.
Once the butter has been washed thoroughly, it can be shaped, wrapped, and stored in the refrigerator.
Adding Salt (Optional
When it comes to adding salt to butter, the debate is often centered around whether it enhances the flavor or not. Some argue that salt can bring out the natural richness of the butter and add depth to its taste.
On the other hand, there are those who believe that salt masks the true flavor of butter and prefer to enjoy it in its unsalted form.
Salt or No
If you prefer a more savory taste in your butter, you can choose to add salt. Adding salt may enhance the flavor of your butter, but it’s important to consider the health benefits as well.
Here are some key points to keep in mind:
- Salt acts as a natural preservative, helping to extend the shelf life of your butter.
- Adding salt to your butter can enhance the overall taste and make it more enjoyable to consume.
- Salt also plays a role in balancing electrolytes in the body and can aid in proper hydration.
However, it’s important to consume salt in moderation. Excessive salt intake can lead to health issues like high blood pressure. It’s always a good idea to consult with a healthcare professional to determine the right amount of salt to add to your butter.
Now, let’s move on to the next section and explore other ways to enhance the flavor of your butter.
Flavor Enhancement or Not?
In my previous subtopic, I discussed whether to add salt to homemade raw butter.
Now, let’s delve into the topic of flavor enhancement. When it comes to homemade versus store-bought butter, there is a noticeable difference in taste.
Homemade butter has a rich, creamy flavor that is unparalleled. This is because store-bought butter often contains additives and preservatives that can mask the natural taste.
By making your own butter, you have control over the ingredients, ensuring a pure and unadulterated flavor. Additionally, homemade butter retains more of its natural vitamins and minerals, offering health benefits that may be lacking in store-bought options.
Storing and Enjoying the Raw Butter
To properly store and enjoy raw butter, keep it in an airtight container in the refrigerator. Storing raw butter correctly is crucial to maintain its freshness and prevent spoilage. Here are some techniques to ensure your raw butter stays in its best condition:
-
Keep it in an airtight container: This prevents the butter from absorbing odors or flavors from other foods in the fridge.
-
Store it in the coldest part of the refrigerator: Placing the butter in the coldest area helps maintain its texture and prevents melting.
-
Use it within a reasonable time frame: Raw butter has a shorter shelf life compared to processed butter. It is recommended to consume it within two weeks of making it.
In addition to its delicious taste, raw butter also offers several health benefits. It is a good source of essential fatty acids, vitamins A, D, E, and K, and provides valuable nutrients like omega-3 fatty acids. Incorporating raw butter into your diet can support brain function, improve digestion, and boost your immune system.
Frequently Asked Questions
How Long Does It Take for the Cream to Turn Into Butter When Churning?
When churning cream into butter, it usually takes around 10-15 minutes. You’ll know it’s ready when the cream separates into solid butter and liquid buttermilk. Unsalted butter is best for baking.
Can I Use Pasteurized Cream Instead of Raw Cream to Make Raw Butter?
Sure, you can use pasteurized cream to make RAW butter. Because apparently, using pasteurized cream is the best way to achieve the true essence of rawness. It’s like a paradox, but hey, who am I to argue?
How Do I Know if the Butter Is Properly Washed After Separating the Buttermilk?
To properly wash butter, separate the buttermilk and rinse the butter under cold water until the water runs clear. Then, knead the butter under cold water to remove any remaining buttermilk. Store raw butter in an airtight container in the refrigerator.
What Types of Salt Are Recommended for Adding to Raw Butter?
Adding different types of salt to raw butter not only enhances its flavor but also provides health benefits. From Himalayan pink salt to sea salt, the options are endless. Experiment and find your perfect match!
Can I Use a Blender or a Food Processor Instead of a Churn to Make Raw Butter?
Yes, you can use a blender or a food processor as an alternative to a churn when making raw butter. Both appliances can effectively separate the cream from the milk to create butter.
Conclusion
In conclusion, making raw butter is a simple yet rewarding process. By carefully selecting the right cream and churning it vigorously, we can separate the rich buttermilk from the golden butter.
Washing the butter helps to remove any remaining liquid, resulting in a smooth and creamy texture. Adding a pinch of salt, if desired, enhances the flavor.
Finally, storing our homemade raw butter in a cool place allows us to savor its deliciousness whenever we desire.
So, let’s embark on this butter-making journey and indulge in the pure joy it brings.