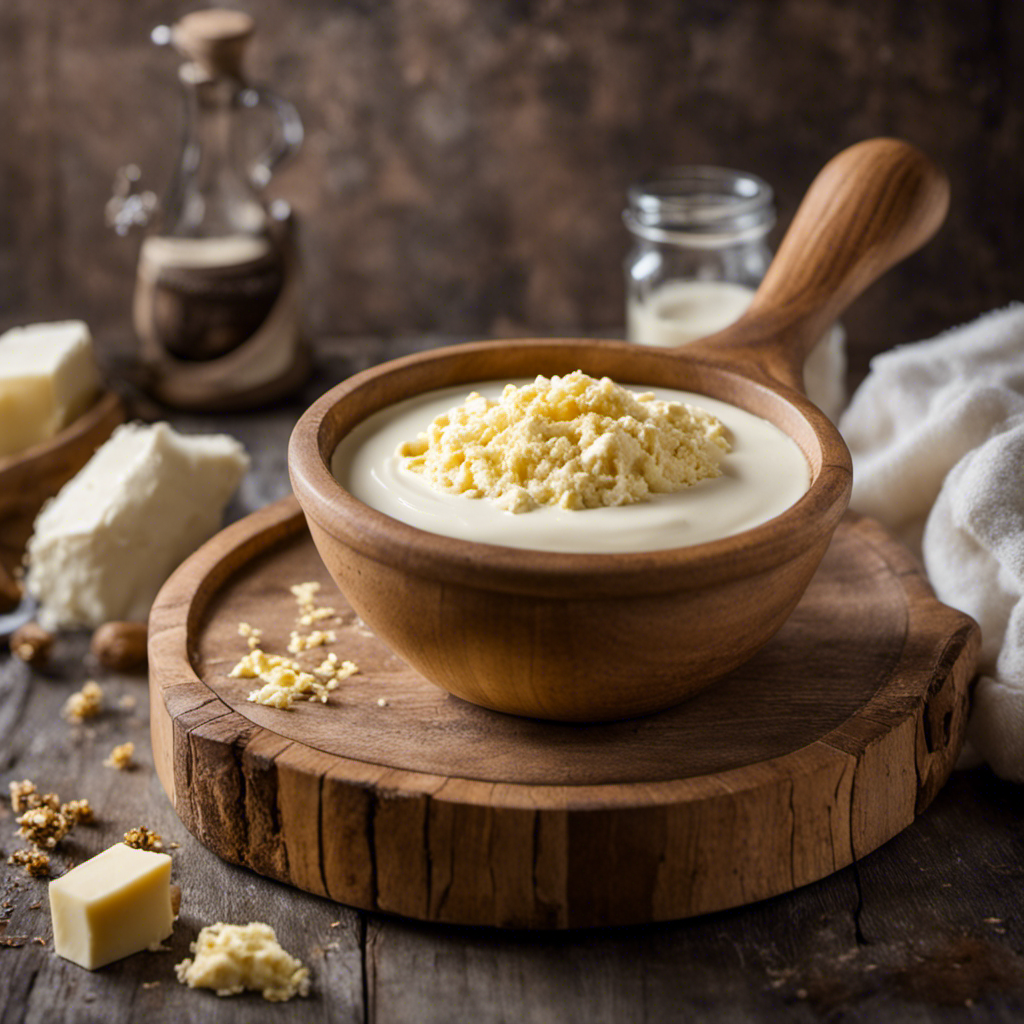

Sure, you’re interested in learning how to make goat milk butter? You’ve come to the right place! This article will guide you through each step of the process.
You’ll learn everything from selecting the perfect goat milk to gathering the necessary equipment.
We’ll show you how to churn the goat milk into rich, creamy butter and how to separate the buttermilk from the finished product.
Plus, we’ll even give you tips on washing and storing your homemade butter.
Get ready to impress your friends and family with your newfound butter-making skills!
Key Takeaways
- Factors to consider when choosing goat breeds for milk production
- Essential equipment for making goat milk butter
- Importance of milk temperature for churning
- Uses of buttermilk in various recipes
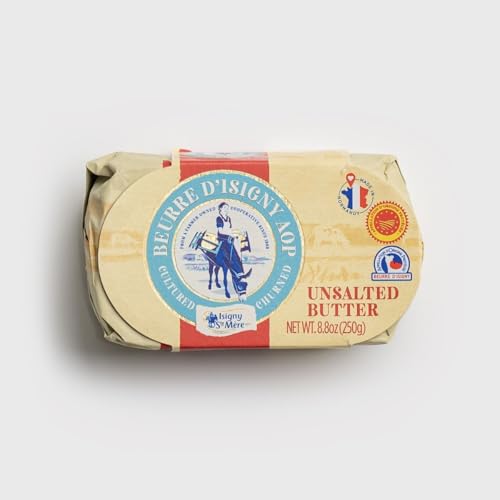
Beurre D’Isigny AOP Unsalted French Butter - 8.8 oz / 250 g - GUARANTEED OVERNIGHT
- Origin: Made in Isigny, France since 16th century
- Type: Unsalted cow's milk butter
- Production: Made from traditional slow-matured creams
As an affiliate, we earn on qualifying purchases.
Choosing the Right Goat Milk
To make the best goat milk butter, you’ll need to start by choosing the right goat milk. When it comes to choosing goat breeds for milk production, there are a few factors to consider.
Some popular goat breeds for milk include Saanen, Nubian, and Alpine. Each breed has its own unique qualities, such as milk yield and butterfat content. Saanen goats, for example, are known for their high milk production, while Nubian goats have milk with a higher butterfat content.
Additionally, goat milk itself has numerous nutritional benefits. It is rich in vitamins and minerals, including calcium, potassium, and vitamin A. Goat milk is also easier to digest compared to cow’s milk, making it a great option for those with lactose intolerance.
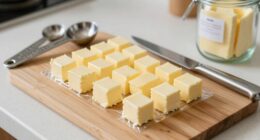
Gathering the Necessary Equipment
First, gather all the required equipment for making your delicious goat milk butter. To ensure a successful butter-making process, it is important to have the right tools and a clean workspace. Here is a list of the essential equipment you will need:
| Equipment | Purpose |
|---|---|
| Stainless steel pot | Boiling and heating milk |
| Thermometer | Monitoring milk temperature |
| Cheese cloth | Straining milk solids |
| Butter churn or mixer | Agitating milk to separate butter |
| Butter mold or container | Shaping and storing butter |
Before starting, it is crucial to choose the right goat breed for milk production. Some popular breeds for dairy goats include Saanen, Alpine, and Nubian, which are known for their high milk yields. Additionally, make sure to sanitize all the equipment thoroughly to prevent any contamination. Cleanliness is essential for maintaining the quality and freshness of your goat milk butter. With the right equipment and a sanitized workspace, you are now ready to embark on the journey of making your own delectable goat milk butter.
Preparing the Goat Milk for Churning
To prepare the goat milk for churning, you need to pay attention to two key points: the milk temperature and the addition of cultures for flavor.
The ideal temperature for churning goat milk into butter is around 50-55°F, as this ensures that the fat globules are properly formed and can easily separate from the liquid.
Additionally, adding cultures to the milk not only enhances the flavor of the butter but also helps in the fermentation process, leading to a creamier and more tangy end product.
Milk Temperature for Churning
Make sure your goat milk is at the right temperature before churning it into butter. The temperature of the milk plays a crucial role in achieving the desired consistency of your butter. If the milk is too warm, the butter may become too soft and greasy. On the other hand, if the milk is too cold, it may take longer to churn and result in a grainy texture. To ensure the ideal temperature, aim for around 60°F (15°C) for your goat milk before churning. Use a thermometer to measure the temperature accurately. If you don’t have a thermometer, you can also use the following table as a guide to determine the appropriate milk temperature for churning:
| Milk Temperature | Butter Consistency |
|---|---|
| Below 50°F | Grainy |
| 50-60°F | Creamy |
| Above 60°F | Soft and greasy |
Adding Cultures for Flavor
When adding cultures to your milk, ensure that the temperature is within the recommended range to achieve the desired flavor in your butter.
Cultures are used to add different flavors to your butter and can enhance the taste in unique ways.
To begin, heat your milk to around 85°F (29°C) and then add the culture. This temperature allows the cultures to activate and start the fermentation process.
You can experiment with different cultures such as yogurt, kefir, or buttermilk, each bringing its own distinct flavor profile to the butter.
Additionally, you can also try adding herbs like rosemary or thyme to infuse your butter with aromatic undertones.
Remember to maintain the appropriate temperature during the fermentation period to ensure the cultures thrive and create the desired flavors in your homemade butter.
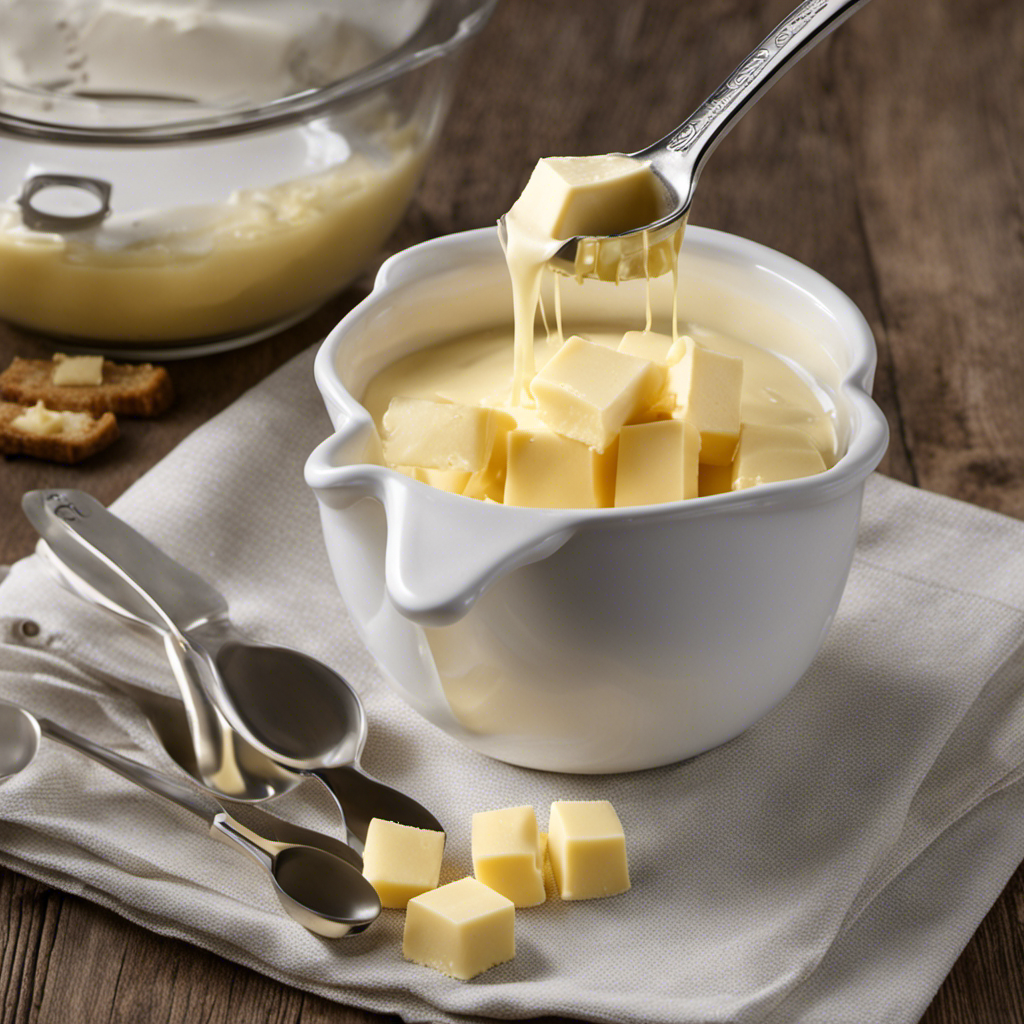
Churning the Goat Milk Into Butter
Churning the goat milk turns it into butter, which is a simple process.
To begin, pour the goat milk into a butter churn. The churn consists of a container with a paddle attached to a handle. As you turn the handle, the paddle agitates the milk, causing the fat to separate from the liquid. This process, known as churning, takes about 15-30 minutes.
Once the fat has clumped together and formed a solid mass, drain off the liquid, known as buttermilk.
Now, you can add different flavors to your butter. Some popular options include garlic, herbs, or even honey for a sweet twist. Simply mix in your desired flavors until well combined.
Congratulations, you’ve successfully churned your own homemade goat milk butter with a delicious flavor twist!
Separating the Buttermilk From the Butter
Now that you’ve successfully separated the buttermilk from the butter, let’s dive into the many uses and benefits of this tangy liquid.
Buttermilk can be used in various recipes, such as pancakes, biscuits, and cakes, to add a rich and creamy texture. Additionally, it is packed with nutrients like calcium and probiotics, making it a healthy and versatile ingredient.
If you’re looking for alternative methods to separate butter, there are a few options to consider, such as using a blender or a jar with a tight lid. These methods can save you time and effort while still achieving that smooth and creamy butter consistency.
Buttermilk Uses and Benefits
One of the benefits of buttermilk is that it can be used as a substitute for regular milk in baking recipes. Buttermilk adds a tangy flavor and helps to keep baked goods moist and tender. It also helps in activating baking soda, resulting in a lighter texture.
Consuming buttermilk has numerous benefits. It is rich in calcium, which is essential for strong bones and teeth. It also contains probiotics that promote healthy digestion and boost the immune system. Buttermilk is low in fat and calories, making it a healthier option compared to regular milk.
Besides baking, buttermilk can be used in various recipes like pancakes, biscuits, and dressings. It adds a creamy and tangy taste to these dishes.
Now, let’s explore alternative butter separation methods.
Alternative Butter Separation Methods
If you’re looking for a different way to separate butter from cream, you might consider using a centrifuge. This method, known as centrifugal separation, is a more efficient and quicker alternative to traditional hand churning methods. Here’s why it might be worth considering:
-
Speed: A centrifuge can separate butter from cream in a matter of minutes, compared to the hours it can take with manual methods.
-
Precision: Centrifugal separation allows for more precise control over the separation process, ensuring a higher yield of butter and less wastage.
-
Consistency: With a centrifuge, you can achieve a more consistent texture and quality of butter, as the process is automated and standardized.
Washing and Storing the Butter
To wash and store your butter, you’ll want to place it in a clean container and cover it with cold water. This washing technique helps remove any residual buttermilk, which can cause the butter to spoil faster. Gently knead the butter in the water to release any remaining liquid, then drain the water and repeat the process until the water runs clear. Once the butter is washed, it’s important to store it properly to maintain its freshness. Place the butter in an airtight container or wrap it tightly in wax paper. Store it in the refrigerator, away from strong-smelling foods, as butter tends to absorb odors. Following these washing techniques and proper butter storage will ensure that your butter stays fresh and delicious for longer periods of time.
| Washing Techniques | Proper Butter Storage |
|---|---|
| Place butter in a clean container | Store in an airtight container or wrap in wax paper |
| Cover butter with cold water | Store in the refrigerator |
| Gently knead butter in water | Keep away from strong-smelling foods |
| Repeat washing process until water runs clear | |
| Drain water and pat butter dry |
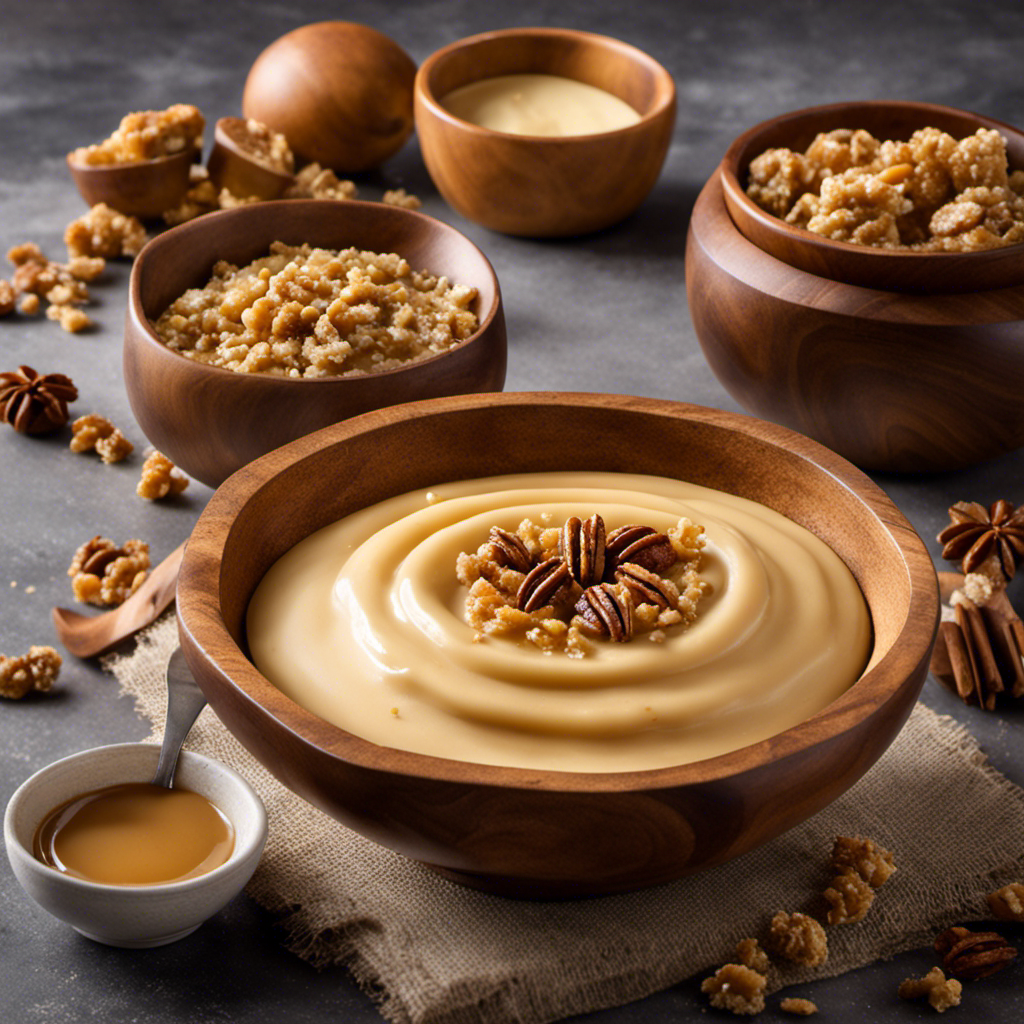
Enjoying Your Homemade Goat Milk Butter
Now that you’ve learned how to wash and store your homemade goat milk butter, it’s time to enjoy the fruits of your labor! Your butter is ready to be spread on warm bread, melted over vegetables, or used in your favorite recipes.
Here are a few ways to savor the creamy texture and get creative with flavor experiments:
-
Classic Spread: Take a slice of freshly baked bread and generously spread your homemade goat milk butter. Enjoy the rich and creamy taste!
-
Sweet and Savory: Add a touch of honey or maple syrup to your butter for a sweet twist. Alternatively, mix in herbs like garlic, rosemary, or thyme for a savory kick.
-
Infused Butter: Get creative by infusing your butter with flavors like cinnamon, vanilla, or even chili pepper. Simply melt the butter, add your desired flavorings, and let it solidify again.
With these ideas, you can elevate your butter to new levels and enjoy the unique flavors of your homemade goat milk butter.
Conclusion
Congratulations! You’ve successfully made your very own creamy and delicious goat milk butter. It may have seemed daunting at first, but with the right ingredients and equipment, you were able to churn that goat milk into smooth, velvety butter.
After separating the buttermilk and giving your butter a good wash, it’s now ready to be stored and enjoyed. So grab some warm, crusty bread and spread on a generous amount of your homemade goat milk butter.
It’s time to indulge in this buttery goodness and savor the rich flavors that only homemade can provide. Bon appétit!