Have you ever considered that creating your own candles could be an enjoyable and fulfilling pastime?
In this article, I’ll show you how to make butter candles, a unique and fragrant addition to any home decor.
With just a few simple supplies and some easy-to-follow steps, you’ll be able to create beautiful candles that will fill your space with a warm and inviting glow.
So, let’s get started and dive into the world of homemade candle making!
Key Takeaways
- Use a sturdy container with a wide base to prevent spills and avoid using containers that may tip over easily.
- Whip the butter with a mixer until creamy and fluffy, and store leftover butter in an airtight container in the refrigerator to prevent odors from permeating.
- Monitor the temperature when melting the butter to avoid grainy texture or separation, and use a double boiler for a smooth and creamy consistency.
- Choose a favorite essential oil for fragrance and add a few drops of food coloring for the desired color, experimenting with different shades to enhance the visual appeal and sensory experience.
candle making wicks for butter candles
As an affiliate, we earn on qualifying purchases.
As an affiliate, we earn on qualifying purchases.
Gathering Supplies
Now it’s time for you to gather all the supplies you’ll need to make butter candles.
Choosing the right wick is crucial for a successful candle-making experience. Look for wicks that are made specifically for butter candles, as they are designed to withstand the heat and burn evenly. Avoid using wicks that are too thick or too thin, as they may not provide the desired flame size and burn time. Additionally, make sure to select a wick that is long enough to reach the bottom of your container. This will ensure that the wax is fully utilized and prevents any wasted material.
Another important aspect to consider is avoiding spills. To prevent any accidental spills, use a sturdy container with a wide base that can securely hold the melted butter. This will minimize the risk of the container tipping over and causing a mess.
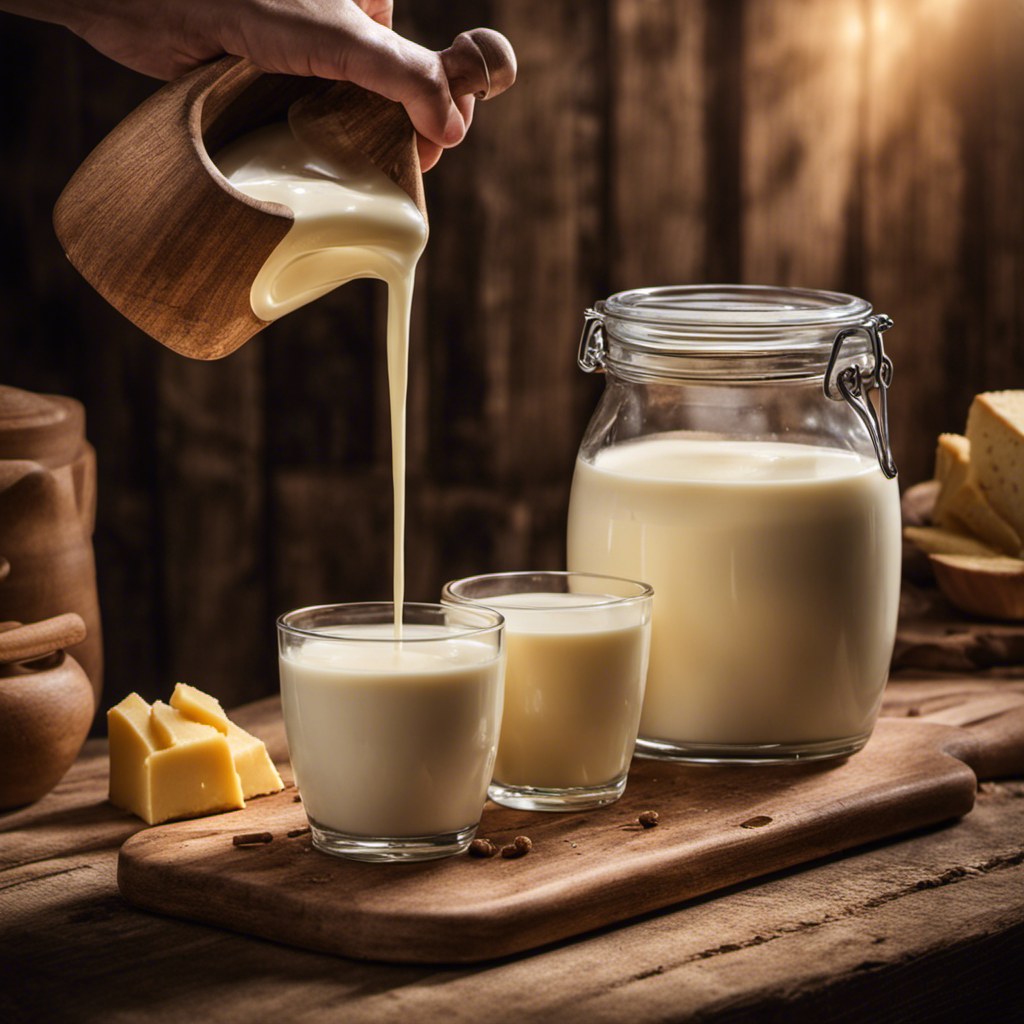
Preparing the Butter
First, you’ll need to gather the necessary ingredients for preparing the butter. To achieve the perfect butter consistency for your candles, follow these steps:
-
Start with high-quality, unsalted butter. The rich flavor will enhance the aroma of your candles and create a smooth texture.
-
Allow the butter to come to room temperature before using it. This will make it easier to work with and ensure a consistent result.
-
Use a stand mixer or hand mixer to whip the butter until it becomes creamy and fluffy. This will incorporate air into the butter, giving it a light and spreadable consistency.
Once you have prepared the butter, it’s important to store any leftover butter properly. Place it in an airtight container and refrigerate it to maintain freshness. This will also prevent any odors from permeating the butter.
Now that you have your butter ready, let’s move on to melting it for the candles.
Melting the Butter
When it comes to melting butter, there are a few key points to keep in mind.
First, the temperature of the butter is crucial. It should be at room temperature for easier and more even melting.
Second, the best method for melting butter is to use low heat and a gentle heat source, such as a double boiler or a microwave.
Finally, there are some common issues that may arise when melting butter, such as separating or burning.
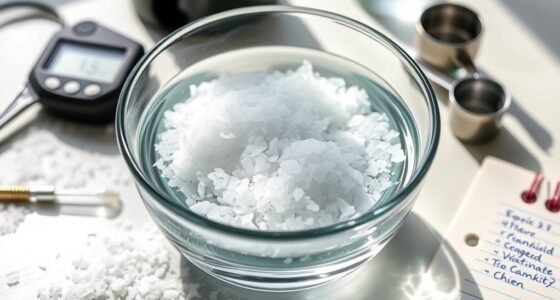
Butter Temperature for Melting
To achieve the right consistency, it’s important to monitor the temperature of the butter when melting it for the candles. The butter melting point is around 90-95°F (32-35°C), so it’s crucial to heat it within this range. Here are three effects of temperature on candle quality that you should consider:
-
Texture: If the butter is too cold, it won’t melt completely, resulting in a grainy texture in the candles. On the other hand, if the butter gets too hot, it can separate and create an oily finish.
-
Scent and color: Higher temperatures can cause the butter to lose its natural scent and color, affecting the overall quality and aesthetic appeal of the candles.
-
Burn time: The temperature at which the butter is melted can impact the burn time of the candles. If the butter is overheated, it may burn faster, reducing the longevity of your candles.
Best Melting Method
Now that I understand the effects of temperature on candle quality, let’s discuss the best method for melting the butter to achieve the desired temperature.
When it comes to melting butter for making candles, having the right equipment is crucial. The best melting equipment for butter candles is a double boiler. This consists of a heatproof bowl placed over a pot of simmering water. The indirect heat from the water gently melts the butter, preventing it from scorching or burning. This method ensures that the butter reaches the desired temperature slowly and evenly, resulting in a smooth and creamy consistency.
Alternatively, you can also melt the butter in a microwave-safe bowl in short bursts, stirring frequently to avoid overheating. However, the double boiler method is the recommended option for achieving the best results in making butter candles.
Common Melting Issues
If you’re experiencing common melting issues, such as uneven consistency or scorching, try adjusting the temperature or using a different method. Troubleshooting tips can help prevent wax discoloration and ensure a successful candle-making process. Here are three essential tips to consider:
-
Maintain the ideal temperature: Wax should be melted at the recommended temperature to achieve a smooth and consistent texture. If the temperature is too high, it can cause scorching and discoloration. On the other hand, if the temperature is too low, the wax may not melt completely, resulting in an uneven consistency.
-
Use a double boiler: Using a double boiler is an effective method to melt wax gradually and evenly. This prevents direct heat exposure and minimizes the risk of scorching or burning the wax.
-
Stir frequently: Stirring the melting wax regularly helps distribute the heat evenly and prevents any localized overheating. It also ensures the wax melts consistently and prevents any discoloration.
Adding Fragrance or Color
Choose your favorite essential oil to add fragrance and a few drops of food coloring to add color to your butter candles.
When it comes to fragrance options, the possibilities are endless. Lavender is a popular choice, providing a calming and soothing scent. If you prefer something more invigorating, try adding a few drops of peppermint or citrus essential oils. For a warm and cozy atmosphere, opt for cinnamon or vanilla.
As for color choices, you can experiment with different shades using food coloring. Start with just a few drops and gradually add more until you achieve the desired hue. Remember to mix the food coloring thoroughly into the melted butter to ensure even distribution.
Adding fragrance and color to your butter candles not only enhances the visual appeal but also creates a delightful sensory experience.
Preparing the Candle Holders
To prepare your candle holders, gather glass jars or small containers that are heat-resistant and clean them thoroughly. Once you have your clean candle holders ready, you can start decorating them to add a personal touch to your butter candles.
Here are three creative ideas to evoke a cozy and warm ambiance:
-
Wrap twine or ribbon around the neck of the jar, tying it into a bow for a rustic look.
-
Attach dried flowers or leaves to the outside of the jar with a hot glue gun, bringing a touch of nature indoors.
-
Paint the jar with acrylic paint in a color that matches your home decor, creating a custom candle holder that complements your style.
Now that your candle holders are prepared and decorated, it’s time to move on to the next step: pouring the butter wax.
Pouring the Butter Wax
When it comes to pouring the butter wax for your candles, there are a few key points to keep in mind.
First and foremost, proper pouring techniques are essential to ensure a smooth and even distribution of the wax.
Secondly, temperature control plays a crucial role in achieving the desired consistency and preventing any mishaps.
Lastly, it is important to be mindful of avoiding air bubbles, as they can affect both the appearance and functionality of the finished candles.
Proper Pouring Techniques
For a smooth and controlled pour, it’s important to hold the butter candle mold at a slight angle. This allows the melted butter wax to flow evenly and avoid any spills or splatters.
To ensure a successful pour, follow these pouring techniques:
-
Slow and Steady: Pour the melted butter wax slowly and steadily into the mold. This helps prevent air bubbles from forming and ensures a consistent fill.
-
Centered Pour: Aim to pour the wax directly into the center of the mold. This allows the wax to spread evenly and fill any intricate details or patterns in the mold.
-
Controlled Hand: Keep a firm grip on the candle making tool, such as a pouring pitcher or ladle, to have better control over the flow of wax. This helps create clean lines and precise pours.
Temperature Control Tips
One important tip for controlling the temperature is to monitor the melted wax closely to prevent overheating. Temperature control is crucial in making butter candles because it affects the overall quality and appearance of the final product. To help you achieve the perfect temperature, here are some temperature control techniques and troubleshooting tips:
| Techniques | Troubleshooting |
|---|---|
| Use a candy thermometer | If the wax gets too hot, remove it from the heat source and let it cool slightly before continuing. |
| Double boiler method | If the wax cools too quickly, try using a heat gun or hairdryer to gently warm the surface. |
| Stirring consistently | If the wax temperature fluctuates, adjust the heat source accordingly to maintain a steady temperature. |
Avoiding Air Bubbles
To prevent air bubbles in your candles, it’s important to tap the container gently on a hard surface before the wax completely solidifies. This simple step will help release any trapped air and ensure a smooth finish.
Here are three reasons why avoiding air bubbles is crucial:
-
Enhanced Aesthetic Appeal: Air bubbles can create an uneven surface on your candle, detracting from its overall appearance. By tapping the container, you can eliminate these imperfections and achieve a professional and polished look.
-
Improved Burn Quality: Air bubbles can affect the way your candle burns. When the wax melts, the air pockets can cause the flame to flicker or even go out, leading to an inconsistent burn. By eliminating air bubbles, you can ensure a steady and uninterrupted flame.
-
Avoiding Spills and Preventing Wick Displacement: Air bubbles can cause the candle to crack or break, leading to spills and potential wick displacement. By tapping the container, you can strengthen the candle’s structure and prevent these accidents from happening.
Allowing the Candles to Set
After placing the candles in the refrigerator, let them set for at least two hours. This step is crucial to ensure that the candles solidify properly and maintain their shape. While waiting, you can start thinking about how you want to decorate your candles. Candle decoration is a wonderful way to personalize your creations and add a touch of your own style. There are various options available, from using colored wax chips to creating intricate designs with a carving tool. Additionally, if you’re looking for alternatives to traditional candle waxes, you might consider experimenting with beeswax or soy wax. These alternatives offer unique characteristics and can produce beautiful, eco-friendly candles. Now, let’s take a look at a table that showcases the differences between these waxes:
| Candle Wax | Characteristics | Emotional Response |
|---|---|---|
| Traditional | Strong scent, long burn time | Warm and cozy |
| Beeswax | Natural, sweet honey aroma | Calming and soothing |
| Soy Wax | Clean-burning, eco-friendly | Relaxing and peaceful |
Frequently Asked Questions
How Long Does It Take for the Butter Candles to Fully Set?
It usually takes about 2-3 hours for butter candles to fully set. To achieve a smooth and even texture, make sure the butter is at room temperature and mix it thoroughly before pouring into molds.
Can I Use Margarine Instead of Butter for Making the Candles?
Using margarine as a substitute for butter in candle making has pros and cons. Margarine may not solidify as well as butter, resulting in a softer candle. However, it can be a cheaper alternative.
What Type of Fragrance Oils Are Safe to Use in Butter Candles?
When it comes to fragrance oils for butter candles, it’s important to choose ones that are safe. Look for oils specifically designed for candle making, as they are formulated to burn cleanly and evenly.
Can I Reuse the Candle Holders After the Butter Candles Have Burned Out?
Yes, you can definitely reuse the candle holders after the butter candles have burned out. There are many alternative uses for candle holders, such as holding small trinkets or serving as a decorative piece.
How Long Do Butter Candles Typically Burn For?
Butter candles typically burn for about 2-3 hours. However, there are alternative waxes available that can extend the burning time. It’s important to consider safety precautions and choose the right wax for your desired burn time.
Conclusion
As I watched the candles slowly cool and solidify, I couldn’t help but feel a sense of anticipation. Would they turn out as beautiful as I imagined? Would the fragrance fill the room with a soothing aroma? Only time would tell.
I carefully placed the candle holders on a tray and moved them to a safe spot, away from any drafts. Now, all that was left to do was wait. The excitement of seeing the finished butter candles was almost unbearable, but I knew that the wait would be worth it.