Baking is a passion of mine, and Danish butter cookies rank highly among my favorite desserts to prepare.
Did you know that Danish butter cookies are enjoyed by people all over the world?
In this article, I’ll be sharing my tried-and-true recipe for these delicious treats.
We’ll start by gathering the simple ingredients, then mix the dough to perfection.
Next, we’ll shape the cookies into beautiful designs before baking them to golden perfection.
Finally, we’ll let them cool and get ready to enjoy the irresistible taste of Danish butter cookies.
Let’s get started!
Key Takeaways
- Use softened butter and cream it with sugar for a light and fluffy texture.
- Adjust the dough consistency by adding milk or water if too dry or more flour if too wet.
- Get creative with shaping techniques such as using a cookie press or cookie cutters.
- Follow baking tips like using a light-colored baking sheet and rotating it for even browning.
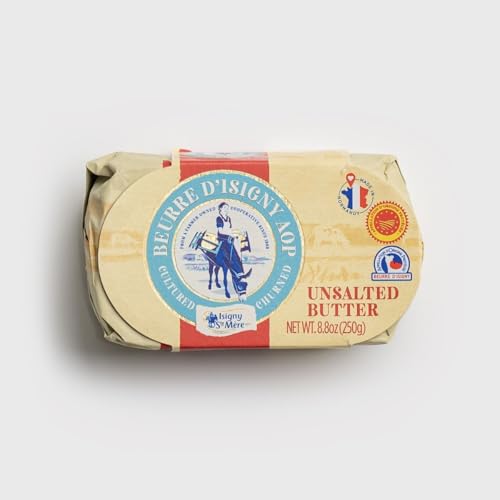
Beurre D’Isigny AOP Unsalted French Butter - 8.8 oz / 250 g - GUARANTEED OVERNIGHT
- Origin: Made in Isigny, France since 16th century
- Type: Unsalted cow's milk butter
- Production: Made from traditional slow-matured creams
As an affiliate, we earn on qualifying purchases.
Gathering the Ingredients
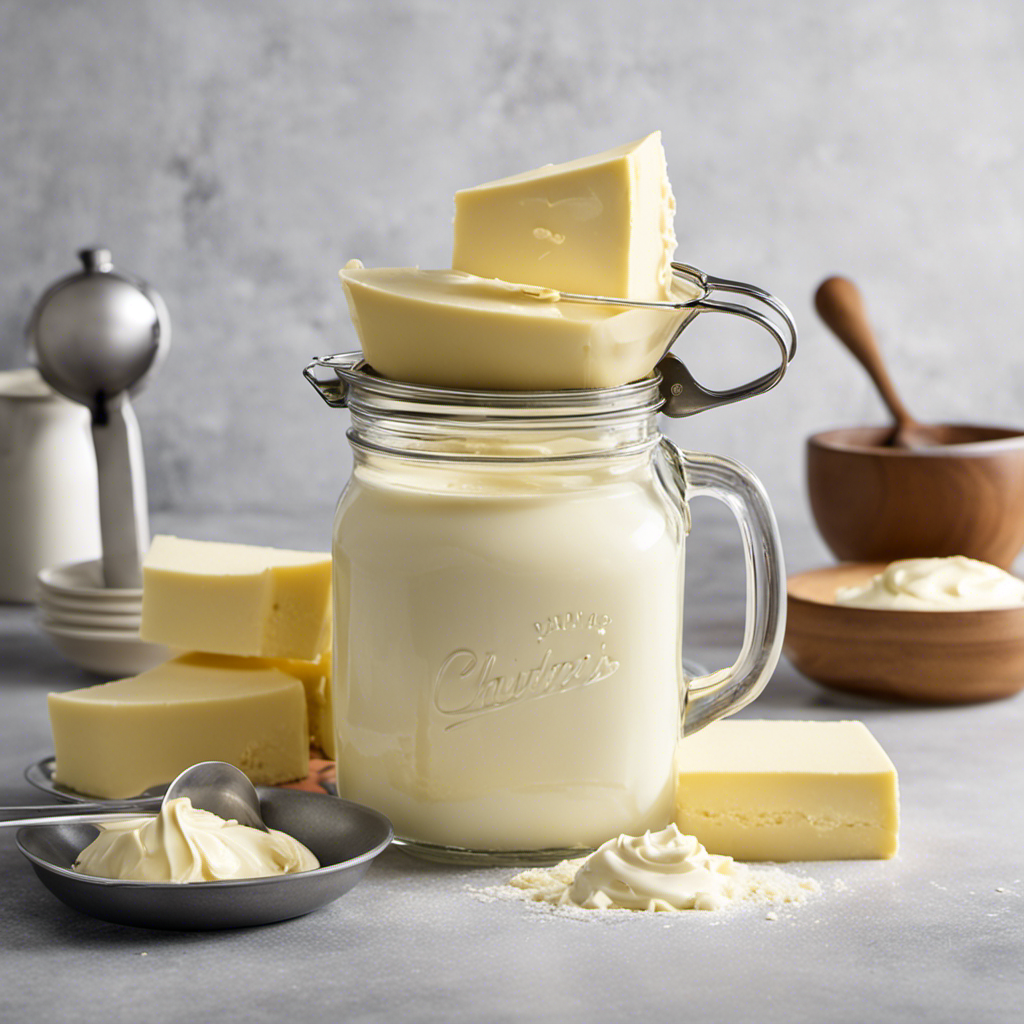
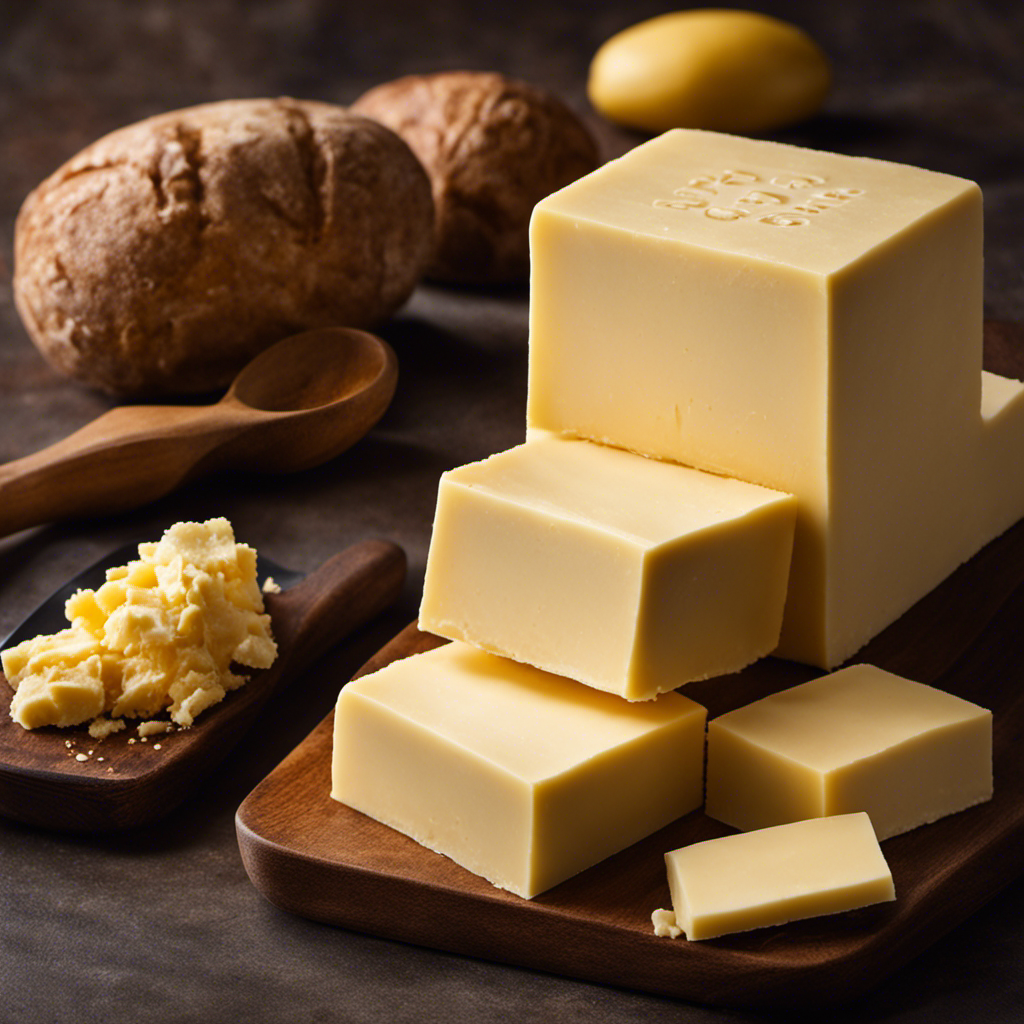
First, you’ll need to gather all of the ingredients for your Danish butter cookies. To start, make sure you have 2 cups of all-purpose flour, 1 cup of unsalted butter, 1/2 cup of granulated sugar, and 1 teaspoon of vanilla extract. These basic ingredients will give you the classic Danish butter cookie flavor.
However, if you want to experiment with different variations, you can add ingredients like chocolate chips, chopped nuts, or even dried fruits.
Once you have gathered all the necessary ingredients, it is important to store the cookies properly to maintain their freshness. I recommend using an airtight container or a cookie jar to keep them crispy and delicious for a longer period of time.
Mixing the Dough
Next, start by mixing the dough for your delicious treats. To achieve the perfect dough consistency, it’s important to follow a few key tips.
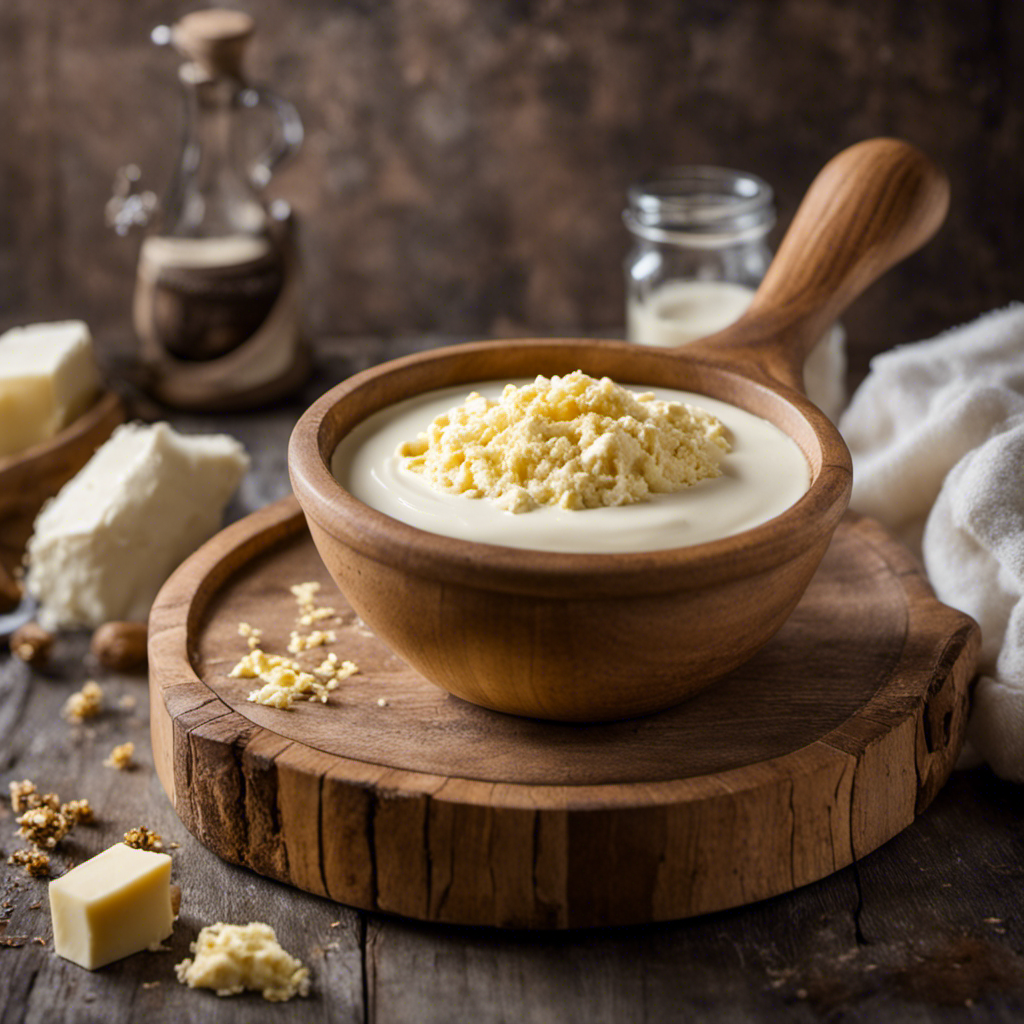
First, make sure to use softened butter, as it will mix more easily with the other ingredients. Cream the butter and sugar together until light and fluffy. This step is crucial for creating a tender and melt-in-your-mouth texture.
If you encounter any common mixing issues, such as a dry or crumbly dough, try adding a tablespoon of milk or water to moisten it. On the other hand, if the dough appears too wet or sticky, gradually add more flour until it reaches the desired consistency.
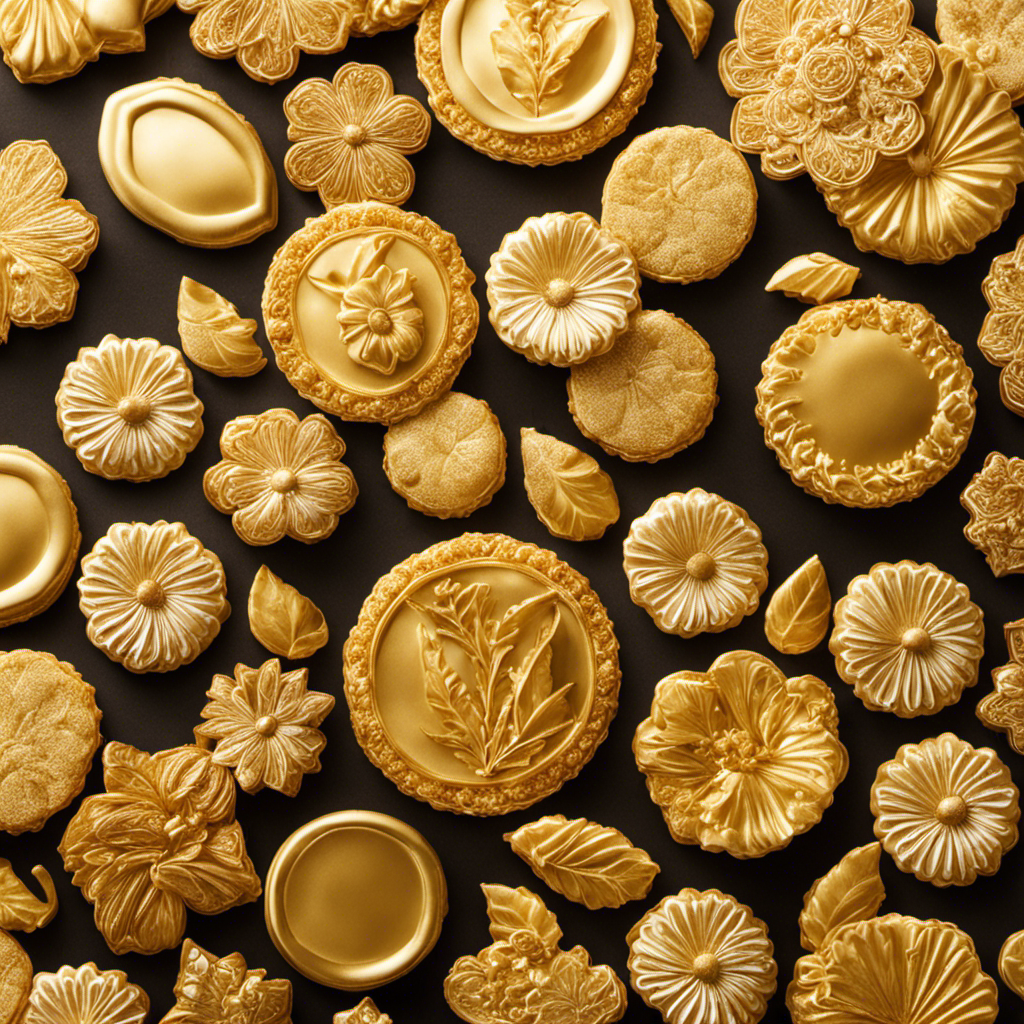
Shaping the Cookies
To achieve the desired shape, gently roll the dough into small balls before placing them on the baking sheet. This step is crucial in creating perfectly shaped Danish butter cookies.
However, there are various other shapes you can try to add a touch of creativity to your cookies. Here are some tips to help you achieve perfectly shaped cookies:
-
Use a cookie press: A cookie press allows you to create intricate designs and shapes effortlessly. Simply load the dough into the press and press it onto the baking sheet.
-
Roll and cut: Roll out the dough and use cookie cutters to create different shapes. This is a classic method that gives you uniform cookies every time.
-
Thumbprint cookies: Make an indentation in the center of the dough ball using your thumb or the back of a spoon. Fill the indentations with jam, chocolate, or any other filling of your choice.
These tips will help you create beautifully shaped Danish butter cookies that are not only delicious but also visually appealing.
Baking and Cooling
For even baking and a perfect golden color, remember to preheat your oven to the recommended temperature before placing the cookie dough on the baking sheet. This step is crucial in ensuring that your Danish butter cookies turn out just right.
Here are some baking techniques and troubleshooting tips to help you achieve the best results:
- Use a light-colored baking sheet to prevent the cookies from browning too quickly.
- Space the cookies evenly on the baking sheet to allow for proper air circulation.
- Rotate the baking sheet halfway through the baking time to ensure even browning.
- If your cookies are spreading too much, try chilling the dough before baking.
Enjoying the Delicious Danish Butter Cookies
Indulge in the irresistible taste of these delectable treats and savor every bite. Danish butter cookies are a true delight for the taste buds. They are crispy, buttery, and melt-in-your-mouth delicious.
When serving these cookies, you can arrange them on a beautiful platter, allowing their golden hue to shine. Alternatively, you can place them in a decorative tin, perfect for gifting or for keeping them fresh.
As for variations and flavor additions, you can experiment with different types of fillings. Try adding a dollop of Nutella or raspberry jam in the center of each cookie before baking. You can also sprinkle some powdered sugar or drizzle melted chocolate on top for an extra touch of sweetness.
No matter how you choose to enjoy them, these Danish butter cookies are sure to satisfy your cravings.
Frequently Asked Questions
How Long Do Danish Butter Cookies Typically Last Before Going Stale?
Typically, Danish butter cookies last for about 2-3 weeks before going stale. To keep them fresh, store them in an airtight container at room temperature. If they do go stale, you can try reviving them by placing them in a sealed container with a slice of bread overnight.
Can I Substitute Margarine for Butter in This Recipe?
Sure, you can substitute margarine for butter in the recipe. However, keep in mind that margarine has a higher water content and lower fat content, which may affect the texture and flavor.
Can I Freeze the Dough and Bake the Cookies at a Later Time?
Yes, you can freeze the dough for Danish butter cookies and bake them at a later time. Freezing the dough helps to preserve its freshness, and you can easily bake the cookies whenever you’re ready for a sweet treat.
Are Danish Butter Cookies Suitable for People With Gluten Allergies?
Yes, Danish butter cookies can be made without gluten-containing ingredients, making them suitable for people with gluten allergies. As for vegan alternatives, there are recipes that use plant-based ingredients to create delicious versions of these cookies.
Can I Add Different Flavors, Such as Chocolate or Almond, to the Cookie Dough?
Yes, you can definitely add different flavors like chocolate or almond to the cookie dough. It allows you to experiment with unique combinations and create a variety of delicious Danish butter cookies.
Conclusion
After following the steps and techniques mentioned, I can confidently say that making Danish butter cookies is not only simple but also incredibly rewarding.
As I indulged in the delicious aroma that filled my kitchen, I couldn’t help but ponder the deeper meaning behind this culinary journey.
It reminded me that sometimes, investigating the truth of a theory can uncover hidden treasures and bring immense joy.
So, next time you embark on a baking adventure, remember that the process itself holds the power to enlighten and delight you in ways you never imagined.