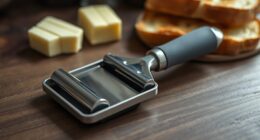
I’m here to guide you through utilizing the Haavitek Butter Maker, a revolutionary tool for those who love making butter at home. This clever gadget allows you to turn cream into thick, velvety butter effortlessly in your kitchen. Say goodbye to commercial spreads that miss the authentic, homemade quality.
In just a few simple steps, you’ll be on your way to enjoying the freshest, most flavorful butter you’ve ever tasted. Let’s dive in and discover the wonders of the Haavitek Butter Maker together.
Key Takeaways
- Understanding the components and assembly instructions of the Haavitek Butter Maker
- Troubleshooting common issues during the setup and butter making process
- Preparing ingredients and adjusting settings for optimal butter making
- Adding flavors and spices to homemade butter for customization and variety

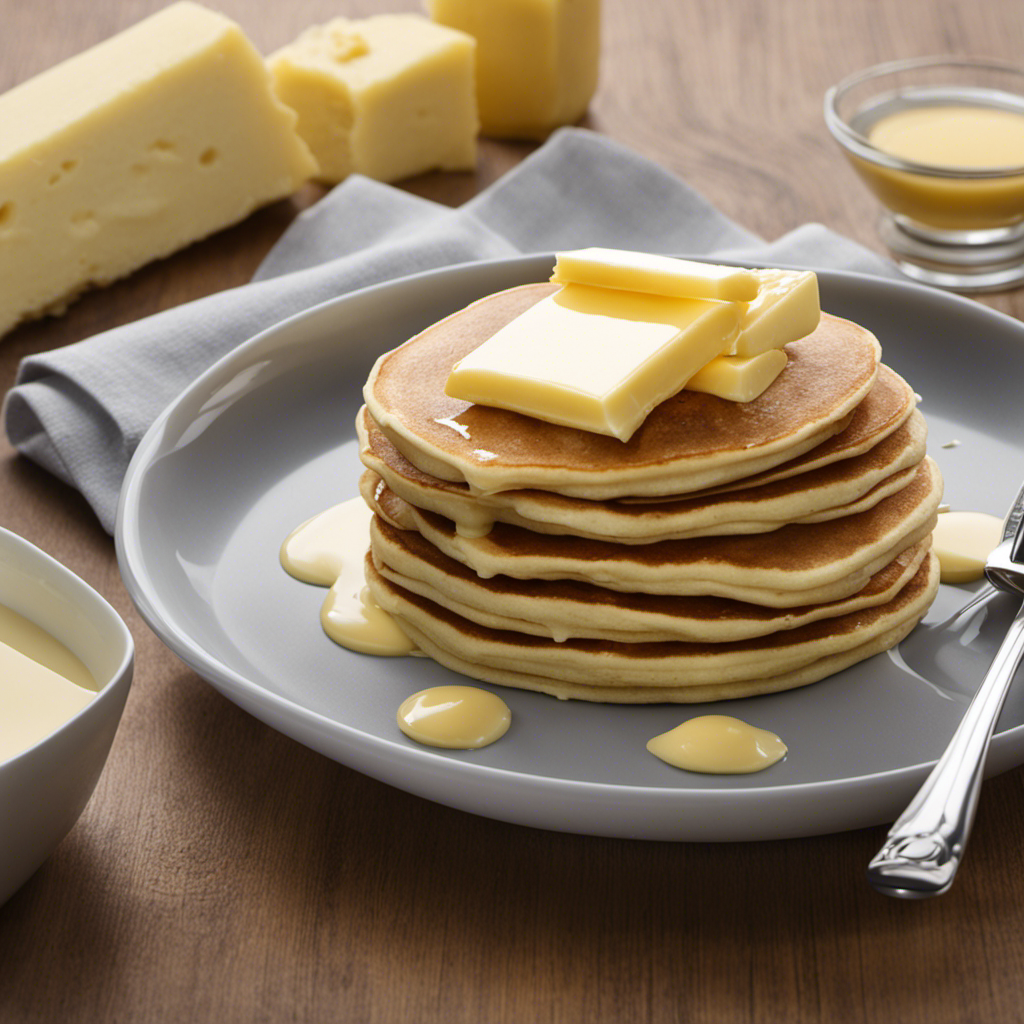
Earth Balance, Spread Buttery Whipped Organic, 13 Ounce
- Trans fat free: 0 grams trans fat
- Non-GMO: Non-GMO ingredients
- Product size: 13-ounce container
As an affiliate, we earn on qualifying purchases.
Unboxing the Haavitek Butter Maker
Let’s start unboxing the Haavitek Butter Maker! As I carefully open the package, I can already feel the excitement building up.
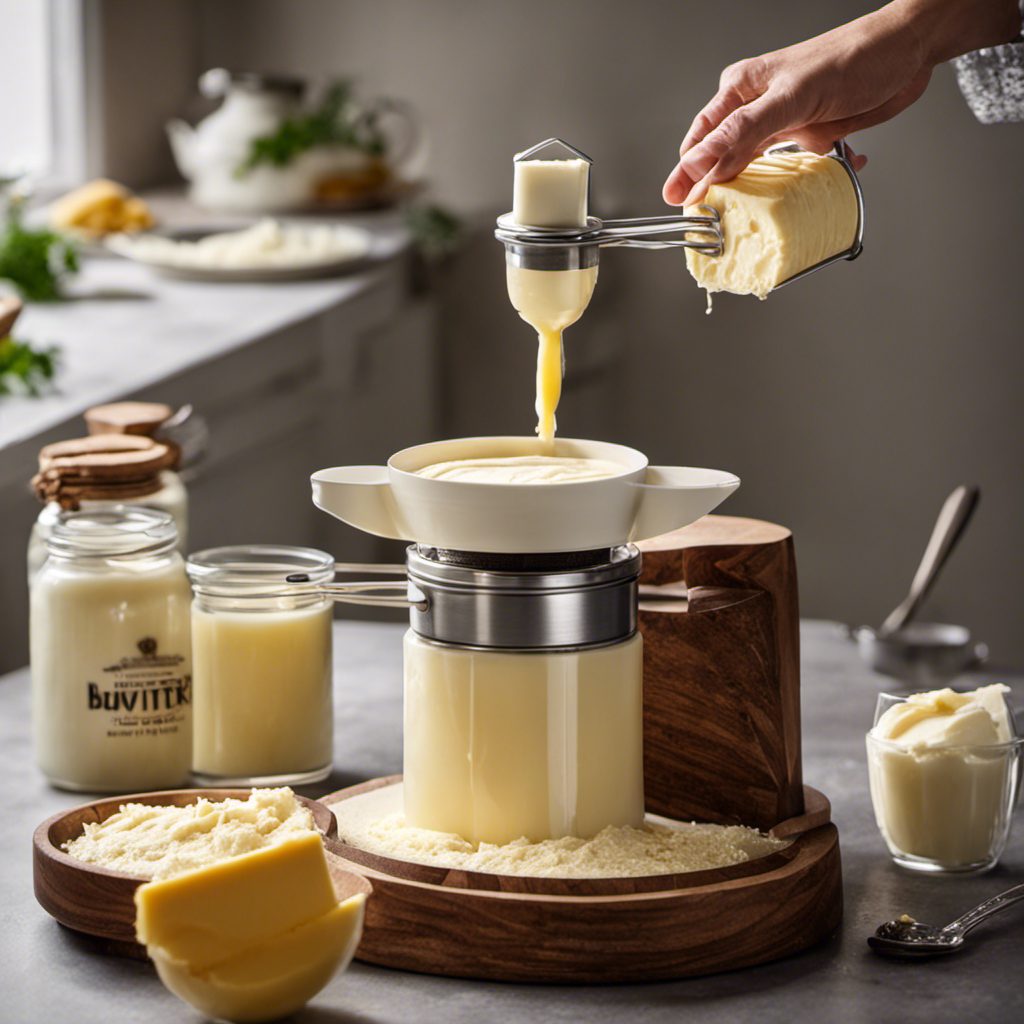
The Haavitek Butter Maker is a sleek and compact appliance that promises to make homemade butter a breeze. The first thing I notice is the sturdy construction and the user-friendly design. It comes with a clear and concise instruction manual, making it easy for even beginners like me to understand its functionality.
As I take out the different components, I notice that everything is neatly packed, ensuring that nothing gets damaged during transit. The main unit is lightweight and has a non-slip base, providing stability while in use. The stainless steel mixing bowl is of high quality and feels durable. The lid is transparent, allowing me to monitor the butter-making process.
While unboxing, I also come across a troubleshooting guide, which is a thoughtful addition. It provides solutions to common issues that may arise during the unboxing process, such as loose components or missing parts. This shows that the Haavitek Butter Maker is designed with the user’s convenience in mind.
Overall, unboxing the Haavitek Butter Maker has been a delightful experience. Its functionality and the inclusion of a troubleshooting guide ensure that even novices like me can enjoy the process of making homemade butter without any hassle.
Understanding the Different Components of the Haavitek Butter Maker
When it comes to the Haavitek Butter Maker, understanding the key components is essential for a successful butter-making experience.
In this discussion, I will explain each component in detail, from the stainless steel bowl to the paddle attachment.
Additionally, I will provide clear assembly instructions to ensure a smooth setup process.
And for those inevitable hiccups along the way, I’ll also address common troubleshooting issues and offer solutions to help you overcome any challenges that may arise.
Key Components Explained
To understand how to use the Haavitek butter maker, you’ll need to know the key components explained.
The Haavitek butter maker consists of three main components: the base, the blending chamber, and the lid. Each component plays a crucial role in the functionality of the butter maker.
The base is where the motor is located and provides the power needed to blend the ingredients. The blending chamber is where the butter is made, with a built-in blade that rotates to churn the ingredients into a smooth and creamy consistency. The lid ensures that the ingredients stay securely inside the blending chamber during the blending process.
In case you encounter any issues while using the Haavitek butter maker, here are a few troubleshooting tips:
- Make sure all components are properly assembled.
- Check that the power supply is connected.
- Ensure that the ingredients are not overfilled.
Now that we understand the key components and troubleshooting tips, let’s move on to the assembly instructions provided.
Assembly Instructions Provided
The assembly instructions provided clearly explain how to put all the components together. It is essential to follow these instructions to ensure the proper functioning of the Haavitek butter maker.
Before starting the assembly process, it’s important to gather all the necessary components and tools. Make sure to have the butter maker, the blades, the base, and the lid. Additionally, prepare the ingredients by having the desired amount of cream ready.
The assembly process is straightforward. Simply attach the blades to the base securely, ensuring they are aligned properly. Then, place the lid on top and lock it into position.
If any issues arise during assembly, refer back to the troubleshooting section of the instructions for guidance.
Troubleshooting Common Issues
If you’re experiencing any difficulties, refer to the troubleshooting section in the instructions for assistance. Troubleshooting issues can be frustrating, but with the right techniques, you can overcome them.
Here are some troubleshooting techniques to help you with common problems:
-
Machine not turning on:
-
Check if the power cord is properly plugged in.
-
Ensure that the power switch is in the ‘on’ position.
-
Butter not forming:
-
Make sure you are using the correct ingredients and following the recipe.
-
Check the temperature settings on the butter maker.
By following these troubleshooting techniques, you can resolve most issues that may arise during the butter making process.
Now that you’re ready to troubleshoot, let’s move on to preparing the ingredients for butter making.
Preparing the Ingredients for Butter Making
Before starting, make sure you have all the necessary ingredients for butter making. Choosing the right ingredients is crucial for achieving delicious homemade butter.
First, you’ll need high-quality cream. Look for fresh cream with a high fat content, preferably around 35% or more. This will ensure a rich and creamy butter. You can use either pasteurized or raw cream, depending on your preference and availability. Additionally, you may want to add a pinch of salt to enhance the flavor of the butter.
In terms of tools, you’ll need a butter churn or a food processor. A butter churn is a traditional tool specifically designed for making butter, while a food processor can also get the job done efficiently. Both options will help you separate the butterfat from the cream. A rubber spatula will be useful for scraping the sides of the churn or food processor to ensure all the cream is properly churned.
Once you have all your ingredients and tools ready, you’re one step closer to making your own butter. So, gather your cream, your churn or food processor, and let’s embark on this butter-making adventure together!
Setting up the Haavitek Butter Maker
So, you’ve gathered all the necessary ingredients and you’re ready to start making your own butter with the Haavitek Butter Maker.
In this discussion, we’ll cover the assembly instructions and tools you’ll need to set up the butter maker. We’ll also walk you through the butter making process step by step.
Additionally, we’ll address common issues that may arise during the process and provide troubleshooting tips to help you overcome any obstacles you may encounter.
Get ready to embark on a delicious homemade butter-making adventure!
Assembly Instructions and Tools
To assemble your Haavitek butter maker, you’ll need a few tools and follow these instructions. Here’s what you’ll need:
- Screwdriver (Phillips head)
- Wrench (adjustable)
- Allen wrench (included in the package)
Now, let’s get started with the step-by-step instructions:
- Begin by unpacking all the components of the Haavitek butter maker.
- Take the base and attach the four legs using the screws provided. Use the wrench to tighten them securely.
- Next, take the cylindrical container and place it on top of the base. Make sure it fits snugly.
- Attach the handle to the container by inserting the Allen wrench into the designated hole and tightening it.
- Finally, connect the crank to the handle, ensuring it is securely fastened.
And there you have it! Your Haavitek butter maker is now ready to be used.
In the next section, we will discuss the butter making process.
Transition: Now that you have assembled your Haavitek butter maker, let’s dive into the exciting process of making your own delicious butter.
Butter Making Process
Now that we’ve covered the assembly instructions and tools for the Haavitek Butter Maker, let’s dive into the butter making process itself.
It all starts with preparing the ingredients. For a basic butter recipe, you’ll need heavy cream and a pinch of salt. Pour the cream into the butter maker, making sure not to fill it beyond the recommended capacity.
Next, secure the lid tightly and start cranking the handle. As you turn the handle, you’ll notice the cream starting to thicken and separate into butter and buttermilk. Keep cranking until the butter forms into a solid mass.
Once that happens, carefully remove the lid and drain out the buttermilk. You can save the buttermilk for other recipes or discard it.
Troubleshooting issues may arise, such as the cream not thickening. In this case, make sure the cream is fresh and at room temperature. Additionally, double-check that the butter maker is assembled correctly.
Happy butter making!
Troubleshooting Common Issues
If the cream is not thickening during the butter making process, make sure the cream is fresh and at room temperature. Fresh cream is essential for successful butter making, as older cream may not have enough fat content to thicken properly. Additionally, cold cream straight from the fridge can inhibit the separation process.
Once you have ensured the cream is fresh and at room temperature, there are a few troubleshooting tips for butter maker that can help if you’re still experiencing issues:
-
Check the speed: Ensure that your butter maker is set to the appropriate speed for churning. Too low of a speed may not provide enough agitation to separate the butterfat from the buttermilk.
-
Adjust the temperature: If the cream is too warm, it may not thicken properly. Try chilling the cream slightly before starting the butter making process.
-
Monitor time: Churning time can vary depending on the cream and the butter maker being used. Be patient and allow enough time for the cream to separate into butter and buttermilk.
Adding the Ingredients to the Machine
First, make sure you have all the necessary ingredients ready to add to the Haavitek butter maker. Preparing the ingredients is a crucial step in making delicious homemade butter.
Start by measuring the amount of cream you will need. Using a liquid measuring cup, pour the required amount of cream into a separate container. It is important to measure the cream accurately to ensure the perfect consistency of your butter.
Next, gather any additional ingredients you wish to add to your butter, such as salt or herbs. These can enhance the flavor and add a personal touch to your homemade butter. Measure out the desired amount of each ingredient and set them aside.
Once you have all the ingredients prepared, it’s time to add them to the Haavitek butter maker. Open the lid of the machine and pour in the measured cream. If you are adding any additional ingredients, sprinkle them over the cream.
Ensure that the lid is securely closed before turning on the machine. The Haavitek butter maker will do all the hard work for you, churning the cream until it transforms into creamy, delicious butter.
Choosing the Desired Consistency of the Butter
Once you have all the ingredients prepared, it’s time to decide on the desired consistency of your homemade butter. Achieving the perfect texture is crucial for a smooth and spreadable butter.
Here are a few tips on adjusting the butter consistency to your liking:
-
Chilling the cream: If you prefer a firmer butter, start by chilling the cream before churning. This will help the fat solids solidify more quickly, resulting in a thicker consistency.
-
Adding water: On the other hand, if you want a softer and more spreadable butter, consider adding a small amount of water during the churning process. This will help incorporate more moisture and create a lighter texture.
-
Adjusting churning time: The longer you churn the cream, the more the fat will separate from the liquid. If you desire a denser and creamier butter, churn for a longer period. For a lighter and fluffier texture, reduce the churning time.
-
Experimentation: Don’t be afraid to experiment with different techniques and ratios to find the perfect consistency that suits your taste and preference. Remember, homemade butter allows you to customize it according to your liking.
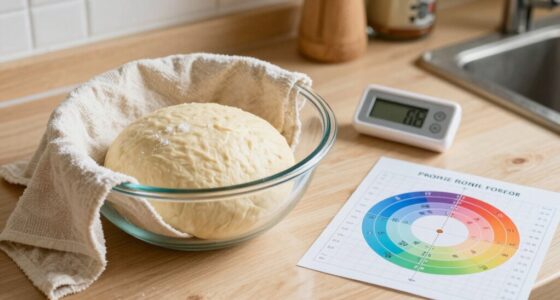
Adjusting the Settings for Optimal Butter Making
When it comes to making butter, achieving the perfect consistency is key. In this discussion, we’ll explore three important aspects of butter making: the ideal temperature range, how to control the consistency of your butter, and some time-saving efficiency tips.
Ideal Temperature Range
To ensure optimal results, you’ll want to keep the Haavitek butter maker within the ideal temperature range. Maintaining the correct temperature is crucial for butter maker maintenance and achieving the perfect batch of homemade butter.
Here are some key points to consider:
-
Temperature control:
-
The ideal temperature for butter making is between 50-55 degrees Fahrenheit.
-
Too low temperature can result in incomplete butter separation.
-
Excessive heat can cause the butter to melt and lose its consistency.
-
Importance of temperature:
-
Maintaining the optimal temperature ensures efficient butter churn.
-
It helps in achieving the desired texture and flavor.
-
Consistent temperature control ensures uniform butter quality.
By keeping the Haavitek butter maker within the ideal temperature range, you can ensure that your homemade butter turns out perfectly every time.
Now, let’s move on to the next section, where we will explore how to control the consistency of your butter.
Butter Consistency Control
Maintaining the ideal temperature range ensures that your homemade butter achieves the desired consistency. Adjusting the butter’s consistency is crucial in achieving the desired texture.
When making butter, it is important to start with chilled cream. The cream needs to be at the right temperature to allow the fat globules to clump together and separate from the liquid. Once the cream is churned, the butterfat needs to be properly washed and kneaded to remove any remaining liquid. This process helps to control the moisture content and make the butter spreadable.
If your butter is too soft, you can cool it in the fridge for a while. On the other hand, if it is too hard, you can leave it at room temperature for a few minutes. By adjusting the temperature, you can achieve the perfect consistency for your butter.
Time-Saving Efficiency Tips
One way to save time when making butter is by using a butter churner. This handy device helps maximize efficiency in the butter-making process, allowing you to create delicious homemade butter in no time.
Here are some time-saving efficiency tips to make the most out of your butter churner:
-
Preparation:
-
Gather all the necessary ingredients and tools before starting.
-
Ensure the butter churner is clean and ready for use.
-
Churning Process:
-
Use cold cream to speed up the churning process.
-
Maintain a consistent and steady rhythm while churning.
By following these tips, you can save valuable time when making butter with a churner. This way, you’ll be able to enjoy your homemade butter quickly and effortlessly, without sacrificing quality or taste.
Starting the Butter Making Process
First, you’ll want to check that all the necessary ingredients and equipment are ready for starting the butter making process with the Haavitek butter maker. This will ensure a smooth and hassle-free experience. To help you visualize the process, here’s a table outlining the ingredients and equipment you’ll need:
| Ingredients | Equipment | Additional Tips |
|---|---|---|
| Fresh cream | Haavitek butter maker | Use high-quality cream |
| Salt (optional) | Measuring cups | Cold cream works best |
| Flavorings (optional) | Butter molds | Keep cream refrigerated |
| Strainer |
Now that you have everything ready, let’s get started! First, pour the fresh cream into the Haavitek butter maker. Make sure to measure the cream accurately using the measuring cups. Next, you can add salt or any other flavorings you desire. This will give your butter a delicious twist. Once all the ingredients are in, securely attach the strainer to the butter maker. This will help separate the butter from the liquid.
Troubleshooting tip: If the butter maker is not working properly, check that the cream is cold and that the butter maker is securely assembled. If the issue persists, consult the user manual or contact Haavitek customer support for assistance.
Now that you’re fully prepared, you can confidently start the butter making process with your Haavitek butter maker. Enjoy the satisfaction of making homemade butter right in your own kitchen!
Monitoring the Progress of Butter Making
When making butter, it’s important to monitor its progress to ensure the best results.
Two key aspects of monitoring are visual cues for readiness and tracking time and temperature.
Visual cues, such as the cream thickening and clumping, can indicate that the butter is almost ready.
Additionally, tracking the time and temperature allows for precise control and ensures that the butter is made at the optimal conditions.
Visual Cues for Readiness
To know when the butter is ready, you’ll see small clumps forming in the butter maker. These visual cues are a clear indication that the butter has reached the desired consistency. As the cream is churned, it goes through various stages of transformation.
Here are two sub-lists illustrating the visual cues for butter readiness:
-
Texture:
-
Creamy consistency: The butter will start to appear creamy, with a smooth texture.
-
Clumping: Small clumps will begin to form, indicating that the fat has separated from the liquid.
-
Appearance:
-
Yellow color: The butter will gradually turn a pale yellow hue as it becomes more solid.
-
Glossy surface: A shiny surface will develop on the clumps, giving the butter a polished look.
Once you spot these visual cues, you can move on to the next step of time and temperature tracking to ensure the perfect batch of homemade butter.
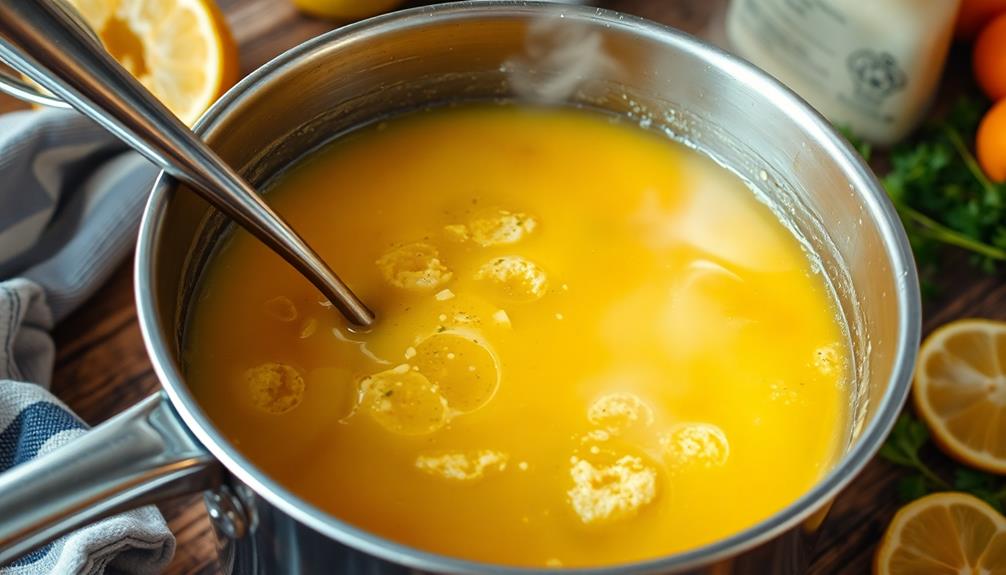
Time and Temperature Tracking
Once you’ve mastered the visual cues for readiness, it’s important to keep track of the time and temperature to ensure the perfect batch of homemade butter.
The ideal cooking temperatures for making butter are between 45-50 degrees Celsius (113-122 degrees Fahrenheit). Maintaining this temperature range is crucial for achieving the desired consistency and texture.
To track the cooking time, it is recommended to set a timer for 15 minutes and monitor the progress. Keep in mind that cooking times may vary depending on the quantity and freshness of the cream used.
During this time, it’s essential to stir the cream occasionally to ensure even heating and prevent any scorching.
Troubleshooting Common Issues During Butter Making
If your butter maker is not working properly, you should check for common issues and troubleshoot them accordingly. Here are some potential problems you may encounter and how to address them:
-
Adjusting Temperature:
Make sure the butter maker is set to the correct temperature. If the temperature is too low, the butter may not form properly. Increase the temperature slightly and monitor the process.
On the other hand, if the temperature is too high, the butter may melt too quickly, resulting in a runny consistency. Decrease the temperature and observe the difference. -
Troubleshooting Consistency:
If your butter is too soft or greasy, it might mean that the butter maker is not churning properly. Ensure that the paddles are securely attached and functioning correctly.
In case the butter is too hard or crumbly, it could be due to insufficient churning time. Allow the butter maker to continue churning until the desired consistency is achieved.
By adjusting the temperature and troubleshooting any consistency issues, you can ensure that your butter maker produces high-quality butter.
Once you have mastered the basics, you can move on to the next step of adding additional flavors or spices to elevate the taste of your homemade butter.
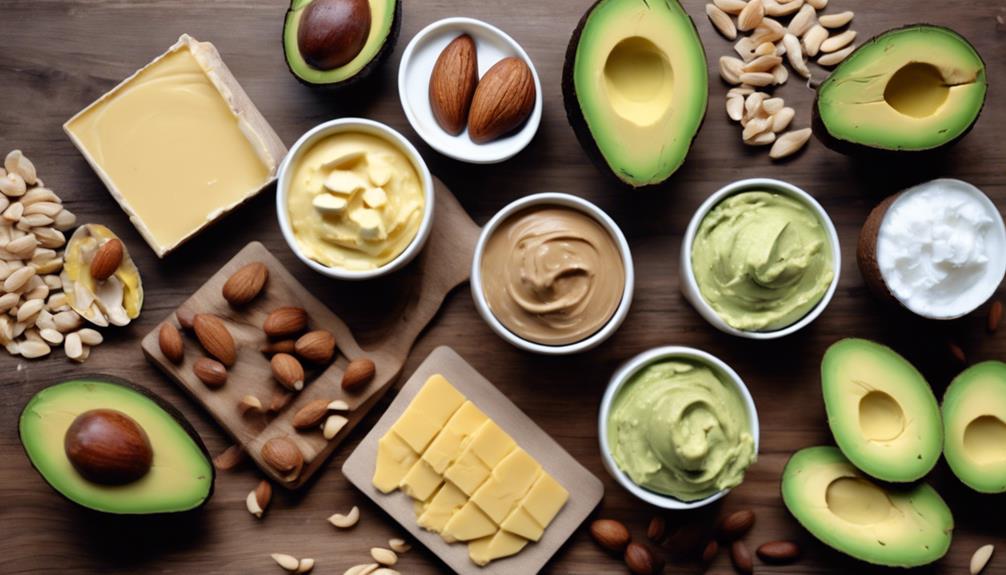
Adding Additional Flavors or Spices to the Butter
When adding additional flavors or spices to your homemade butter, start by selecting your desired ingredients from a variety of options available. This is where you can get creative and have fun experimenting with different flavors to make your butter truly unique. Whether you prefer a subtle hint of garlic, a burst of lemon zest, or the warmth of cinnamon, the choice is yours.
One of my favorite ways to add different flavors to butter is by using herbs. Freshly chopped herbs like thyme, rosemary, or basil can infuse your butter with a delightful aromatic taste. You can also try adding spices such as paprika, cumin, or chili powder for a savory kick. Don’t be afraid to mix and match different ingredients to create your own signature butter blend.
To incorporate the flavors into your butter, simply soften the butter and mix in your desired ingredients. You can use a fork or a spatula to evenly distribute the flavors throughout the butter. Once everything is well combined, transfer the freshly made butter to a container for storage.
Now you have a delicious and customized butter to elevate your dishes and impress your guests.
Transferring the Freshly Made Butter to a Container
To transfer your freshly made butter to a container, simply scoop it out of the mixing bowl and carefully place it into your chosen storage container. It’s important to handle the butter with care to avoid any unnecessary mess or waste.
Here are some techniques and options for transferring and storing your homemade butter:
-
Transferring Techniques:
-
Use a rubber spatula or spoon to scoop the butter out of the mixing bowl. Make sure to scrape off any excess buttermilk or liquid from the butter.
-
If the butter is too soft or sticky, you can refrigerate it for a few minutes to firm it up before transferring.
-
For a more presentable look, you can use a butter mold or shape the butter into a log by rolling it in plastic wrap.
-
Storing Options:
-
Glass jars with airtight lids are a popular choice for storing homemade butter. They help to maintain the butter’s freshness and prevent any odors from seeping in.
-
You can also use small ceramic or plastic containers with tight-fitting lids.
-
Another option is to wrap the butter in wax paper or parchment paper and store it in a butter dish or butter keeper.
Remember to label your containers with the date of preparation to keep track of the butter’s freshness. Enjoy your homemade butter in various dishes and recipes!
Storing the Homemade Butter to Maintain Freshness
For optimal freshness, it’s important to store your homemade butter in airtight containers. This helps to maintain its flavor and texture over time. To ensure long-term butter storage, there are a few key factors to consider.
Firstly, it’s crucial to keep the butter away from light and heat, as they can cause the butter to spoil more quickly. A cool and dark pantry or refrigerator is ideal for storing your homemade butter. Secondly, butter can absorb odors from other foods, so it’s important to store it in a separate container or wrap it tightly in plastic wrap or aluminum foil to prevent any unwanted flavors.
Here is a useful table that summarizes the key points for maintaining butter freshness:
| Factor | Tips |
|---|---|
| Temperature | Store in a cool place, like a pantry or refrigerator |
| Light | Keep away from direct light to prevent spoilage |
| Odor | Store in a separate container to avoid absorbing unwanted odors |
| Airtight Container | Use airtight containers or wrap tightly in plastic wrap or aluminum foil |
| Shelf Life | Butter can typically be stored for 2-3 weeks in a refrigerator |
Cleaning and Maintaining the Haavitek Butter Maker
When it comes to the haavitek butter maker, cleaning and maintenance are essential to keep it in good working order. Proper cleaning techniques and a regular maintenance schedule will ensure that your butter maker stays in peak condition and continues to produce delicious homemade butter.
Here are some key cleaning techniques for the haavitek butter maker:
- Disassemble the butter maker: Start by carefully taking apart all the removable parts of the butter maker, such as the blades, cups, and lids.
- Wash with warm, soapy water: Use a mild dish soap and warm water to clean all the parts thoroughly. Pay attention to any hard-to-reach areas and scrub gently with a soft brush if needed.
- Rinse and dry: Rinse all the parts with clean water to remove any soap residue. Then, ensure that each piece is completely dry before reassembling the butter maker.
To maintain the haavitek butter maker, follow this maintenance schedule:
- Regularly inspect for any damages: Check the blades, cups, and other components for any signs of wear and tear. Replace any damaged parts promptly to avoid affecting the quality of your butter.
- Lubricate moving parts: Apply a food-grade lubricant to the rotating parts of the butter maker to ensure smooth operation.
- Store in a dry place: Keep your butter maker in a clean and dry location to prevent moisture buildup and potential damage.
Maintaining a clean and well-maintained haavitek butter maker is crucial for optimal performance and longevity. By following these cleaning techniques and maintenance tips, you can enjoy hassle-free butter making for years to come.
Now that you know how to clean and maintain your haavitek butter maker, let’s move on to some tips and tricks for using it effectively.
Tips and Tricks for Using the Haavitek Butter Maker
Now that you’ve got the hang of cleaning and maintaining it, here’s a helpful tip for getting the most out of your Haavitek Butter Maker.
If you’re looking to achieve different flavors with your homemade butter, the key lies in the ingredients you use. Butter is incredibly versatile, and you can infuse it with various flavors to suit your taste buds.
One simple way to add flavor to your butter is by using herbs and spices. You can experiment with different combinations such as garlic and rosemary, or even chili and lime. Simply mix your chosen herbs or spices into the butter before placing it in the Haavitek Butter Maker. The machine will do the rest, ensuring that the flavors are evenly distributed throughout the butter.
Another tip for achieving unique butter flavors is by using different types of cream. Traditional butter is made from cow’s milk, but you can also use cream from other animals such as goats or sheep. Each type of cream will impart its own distinct flavor to the butter, giving you a variety of options to choose from.
Frequently Asked Questions
How Long Does It Take to Make Butter Using the Haavitek Butter Maker?
It takes about 15-20 minutes to make butter using the Haavitek Butter Maker. To clean it, simply disassemble and wash the parts with warm soapy water. For flavored butter, try adding herbs or spices during the churning process.
Can I Use Salted Butter in the Haavitek Butter Maker?
Using salted butter in the Haavitek Butter Maker has its pros and cons. While it adds a savory flavor, it can also affect the texture. Achieving the perfect texture requires careful monitoring and adjusting.
What Is the Maximum Amount of Cream That Can Be Used in the Machine?
The maximum cream capacity in the Haavitek Butter Maker is not specified. However, it is recommended to use a reasonable quantity of cream to ensure optimal results and avoid overflow.
Can I Use Non-Dairy Milk Alternatives to Make Butter With the Haavitek Butter Maker?
Yes, you can use dairy-free alternatives and alternative milk options to make butter with the Haavitek Butter Maker. It’s incredible how many delicious non-dairy butters you can create using this machine!
Is It Safe to Leave the Haavitek Butter Maker Unattended While It Is Running?
It’s important to take safety precautions when leaving the Haavitek Butter Maker unattended. Make sure to follow the manufacturer’s guidelines and never leave it running for an extended period of time. As for alternatives, there are many other methods for making homemade butter.
Conclusion
In conclusion, using the Haavitek Butter Maker was an absolute game-changer for me.
The process was so simple and straightforward that even a novice like me could achieve creamy and delicious homemade butter in no time.
It’s like a magical butter-making machine that takes your ingredients and transforms them into a heavenly spread.
I can’t emphasize enough how much I love this butter maker. It’s a must-have kitchen gadget that will revolutionize your butter-making experience.
Trust me, you won’t be disappointed!