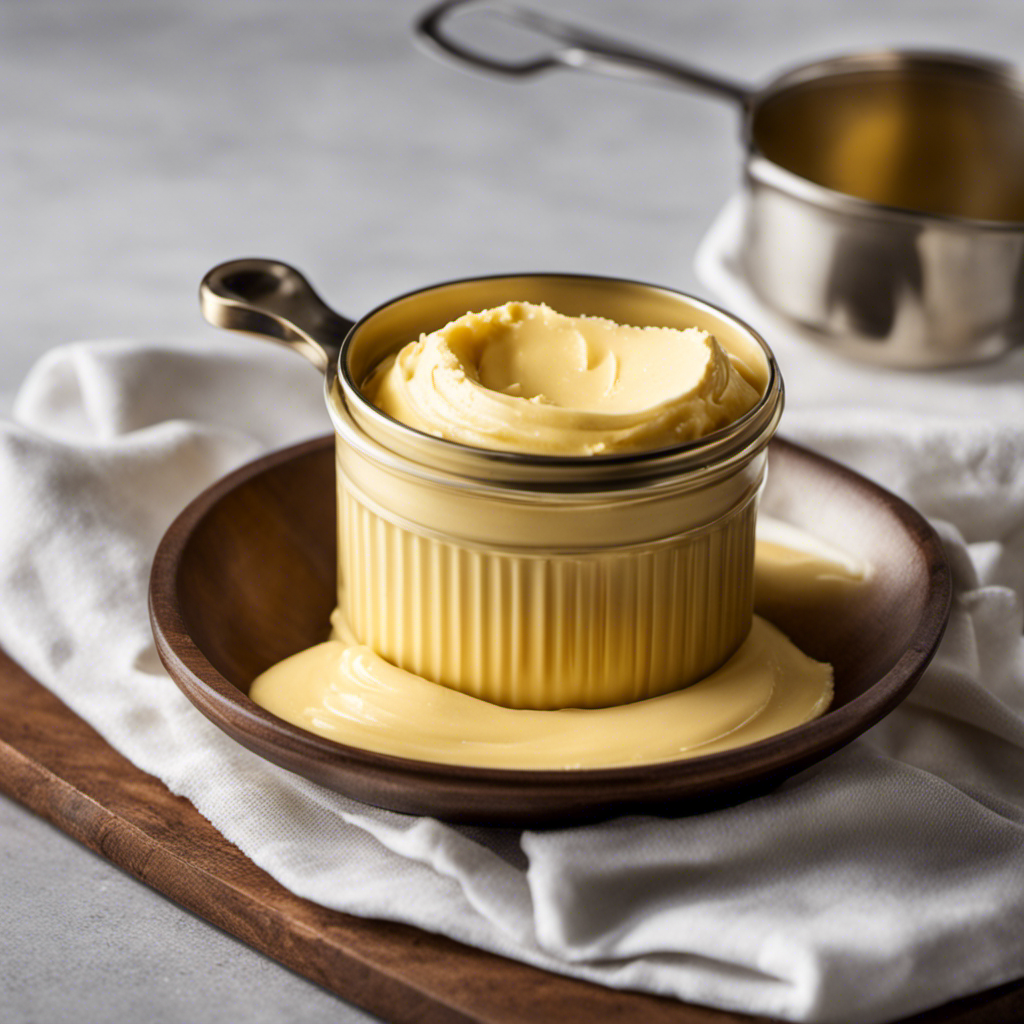
Cooking has always been a passion of mine, yet the process of clarifying butter had perpetually been a challenge. However, this changed when I came across a reliable technique that consistently produces perfectly clarified butter.
In this article, I’ll guide you through the step-by-step process of clarifying butter, explaining the benefits, different methods, and even troubleshooting common issues.
Whether you’re a seasoned chef or a novice in the kitchen, mastering the art of clarified butter will elevate your culinary skills to a whole new level.
Key Takeaways
- Clarified butter has a longer shelf life compared to regular butter.
- Clarified butter has a higher smoke point, making it suitable for high-temperature cooking methods.
- Clarified butter can be used in vegan diets as it removes milk solids and water found in regular butter.
- Clarified butter adds a rich and nutty flavor to dishes, enhancing the overall taste of both savory and sweet recipes.

Octonuts Churro Cashew Butter – 16 oz Gluten Free, Vegan, Non-GMO Cinnamon Nut Butter, No Soy, No Dairy, No Peanuts, No Palm Oil – Sweet Cashew Cream Spread for Healthy Snacks
- Flavor: Sweet cinnamon churro flavor
- Dietary: Vegan, gluten-free, Non-GMO
- Allergen-Free: No soy, dairy, peanuts, palm oil
As an affiliate, we earn on qualifying purchases.
The Benefits of Clarified Butter
Clarified butter has many benefits for you. It has a longer shelf life and a higher smoke point.
When it comes to skincare, clarified butter can be a game-changer. It is rich in vitamins A, D, and E, which are known for their nourishing and moisturizing properties.
Incorporating clarified butter into your skincare routine can help hydrate and rejuvenate your skin, leaving it soft and supple.
Moreover, clarified butter can also be a valuable addition to a vegan diet. While it is made from dairy, the clarification process removes the milk solids, making it a suitable option for those who follow a plant-based lifestyle.
Its rich flavor and high smoke point make clarified butter an excellent substitute for traditional butter in vegan recipes.
Tools and Ingredients Needed for Clarifying Butter
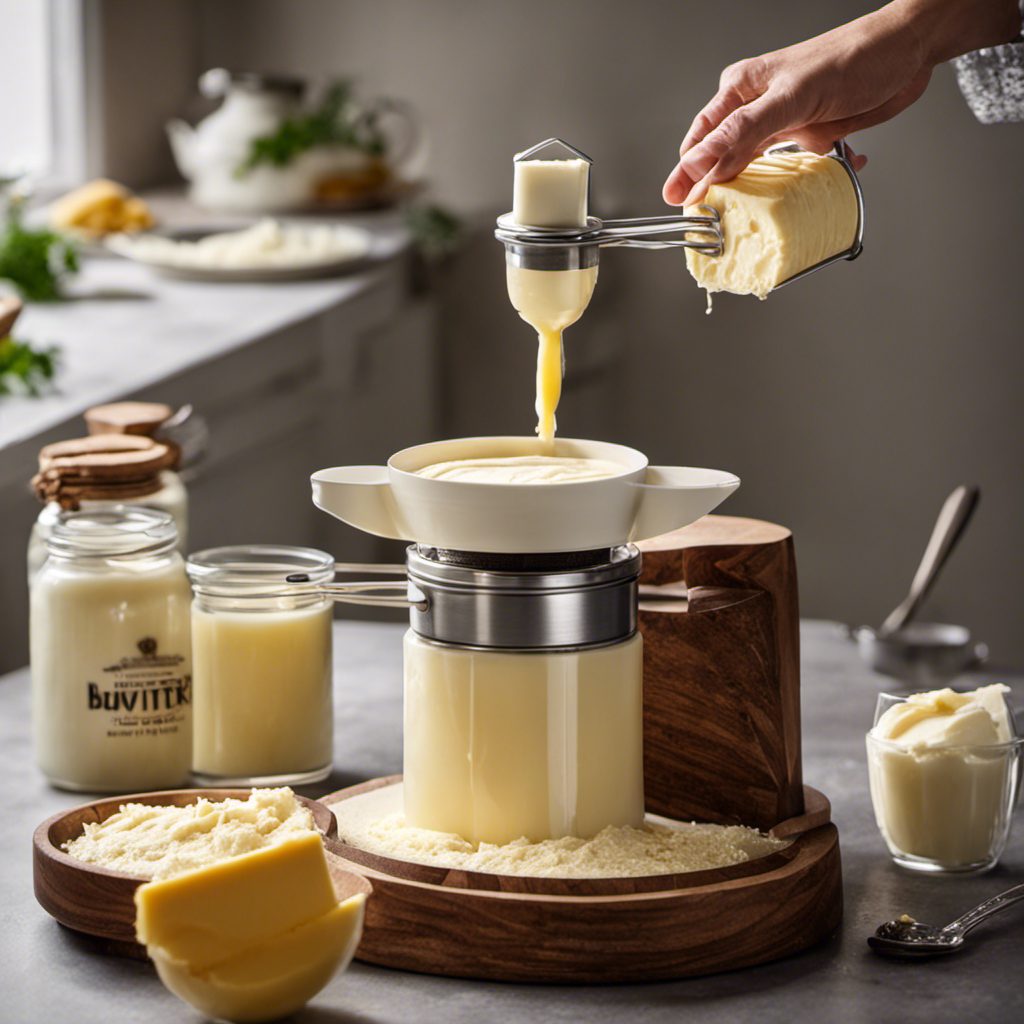
To clarify butter, all you need are butter, a saucepan, and a fine-mesh strainer. It is a simple process that removes impurities and separates the milk solids from the pure butterfat. This results in a clarified butter that has a higher smoke point and longer shelf life compared to regular butter. Here are the tools and ingredients needed for clarifying butter:
| Tools | Ingredients | Steps to Clarify Butter |
|---|---|---|
| Saucepan | Unsalted butter | 1. Melt the butter in a saucepan over low heat. |
| Fine-mesh strainer | 2. Skim off any foam that forms on the surface. | |
| 3. Carefully pour the melted butter through the strainer to remove the milk solids. | ||
| 4. Discard the milk solids left in the strainer. | ||
| 5. Pour the clarified butter into a container and let it cool before using or storing. |
Step-by-Step Guide to Clarifying Butter
When clarifying butter, start by melting the butter in a saucepan over low heat. As the butter melts, it will separate into three layers: the foam on top, the clarified butter in the middle, and the milk solids at the bottom.
Skim off the foam using a spoon or a fine mesh strainer.
Next, carefully pour the clarified butter into a separate container, leaving behind the milk solids.
To further remove any remaining impurities, you can strain the clarified butter through cheesecloth or a coffee filter.
Once clarified, the butter can be used in a variety of ways. It has a higher smoke point than regular butter, making it ideal for sautéing and frying.
Clarified butter also adds a rich flavor to baked goods and can be used as a dip for seafood.
Different Methods for Clarifying Butter
One popular method for clarifying butter is by using the stove-top method. There are different techniques that can be used to clarify butter, but the stove-top method is one of the most common and effective.
To clarify butter using this method, start by melting the butter over low heat in a saucepan. As the butter melts, the milk solids will separate and rise to the surface. Skim off the foam and slowly pour the clarified butter into a container, leaving behind the milk solids. It’s important to keep the heat low to prevent the butter from browning.
Best practices for clarifying butter include using unsalted butter, using a fine mesh strainer to remove any remaining solids, and storing the clarified butter in an airtight container in the refrigerator.
How Long Does It Take to Clarify Butter
The stove-top method is a popular and effective way to clarify butter, taking about 20-30 minutes.
However, if you’re looking to clarify butter quickly, you can also use the microwave. To do this, simply place the butter in a microwave-safe bowl and heat it on high for short intervals, stirring in between. Be careful not to overheat the butter, as it can easily burn.
The microwave method usually takes about 2-4 minutes, depending on the quantity of butter being clarified.
Once the butter is clarified, it is important to store it properly to maintain its freshness and quality.
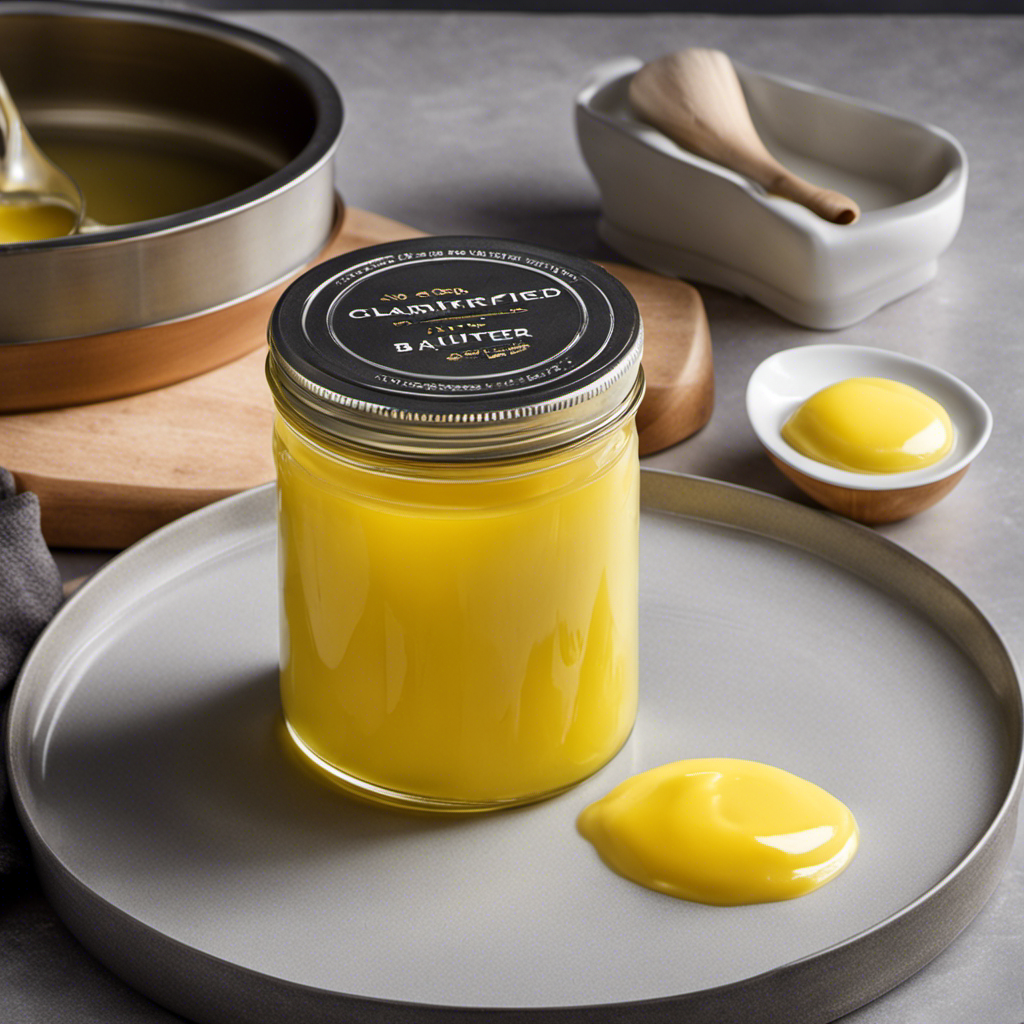
How to Store Clarified Butter
To properly store your clarified butter, place it in an airtight container and keep it in the refrigerator. Storing clarified butter correctly is crucial to maintain its quality and prevent it from spoiling. Here are the recommended steps for storing clarified butter:
-
Choose the right container: Opt for a glass or food-grade plastic container with a tight-fitting lid. Avoid using metal containers, as they can affect the taste and quality of the butter.
-
Cool the clarified butter: Allow the clarified butter to cool completely before transferring it to the container. This helps prevent condensation and the formation of ice crystals.
-
Seal and refrigerate: Once the clarified butter is cool, seal the container tightly and place it in the refrigerator. The cold temperature will help extend the shelf life and maintain the butter’s freshness.
Following these steps will ensure that your clarified butter stays fresh and ready to use whenever you need it.
Using Clarified Butter in Cooking and Baking
Using clarified butter in cooking and baking adds a rich and nutty flavor to your dishes. Incorporating clarified butter into sauces and dressings can take the flavor profile to a whole new level.
The process of clarifying butter removes the milk solids and water, leaving behind pure butterfat that enhances the taste of any dish. When using clarified butter in sauces, it adds a velvety texture and a deep, savory flavor. Dressings made with clarified butter have a smooth consistency and a buttery richness that elevates the overall taste.
In baking, replacing regular butter with clarified butter can enhance the flavor of baked goods. It lends a subtle nuttiness that complements sweet treats like cookies, cakes, and pastries.
Whether in savory or sweet recipes, incorporating clarified butter is a surefire way to elevate your culinary creations.
Clarified Butter Vs. Regular Butter: What’s the Difference
Now that we have explored the various ways to use clarified butter in cooking and baking, let’s delve into the differences between clarified butter and regular butter.
It is important to understand these distinctions in order to make informed choices in the kitchen.
-
Clarified butter uses: One of the main differences lies in their uses. Clarified butter is commonly used in high-heat cooking methods like sautéing and frying, as it has a higher smoke point. Regular butter, on the other hand, is often used in baking and spreading.
-
Nutritional differences: The process of clarifying butter removes the milk solids and water, leaving behind pure butterfat. As a result, clarified butter has a higher concentration of fat and a lower water content compared to regular butter. This means that clarified butter has a longer shelf life and can be stored at room temperature.
-
Health considerations: While clarified butter may have a higher fat content, it is lower in lactose and casein, making it suitable for individuals with lactose intolerance or dairy allergies. However, both types of butter should still be consumed in moderation due to their high saturated fat content.
Troubleshooting Common Issues When Clarifying Butter
When clarifying butter, there are two key points that need to be addressed in order to avoid common issues: preventing burnt butter and achieving a clear consistency.
To prevent burnt butter, it is crucial to melt the butter slowly and at a low temperature, ensuring that it does not reach its smoke point.
Additionally, achieving a clear consistency requires removing the milk solids and water from the butter. This can be done by skimming off the foam that forms on top and straining the clarified butter through a fine-mesh sieve.
Preventing Burnt Butter
To avoid burnt butter, you’ll want to keep a close eye on the heat. Burnt butter can ruin the flavor and aroma of your clarified butter, so it’s important to prevent it from happening. Here are three key steps to prevent burnt butter:
-
Use low heat: Clarifying butter requires gentle heat to separate the milk solids from the fat. Keep the heat low to prevent the butter from scorching or burning.
-
Stir continuously: As the butter melts, stir it continuously to distribute the heat evenly and prevent any parts from overheating. This will help prevent burnt spots in the butter.
-
Remove from heat promptly: Once the butter is clarified and the milk solids have settled at the bottom, remove it from the heat immediately. This will prevent any further cooking and potential burning.
Achieving Clear Consistency
To achieve a clear consistency, keep stirring the butter continuously as it melts. This step is crucial in the process of clarifying butter, as it helps separate the milk solids from the pure fat.
As the butter melts, you will notice a foam forming on the surface – this is the milk solids rising to the top. Use a spoon or a ladle to carefully skim off the foam, removing as much of it as possible. This will help in achieving a clearer end product.
If you want to further clarify the butter, you can use additional clearing techniques such as straining it through a cheesecloth or a fine-mesh sieve.
Troubleshooting tip: If your clarified butter still has some milk solids in it, you can gently reheat it and repeat the skimming or straining process to achieve a clearer consistency.
Tips and Tricks for Perfectly Clarified Butter
One tip for perfectly clarified butter is to use a double boiler to melt it slowly. This method ensures that the butter is heated gently and evenly, preventing it from burning or browning too quickly. Achieving a perfectly golden color is crucial for obtaining the desired silky texture in clarified butter.
Here are three additional tips to help you achieve the best results:
-
Skim the impurities: As the butter melts, impurities such as milk solids and water will rise to the surface. Use a spoon or a skimmer to carefully remove these impurities, ensuring a clearer and purer end result.
-
Strain it twice: After the butter has melted and the impurities have been skimmed off, strain the liquid through a fine-mesh sieve or cheesecloth to remove any remaining solids. For an even clearer texture, strain it a second time to achieve that silky smooth consistency.
-
Store it properly: Once clarified, store the butter in an airtight container in the refrigerator. This will help preserve its freshness and prevent any off-flavors from developing.
Frequently Asked Questions About Clarifying Butter
When it comes to working with butter, there are two common methods: clarifying and melting.
Clarifying butter involves separating the milk solids from the butterfat, resulting in a pure and golden liquid.
The benefits of clarified butter include a higher smoke point, longer shelf life, and a rich, nutty flavor that enhances the taste of dishes.
Clarifying Vs. Melting Butter
If you want clarified butter, you’ll need to know the difference between clarifying and melting butter.
While both processes involve heating butter, they serve different purposes.
Melting butter simply means converting solid butter into a liquid state by applying heat.
On the other hand, clarifying butter involves separating the milk solids and water from the pure butterfat, resulting in a clear and golden liquid.
To clarify butter effectively, here are three key steps to follow:
-
Melt the butter slowly over low heat to allow the milk solids to settle at the bottom.
-
Skim off the foam that forms on the top to remove any impurities.
-
Carefully pour the clarified butter into a container, leaving the milk solids behind.
Benefits of Clarified Butter
Now that we understand the difference between clarifying and melting butter, let’s delve into the benefits of clarified butter, also known as ghee.
Clarified butter offers several advantages when used for cooking. Firstly, it has a higher smoke point compared to regular butter, making it ideal for high-heat cooking methods like sautéing and frying. This means it won’t burn or produce harmful smoke, resulting in a cleaner, more flavorful dish.
Additionally, ghee has a longer shelf life due to the removal of milk solids, making it more resistant to spoilage. It also boasts a rich and nutty flavor that adds depth to any recipe.
Moreover, ghee is lactose-free and contains higher concentrations of healthy fats, such as conjugated linoleic acid, which has been linked to various health benefits.
Overall, cooking with clarified butter can elevate your culinary creations while providing numerous health advantages.
Frequently Asked Questions
Can I Use Margarine Instead of Butter to Clarify?
Yes, you can use margarine instead of butter to clarify. Clarifying butter using vegetable oil is a common practice. The process involves melting the margarine and straining out any impurities, resulting in clarified margarine.
Can I Reuse the Leftover Milk Solids After Clarifying Butter?
After clarifying butter, the leftover milk solids can be reused in various ways. Alternative uses for milk solids include adding them to baked goods for a rich flavor or using them as a seasoning in savory dishes.
Is Clarified Butter Healthier Than Regular Butter?
Clarified butter has benefits in cooking. When comparing its nutritional profile to regular butter, clarified butter has lower lactose and casein content, making it a potentially healthier option for those with lactose intolerance or milk allergies.
Can I Clarify Salted Butter?
Yes, you can clarify salted butter. It involves melting the butter and separating the milk solids. Clarifying salted butter can enhance the flavor and extend the shelf life. It’s a precise process that yields a clarified, pure butterfat.
Can I Clarify Butter in the Microwave?
Yes, you can clarify butter in the microwave. However, it’s important to note that the traditional stovetop method is more precise and provides better results.
Conclusion
In conclusion, clarifying butter is a simple yet rewarding process that enhances the flavor and versatility of this beloved ingredient. By removing the milk solids and water, clarified butter offers a smooth and nutty taste, perfect for high-heat cooking and as a dip for seafood.
With the right tools and a bit of patience, you can easily achieve beautifully clarified butter that elevates your culinary creations. So go ahead and dive into the world of clarified butter, like a bee buzzing with excitement around a fragrant flower.