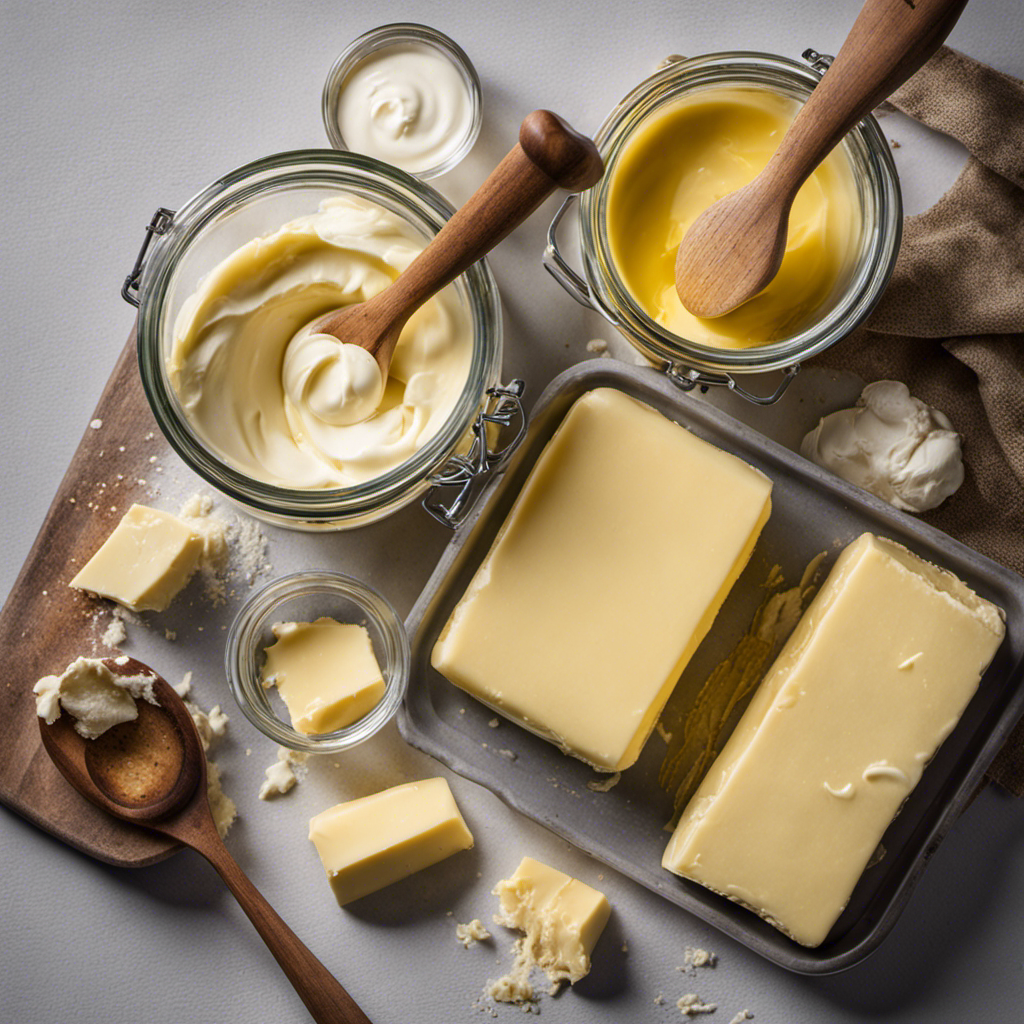
I absolutely adore desserts, and I must say, with only flour, sugar, butter, and eggs, the options are limitless! Prepare yourself to enjoy a variety of delectable treats.
From classic vanilla cake to homemade chocolate chip cookies, fluffy pancakes with maple syrup to rich and creamy cheesecake, there’s something for everyone.
And don’t even get me started on the decadent brownies with a twist or the freshly baked apple pie. Get your taste buds ready for a treat like never before.
Key Takeaways
- Classic Vanilla Cake: Combine flour, sugar, butter, and eggs to make a classic vanilla cake. Infuse the batter with vanilla bean seeds and add a hint of almond extract for intense flavor.
- Frosting Options: Choose between classic buttercream frosting or tangy cream cheese frosting with lemon zest to pair with your vanilla cake.
- Baking Tips: Pay attention to baking time and temperature, use a toothpick test to check for doneness, and avoid opening the oven door to maintain a consistent temperature for a perfectly baked cake.
- Ingredient Substitutions: Try using different types of milk as a substitution for regular milk in cake recipes, and consider alternative sweeteners like honey or maple syrup.
As an affiliate, we earn on qualifying purchases.
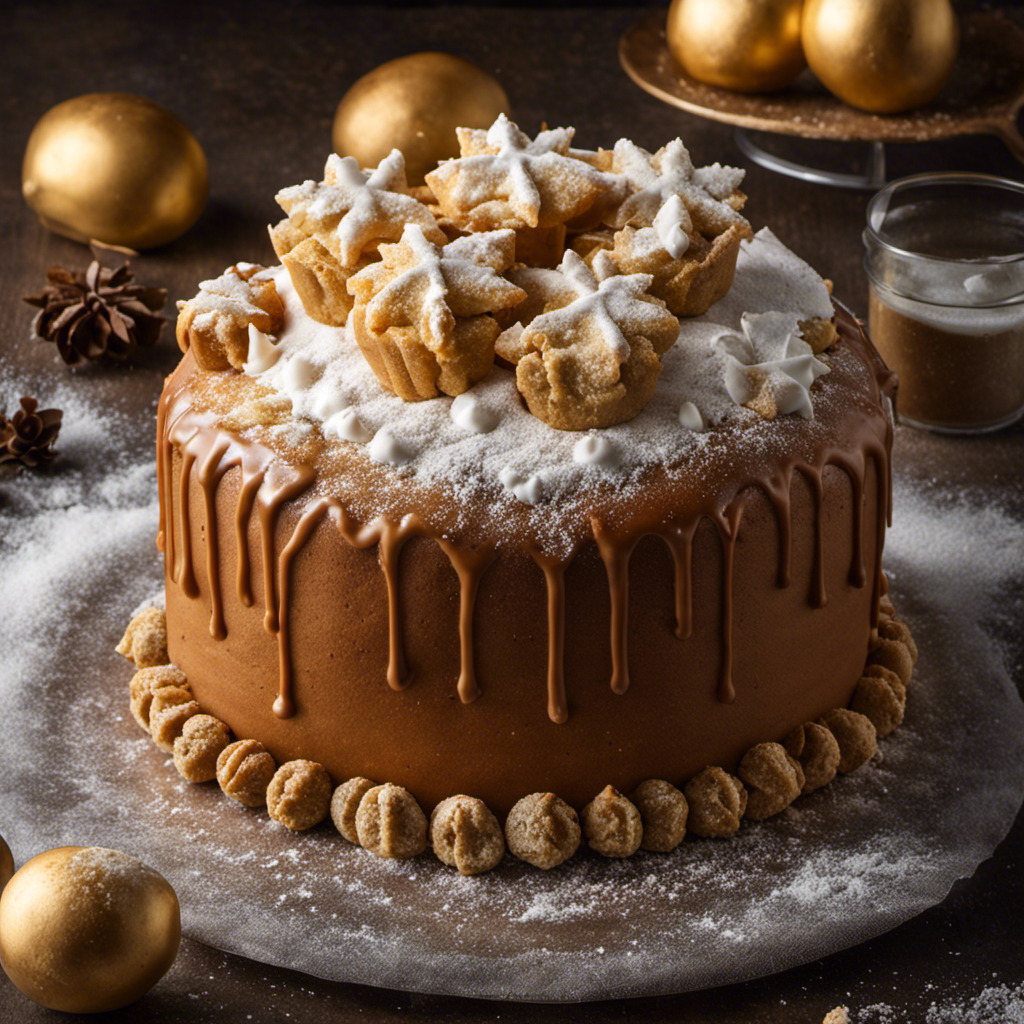
Classic Vanilla Cake Recipe
You can make a delicious classic vanilla cake by combining flour, sugar, butter, and eggs. Vanilla cake is a timeless dessert loved by many, and there are endless variations you can try to add your own personal touch.
One option is to infuse the cake batter with vanilla bean seeds for an intense vanilla flavor. Another variation is to add a hint of almond extract to complement the vanilla.
As for frosting options, you can go with a classic buttercream frosting, which pairs perfectly with the delicate vanilla flavor. If you want something lighter, a cream cheese frosting with a touch of lemon zest can add a tangy twist.
Regardless of the variation and frosting you choose, a classic vanilla cake is always a crowd-pleaser.
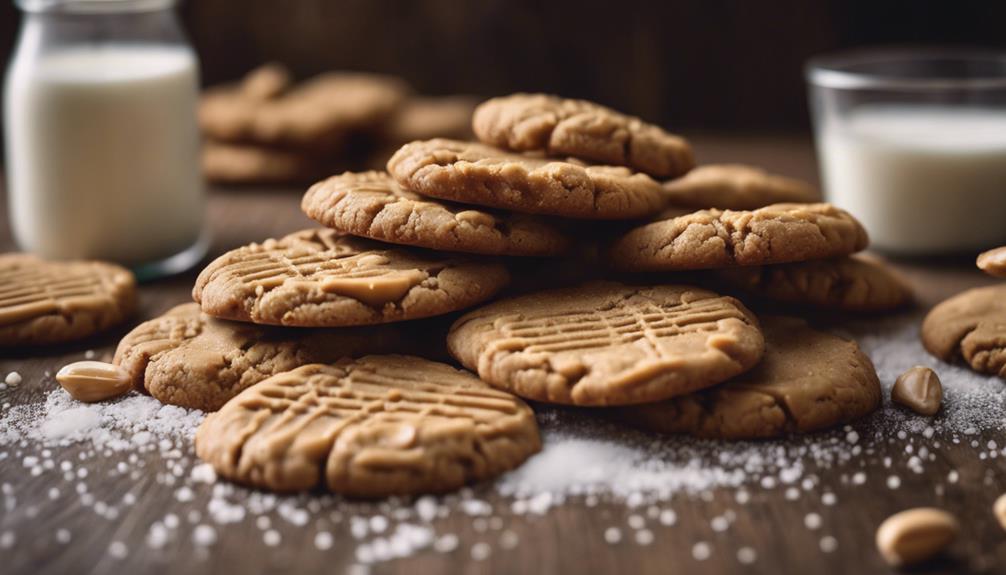
Homemade Chocolate Chip Cookies
When it comes to baking homemade chocolate chip cookies, there are a couple of key points to keep in mind.
First, the baking time and temperature can greatly affect the final outcome of your cookies.
Second, ingredient substitutions or additions can add a unique twist to the classic recipe.
Lastly, understanding these factors will ensure that your cookies turn out perfectly delicious every time.
Baking Time and Temperature
The cake should be baked at a specific temperature and for a certain amount of time. Baking is a delicate art that requires precision and attention to detail. Here are four key tips to help you achieve a perfectly baked cake:
-
Preheat the oven: Always preheat your oven to the recommended temperature before placing the cake inside. This ensures even baking and consistent results.
-
Use a toothpick test: Insert a toothpick into the center of the cake to check for doneness. If it comes out clean or with a few crumbs, the cake is ready. If not, continue baking for a few more minutes.
-
Avoid opening the oven door: Opening the oven door while the cake is baking can cause temperature fluctuations, leading to an unevenly baked cake. Keep the oven door closed until the recommended baking time is up.
-
Consider alternative sweeteners: Experiment with alternative sweeteners like honey or maple syrup to add a unique flavor to your cake. Just remember to adjust the measurements accordingly.
With these baking techniques and a touch of creativity, you’ll have a beautifully baked cake in no time. Now, let’s move on to ingredient substitutions or additions to further enhance your dessert.
Ingredient Substitutions or Additions
Consider trying different types of milk, such as almond or coconut milk, as a substitution for regular milk in your cake recipe. Not only can these alternative milks add a unique flavor to your dessert, but they also cater to those with dietary restrictions or preferences. Here’s a table to help you explore different milk options and their characteristics:
| Milk Type | Flavor Profile | Best Used For |
|---|---|---|
| Almond Milk | Nutty and slightly sweet | Cakes, muffins, and breads |
| Coconut Milk | Rich and creamy with a tropical twist | Coconut-based desserts, like coconut cream pie or coconut cake |
| Soy Milk | Mild and creamy | Any dessert recipe that calls for milk |
| Oat Milk | Mild and slightly sweet | Cookies, brownies, and quick breads |
Fluffy Pancakes With Maple Syrup
To make fluffy pancakes with maple syrup, you can mix flour, sugar, butter, and eggs together. These simple ingredients come together to create a breakfast treat that is soft, light, and oh so delicious. Here’s how to make the perfect stack of fluffy pancakes:
-
Start by combining the dry ingredients – flour and sugar – in a bowl. This will ensure that the sugar is evenly distributed throughout the batter, giving the pancakes a touch of sweetness.
-
In a separate bowl, whisk together the wet ingredients – melted butter and eggs. This will give the pancakes a rich and buttery flavor, while also adding moisture to the batter.
-
Slowly add the wet ingredients to the dry ingredients, stirring gently until just combined. Be careful not to overmix, as this can lead to dense and tough pancakes.
-
Heat a non-stick skillet or griddle over medium heat and pour the batter onto the hot surface, using a ladle or measuring cup to portion out the pancakes. Cook until bubbles form on the surface, then flip and cook for another minute or two until golden brown.
Now that you have your fluffy pancakes ready, let’s move on to the next mouthwatering dessert: rich and creamy cheesecake.
Rich and Creamy Cheesecake
When it comes to cheesecake, the possibilities are endless. From classic New York-style to unique flavor combinations like salted caramel or matcha green tea, there’s a cheesecake for every palate.
In this discussion, I will explore the world of cheesecake variations and flavors, as well as share some valuable baking tips to ensure your cheesecake turns out perfectly creamy and delicious every time.
Cheesecake Variations and Flavors
You can’t go wrong with a classic New York-style cheesecake made with flour, sugar, butter, and eggs. It’s rich, creamy, and absolutely delicious.
But why stop at the classic? There are so many variations and flavors you can experiment with to take your cheesecake game to the next level.
Here are four tantalizing ideas to get you started:
-
Fruit Toppings: Add a burst of freshness and color to your cheesecake by topping it with fresh berries, sliced kiwi, or even a drizzle of homemade fruit sauce.
-
Chocolate Lover’s Dream: Indulge your sweet tooth by incorporating chocolate into your cheesecake. You can swirl melted chocolate into the batter, sprinkle chocolate chips on top, or even create a decadent chocolate ganache to pour over the finished cake.
-
Cookie Dough Delight: Take your cheesecake to new heights by mixing in chunks of cookie dough. The soft, chewy bites of cookie dough throughout the creamy cheesecake will be a hit with everyone.
-
No-Bake Cheesecake: If you’re short on time or don’t want to turn on the oven, try a no-bake cheesecake recipe. These delicious desserts set in the fridge and are just as creamy and satisfying as their baked counterparts.
Don’t be afraid to get creative and experiment with different flavors and toppings. The possibilities are endless when it comes to making your own unique cheesecake masterpiece.
Baking Tips for Cheesecake
After exploring the various flavors and variations of cheesecake, let’s dive into some baking tips that will help you create the perfect cheesecake every time.
One crucial element of a cheesecake is the crust. To achieve a deliciously crisp and buttery crust, mix together crushed graham crackers, melted butter, and a touch of sugar. Press this mixture firmly into the bottom of your pan before adding the creamy cheesecake filling.
Now, let’s talk about toppings. Whether you prefer a classic fruit compote, chocolate ganache, or a dollop of whipped cream, the possibilities are endless. Get creative and experiment with different flavors and textures to find your perfect combination.
Now that we have mastered the art of cheesecake, let’s move on to another indulgent treat: decadent brownies with a twist.
Transitioning into the subsequent section about ‘decadent brownies with a twist,’ let’s explore how we can elevate this beloved dessert to new levels of deliciousness.
Decadent Brownies With a Twist
To make decadent brownies with a twist, mix flour, sugar, butter, and eggs together.
Here are four fudgy brownie variations that will take your dessert game to the next level:
-
Salted Caramel Swirl: Drizzle rich caramel sauce over the brownie batter and use a toothpick to create swirls for a sweet and salty combination.
-
Peanut Butter Cup Surprise: Press mini peanut butter cups into the batter before baking for a gooey, chocolate-peanut butter explosion in every bite.
-
Mint Chocolate Chip Delight: Add a splash of mint extract and fold in chopped chocolate mints for a refreshing and indulgent treat.
-
S’mores Sensation: Layer crushed graham crackers, mini marshmallows, and chocolate chunks into the batter for a campfire-inspired twist.
These brownie mix recipes are sure to satisfy your chocolate cravings and impress your friends and family. Enjoy!
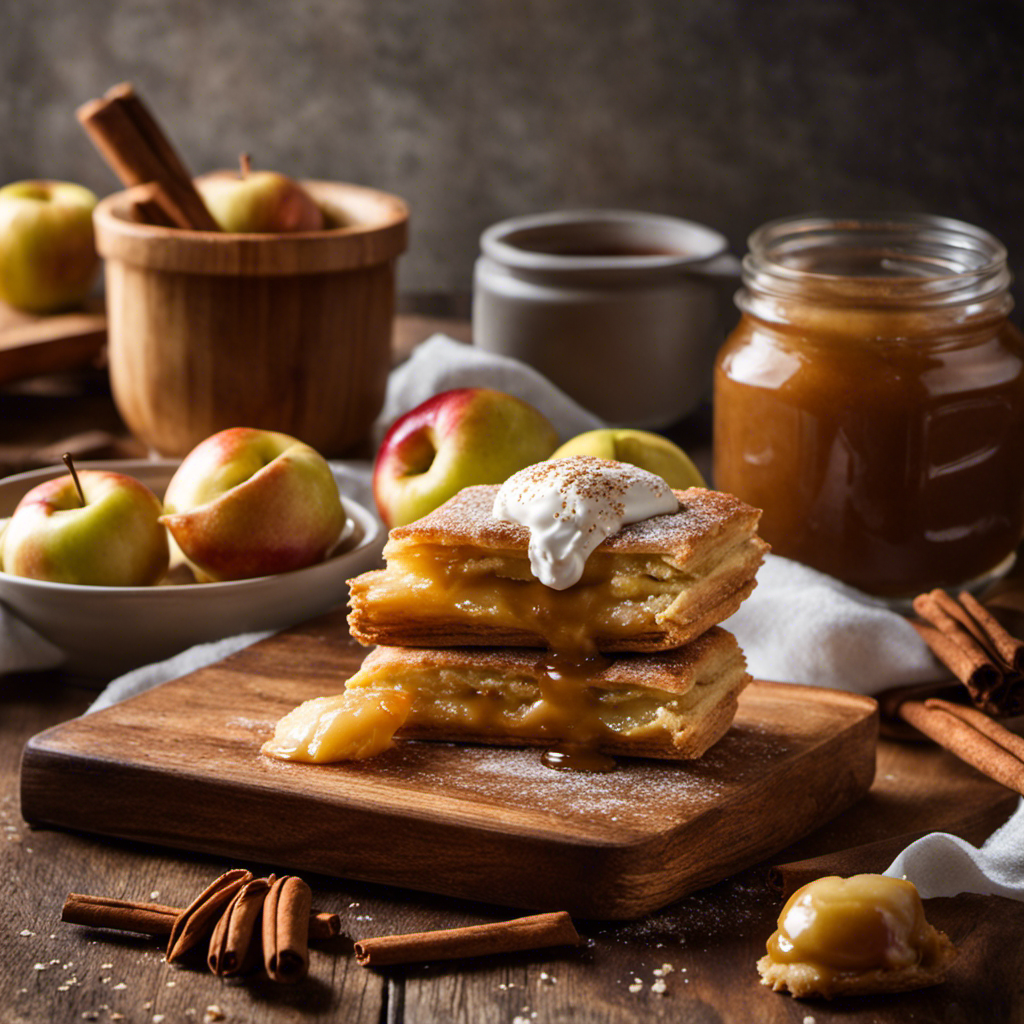
Freshly Baked Apple Pie
For a delicious twist on a classic dessert, try making a freshly baked apple pie with a flaky crust and warm, cinnamon-spiced apple filling. This timeless dessert is perfect for any occasion and will surely impress your family and friends. I love the combination of the buttery crust and the sweet, tart apples that create a perfect balance of flavors. To make it even more exciting, you can add a scoop of vanilla ice cream on top, or drizzle some caramel sauce for that extra touch of indulgence.
Here is a table comparing the classic apple crumble and the caramel apple tart:
| Classic Apple Crumble | Caramel Apple Tart |
|---|---|
| Buttery crumb topping | Luscious caramel |
| Warm, spiced apples | Tender apple slices |
| Served with ice cream | Paired with whipped cream |
Whichever dessert you choose, both will satisfy your sweet tooth and leave you wanting more. So why not gather your ingredients, roll up your sleeves, and embark on a baking adventure to create a mouthwatering apple pie that will delight everyone who takes a bite.
Cinnamon Sugar Donuts
If you’re looking for a sweet treat, nothing beats sinking your teeth into a warm, cinnamon sugar donut. These delectable pastries are a crowd favorite for a reason. Here are four reasons why cinnamon sugar donuts are a must-have dessert:
-
Irresistible Aroma: The aroma of freshly baked cinnamon sugar donuts wafting through the air is enough to make anyone’s mouth water.
-
Fluffy and Moist: These donuts are made with a soft, fluffy dough that melts in your mouth. Each bite is a perfect balance of sweetness and warmth.
-
Crispy Coating: The cinnamon sugar coating adds a delightful crunch to every bite. It’s the perfect contrast to the softness of the donut itself.
-
Versatility: Cinnamon sugar donuts are delicious on their own, but they can also be transformed into other desserts, like donut ice cream sandwiches or donut bread pudding.
Indulging in a cinnamon sugar donut is like taking a bite of pure happiness. So go ahead, treat yourself to this delightful dessert and satisfy your cravings.
Lemon Bars With a Zesty Twist
When life gives you lemons, you can’t resist the tangy and refreshing twist of lemon bars with a zesty kick. These citrus-infused desserts are the perfect balance of sweet and tart, making them a delightful treat for any occasion.
With a buttery crust and a luscious lemon filling, these zesty lemon bars are sure to satisfy your cravings. The combination of flour, sugar, butter, and eggs creates a rich and creamy texture that melts in your mouth. The vibrant yellow color and the citrus aroma will instantly brighten up your day.
Whether you’re hosting a summer party or simply craving a burst of citrus flavor, these zesty lemon bars are the perfect choice.
Frequently Asked Questions
Can I Substitute the Flour With a Gluten-Free Alternative in the Classic Vanilla Cake Recipe?
Yes, you can substitute the flour with a gluten-free alternative in the classic vanilla cake recipe. There are a variety of gluten-free flours available, such as almond or rice flour, that can be used as a substitute.
How Long Should I Bake the Homemade Chocolate Chip Cookies for a Chewy Texture?
I love making homemade chocolate chip cookies! For a chewy texture, I bake them for about 10-12 minutes. It’s all about finding the perfect balance of crispy edges and a soft, gooey center.
Can I Replace the Butter With a Dairy-Free Option in the Fluffy Pancakes With Maple Syrup Recipe?
Yes, you can use margarine instead of butter in the pancakes recipe. It may slightly change the flavor, but the texture should still be fluffy. As for the classic vanilla cake, almond flour can be used as a substitute for regular flour.
What Is the Recommended Baking Time and Temperature for the Rich and Creamy Cheesecake?
To achieve a rich and creamy cheesecake, preheat the oven to 325°F and bake for 50-60 minutes. The end result will be a golden crust and a slightly jiggly center. Enjoy this decadent treat!
Can I Use a Different Fruit Instead of Apples in the Freshly Baked Apple Pie Recipe?
Sure, you can substitute pears for apples in the apple pie recipe. Just make sure to adjust the cooking time and add some extra spices to enhance the flavor. As for the classic vanilla cake, almond flour can be used as a gluten-free alternative to regular flour.
Conclusion
Well, after exploring all these delicious dessert options, it seems like the possibilities are endless when you have flour, sugar, butter, and eggs on hand.
Who knew that such simple ingredients could create such divine treats?
From the classic vanilla cake to the rich and creamy cheesecake, there’s something for every sweet tooth.
So go ahead, whip up one of these delightful desserts and indulge in a little slice of heaven.
And remember, with a little creativity and these basic ingredients, you can truly become the master of your own dessert destiny.
Happy baking!