Proofing dough is when you let it rest after kneading so yeast can produce bubbles that make your bread rise and develop flavor. During proofing, the dough increases in size, feels soft and airy, and shows visible bubbles. You’ll want to check for the right feel and look to know it’s ready. If you want to get perfect results, understanding these signs and techniques will make all the difference. Keep going to learn more about this essential step.
Key Takeaways
- Proofing allows yeast to ferment sugars, producing CO₂ that makes bread rise and develop a light, airy texture.
- Proper proofing involves waiting until the dough doubles in size and shows bubbles, indicating readiness.
- Yeast activates best in warm, draft-free environments; timing usually ranges from 1 to 3 hours.
- Over-proofed dough may collapse, while under-proofed dough is dense; monitoring size and surface helps determine doneness.
- Techniques like covering the dough and using the poke test help ensure correct proofing for optimal bread quality.
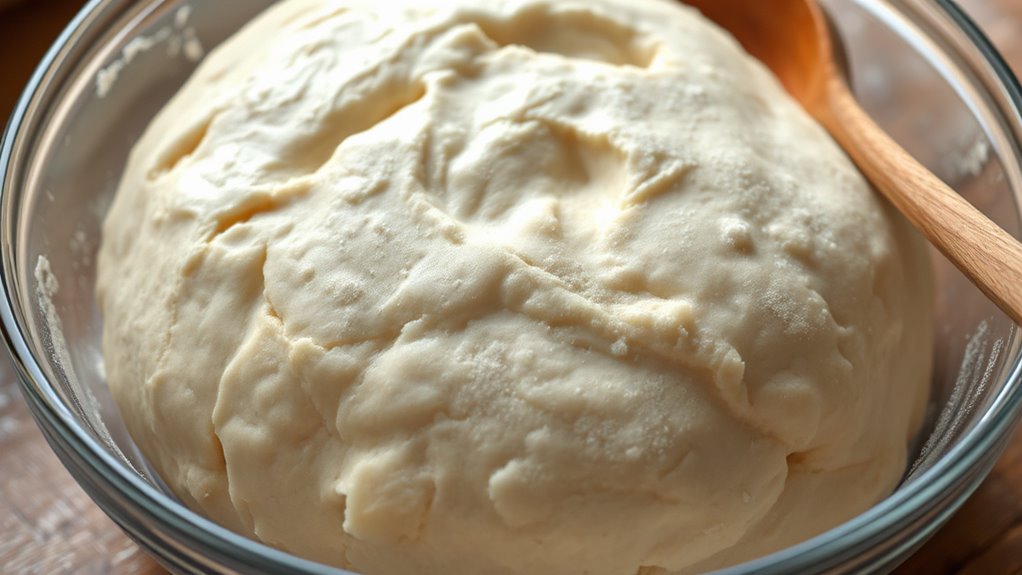
What Is Proofing and Why Is It Important?
Have you ever wondered why bread rises? It’s all about proofing, a vital step in baking. Proofing allows the yeast to ferment the flour’s sugars, producing carbon dioxide that makes the dough expand. Different flour types, like bread flour or all-purpose flour, influence how well the dough develops during proofing. Using the right proofing container helps keep the dough warm and protected, ensuring consistent rise. Proper proofing improves the bread’s texture and flavor, giving it a light, airy crumb. Skipping or rushing this step can result in dense, flat bread. So, understanding proofing’s purpose and using suitable flour and containers makes all the difference in baking perfect bread. It’s an essential process to master for great homemade loaves. Fostering a digital-friendly environment at home can also help you learn more about baking techniques and improve your skills.
The Science Behind Proofing Dough
When you proof dough, yeast becomes active, feeding on the sugars and producing carbon dioxide. This gas gets trapped in the dough’s gluten network, causing it to rise. Understanding how yeast works and how gas forms helps you control the proofing process for better baking results. Additionally, recognizing signs of a checked-out partner can be vital in maintaining a healthy relationship during shared activities.
Yeast Activation Process
Understanding how yeast activates is key to successful dough proofing. When you add yeast to your dough, it begins the yeast activity required for fermentation. This process involves yeast consuming sugars in the dough, producing alcohol and carbon dioxide as byproducts. The fermentation process is what causes the dough to rise, creating the light, airy texture you want. To activate yeast effectively, you need warm water and sometimes a little sugar to jump-start the process. As yeast cells become active, they multiply and produce carbon dioxide, which forms bubbles in the dough. These tiny bubbles are essential, as they help the dough expand and develop the desired structure during proofing. Knowing this process helps you control proofing times and achieve perfect results. Additionally, high contrast ratios in your environment can improve your ability to monitor the dough’s rising progress visually.
Gas Production Mechanics
As yeast ferments sugars in the dough, it produces carbon dioxide and alcohol through a process called fermentation. This gas gets trapped within the dough’s gluten network, causing it to rise. Dough elasticity plays a critical role here; the more elastic your dough, the better it can hold the gas bubbles without tearing. Yeast fermentation generates carbon dioxide steadily, expanding the dough’s structure and creating the airy texture you desire in bread. As the gas accumulates, the dough stretches to accommodate it, thanks to gluten’s flexibility. Proper proofing ensures the gas production and dough elasticity work together, resulting in a light, well-risen loaf. Understanding this process helps you regulate the proofing time and achieve consistent, delicious results. Incorporating the right dog beds for Golden Retrievers can also provide comfort during long proofing periods.
How to Recognize When Dough Is Properly Proofed

You’ll know your dough is ready when it’s bubbly and has increased in size. Doing the poke test—gently pressing with your finger—should leave a slight indentation that slowly fills back in. Plus, you’ll see visible expansion in the dough’s volume, confirming it’s properly proofed. Ensuring proper proofing techniques helps achieve the best texture and rise in your baked goods.
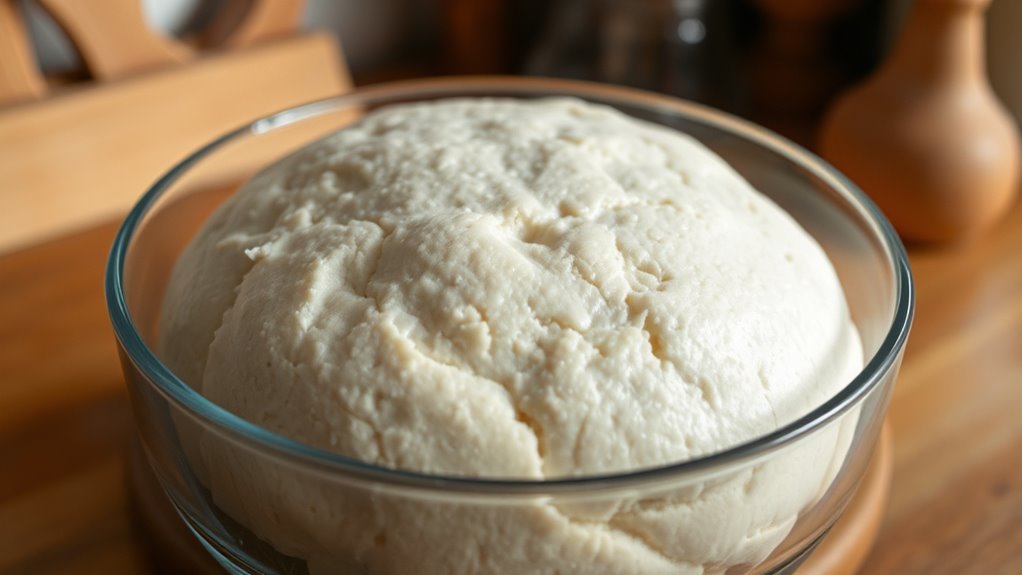
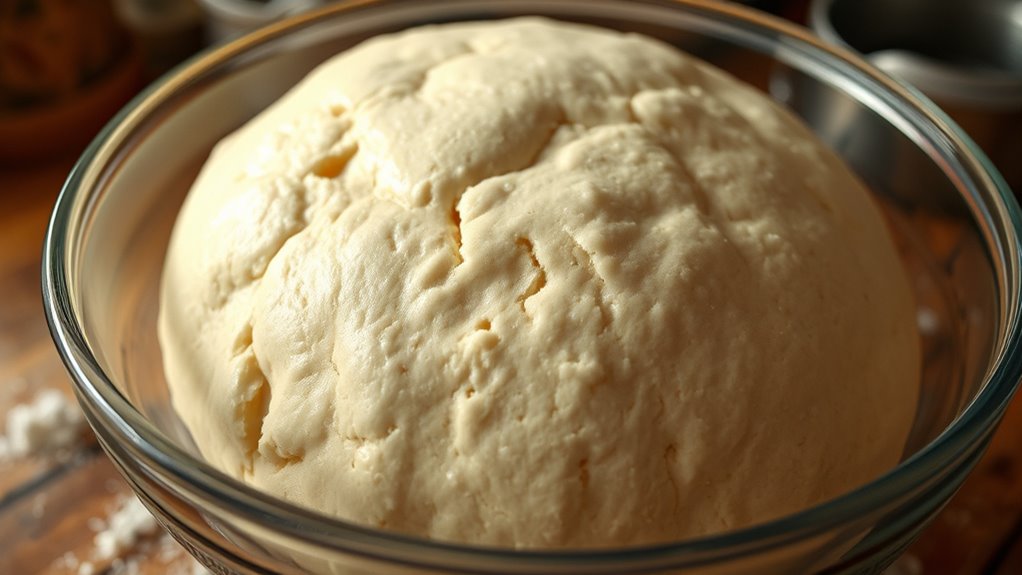
Bubbles and Volume
How can you tell if your dough has proofed enough? Look for bubbles forming on the surface and throughout the dough. These bubbles result from yeast fermentation, which produces carbon dioxide that gets trapped by gluten development. As the dough ferments, it should expand in volume, appearing puffy and light. You might notice a slight doming or a gentle jiggle when you shake the container. Proper proofing means the dough has risen sufficiently, showing visible bubbles and increased size. If the dough is dense and lacks bubbles, it still needs more time. The presence of bubbles indicates active yeast fermentation and well-developed gluten structure, both essential for a light, airy final product.
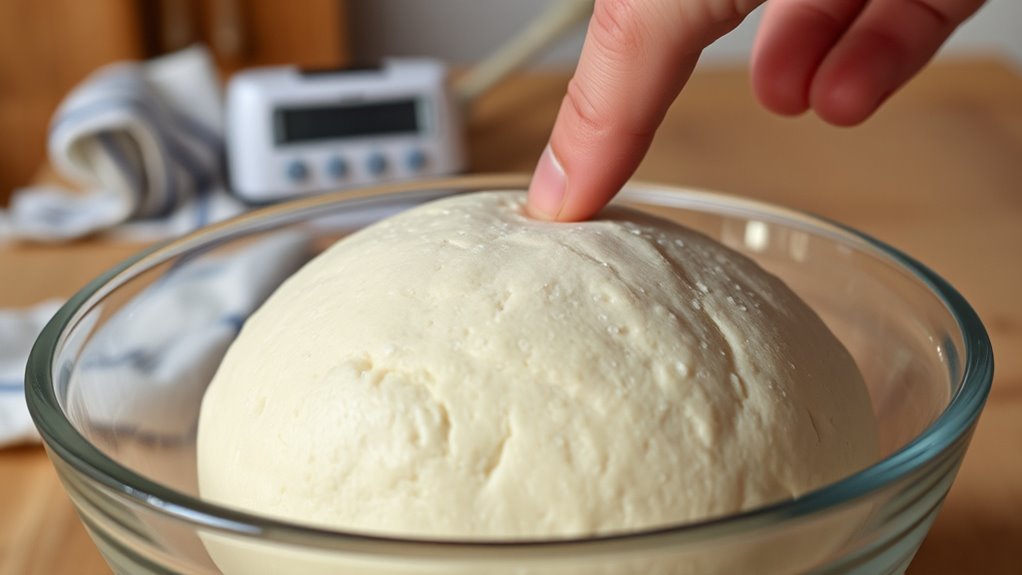
Poke Test Indicators
When checking if your dough has proofed enough, the poke test is a simple and effective method. Gently press your finger into the dough’s surface; if it springs back slowly and leaves a slight indentation, it’s a sign that fermentation timing is just right. Proper proofing improves dough elasticity, making it easier to shape and resulting in a better rise. If the dough quickly recovers, it needs more fermentation time. Conversely, if the indentation remains, it’s over-proofed. This test helps you gauge whether your dough has developed enough gluten structure to hold its shape without collapsing. Using the poke test regularly ensures you catch the perfect moment for baking, leading to a light, airy final product. Incorporating a properly proofed dough can also enhance the overall aesthetic of your baked goods, giving them a more rustic and appealing appearance.
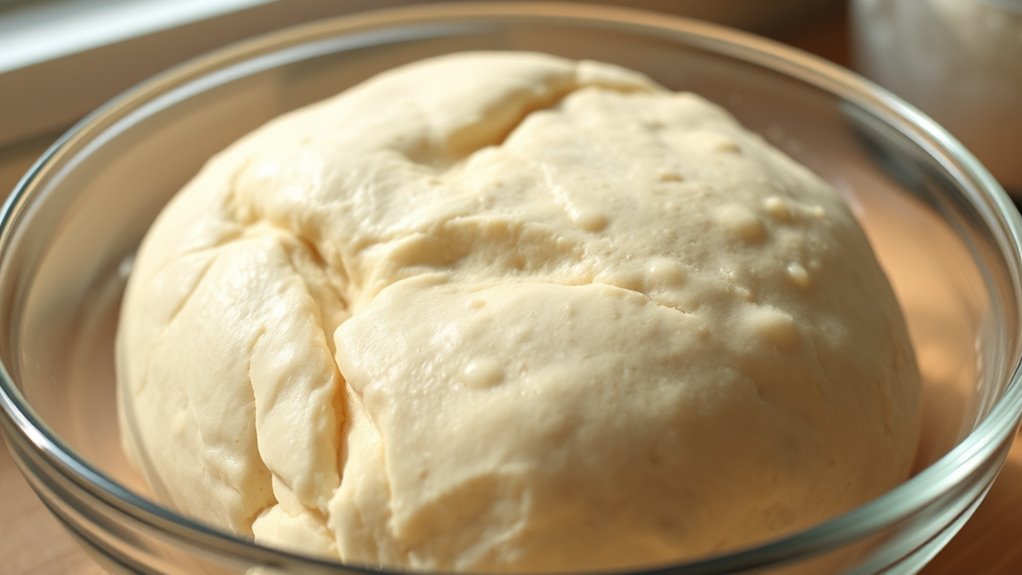
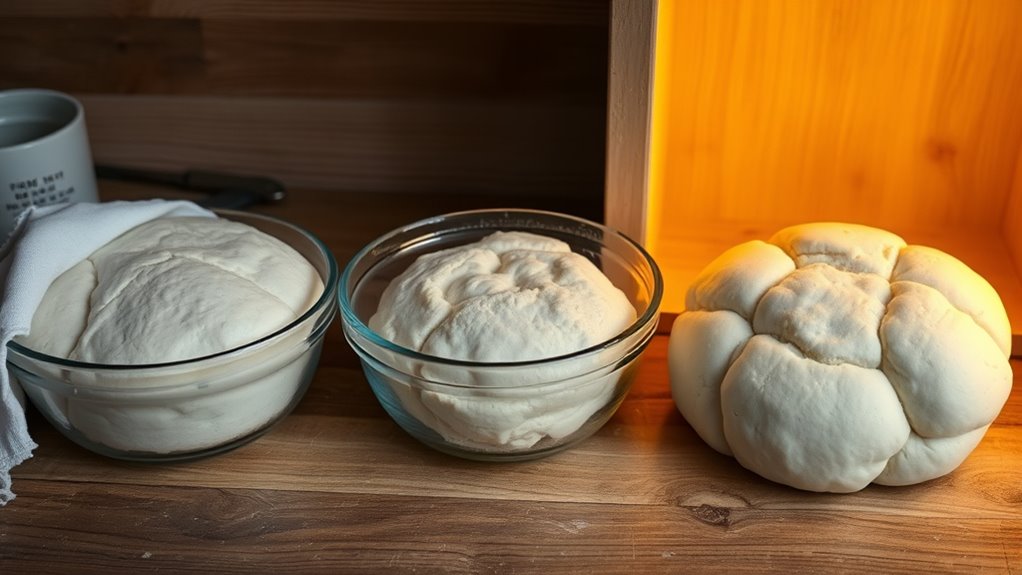
Visible Dough Expansion
Visible dough expansion is one of the clearest signs that your dough has properly proofed. When the dough has risen enough, you’ll notice it has increased in size and feels puffier. This expansion results from excellent gluten development, which gives the dough elasticity and strength. Proper gluten formation allows the dough to trap gas bubbles produced by fermentation, causing it to expand smoothly. If your dough has doubled in size and has a slightly domed, rounded surface, it’s a good indicator it’s ready. Keep in mind that over-proofed dough may collapse or show signs of excessive fermentation. Trusting the visible expansion, combined with good gluten development, helps ensure your dough is perfectly proofed and ready for the next step. Monitoring the timing of proofing can also help achieve optimal results.
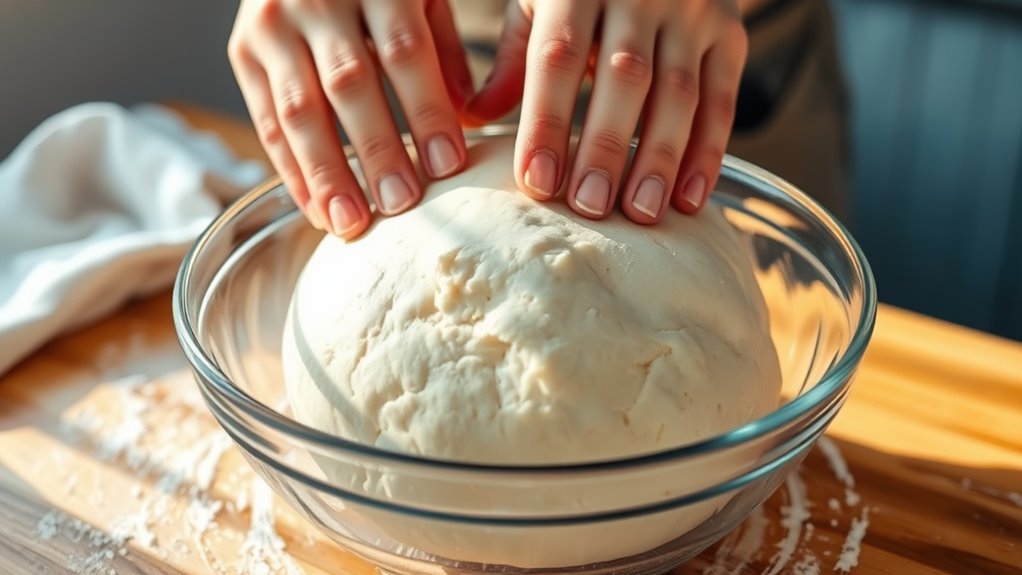
Step-by-Step Guide to Proofing Your Dough
Proofing your dough is a vital step that allows the yeast to work its magic, resulting in a light and airy final product. To start, cover your shaped dough with a damp cloth or plastic wrap to prevent drying out. Place it in a warm, draft-free spot to promote the fermentation process, which develops dough elasticity. During proofing, you’ll notice the dough gradually expands. Use this simple table to track your progress:
| Step | What to Do | Time Frame |
|---|---|---|
| 1 | Shape the dough | Immediately after kneading |
| 2 | Cover and rest | 1-2 hours |
| 3 | Check for expansion | When dough doubles in size |
| 4 | Ready to bake | After proper proofing |
This process guarantees the yeast produces enough carbon dioxide, making your dough light and fluffy. Incorporating knowledge about remote hackathons can inspire innovative ways to streamline your baking process through modern techniques and tools.
Tips for Perfect Proofing Every Time

Ever wonder how to guarantee your dough proofing turns out perfect every time? Start with proper kneading techniques—don’t rush it. Knead until the dough is smooth and elastic, which helps develop gluten structure for better proofing. Choosing the right flour type is also key; bread flour with higher protein content provides more gluten strength, while all-purpose flour can work if you’re careful with kneading. Maintain a warm, draft-free environment, and cover your dough with a damp cloth or plastic wrap to prevent drying out. Avoid over- or under-proofing by keeping an eye on the dough’s size and texture. With these tips, your proofing process becomes more consistent, leading to beautifully risen, flavorful bread every time.
Common Mistakes to Avoid During Proofing
One common mistake to watch out for is rushing the proofing process, which can cause your dough to underdevelop its structure and lead to poor rise. Overproofing pitfalls happen when you let the dough sit too long, resulting in a weakened gluten network and a flat, dense loaf. Conversely, underproofing signs include dough that hasn’t doubled in size or feels dense and tight. Both errors compromise texture and flavor. Avoid the temptation to speed up proofing; instead, trust the dough’s cues. Keep an eye on how the dough looks and feels, and don’t rely solely on time. Proper proofing ensures a light, airy crumb, so patience is key. Recognizing these mistakes helps you achieve the best possible bread. Additionally, understanding the importance of gluten development can help you better gauge when the dough is ready.
Different Ways to Proof Dough (Room Temperature, Cold, and More)
You have several options for proofing dough, each with its own benefits depending on your schedule and the type of bread you’re making. Proofing at room temperature allows the fermentation process to happen quickly, enhancing dough elasticity and developing flavor. Cold proofing, often done in the refrigerator, slows fermentation, resulting in more complex flavors and better dough structure. You can also proof in a warm, draft-free spot to speed up the process when needed. For longer fermentation, a slow rise in cold conditions can improve dough elasticity and texture. Other methods include proofing in a proofing box or using a damp towel to maintain humidity. Additionally, understanding the importance of proper fermentation can help optimize your bread’s texture and flavor. Choosing the right method depends on your timeline and desired bread characteristics.
How Long Should You Proof Your Dough?
The ideal proofing time for dough varies depending on the recipe and method used, but generally, it ranges from 1 to 3 hours at room temperature or longer if you’re cold proofing. During this period, fermentation timing is key—allow enough time for the yeast to produce carbon dioxide, which helps the dough rise and develop flavor. You’ll want to monitor dough elasticity; properly proofed dough should feel soft, airy, and slightly tacky. Over-proofing can weaken gluten structure, making the dough overly slack, while under-proofing results in dense bread. Trust your senses: if it’s doubled in size and feels airy, it’s ready for the next step. Adjust proofing times based on ambient temperature and dough behavior to achieve the best results.
Troubleshooting: When Proofing Doesn’t Go as Planned
When proofing doesn’t go as planned, it can be frustrating, but understanding common issues helps you troubleshoot effectively. If your dough isn’t rising properly, check these factors:
- Yeast fermentation may be slow or inactive; verify your yeast is fresh.
- The dough might be too cold; proof in a warm, draft-free area.
- Dough elasticity could be weak; avoid over-kneading or under-kneading.
- Covering the dough tightly helps maintain humidity, supporting proper fermentation.
- Over-proofing can cause the dough to collapse; watch the size increase carefully.
- Using proper fermentation techniques ensures optimal yeast activity and dough rise.
Adjusting these elements can improve your proofing process, ensuring your dough rises beautifully and develops the right texture. Recognizing these signs helps you fix issues quickly and achieve perfect results.
Frequently Asked Questions
Can I Proof Dough in the Refrigerator Overnight?
Yes, you can proof dough in the refrigerator overnight. This slows fermentation temperature, allowing a longer proofing duration without overproofing. Just cover your dough well to prevent drying out, and place it in the fridge. When you’re ready, let it come to room temperature for a bit before baking. This method improves flavor and texture, giving your bread a better rise and a delicious taste.
How Does Humidity Affect the Proofing Process?
Humidity effects play a significant role in dough fermentation during proofing. If the environment is too humid, your dough may rise faster and could develop a sticky surface, making it harder to handle. Conversely, low humidity slows fermentation and can cause the dough to dry out and crack. To get the best results, keep an eye on humidity levels and adjust your proofing environment accordingly, ensuring consistent, ideal rise.
Is It Necessary to Use a Proofing Basket?
A proofing basket isn’t strictly necessary, but it greatly enhances your dough shaping and final appearance. Using a proofing basket helps support the dough’s shape during the final rise, creating a more professional look. It also imparts a beautiful pattern on the crust. If you don’t have one, you can use a bowl with a cloth, but a proofing basket is a worthwhile investment for consistent, elegant results.
Can I Proof Dough Directly on a Baking Sheet?
Yes, you can proof dough directly on a baking sheet, but it’s not ideal. Your dough’s fermentation timing and hydration levels matter. A baking sheet may not provide the right surface for even proofing, risking over-proofing or under-proofing. Use parchment paper or a lightly floured surface to prevent sticking. For best results, consider using a proofing basket, especially if your dough is highly hydrated or needs a controlled environment.
How Do I Speed up the Proofing Process?
To speed up fermentation timing and boost yeast activity, you should warm your dough in a draft-free, cozy spot, increase the temperature slightly—ideally to 80-85°F—and use a bit more yeast if necessary. Cover the dough to maintain warmth, but avoid overproofing. Keep an eye on it, as faster proofing can compromise texture and flavor. Remember, warmth accelerates fermentation, but patience often yields better results.
Conclusion
Now that you know the secrets of proofing dough, you’re basically a bread wizard! With just a little patience and attention, you can turn plain ingredients into bread so perfect it’ll make angels sing. Don’t rush or skip steps—your dough will thank you by rising higher than you ever thought possible. Master proofing, and you’ll create baked masterpieces that could make even the most skeptical bread lover fall to their knees in awe!