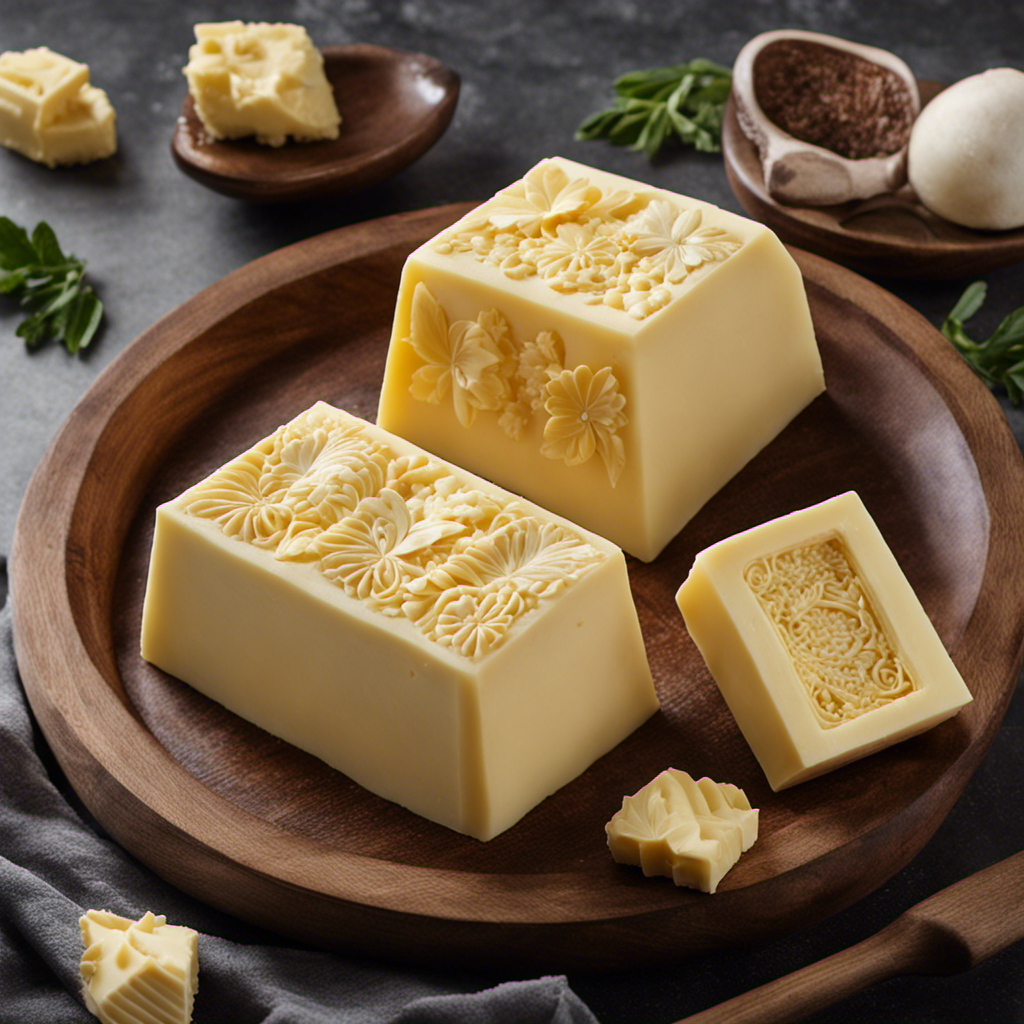
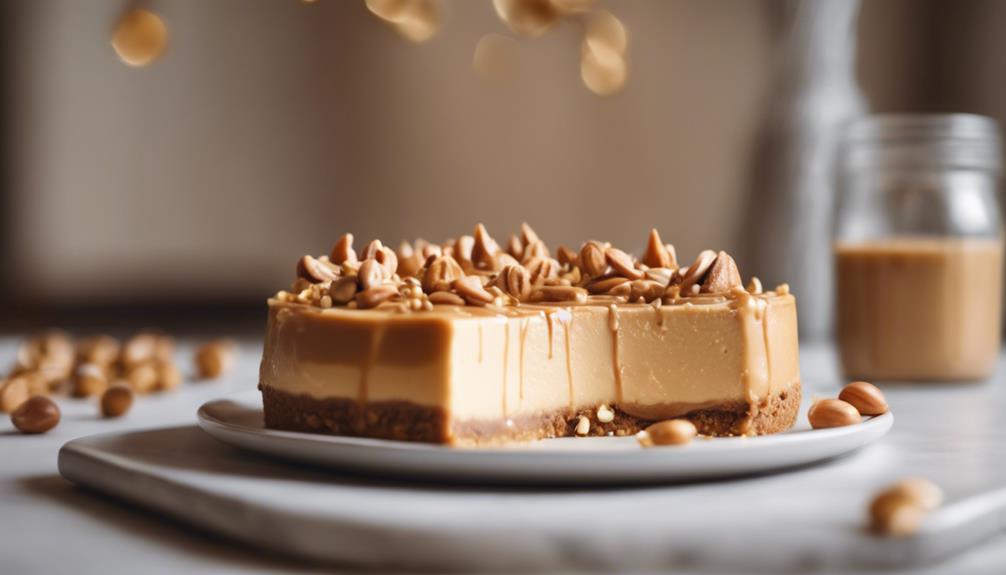
I really love butter and find it fascinating to use a butter mold to turn a basic block of butter into a beautiful work of art.
The smooth curves and intricate designs not only make your butter look stunning, but also add an extra touch of elegance to your table.
In this article, I’ll guide you through the process of using a butter mold, from choosing the right mold to storing and caring for it.
Get ready to elevate your butter game and impress your guests with this delightful technique.
Key Takeaways
- Consider the size, design, and material of the mold
- Soften the butter at room temperature for a smooth texture
- Press the butter firmly into the mold using a gentle rocking motion
- Run a butter knife along the edges of the mold to loosen the butter for easy removal
Choosing the Right Butter Mold
To choose the right butter mold, you’ll want to consider the size and design that best suits your needs.
When it comes to decorating options, there are a variety of choices available. Some molds have intricate patterns that can create beautifully detailed butter shapes, while others have simple and elegant designs. It all depends on your personal preference and the style you want to achieve.
Additionally, you may also want to consider alternative materials for your butter mold. While traditional molds are made of wood or ceramic, there are now molds available in silicone and plastic. These materials are durable, easy to clean, and offer more flexibility when it comes to releasing the butter from the mold.
Ultimately, the choice is yours, but taking these factors into consideration will ensure you find the perfect butter mold for your needs.
Preparing the Butter for Molding
When it comes to preparing the butter for molding, there are a few key points to keep in mind.
First and foremost, softening the butter is crucial for achieving a smooth and even texture. To do this, I recommend leaving the butter at room temperature for about 30 minutes before starting the molding process.
Secondly, choosing the right mold is essential for creating beautiful and intricate designs. Look for molds that are made of high-quality materials, such as silicone or stainless steel, and have intricate patterns that will transfer onto the butter.
Lastly, properly filling the mold is important to ensure that the design is clear and defined. Make sure to press the softened butter firmly into all the nooks and crannies of the mold, using a spatula or the back of a spoon.
Softening the Butter
Start by letting the butter sit at room temperature to soften it before using the butter mold. Softening the butter is an essential step to ensure a smooth and easy molding process.
When the butter is at room temperature, it becomes pliable and malleable, making it easier to press into the mold and achieve the desired shape. Trying to mold cold or hard butter can be frustrating and may result in uneven shapes or difficult release from the mold.
To soften the butter, simply remove it from the refrigerator and let it sit at room temperature for about 30 minutes to an hour, depending on the temperature of your kitchen.
Once the butter has softened, it will be ready to be molded into beautiful and decorative shapes using your butter mold.
Choosing the Mold
To choose the perfect mold, you’ll want to consider the size, design, and material that best suits your butter molding needs. When it comes to butter mold materials, there are a few options to choose from. Here are some popular choices:
-
Silicone: This material is flexible and easy to clean, making it a great option for intricate designs and easy release of the butter.
-
Stainless Steel: Known for its durability, stainless steel molds are perfect for creating uniform shapes and designs.
-
Wood: If you prefer a more traditional look, wooden molds are a great choice. They add a rustic charm to your butter and are often handcrafted.
-
Ceramic: Ceramic molds are not only functional but also decorative. They come in a variety of colors and designs, adding a touch of elegance to your butter.
Consider the design and material that aligns with your style and needs, and soon you’ll be creating beautifully shaped butter masterpieces.
Properly Filling the Mold
As I’m filling the mold, I make sure to press the butter firmly to eliminate any air bubbles. This is an important step in properly using a butter mold.
Filling the mold is where you can get creative with different techniques and designs. One popular technique is layering different colored butters to create a marbled effect. Another technique is adding herbs or spices to the butter for a flavorful twist.
When filling the mold, it’s important to work quickly to prevent the butter from melting. If the butter is too soft, it won’t hold its shape in the mold. If this happens, simply refrigerate the butter until it firms up and try again.
With these filling techniques and troubleshooting tips, you’ll be able to create beautifully shaped butter every time.
Filling the Butter Mold
First, make sure you have softened the butter before filling the mold. Softened butter is easier to work with and will result in a smoother and more even mold. Once you have your softened butter ready, here are some tips for filling the butter mold:
- Fill the mold slowly and carefully to avoid any air pockets or uneven distribution.
- Use a small spatula or butter knife to press the butter into all the nooks and crannies of the mold.
- Smooth the surface of the butter with the back of the spatula or knife for a neat and clean finish.
- If you want to add a creative touch, consider adding herbs, spices, or even edible flowers to the butter before filling the mold for a unique and flavorful design.
By following these steps, you will be able to create beautifully shaped and delicious butter creations with your mold.
Don’t forget to clean and maintain your butter mold regularly to ensure its longevity and functionality. With the right maintenance and some creative butter mold designs, your butter will be the talk of the table.
Pressing the Butter Into Shape
Shaping the perfect mold is essential for creating visually appealing and evenly distributed butter. To achieve this, I will discuss various techniques for achieving evenness in the butter mold.
These techniques will not only ensure a beautiful end result, but also allow for easy removal of the butter from the mold.
Shaping the Perfect Mold
To create the perfect mold, you’ll need to press the softened butter firmly into the mold and smooth it out. This step is crucial for achieving a well-defined shape and ensuring that your butter mold turns out beautifully.
Here are some shaping techniques and troubleshooting tips to help you along the way:
- Use a gentle rocking motion while pressing the butter into the mold to ensure even distribution.
- If the butter sticks to the mold, try dusting it lightly with powdered sugar or flour.
- For intricate designs, use a small spatula or butter knife to carefully push the butter into every nook and cranny.
- If the butter cracks or breaks while unmolding, refrigerate it for a few minutes to firm it up before trying again.
By following these shaping techniques and troubleshooting tips, you’ll be well on your way to creating stunning butter molds.
Now, let’s explore some techniques for achieving evenness in your molds.
Techniques for Evenness
For achieving evenness in your molds, it’s important to evenly distribute the softened butter and ensure a smooth texture. Balancing butter is key to achieving uniformity, and there are a few techniques that can help you achieve this.
First, make sure your butter is at the right temperature. It should be softened but not melted. This will make it easier to spread evenly in the mold.
Next, use a spatula or a butter knife to evenly distribute the butter in the mold. Start from the center and work your way outwards, spreading the butter in a smooth, even layer. Take your time and be gentle to avoid any air bubbles or uneven spots.
Finally, give the mold a gentle shake or tap on the counter to settle the butter and ensure it fills all the nooks and crannies.
With these techniques, you’ll be able to achieve perfectly balanced and uniform butter molds every time.
Removing the Butter From the Mold
Once the butter has solidified in the mold, you can gently press on the sides to release it. However, there may be instances when you encounter issues with removing the butter from the mold. Don’t worry, troubleshooting butter mold issues is a common challenge that can be easily overcome. Here are some tips to help you out:
-
Use a butter knife: Run a butter knife along the edges of the mold to loosen the butter. This will make it easier to release.
-
Warm the mold: If the butter is not coming out easily, try warming the mold slightly by placing it in warm water for a few seconds. This will help soften the butter and facilitate its release.
-
Chill the mold: On the other hand, if the butter is too soft and sticky, chilling the mold in the refrigerator for a few minutes can firm it up and make it easier to remove.
-
Use non-stick molds: Investing in non-stick butter molds can make the process of removing the butter effortless, as the non-stick coating ensures smooth release every time.
In addition to using butter molds for their intended purpose, they can also be repurposed for other creative uses. Some alternative uses for butter molds include shaping homemade chocolates, molding bath bombs, or creating decorative soap bars. So, don’t limit yourself to just butter-making, let your imagination run wild!
Storing and Caring for the Butter Mold
Now that you’ve successfully removed the butter from the mold, it’s important to properly store and care for it. Storing butter molds requires a little extra attention to ensure they remain in good condition and ready for future use.
One of the most important steps in caring for butter molds is cleaning them after each use. This helps to prevent any residue or odors from transferring to the next batch of butter. To clean the mold, simply wash it with warm water and mild soap, making sure to remove any butter remnants. Avoid using harsh scrub brushes or abrasive cleaners, as these can damage the delicate designs on the mold.
Once the mold is clean and dry, it’s time to store it. I find it helpful to store butter molds in a cool, dry place away from direct sunlight. This helps to prevent any warping or discoloration. Additionally, you can wrap the mold in a clean cloth or place it in a protective container to further protect it from dust and potential damage.
Overall, with proper cleaning and storage, your butter molds will continue to bring beauty and elegance to your homemade butter creations for years to come.
Using Butter Molds for Special Occasions
To add an elegant touch to your special occasions, simply press softened butter into the intricately designed molds. Butter molds come in a variety of beautiful designs, allowing you to create unique and eye-catching butter shapes that will impress your guests.
Here are some creative butter mold ideas to inspire you:
-
Floral designs: Use molds with intricate flower patterns to create delicate and beautiful butter flowers that will brighten up your table.
-
Seasonal shapes: From snowflakes to pumpkins, choose butter mold designs that reflect the current season or holiday for a festive touch.
-
Animal motifs: Butter molds in the shape of animals can be a fun and whimsical addition to your special occasion. Think butterflies, birds, or even farm animals.
-
Monograms and initials: Personalize your butter with molds that feature monograms or initials, adding a sophisticated touch to your table setting.
By using these creative butter mold ideas, you can elevate your special occasions and delight your guests with the artistic and delicious addition of shaped butter.
Now, let’s move on to troubleshooting common issues with butter molds.
Troubleshooting Common Issues With Butter Molds
If you’re having trouble with your butter molds, here are some tips to help you troubleshoot common issues.
One common mistake is not properly greasing the mold before use. This can result in the butter sticking and not releasing cleanly. To avoid this, make sure to thoroughly grease the mold with melted butter or non-stick cooking spray.
Another common issue is using butter that is too soft or melted. This can cause the butter to lose its shape and not hold the intricate design of the mold. To prevent this, chill the butter in the refrigerator until it is firm but still pliable.
Lastly, make sure to press the butter firmly into the mold to ensure all the details are captured.
With these troubleshooting tips in mind, you’ll be able to create beautifully molded butter every time.
Frequently Asked Questions
How Do I Clean a Butter Mold After Use?
After using a butter mold, cleaning it is essential. To keep it sanitized, I wash it with warm soapy water and use a soft brush to remove any residue. Then, I let it air dry before storing it.
Can I Use a Butter Mold for Other Types of Spreads Besides Butter?
Oh, let me tell you, using a butter mold for spreads is a game changer! Not only can you shape other spreads like cream cheese or nut butter, but it also adds a touch of elegance to your presentation.
Can I Use a Silicone Mold for Shaping Butter?
Yes, you can use a silicone mold instead of a butter mold for shaping butter. The benefits of using a butter mold include easy removal and precise shapes. Silicone molds offer alternatives for shaping butter in unique and creative ways.
How Long Does It Take for the Butter to Set in the Mold?
It usually takes about 1-2 hours for butter to set in a mold. To speed up the process, you can place the mold in the refrigerator. If you’re having issues with the butter not setting, try using colder butter or adjusting the temperature.
Can I Freeze the Butter in the Mold?
Sure, you can definitely freeze butter in a mold! It’s a great way to keep it fresh and ready for future use. Plus, butter molds can also be used for shaping other ingredients like ice cream or chocolate.
Conclusion
After mastering the art of using a butter mold, I feel like a sculptor crafting a masterpiece. The process of choosing the perfect mold, preparing the butter, and pressing it into shape is akin to molding clay into a beautiful sculpture.
The satisfaction of removing the butter from the mold, perfectly formed and ready to be enjoyed, is like unveiling a work of art. With proper care and storage, your butter mold will become a cherished tool in your kitchen arsenal.
So go forth, embrace the artistry, and create buttery masterpieces for all occasions!
