
Hello, butter lovers! Have you ever thought about how to turn heavy cream into a heavenly whipped butter? Well, you’re in luck! In this article, I will reveal my proven method for making the creamiest, dreamiest whipped butter you’ve ever experienced.
We’ll dive into the process step by step, from gathering the ingredients to testing for that perfect consistency.
So grab your aprons and get ready to whip up some magic in the kitchen!
Key Takeaways
- Chilling the heavy cream before whipping helps it whip up faster and hold its shape better.
- Whipping cream requires technique and attention to detail, and overwhipping can lead to a grainy texture.
- Adding salt to whipped cream enhances the flavor and balances the sweetness.
- Alternatives to heavy cream, such as coconut cream or avocado, can be used for those with dietary restrictions or preferences.

KitchenAid Artisan Series 5 Quart Tilt Head Stand Mixer with Pouring Shield KSM150PS, Milkshake
- Durable Metal Construction: Built to last with 59 touchpoints
- 5 Quart Stainless Steel Bowl: Handles small or large batches, dishwasher safe
- Tilt-Head Design: Easy ingredient addition and access to bowl
As an affiliate, we earn on qualifying purchases.
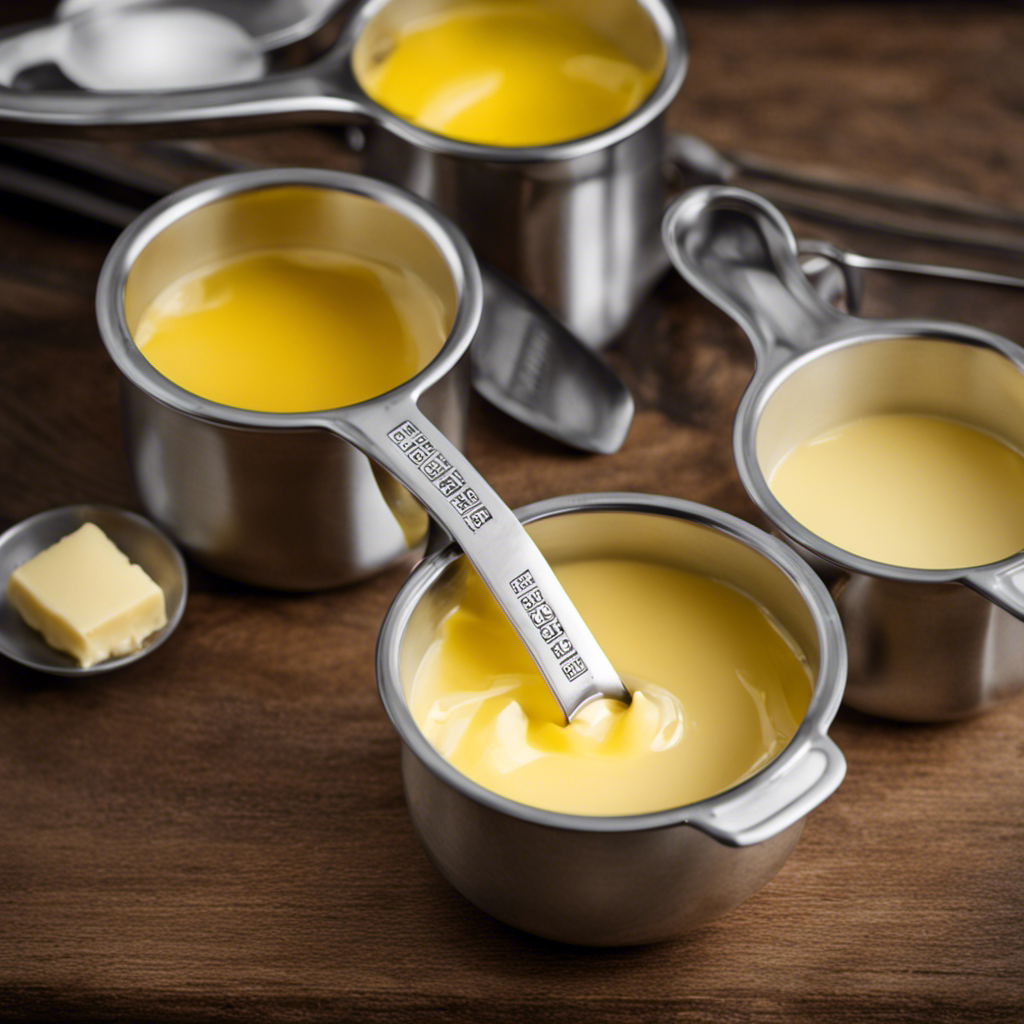
Gathering the Ingredients
You’ll need to gather the heavy cream and a pinch of salt for making whipped butter.
Starting with the heavy cream, it’s important to ensure it is at the right temperature. Testing the temperature is a crucial step to achieve the perfect consistency. If the cream is too cold, it won’t whip properly, and if it’s too warm, it may curdle. To avoid common mistakes, make sure the cream is chilled but not icy cold.
Troubleshooting common mistakes such as over-whipping or under-whipping can be easily avoided by keeping a close eye on the cream while whipping.
Once you have the cream and salt ready, it’s time to move on to the next step in making delicious whipped butter.
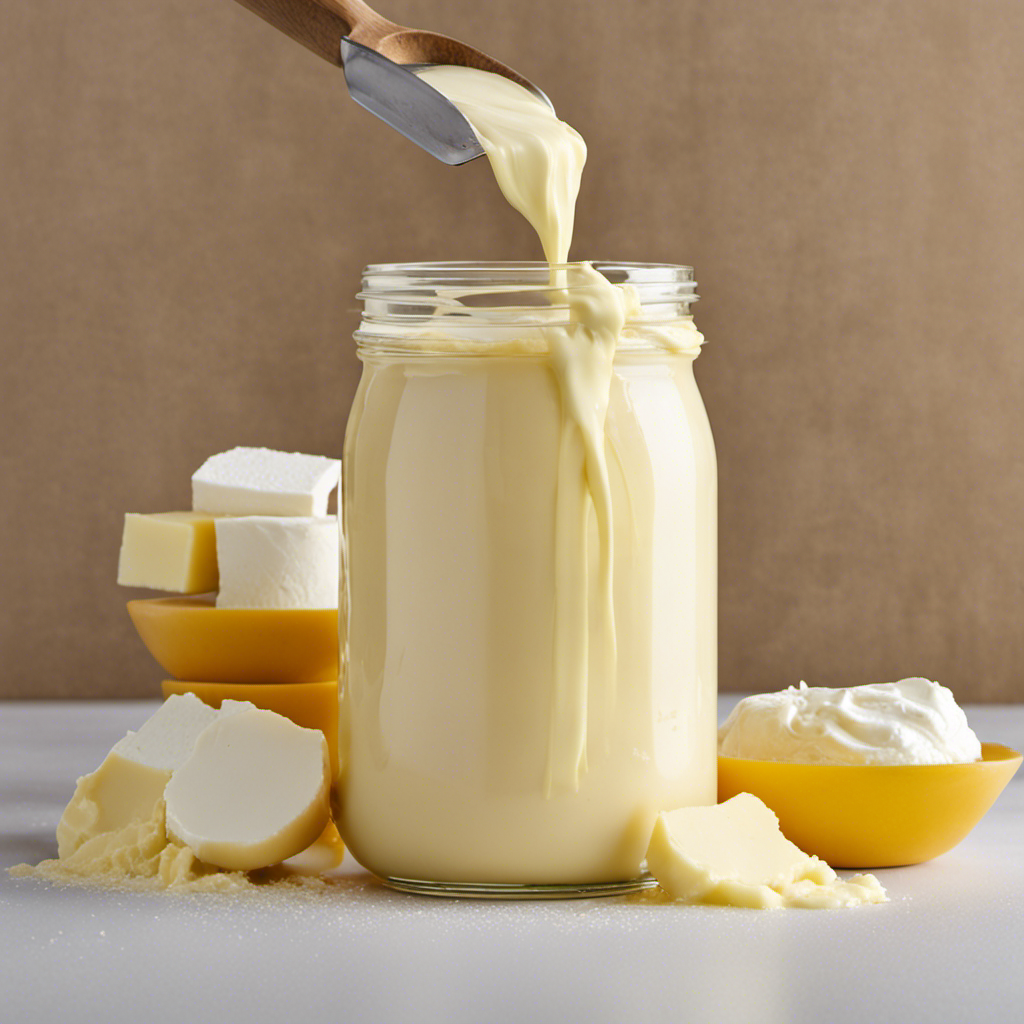
Chilling the Heavy Cream
To ensure the best results, it’s important to refrigerate the cream before starting the process. Chilling the heavy cream helps it whip up faster and hold its shape better. There are a few chilling techniques you can try to achieve the perfect consistency for your whipped butter.
One technique is to place the heavy cream in a metal mixing bowl and put it in the freezer for about 15 minutes before whipping. The cold temperature of the bowl helps to keep the cream chilled during the whipping process. Another technique is to place the heavy cream in the refrigerator overnight, allowing it to chill thoroughly before whipping.
Here are some troubleshooting tips to keep in mind while chilling the heavy cream:
| Troubleshooting Tips | Solutions |
|---|---|
| Cream not whipping | Make sure the cream is cold enough |
| Over-whipped cream | Stop whipping before it gets too stiff |
| Cream not holding its shape | Whip in a teaspoon of powdered sugar |
Whipping the Cream
When whipping the cream, be sure to use a cold bowl and whisk to achieve the desired consistency.
Whipping cream is a delicate process that requires some technique and attention to detail. To begin, make sure your cream is chilled and your equipment is cold. This will help the cream whip faster and hold its shape better.
Start by pouring the cold cream into the cold bowl. Using the cold whisk, begin whisking the cream in a fast and steady motion. As you whisk, you will notice the cream start to thicken and increase in volume. Be careful not to overwhip, as this can lead to a grainy texture.
If the cream starts to separate or curdle, it means you have overwhipped it. To fix this, simply add a little bit of cold cream and gently whisk it in until it becomes smooth again.
With these whipping techniques and troubleshooting tips, you’ll be able to achieve the perfect whipped cream every time.
Adding Salt (Optional
Adding salt to your whipped cream can enhance the flavor and balance the sweetness. It’s a simple step that can take your whipped butter to the next level.
When it comes to choosing the right butter for your whipped cream, you have two options: salted butter or unsalted butter. Salted butter already contains salt, so if you choose to use it, you may want to adjust the amount of additional salt you add. On the other hand, using unsalted butter allows you to have more control over the saltiness of your whipped cream. It’s all about personal preference.
Incorporating salt into your whipped cream can create a deliciously savory twist to your butter, adding depth and complexity to its flavor profile.
Now, let’s explore the next step: incorporating flavorings (optional).
Incorporating Flavorings (Optional
If you want to enhance the taste of your whipped cream, you can consider incorporating flavorings like vanilla extract or cocoa powder. These flavoring options can take your whipped cream from ordinary to extraordinary, adding a burst of flavor that will have your taste buds dancing with delight.
Vanilla extract is a classic choice, with its rich and aromatic notes that perfectly complement the creamy sweetness of the whipped cream. On the other hand, cocoa powder adds a deep, chocolatey flavor that pairs beautifully with the light and fluffy texture of the cream.
But don’t limit yourself to just these traditional flavorings. Get creative with additions like mint extract, almond extract, or even a splash of your favorite liqueur for a truly decadent treat. The possibilities are endless when it comes to incorporating flavorings into your whipped cream, so let your imagination run wild and indulge in the deliciousness!
Continuing to Whip the Cream
When it comes to achieving that perfect fluffy texture for whipped cream, there are a few key points to keep in mind.
First, it’s important to whip the cream just until it reaches soft peaks to avoid over-whipping and turning it into butter. This delicate balance ensures a light and airy consistency that is perfect for topping desserts or adding to hot beverages.
If heavy cream is not available, there are alternatives such as coconut cream or cashew cream that can be used to achieve a similar result.
Fluffy Texture Achieved
To achieve a fluffy texture, you’ll want to whip the heavy cream until soft peaks form. This is the key to achieving lightness in whipped butter.
As I continued whipping the cream, I noticed the transformation taking place. The once liquid cream began to thicken and gain volume. I could see small bubbles forming on the surface, a sign that air was being incorporated.
With each stroke of the whisk, the cream became lighter and fluffier. It was like watching a cloud form right before my eyes. The soft peaks started to hold their shape, indicating that the cream was ready to be transformed into whipped butter.
The texture was absolutely heavenly, and I couldn’t wait to spread it on a warm slice of bread.
Over-Whipping Risks
The risk of over-whipping is that the cream will become too thick and lose its light and airy texture. It’s an easy mistake to make, but the consequences can be disappointing.
Here are three things you need to know to prevent over-whipping:
-
Timing is everything: Keep a close eye on your cream as you whip it. It can go from soft peaks to over-whipped in a matter of seconds. Don’t walk away from it!
-
Use the right equipment: Make sure your whisk or mixer is clean and dry. Any trace of oil or water can prevent the cream from reaching its full potential and result in over-whipping.
-
Stop at the right moment: When you see soft peaks forming and the cream is still light and fluffy, stop whipping. Over-whipping will cause the cream to become dense and butter-like.
By following these tips, you can avoid the disappointment of over-whipped cream and enjoy a perfect, light texture.
But what if you don’t have heavy cream on hand? Let’s explore some alternatives.
Alternatives to Heavy Cream?
After discussing the risks of over-whipping, I wanted to explore some alternatives to heavy cream for those who are looking for dairy-free options.
Thankfully, there are various dairy-free alternatives available for making whipped butter. One popular option is using coconut cream, which has a rich and creamy texture that is perfect for whipping. Another alternative is using avocado, which not only adds a creamy consistency but also provides a healthy dose of monounsaturated fats.
Whipped butter provides a delicious spread for bread and a creamy addition to various dishes. On the other hand, whipped cream is a light and airy topping that adds a touch of sweetness to desserts.
Whether you choose whipped butter or whipped cream, both options can elevate your culinary creations and satisfy your taste buds.
Testing for the Right Consistency
When it comes to whipping cream, there are a few key points to keep in mind.
First, the amount of butterfat in the cream can affect the final result. Cream with a higher butterfat content will whip up faster and hold its shape better.
However, there are risks of over-whipping, which can result in a grainy texture and a loss of volume. To achieve a light and fluffy texture, it’s important to whip the cream just until soft peaks form, being careful not to overdo it.
Cream Vs Butterfat
To understand the difference between cream and butterfat, it’s important to compare their fat content and consistency. Here are three key differences to consider:
-
Fat Content: Cream is a dairy product that contains varying levels of fat, ranging from 18% to 40%. On the other hand, butterfat refers specifically to the fat content found in butter, which typically consists of around 80% fat.
-
Consistency: Cream is a liquid or semi-solid substance, depending on its fat content. It can be poured or whipped into a fluffy texture. Butterfat, on the other hand, is a solid at room temperature and requires churning to obtain the desired consistency.
-
Uses: Cream is commonly used in cooking and baking to add richness and creaminess to dishes. It can be incorporated into sauces, soups, and desserts. Butterfat, on the other hand, is primarily used in the production of butter and is a key ingredient in baking, providing flavor, moisture, and a tender texture to baked goods.
Understanding the differences between cream and butterfat can help you choose the right ingredient for your culinary endeavors.
Over-Whipping Risks
Be careful not to over-whip your cream or it will turn into butter. Trust me, I’ve learned this the hard way.
The consequences of over-whipping are not what you want when you’re trying to make a smooth and fluffy whipped cream. Instead of a light and airy texture, you’ll end up with a dense and grainy mess. Believe me, I’ve had my fair share of kitchen disasters.
But fear not, there are ways to prevent over-whipping and save your cream.
First, make sure to start with chilled cream and a chilled bowl. This will help slow down the whipping process and prevent it from going too far.
Also, keep a close eye on your cream as you whip it. Stop whipping once it reaches soft peaks, where it gently holds its shape.
And don’t forget, practice makes perfect! So keep experimenting and soon you’ll be a pro at whipping cream without any buttery mishaps.
Achieving Light Texture?
Chilling the bowl and cream before whipping helps achieve a light and fluffy texture. Here are three tips for achieving that perfect light texture:
-
Use cold cream: Make sure the cream is chilled before starting the whipping process. Cold cream whips up faster and holds its shape better, resulting in a lighter texture.
-
Whip at the right speed: Start whipping the cream on low speed and gradually increase to medium-high speed. This allows air to be incorporated evenly, creating a light and airy texture.
-
Don’t over-whip: Be careful not to over-whip the cream, as this can lead to a dense and buttery texture. Stop whipping when soft peaks form and the cream holds its shape but is still smooth and creamy.
By following these tips, you can achieve a light and fluffy texture for your whipped butter.
Now, let’s move on to how to store it properly.
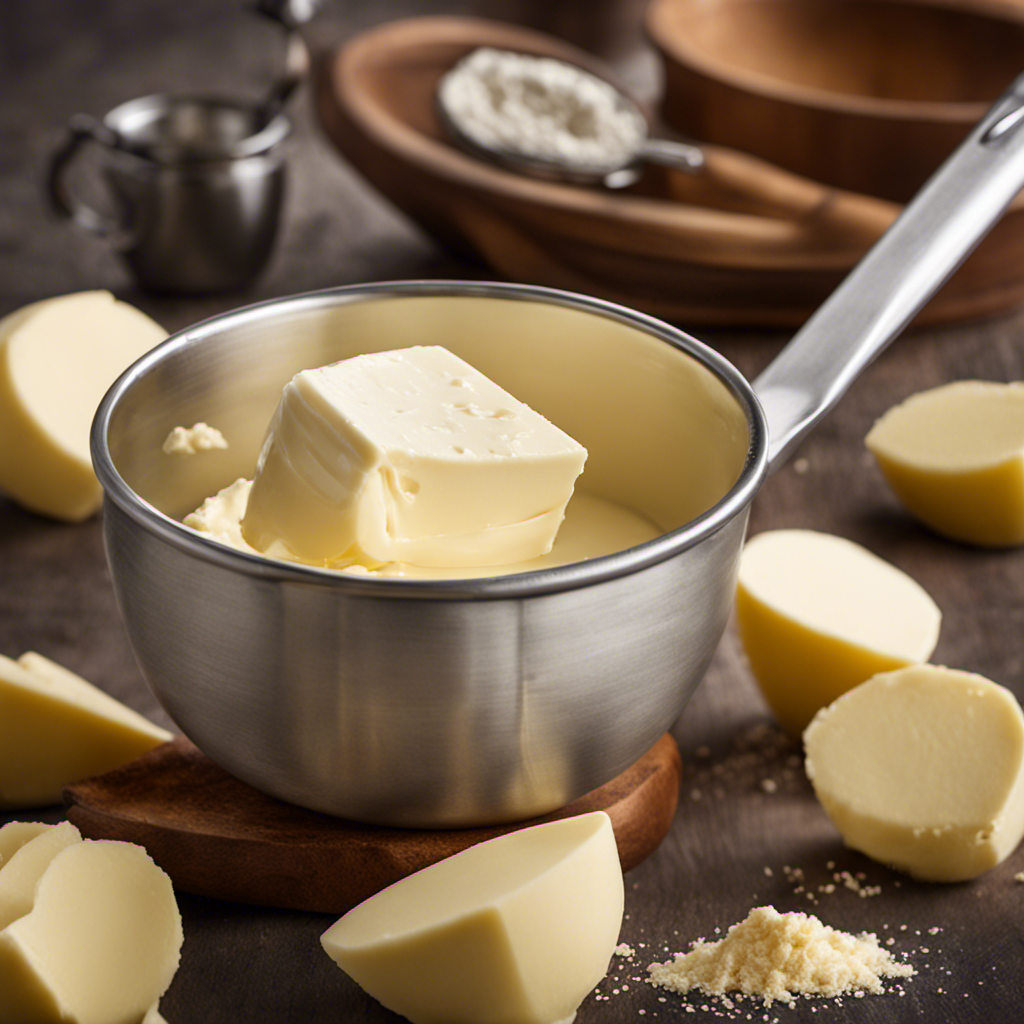
Storing the Whipped Butter
After whipping the butter, store it in an airtight container in the refrigerator. This is essential for maintaining the light and fluffy texture of the whipped butter. By storing it properly, you can also extend its shelf life and enjoy its deliciousness for a longer period. To help you understand the best way to store whipped butter, I have created a table below:
| Storage Method | Shelf Life |
|---|---|
| Refrigerator | Up to 2 weeks |
| Freezer | Up to 6 months |
| Butter Bell | Up to 1 month |
| Vacuum Sealed Bag | Up to 3 months |
Each storage method has its own advantages, but I personally prefer keeping my whipped butter in an airtight container in the refrigerator. It stays fresh and maintains its light texture for up to 2 weeks. However, if you want to extend its shelf life even further, you can opt for freezing it, using a Butter Bell, or vacuum sealing it. Whichever method you choose, make sure to label the container with the date of preparation to keep track of its freshness. So go ahead and enjoy your whipped butter whenever you crave its creamy goodness!
Tips and Variations
To enhance the flavor of your whipped butter, consider adding a pinch of salt or a drizzle of honey for a delightful twist. Whipped butter is a versatile spread that can be used in various dishes or simply enjoyed on its own. Here are three tips and variations to help you achieve a light and fluffy texture:
-
Use alternatives to heavy cream: If you’re looking for a lighter option, try using milk or half-and-half instead of heavy cream. These alternatives will still give your whipped butter a creamy consistency, but with fewer calories.
-
Chill your ingredients: Before whipping, make sure your butter and alternative cream are cold. This will help achieve a light texture as the cold ingredients emulsify together.
-
Experiment with flavors: While plain whipped butter is delicious, don’t be afraid to get creative. Add herbs, spices, or even citrus zest to infuse your butter with unique flavors. This will elevate your dishes and make them even more enjoyable.
Frequently Asked Questions
Can I Use a Different Type of Cream Instead of Heavy Cream?
I can use different types of cream instead of heavy cream to make whipped butter. There are alternatives like light cream or half-and-half that can be used for this purpose.
How Long Does It Take to Whip the Cream Until It Turns Into Butter?
It usually takes about 10-15 minutes to whip heavy cream until it turns into butter. Be patient and keep whisking until you see the texture change and the cream separates into butter and buttermilk.
Can I Add Sugar Instead of Salt for a Sweeter Taste?
Sure, you can definitely add sugar instead of salt to make whipped butter sweeter. It’s a great sugar substitute that adds a delightful flavor to your butter. You can also experiment with different alternative flavors for a unique twist.
Is It Possible to Use a Hand Mixer Instead of a Stand Mixer?
Using a hand mixer instead of a stand mixer for whipped butter is absolutely possible. It may take a bit longer to achieve the desired consistency, but with patience and persistence, you can still whip cream to perfection.
How Long Can I Store the Whipped Butter in the Refrigerator?
The whipped butter I made from heavy cream has a shelf life of about two weeks in the refrigerator. To keep it fresh, follow these storage guidelines: tightly seal in a container and store at a consistent temperature.
Conclusion
In conclusion, making whipped butter from heavy cream is a simple and delicious process. By chilling the cream, whipping it until it thickens, and adding salt or flavorings, you can create a spreadable and flavorful butter that will elevate any dish.
One interesting statistic to note is that homemade whipped butter has been found to have a higher fat content compared to store-bought varieties, making it richer and more decadent.
So why not give it a try and enjoy the creamy goodness of homemade whipped butter?