Are you fed up with using regular soap that leaves your skin feeling dry and lackluster? Your search ends here! This article will guide you on creating your own soap with shea butter, a lavish ingredient renowned for its hydrating abilities.
By following our step-by-step guide, you’ll be able to create your own nourishing and fragrant soap that will leave your skin feeling soft and rejuvenated.
So, get ready to embark on a journey of soap making and discover the wonders of shea butter!
Key Takeaways
- Shea butter provides moisturizing and nourishing properties to soap
- Unrefined shea butter is recommended for its natural properties
- Essential oils can be added for fragrance and skincare benefits
- Proper curing and storage techniques are important for maintaining the quality of shea butter soap.
Benefits of Shea Butter in Soap Making
Shea butter is a fantastic ingredient for your soap because it provides moisturizing and nourishing properties. When it comes to shea butter soap recipes, incorporating this ingredient can greatly enhance the benefits for your skin.
Shea butter is derived from the nuts of the shea tree and is known for its high concentration of fatty acids and vitamins. These components work together to deeply moisturize and nourish the skin, leaving it soft and supple. Shea butter also has anti-inflammatory and healing properties, making it ideal for soothing dry and irritated skin.
In skincare, shea butter acts as a natural emollient, locking in moisture and protecting the skin’s natural barrier. So, if you want to create a soap that will leave your skin feeling hydrated and rejuvenated, adding shea butter to your recipe is a must.
Choosing the Right Ingredients for Shea Butter Soap
When making soap with shea butter, it’s important to choose the right ingredients. Here are some key things to consider:
-
Research suppliers: Look for reputable suppliers of shea butter and other soap-making ingredients. Read reviews, check for certifications, and ensure they source their shea butter ethically and sustainably.
-
High-quality shea butter: Opt for unrefined shea butter, as it retains more of its natural properties and benefits for the skin. It should be pure, creamy, and have a distinct nutty scent.
-
Essential oils: Consider adding essential oils for fragrance and additional skincare benefits. Choose oils that complement shea butter, such as lavender for relaxation or tea tree for its antibacterial properties.
-
Recommended tools: Invest in a good quality soap mold, thermometer, and silicone spatulas for precise measurements and easy soap removal.
Step-by-Step Guide to Melt and Pour Shea Butter Soap
To start making your own melt and pour soap with shea butter, gather all the necessary ingredients and equipment.
The melting process involves heating the soap base in a double boiler or microwave until it reaches a liquid state. Once melted, you can add in your desired fragrance, colorants, and other additives.
To achieve a professional look, it’s important to master the pouring technique. Slowly pour the melted soap into the soap molds, making sure to avoid any air bubbles.
Allow the soap to cool and harden completely before removing it from the molds.
Now that you have learned the basics of melt and pour soap making with shea butter, let’s dive into the next section about cold process soap making with shea butter: a beginner’s guide.
Cold Process Soap Making With Shea Butter: a Beginner’s Guide
If you’re a beginner, you’ll find cold process soap making with shea butter to be a fun and rewarding way to create your own unique soaps. Here’s a step-by-step guide to help you get started:
-
Gather your ingredients: shea butter, lye, water, and your choice of essential oils or additives.
-
Calculate the amount of lye and water needed using an online soap calculator.
-
Melt the shea butter in a microwave or double boiler until it reaches around 100°F.
-
Mix the lye into the water slowly, stirring until it dissolves completely.
Troubleshooting common issues:
-
If your soap mixture is too thick, try adding more liquid, such as water or milk.
-
If your soap doesn’t harden, it may need more time to cure. Allow it to sit for several weeks in a cool, dry place.
-
If your soap develops a strong odor, it may be due to an incorrect ratio of fragrance oils. Adjust accordingly.
Now you’re ready to create your own shea butter soap recipes and troubleshoot any common issues that may arise along the way. Enjoy the process and have fun experimenting with different combinations!
Adding Fragrance and Color to Shea Butter Soap
Now that you’ve gathered your ingredients and learned how to troubleshoot common issues, it’s time to add fragrance and color to your homemade soap.
When it comes to coloring shea butter soap, natural dyes are a great option. They are safe, gentle on the skin, and can give your soap a beautiful, vibrant hue. Some popular natural dyes for soap making include turmeric for a sunny yellow color, spirulina for a fresh green shade, and beetroot powder for a lovely pink tint. Experiment with different amounts to achieve your desired color intensity.
As for fragrance, there are countless options to explore. Essential oils are a popular choice, as they not only add a delightful scent but also offer potential therapeutic benefits. Lavender, peppermint, and citrus oils are commonly used in soap making.
Another option is fragrance oils, which are synthetic but provide a wide range of scents to choose from. Whichever option you go for, make sure to follow the recommended usage rates to ensure a well-balanced scent that won’t overpower the shea butter’s natural aroma.
Enjoy the creative process of adding fragrance and color to your shea butter soap!
Tips for Curing and Storing Shea Butter Soap
When curing and storing your homemade shea butter soap, remember to keep it in a cool, dry place to ensure optimal hardness and longevity. Here are some tips to help you with the curing and storage process:
-
Allow the soap to cure: After making the soap, let it sit in a well-ventilated area for about 4-6 weeks. This curing process allows the excess water to evaporate, resulting in a harder and longer-lasting bar.
-
Use a curing rack: Place the soap bars on a drying rack to promote even air circulation. This helps prevent the formation of moisture pockets, which can lead to soap spoilage.
-
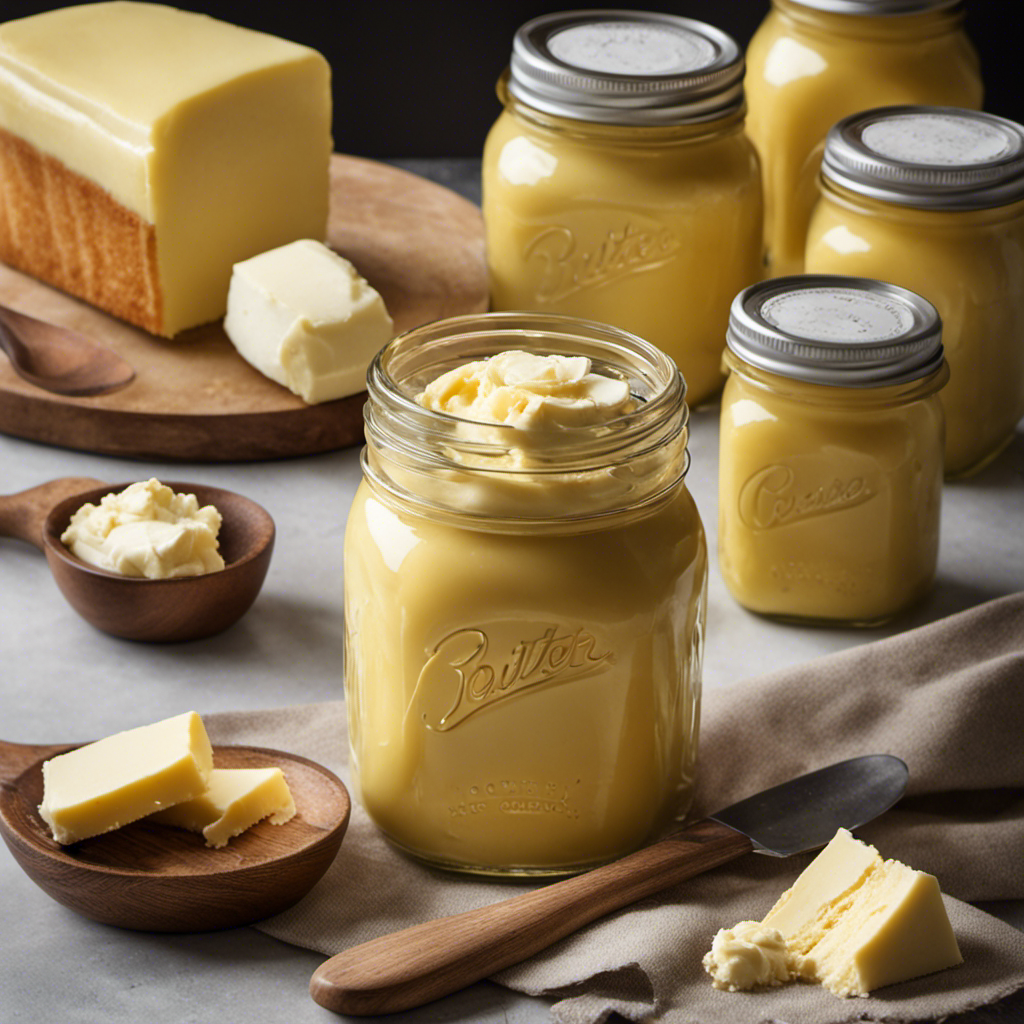
Store in airtight containers: Once the soap is fully cured, store it in airtight containers to protect it from moisture and humidity. Mason jars or plastic containers with tight lids work well for this purpose.
-
Keep away from sunlight: Exposure to sunlight can cause the soap to fade and lose its fragrance. Store the soap in a dark place, such as a cupboard or drawer, to maintain its color and scent.
Conclusion
Congratulations on completing your homemade shea butter soap! By incorporating this luxurious ingredient into your soap-making process, you have harnessed its incredible benefits for your skin.
Did you know that shea butter is not only moisturizing but also contains anti-inflammatory properties? This means that every time you cleanse with your homemade shea butter soap, you are soothing and nourishing your skin.
So, indulge in the goodness of shea butter and enjoy the long-lasting benefits it provides. Your skin will thank you!