I have always enjoyed using natural products for my skincare routine, and creating my own shea butter soap has made a significant impact.
The benefits of shea butter are incredible – it moisturizes, nourishes, and soothes the skin.
In this article, I’ll guide you through the step-by-step process of making your own shea butter soap, from choosing the right ingredients to adding fragrance and essential oils.
Get ready to indulge in a luxurious and personalized soap-making experience that will leave your skin feeling soft and rejuvenated.
Key Takeaways
- Shea butter is a beneficial ingredient in soap making as it moisturizes, nourishes, and soothes the skin.
- When making shea butter soap, it is important to choose high-quality ingredients and consider environmental and social responsibility.
- Fragrance and essential oils can be added to shea butter soap for pleasant scents and additional skincare benefits.
- Proper molding, cutting, curing, and storing techniques are essential for creating high-quality shea butter soap.
Benefits of Using Shea Butter in Soap Making
Using shea butter in your soap making has many benefits. Shea butter is known for its nourishing and moisturizing properties, making it an excellent ingredient for soap. It is rich in vitamins and fatty acids that promote healthy skin.
When used in soap, shea butter helps to hydrate and soothe dry, irritated skin, leaving it feeling soft and smooth. Additionally, shea butter has anti-inflammatory properties that can reduce redness and inflammation, making it suitable for sensitive skin.
To make the best shea butter soap, you can find a variety of recipes online that incorporate this beneficial ingredient. Whether you’re looking for a gentle cleanser or a luxurious moisturizing soap, shea butter is a versatile ingredient that can enhance the quality and benefits of your homemade soap.
Now that we understand the benefits of shea butter, let’s move on to choosing the right ingredients for shea butter soap.
Choosing the Right Ingredients for Shea Butter Soap
When selecting ingredients for your shea butter soap, it’s important to consider the type and quality of each component. Here are three key factors to consider:
-
Choosing natural additives: Incorporating natural additives in your shea butter soap can enhance its benefits and appeal. Look for ingredients like essential oils, herbs, or clays that can provide additional skincare benefits or add a pleasant scent. These natural additives can elevate your soap to the next level and make it unique.
-
Finding sustainable shea butter sources: Shea butter is the star ingredient in shea butter soap, so it’s crucial to source it sustainably. Look for suppliers who prioritize fair trade practices and support local communities. This ensures that the shea butter you use is ethically sourced, benefiting both the environment and the people involved in its production.
-
Quality control: When making shea butter soap, ensure that you are using high-quality ingredients. Opt for unrefined shea butter, as it retains more of its natural properties. Additionally, choose oils and other additives that are fresh and of good quality to ensure the best results for your soap.
Considering these factors will help you create a shea butter soap that is not only effective but also environmentally and socially responsible.
Now, let’s move on to the step-by-step guide to making shea butter soap.
Step-by-Step Guide to Making Shea Butter Soap
Let’s begin by gathering all the necessary ingredients for our homemade shea butter soap. Making shea butter soap is a wonderful way to nourish and moisturize your skin.
Shea butter, derived from the nut of the shea tree, is known for its incredible moisturizing properties and is rich in vitamins and fatty acids. These nutrients help to soothe dry and irritated skin, making shea butter an excellent choice for soap-making. Additionally, shea butter has anti-inflammatory properties that can help alleviate skin conditions such as eczema and psoriasis.
When troubleshooting common issues, ensure that you are using high-quality shea butter and following the proper measurements and instructions. By incorporating shea butter into your soap-making routine, you can enjoy the numerous benefits it offers for your skin.
Adding Fragrance and Essential Oils to Shea Butter Soap
Adding fragrance and essential oils enhances the sensory experience of your homemade shea butter soap. Not only do they add a pleasant scent, but they also provide a range of benefits for your skin and overall well-being.
Here are three fragrance options and essential oil benefits to consider:
-
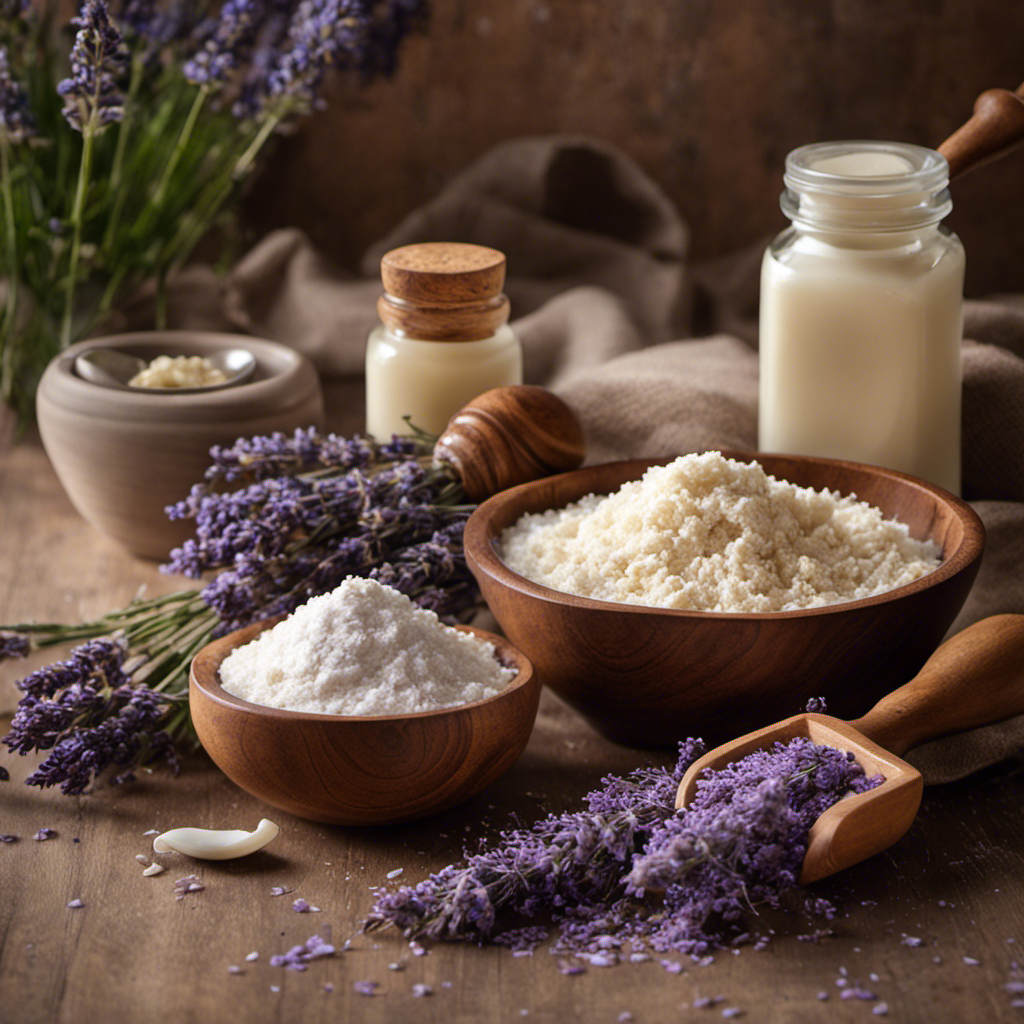
Lavender: Known for its calming properties, lavender essential oil can promote relaxation and reduce stress. It also has antiseptic and anti-inflammatory properties, making it great for soothing irritated skin.
-
Peppermint: Peppermint essential oil has a refreshing and invigorating scent. It can help improve focus and boost energy. Additionally, it has antimicrobial properties that can cleanse and purify the skin.
-
Citrus: Citrus essential oils like orange or lemon can provide a burst of freshness and uplift your mood. They are also rich in antioxidants, which help protect the skin from environmental damage.
By incorporating these fragrance options and essential oils, you can create a personalized soap that not only smells amazing but also provides various benefits for your skin.
Now, let’s move on to some tips for molding and cutting shea butter soap.
Tips for Molding and Cutting Shea Butter Soap
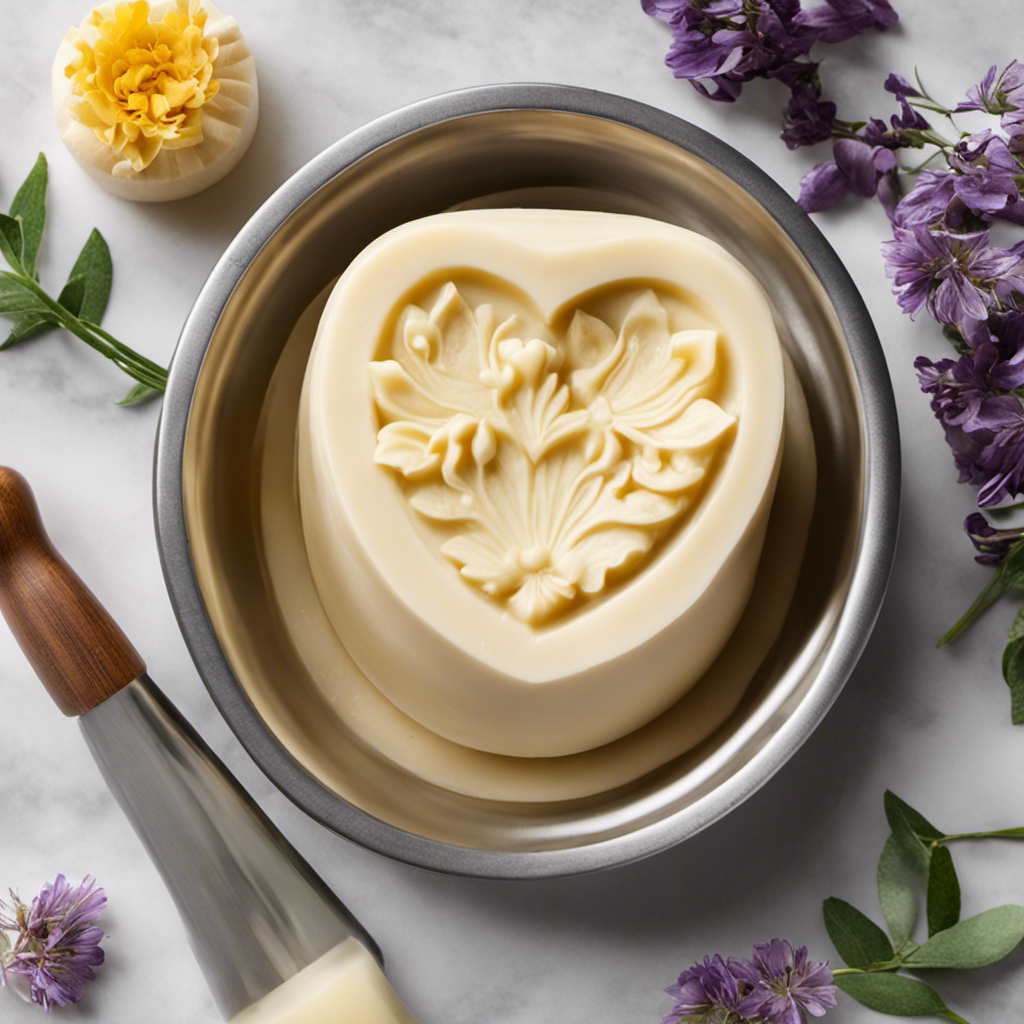
Using a soap mold will help you achieve consistent and professional-looking shapes for your homemade bars.
When it comes to molding techniques for shea butter soap, there are a few tips to keep in mind.
First, make sure your soap mixture is at the right consistency before pouring it into the mold. It should be thick enough to hold its shape, but still pourable.
Once you’ve poured the mixture into the mold, tap it gently on the counter to remove any air bubbles. Then, let it sit undisturbed for at least 24 hours to harden completely.
When it’s time to remove the soap from the mold, use a cutting tool such as a knife or a soap cutter to create your desired shapes and sizes. Take your time and be gentle to avoid any breakage or uneven edges.
With these molding techniques and cutting tools, you’ll be able to create beautiful and professional-looking shea butter soap bars.
Curing and Storing Shea Butter Soap for the Best Results
Now that we’ve discussed the tips for molding and cutting shea butter soap, let’s move on to the next important step in the soap-making process: curing and storing.
Curing is the process of allowing the soap to dry and harden over time, which enhances its quality and longevity. Here are three key factors to consider during the curing process:
-
Curing Time: Shea butter soap typically needs to cure for at least four to six weeks. During this time, the soap will continue to lose moisture and harden, resulting in a longer-lasting bar.
-
Moisture Content: It’s essential to ensure that your shea butter soap has reached the desired moisture content before packaging. Soap that is too moist can become soft and mushy, while soap that is too dry may crack or crumble.
-
Proper Storage: To promote proper curing, store your soap in a cool, dry place away from direct sunlight. Use a ventilated rack or a wooden soap dish to allow air circulation around the bars.
By following these guidelines, you can ensure that your shea butter soap cures properly and delivers the best results.
Now, let’s move on to troubleshooting common issues in shea butter soap making.
Troubleshooting Common Issues in Shea Butter Soap Making
When it comes to making shea butter soap, there are a few common issues that can arise. Two key points to address are hardness and lathering issues, as well as problems with color and scent.
It’s important to troubleshoot these issues in order to create the best quality shea butter soap possible.
Hardness and Lathering Issues
To improve the hardness and lathering of your shea butter soap, you should consider adding additional oils or butters to the recipe. Common mistakes in soap making can result in a soap that is too soft and lacks lather. Here are three alternative ingredients you can incorporate to address these issues:
-
Coconut oil: Adding coconut oil to your shea butter soap recipe can increase the hardness and lathering properties. Its high levels of lauric acid contribute to a stable and bubbly lather.
-
Palm oil: Palm oil is another option that can enhance the firmness and lathering capabilities of your soap. It contains a balanced combination of fatty acids that contribute to a creamy and luxurious lather.
-
Cocoa butter: Incorporating cocoa butter can improve the hardness of your shea butter soap, making it long-lasting and durable. It also adds moisturizing properties to the soap, leaving your skin feeling soft and nourished.
By using these alternative ingredients, you can create a shea butter soap that is not only gentle and moisturizing but also has a satisfying level of hardness and lather.
Now let’s move on to addressing color and scent problems.
Color and Scent Problems
If you’re experiencing color and scent problems, it may be due to using low-quality fragrance oils or not properly mixing in the colorants. When making shea butter soap, it is crucial to use high-quality fragrance oils that are specifically designed for soap making. These oils are formulated to withstand the saponification process and maintain their scent over time.
Additionally, proper mixing of colorants is important to prevent color bleeding. Make sure to thoroughly incorporate the colorants into the soap mixture to achieve an even and vibrant color. If you notice scent fading or color bleeding in your soap, it is recommended to assess the quality of your fragrance oils and the technique used for color mixing.
Making adjustments in these areas should help resolve these issues and ensure that your shea butter soap is both visually appealing and delightfully scented.
Frequently Asked Questions
Can I Use Shea Butter Soap for Sensitive Skin?
Yes, you can use shea butter soap for sensitive skin. Shea butter soap has many benefits, such as moisturizing and soothing the skin. It is also gentler compared to regular soap, making it ideal for sensitive skin.
How Long Does It Take for Shea Butter Soap to Cure?
Shea butter soap typically takes about four to six weeks to cure. During this time, the soap hardens and becomes milder, making it perfect for sensitive skin. The benefits of using shea butter soap include moisturizing and nourishing the skin.
Can I Add Color to My Shea Butter Soap?
Yes, you can add color to your shea butter soap. It’s a great way to make your soap visually appealing. Additionally, shea butter soap is beneficial for dry skin due to its moisturizing properties.
How Long Does Shea Butter Soap Last?
Shea butter soap can last for several months if stored properly. Its moisturizing properties and natural ingredients make it a popular choice. To maximize its shelf life, keep it in a cool, dry place and away from direct sunlight.
Can I Use Shea Butter Soap on My Face?
Yes, you can use shea butter soap on your face. It offers numerous benefits for facial skincare, such as moisturizing, nourishing, and soothing the skin. To use it, wet your face, lather the soap, gently massage, and rinse off.
Conclusion
In conclusion, making shea butter soap is a rewarding experience that offers numerous benefits for your skin. By using high-quality ingredients and following a step-by-step guide, you can create a luxurious soap that nourishes and moisturizes your skin.
Don’t be afraid to experiment with different fragrances and essential oils to add a personal touch to your soap. Remember to properly cure and store your soap to achieve the best results.
So go ahead, dive into the world of shea butter soap making and let your creativity soar like a butterfly in a field of flowers.
