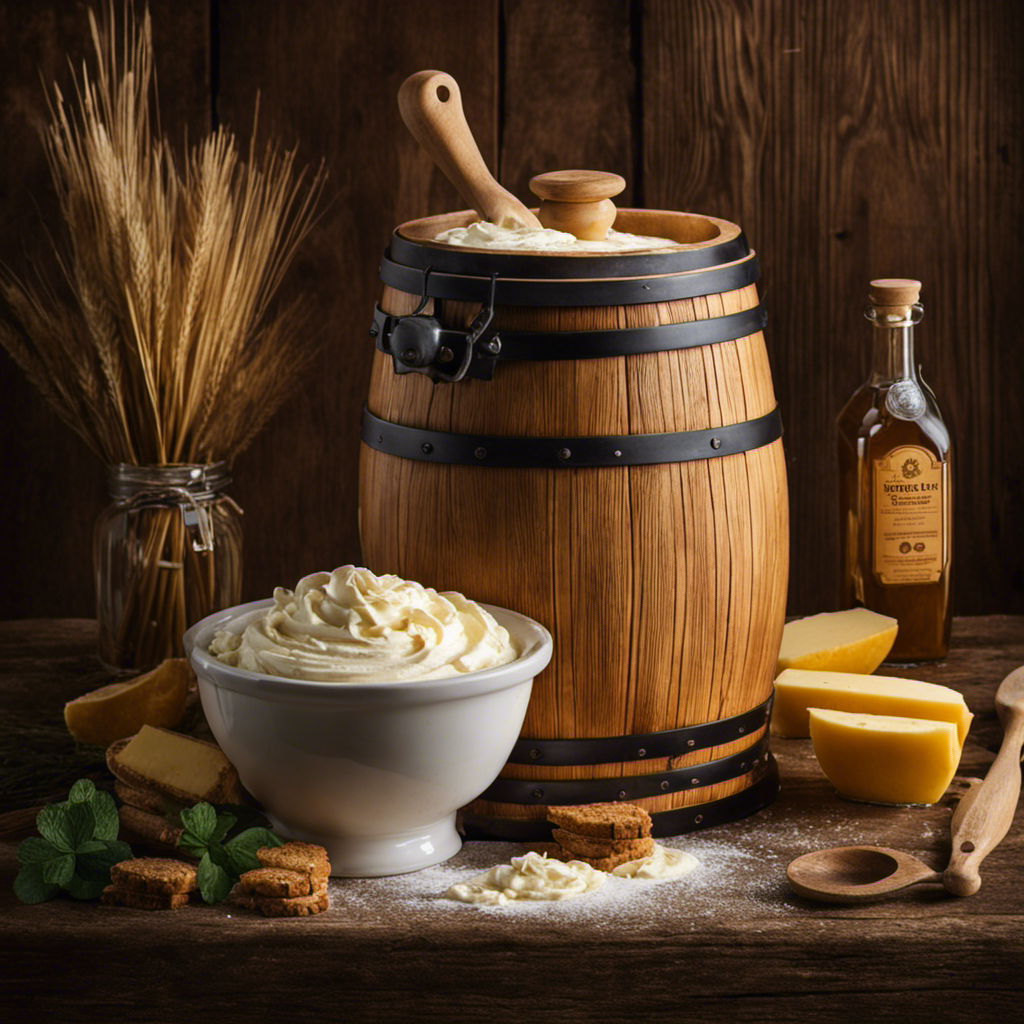
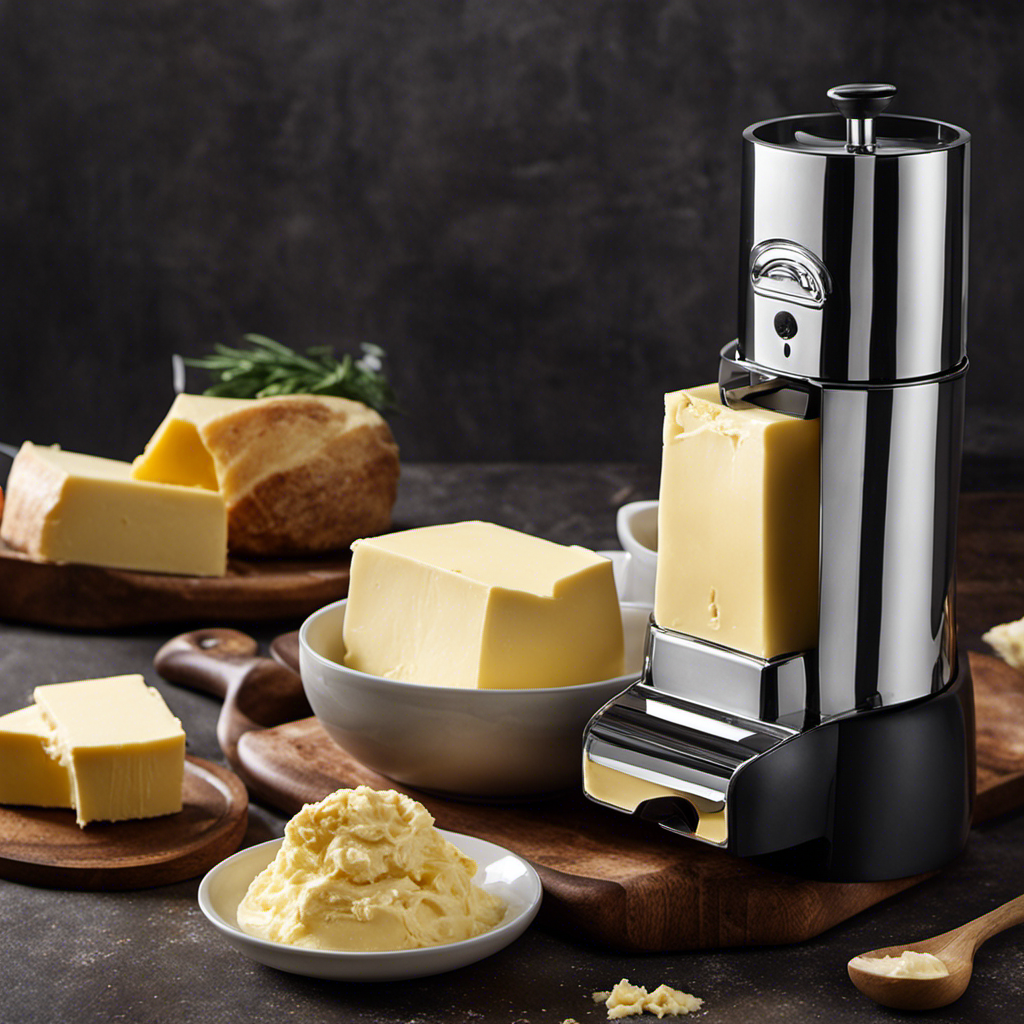
As someone who adores anything buttery, I have always been intrigued by the decadent and smooth taste of Irish butter.
In this article, I’ll take you on a journey through the process of making your own delectable Irish butter right in your own kitchen.
From gathering the ingredients to shaping and storing the final product, I’ll guide you every step of the way.
So grab your apron and get ready to churn up some mouthwatering magic!
Key Takeaways
- Chilling the cream before starting the process is important for making Irish butter.
- Consistent up and down motion with the churn is necessary for optimal hand churning.
- Experimenting with flavors like herbs, spices, or citrus zest can enhance the taste of Irish butter.
- Shaping techniques such as using a butter mold or rolling the butter into a log shape can add appeal and aid in long-term storage.
Gathering the Ingredients
First, you’ll need to gather all of the ingredients for making Irish butter. To prepare the cream, you’ll need fresh, high-quality heavy cream. Look for cream with a high butterfat content, around 35-40%. This will ensure a rich and creamy final product.
Next, you’ll need some equipment for the process. A stand mixer or hand mixer will make the job easier, allowing you to whip the cream until it thickens and separates into butter and buttermilk. You’ll also need a large bowl to hold the cream and a fine-mesh strainer to strain the buttermilk from the butter.
Churning the Cream
When it comes to churning butter, there are a few key techniques that can make all the difference.
From using the right equipment to finding the perfect balance between time and temperature, these tips will help you achieve that smooth and creamy texture you’re looking for.
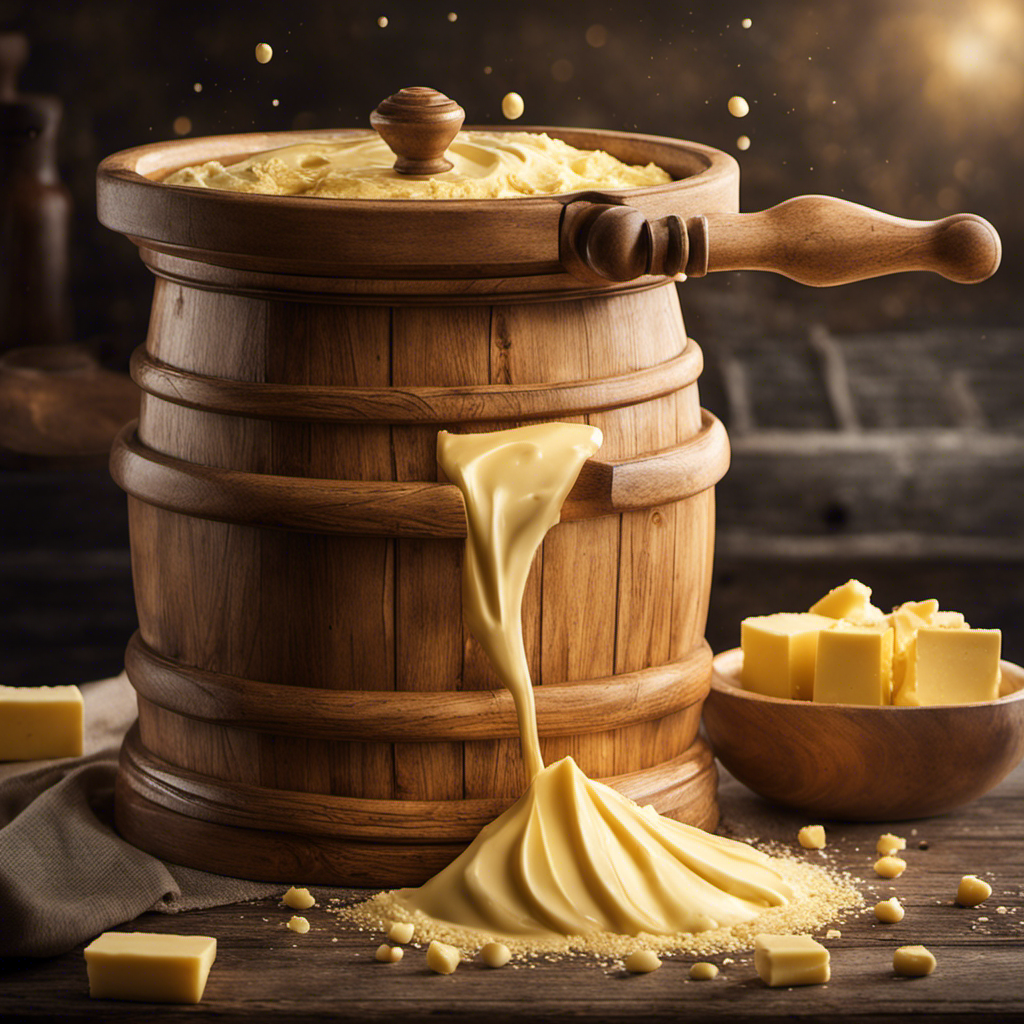
Whether it’s using a hand-crank churn or an electric mixer, the churning technique is what brings the magic to your butter-making process.
Churning Technique Tips
To improve your churning technique, you’ll want to make sure the cream is at the right temperature before beginning. The ideal temperature for churning cream is around 55-60 degrees Fahrenheit. If the cream is too cold, it will take longer to churn and may result in a grainy texture. On the other hand, if the cream is too warm, it can turn into whipped cream instead of butter.
So, it’s important to let the cream come to room temperature before starting the churning process.
As for the hand churning technique, it’s best to use a consistent up and down motion with the churn. This helps to agitate the cream and separate the butterfat from the buttermilk. It may take some time and effort, but the end result will be delicious homemade butter.
Time and Temperature Variations
It’s important to note that variations in time and temperature can affect the churning process and the final texture of the butter.
When it comes to time management, the duration of churning can make a difference in achieving the desired consistency. If you churn for too short a time, the butter may not fully separate from the buttermilk, resulting in a softer texture. On the other hand, churning for too long can lead to a denser and harder butter.
Temperature is also crucial. If the cream is too cold, it may take longer to churn, while warmer temperatures can cause the butter to become overly soft.
Additionally, experimenting with flavors during the churning process can elevate your butter to new levels. Add herbs, spices, or even citrus zest to infuse unique tastes into your homemade Irish butter.
Adding Salt for Flavor
You can enhance the flavor by adding salt to the Irish butter. The amount of salt you add depends on personal preference, but a common rule of thumb is to use about 1/4 teaspoon of salt for every stick of butter. This measurement ensures that the salt doesn’t overpower the natural richness of the butter but still adds a pleasant savory note.
If you prefer a saltier taste, you can increase the amount slightly. Alternatively, you can experiment with alternative flavorings to add variety to your Irish butter. Some popular options include herbs like thyme or rosemary, garlic powder, or even a touch of honey for a hint of sweetness.
Whatever you choose, adding a little something extra to your Irish butter can elevate your culinary creations to new heights.
Shaping and Storing the Butter
When shaping your homemade spread, remember to use a butter mold or roll it into a log for easy storage and slicing. Shaping your butter can add a touch of elegance to your homemade creation. Here are three shaping techniques that will make your butter look as good as it tastes:
-
Butter Mold: Using a butter mold allows you to create beautifully shaped butter with intricate designs. Simply press the softened butter into the mold, smooth the surface, and refrigerate until firm. Once set, you can easily release the butter from the mold and enjoy the decorative shape.
-
Log Shape: Rolling the butter into a log shape is a classic technique that allows for easy storage and slicing. Start by shaping the softened butter into a rough log shape, then gently roll it on a flat surface to create a smooth, cylindrical shape. Wrap the log tightly in plastic wrap and refrigerate until firm.
-
Quenelle: For a more sophisticated presentation, try shaping your butter into a quenelle. Use two spoons to create an oval shape by scooping the butter and smoothing it between the spoons. This technique adds an elegant touch to any dish.
These shaping techniques not only make your butter look appealing, but they also help with long-term storage. Whether you choose to use a butter mold, roll it into a log, or create quenelles, your shaped butter will stay fresh and ready to be used whenever you need it.
Exploring Variations and Flavored Butters
After shaping and storing the butter, it’s time to explore the endless possibilities of flavored butters. Adding different ingredients to butter can elevate its taste and create unique and delicious spreads. The cultural significance of Irish butter is not limited to its creamy texture and rich flavor; it also extends to the various flavored butter recipes that have been passed down through generations.
To inspire your culinary creativity, here are some classic flavored butter combinations:
| Flavor | Ingredients |
|---|---|
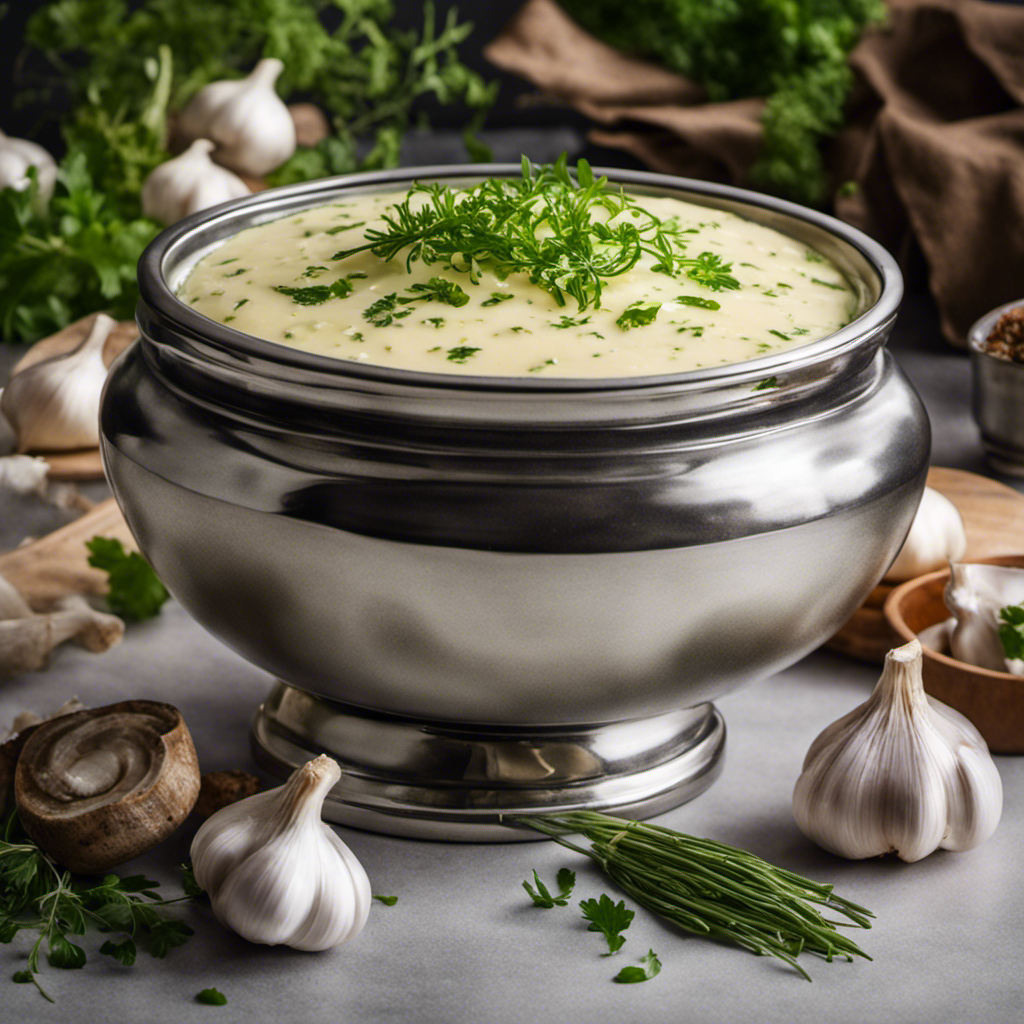
| Garlic Butter | Fresh garlic, parsley |
| Herb Butter | Fresh herbs, lemon |
| Honey Butter | Honey, cinnamon |
| Chili Butter | Red chili flakes |
| Lemon Pepper Butter | Lemon zest, black pepper |
These flavored butters can be used on toast, grilled meats, vegetables, or even melted over steamed seafood. Now that we’ve explored the world of flavored butters, let’s move on to some helpful tips and troubleshooting to ensure your Irish butter-making experience is a success.
Tips and Troubleshooting
When it comes to making butter, there can be a few common problems that arise. From the butter not solidifying properly to the texture not being smooth, troubleshooting these issues can be frustrating.
In this discussion, I’ll be sharing some solutions to these common butter problems, as well as expert tips for achieving butter-making success.
Common Butter Problems
One of the most common butter problems is the butter turning rancid. It can be frustrating to open a container of butter only to find it has a foul smell and taste.
To avoid this issue, here are some tips on maintaining the freshness of your butter:
-
Proper storage: Store your butter in an airtight container or wrap it tightly in foil to prevent exposure to air and moisture.
-
Refrigeration: Keep your butter refrigerated, as it is more prone to spoilage at room temperature.
-
Check for freshness: Regularly check the expiration date of your butter and discard any that has expired or shows signs of spoilage.
By following these simple guidelines, you can ensure that your butter remains fresh and delicious, with a smooth and creamy consistency.
Happy buttering!
Troubleshooting Solutions
To troubleshoot common butter problems, try following these simple guidelines to maintain freshness and avoid spoilage. One common issue with butter is inconsistent consistency. This can be caused by variations in cream quality. To ensure a smooth and creamy texture, use high-quality cream with a high fat content. Another factor that affects butter consistency is the temperature at which it is stored. If the butter is too warm, it may become soft and spreadable, while if it is too cold, it can become hard and difficult to spread. To achieve the perfect consistency, store butter in the refrigerator at a temperature between 32°F and 40°F. By paying attention to cream quality and storage temperature, you can troubleshoot butter problems and enjoy perfectly spreadable butter every time.
| Problem | Solution |
|---|---|
| Inconsistent consistency | Use high-quality cream with high fat content |
| Soft or hard butter | Store butter at a temperature between 32°F and 40°F |
Expert Tips for Success
Experts recommend using high-quality cream with a high fat content for consistent and creamy butter. When it comes to making Irish butter, achieving perfection requires expert advice and attention to detail. Here are three essential tips to help you create the perfect batch of Irish butter:
-
Chilling the cream: Before starting the process, make sure to chill the cream thoroughly. This will help achieve a better separation of the butterfat from the liquid.
-
Slow churning: Take your time when churning the cream. A slow and steady pace allows for better control over the consistency and texture of the butter.
-
Proper washing: After churning, it is crucial to wash the butter to remove any excess buttermilk. This step enhances the butter’s flavor and extends its shelf life.
Frequently Asked Questions
Can I Use Margarine Instead of Butter in This Recipe?
Yes, you can use margarine instead of butter in this recipe. However, keep in mind that it might alter the flavor of the dish. Experiment with different margarine brands to find the one that suits your taste preferences.
How Long Does It Take for the Cream to Turn Into Butter During Churning?
When churning cream, the time it takes for it to turn into butter depends on factors like cream consistency and churning technique. It can take anywhere from a few minutes to half an hour.
Can I Add Herbs or Spices to the Butter for Added Flavor?
Yes, you can definitely add herbs or spices to butter for added flavor. It’s a great way to create alternative flavors for Irish butter. Just mix in your desired herbs or spices and enjoy!
How Long Can I Store the Irish Butter Before It Goes Bad?
I store Irish butter in the fridge to prolong its shelf life. It stays fresh for about 2-3 weeks. Make sure to keep it in an airtight container to prevent any odors from affecting the taste.
What Are Some Common Troubleshooting Tips if the Cream Doesn’t Turn Into Butter During Churning?
If the cream doesn’t turn into butter during churning, there could be a few troubleshooting tips to consider. First, check the cream consistency and make sure it’s at the right churning temperature.
Conclusion
In conclusion, making your own Irish butter is a truly rewarding experience. As I gathered the ingredients and carefully churned the cream, I couldn’t help but marvel at the rich aroma and smooth texture that was taking shape.
Adding a sprinkle of salt elevated the flavor to a whole new level, making every bite a delight. Shaping and storing the butter was a breeze, and I couldn’t resist exploring variations and flavored butters.
Trust me, once you try homemade Irish butter, you’ll never go back to store-bought again. It’s a coincidence of culinary perfection that you won’t want to miss.
