Did you realize that making homemade hard candy with butter is not only tasty, but also surprisingly easy to do?
In this article, I will guide you through the step-by-step process of creating your own mouthwatering hard candies.
From choosing the right ingredients to shaping and cooling the candies, I will provide you with precise and detailed instructions.
Get ready to impress your friends and family with your homemade sweet treats!
Key Takeaways
- Different types of butter to consider: unsalted, salted, clarified
- Infusing flavors into hard candy: melting butter with desired flavorings or infusing with herbs/spices
- Importance of flavor profile in hard candy
- Tips for achieving unique flavor profiles
Choosing the Right Ingredients
I’ll need to make sure I have the right ingredients before I start making the hard candy with butter. When it comes to choosing the butter for making hard candy, there are a few different types to consider. I prefer using unsalted butter as it allows me to have better control over the flavor profile of the candy. However, some people enjoy using salted butter to add a hint of saltiness to their candy. Another option is clarified butter, which has a rich and smooth flavor that can enhance the overall taste of the candy.
If you want to infuse flavors into your hard candy, there are a few tips to keep in mind. One method is to melt the butter and add your desired flavorings, such as extracts or oils, into the melted butter before incorporating it into the candy mixture. Another option is to infuse the butter with herbs or spices by gently heating it with the desired ingredient and then straining it before using it in the candy recipe. These techniques will help you achieve a delicious and unique flavor profile in your hard candy.
Now that I have the right ingredients and know how to infuse flavors, it’s time to move on to preparing the candy mixture.
Preparing the Candy Mixture
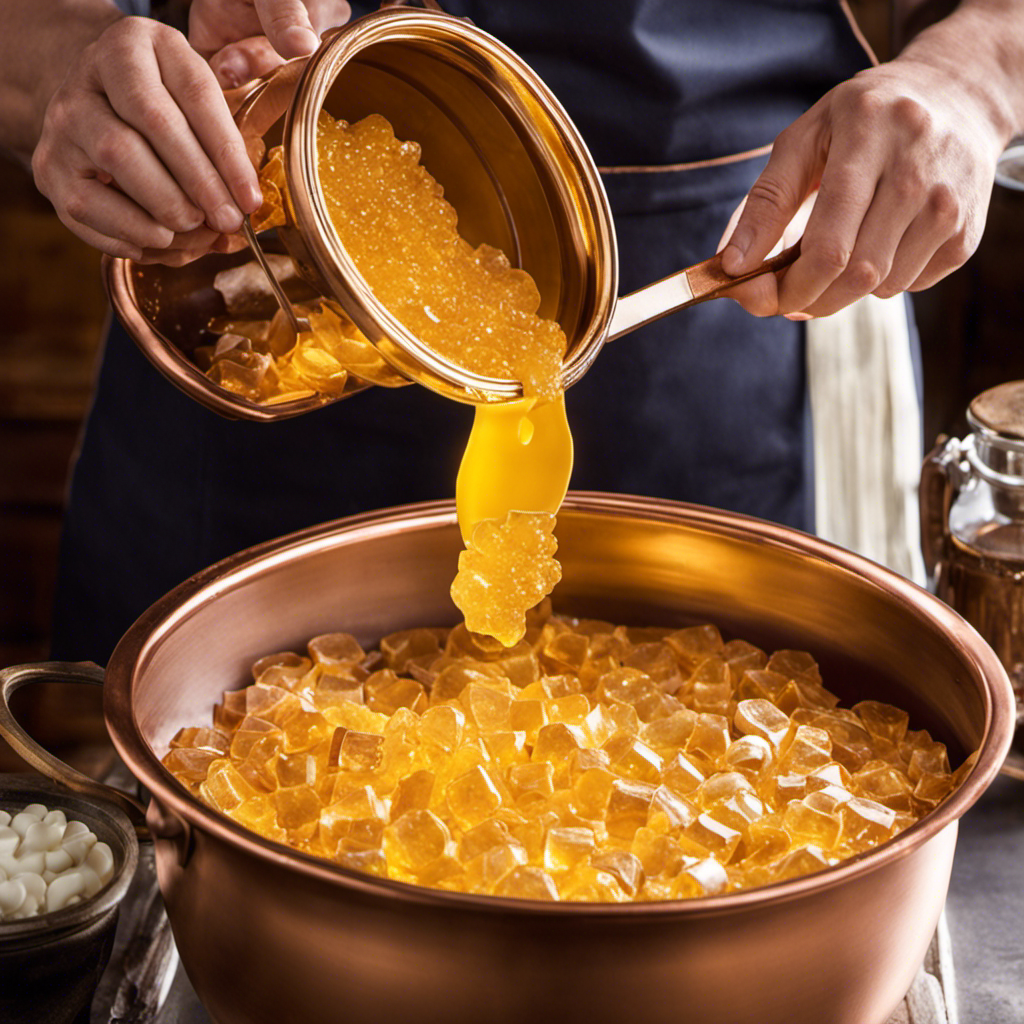
First, I’ll melt the butter in a saucepan on low heat. It’s important to use unsalted butter to prevent any unwanted flavors. Once the butter is melted, I’ll add the sugar and corn syrup to the saucepan.
I’ll stir the mixture constantly until the sugar has dissolved completely. This step is crucial for achieving the perfect candy texture.
To add flavorings and colors to my hard candy, I can incorporate extracts, like peppermint or vanilla, or even use flavored oils for a stronger taste. For colors, I’ll add a few drops of food coloring. It’s important to note that a little goes a long way, so it’s best to start with a small amount and add more if needed.
Mixing the flavorings and colors well into the candy mixture ensures an even distribution.
Cooking the Candy Mixture
Once the sugar has dissolved completely, I constantly stir the mixture until it reaches the desired temperature.
Temperature control is crucial in making hard candy, as it determines the final texture and consistency.
To monitor the temperature, I use a candy thermometer, a must-have equipment for candy-making. This thermometer ensures accuracy and precision, allowing me to achieve the perfect hard candy every time.
As the mixture heats up, I keep a close eye on the thermometer, adjusting the heat if necessary to maintain a steady rise in temperature.
It’s important not to rush this process, as sudden temperature changes can result in grainy or sticky candy.
As the candy mixture reaches the desired temperature, it’s time to move on to the next step of shaping and cooling the candies.
Shaping and Cooling the Candies
To shape and cool the candies, I pour the hot candy mixture into silicone molds and place them in the refrigerator. This allows the candies to set and harden into their desired shapes.
Here’s what I do next:
-
Different flavors for shaped candies:
-
I like to experiment with different flavors for my shaped candies. Some popular choices include cherry, lemon, and watermelon. The possibilities are endless!
-
By adding different flavored extracts or oils to the candy mixture before pouring it into the molds, I can create a variety of tasty treats.
-
Adding decorations to cooled candies:
-
Once the candies have cooled and hardened in the refrigerator, I can add decorations to make them even more appealing.
-
I use food-safe markers or edible paints to draw intricate designs on the candies. This adds a personal touch and makes them visually stunning.
-
I can also sprinkle edible glitter, colored sugar, or small candy pieces on top of the candies to add texture and flavor.
Storing and Enjoying Your Homemade Hard Candy
After shaping and cooling the candies, I store them in airtight containers to keep them fresh and enjoy them whenever I want. It’s important to protect the candies from moisture and air to maintain their texture and flavor.
When it comes to packing and gifting your homemade hard candy, you can get creative. I like to use small glass jars or decorative tins, and add a personalized label or ribbon for a special touch.
Experimenting with flavor combinations is another exciting aspect of making hard candy. From classic flavors like peppermint and cherry to more adventurous options like lavender and lemon, the possibilities are endless. It’s fun to mix and match flavors, creating unique and delicious candies that are sure to impress.
Frequently Asked Questions
How Long Does It Take for Hard Candy to Cool and Harden Completely?
It takes about 20-30 minutes for hard candy to cool and harden completely. During this time, it’s important to let the candy sit undisturbed to ensure it sets properly.
To prevent hard candy from sticking to molds, you can lightly coat the molds with cooking spray or butter.
For adding different textures to hard candy, you can mix in crushed nuts, dried fruits, or even small candies before pouring the mixture into molds.
Can I Substitute Butter With Margarine or Oil in This Recipe?
I can substitute butter with margarine or oil in this recipe. However, it may have an impact on the taste and texture of the hard candy.
Butter adds a rich and creamy flavor, while margarine or oil may result in a slightly different taste.
Texture-wise, butter helps create a smooth and velvety consistency, while margarine or oil might make the candy slightly greasier.
It’s worth experimenting to see which substitute option you prefer.
Can I Add Food Coloring or Flavorings to the Candy Mixture?
Yes, you can definitely add food coloring and flavorings to the candy mixture. It’s a fun way to customize your hard candy and make it look and taste exactly how you want.
For example, you could add a few drops of red food coloring and some strawberry flavoring to make strawberry-flavored red hard candy.
It’s important to note that if you’re using alternative ingredients for making hard candy, such as margarine or oil instead of butter, you may need to adjust the recipe accordingly to ensure the candy sets properly.
Can I Use a Microwave Instead of a Stovetop to Cook the Candy Mixture?
Sure, you can use a microwave to cook the candy mixture, but there are some safety concerns to consider. Microwaves heat unevenly, which can lead to hot spots in the mixture. Additionally, the stovetop offers advantages such as better temperature control and the ability to stir the mixture.
How Long Can I Store Homemade Hard Candy Before It Goes Bad?
When it comes to homemade hard candy, one question that often comes up is how long it can be stored before going bad. Candy preservation is important to ensure its quality and taste. While there’s no exact answer, it’s generally recommended to store homemade hard candy in an airtight container at room temperature for up to 2-3 weeks.
However, factors like humidity and exposure to light can affect its shelf life. So, it’s best to keep an eye on any changes in texture or taste.
Conclusion
In conclusion, making hard candy with butter is a simple and enjoyable process. By carefully choosing the right ingredients, preparing the candy mixture, cooking it to the right temperature, and shaping and cooling the candies, you can create delicious homemade treats.
Just like a sweet symphony of flavors, this homemade hard candy will melt in your mouth and bring a burst of joy to your taste buds.
So why not give it a try and indulge in the delightful art of candy making?
