I adore the rich, creamy flavor of homemade butter, and it’s even more fulfilling when I create it with my children.
In this article, I’ll show you how to create your own delicious butter from scratch. We’ll gather the simple ingredients, churn the cream into buttery perfection, and even add a pinch of salt if desired.
With easy-to-follow steps, we’ll strain the butter and find the perfect way to store and enjoy our homemade creation.
Let’s get started on this buttery adventure!
Key Takeaways
- Homemade butter can be made using heavy cream and a pinch of salt for flavor enhancement.
- Making butter from scratch is a fun and educational activity for kids to learn about the process of food creation.
- Homemade butter is free from preservatives and additives, making it a healthier choice compared to store-bought butter.
- Experimenting with flavored butters by adding herbs, spices, or citrus zest can enhance the taste of various dishes.

Dazey Butter Churn - Hand Crank Butter Churner- Manual Butter Maker- Beech Wood BUTTER PADDLES INCLUDED. Create Delicious Homemade Butter With Your Own Hand Crank Dazey Butter Churner (Turn N Churn)
- Create Homemade Butter Easily: Uses just heavy whipping cream
- Includes Bonus Accessories: Butter crock and anti-slip mat
- Complete Butter-Making Set: Beech wood paddles and cheese cloth
As an affiliate, we earn on qualifying purchases.
Gathering the Ingredients
First, you’ll need to gather all of the necessary ingredients to make butter. Making butter at home is a fun and rewarding activity for kids. There are alternative methods to make butter, but the traditional method is the easiest and most effective.
To start, you’ll need heavy cream, a pinch of salt, and a clean glass jar with a tight-fitting lid. Using heavy cream ensures a rich and creamy butter. Adding a pinch of salt enhances the flavor of the butter.
The benefits of homemade butter are numerous. It is free from preservatives and additives, making it healthier and tastier. Additionally, making butter from scratch allows kids to learn about the process of food creation and fosters a sense of accomplishment.
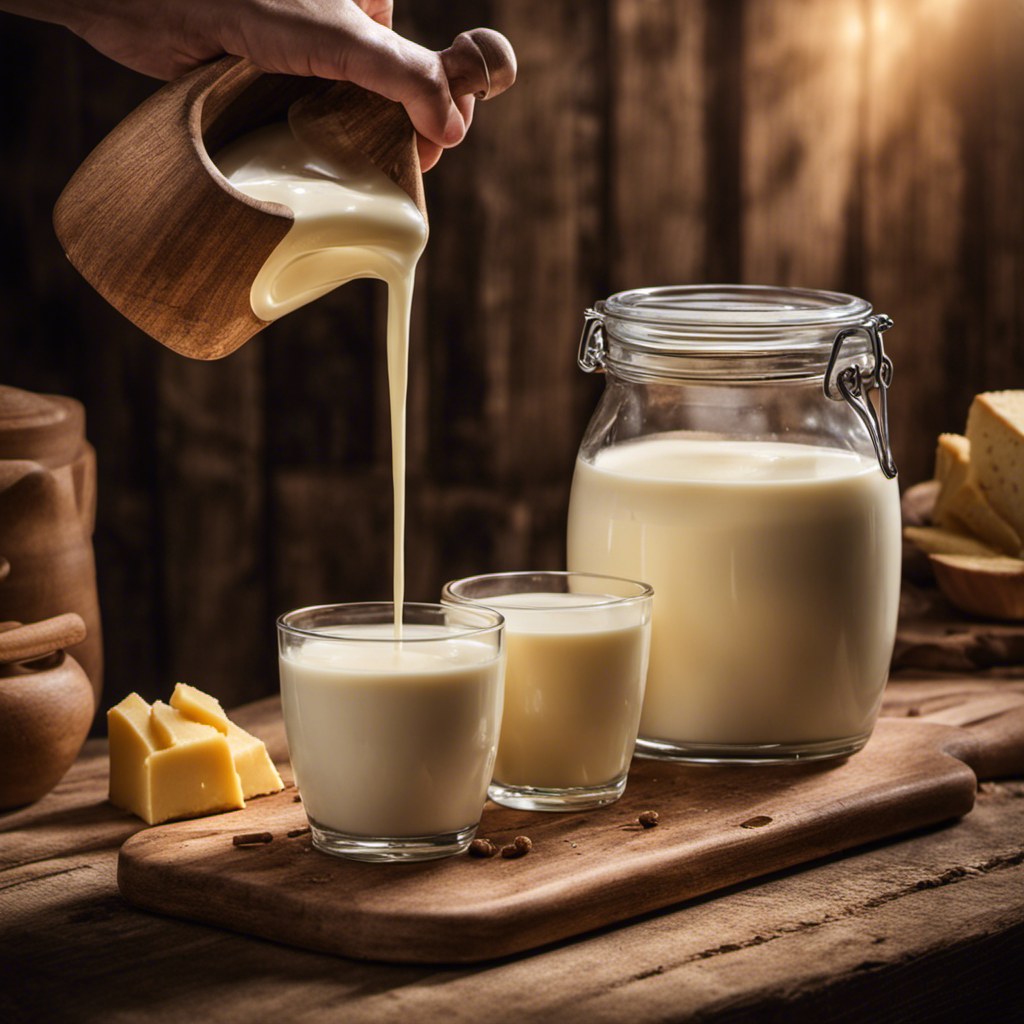
Churning the Cream
Next, you’ll need to start churning the cream to transform it into delicious homemade butter. Here’s how you can do it:
-
Pour the cream into a large mixing bowl. You can use heavy cream, whipping cream, or even alternative ingredients like coconut cream for a dairy-free option.
-
Begin mixing the cream vigorously using a whisk, hand mixer, or a stand mixer. This will help break down the fat molecules in the cream and separate them from the liquid.
-
As you continue to mix, you’ll notice the cream thickening and forming soft peaks. Keep going until the mixture starts to look grainy and separates into butterfat and buttermilk.
-
Once the butterfat has clumped together, strain out the buttermilk using a cheesecloth or fine mesh strainer. Squeeze out any excess liquid and you’ll be left with creamy, homemade butter.
Now, you’re ready to move on to the next step of adding salt (optional) to enhance the flavor of your butter.
Adding Salt (optional
To enhance the flavor of your homemade butter, you can add salt if desired. However, using unsalted butter has its own benefits.
Unsalted butter allows you to control the amount of salt in your recipes, which is especially helpful if you are watching your sodium intake or if you prefer a less salty taste. Additionally, unsalted butter has a pure and clean flavor that can complement a wide range of dishes, from savory to sweet.
If you want to experiment with different variations of flavored butter, you can add herbs, spices, or even citrus zest to give it a unique twist. These flavored butters can be used to enhance the taste of bread, vegetables, meats, or even popcorn.
Now that we’ve explored the benefits of using unsalted butter and different variations of flavored butter, let’s move on to the next step: straining the butter.
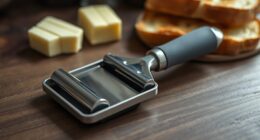
Straining the Butter
If you want a smoother texture, strain the butter through a fine-mesh sieve or cheesecloth. Here are different methods of straining butter:
-
Fine-Mesh Sieve: Place the softened butter in a fine-mesh sieve and press it through using the back of a spoon. This helps remove any remaining buttermilk and ensures a smoother consistency.
-
Cheesecloth: Wrap the softened butter in a double layer of cheesecloth and squeeze it gently. The cheesecloth will strain out the excess liquid, leaving you with pure, creamy butter.
-
Butter Muslin: Similar to cheesecloth, butter muslin is a finely woven fabric specifically designed for straining butter. It provides a more controlled straining process and helps achieve a velvety texture.
-
French Butter Dish: A French butter dish, also known as a butter bell, allows you to strain and store butter at the same time. The butter is placed in the lid, which is then filled with water. The water creates a seal, keeping the butter fresh and eliminating the need for straining.
Once you’ve strained your butter, don’t let the leftover buttermilk go to waste. Get creative with these ideas:
-
Use it in baking: Buttermilk adds moisture and a tangy flavor to baked goods like pancakes, biscuits, and cakes.
-
Make salad dressings: Use buttermilk as a base for creamy salad dressings or dips. It adds a refreshing tang and creamy texture.
-
Marinate meat: Tenderize and flavor your meats by marinating them in buttermilk. The acidity helps break down proteins, resulting in more tender and flavorful dishes.
-
Make buttermilk ice cream: Whip up a deliciously creamy buttermilk ice cream by combining it with cream, sugar, and your favorite flavors. It’s a unique twist on a classic dessert.
Storing and Enjoying the Homemade Butter
Once you’ve strained your butter, it’s time to think about how to store and enjoy your homemade creation.
Storing homemade butter is important to maintain its freshness and flavor. One tip is to store it in an airtight container in the refrigerator. This will help prevent any odors from seeping into the butter.
Another way to store it is by wrapping it tightly in wax paper or plastic wrap and placing it in the freezer. This will extend its shelf life.
Now, let’s talk about creative ways to use your homemade butter. You can spread it on toast or use it to cook delicious pancakes or scrambled eggs. It can also be used as a topping for steamed vegetables or baked potatoes. The possibilities are endless, so let your culinary creativity shine!
Frequently Asked Questions
Can I Use Any Type of Cream to Make Butter?
Yes, you can use any type of cream to make butter. Different types of cream, like heavy cream or whipping cream, will produce slightly different results. Homemade butter can be used in various recipes, adding a delicious and creamy touch.
How Long Does It Take to Churn the Cream Into Butter?
Churning cream into butter requires patience and persistence. It can take anywhere from 10 to 30 minutes, depending on the temperature and consistency of the cream. But the end result is worth it.
What Other Flavors Can I Add to the Butter Besides Salt?
Some alternative ingredients for homemade butter include herbs like garlic or dill, or even sweet flavors like honey or cinnamon. These additions can create unique and delicious flavored butter options for kids to enjoy.
Is Straining the Butter Necessary, and What Happens if I Skip This Step?
Straining butter is not necessary, but it helps remove excess liquid and improves the texture. Skipping this step may result in a slightly watery or grainy consistency, but the taste will still be delicious.
How Long Can I Store the Homemade Butter, and What Is the Best Way to Enjoy It?
To store homemade butter for longer shelf life, refrigerate it in an airtight container. It can last up to a month. As for enjoying it, spread it on toast, use it in baking, or melt it over veggies for a delicious addition to any meal.
Conclusion
In conclusion, making butter at home is a fun and easy activity that kids will love. By gathering simple ingredients like cream and salt, churning them together, and straining the butter, children can be a part of the entire process.
Not only is homemade butter delicious and versatile, but it also provides a great opportunity for kids to learn about food preparation and where their food comes from. Did you know that according to a recent study, children who participate in cooking activities are more likely to have a healthier diet?
So, get your kids involved in making butter and watch them develop a love for cooking and a healthier lifestyle.
")