Hey butter lovers! If you’ve ever wanted to learn how to make your own rich, delicious French butter, you’re in the right place.
In this guide, I’ll walk you through the simple yet satisfying process of making this culinary delight from scratch.
From selecting the perfect cream to adding a pinch of salt for that extra burst of flavor, I’ll share all the insider tips and tricks to help you create the most heavenly homemade French butter you’ve ever tasted.
Let’s get churning!
Key Takeaways
- Choosing organic cream with a butterfat content of around 35-40% is recommended for the best flavor and texture.
- Churning technique is crucial for butter formation, and cream with higher butterfat content churns faster.
- Straining the buttermilk after churning separates solids from liquid and ensures a smoother butter.
- Proper storage techniques, such as refrigeration or using a butter dish, help preserve the freshness and flavor of French butter.
Choosing the Right Cream
When making French butter, it’s important to start by choosing the right cream. The quality and type of cream you use will greatly affect the final result. For the best flavor and texture, I recommend using organic cream.
Organic cream is made from milk produced by cows that have been raised without the use of antibiotics or hormones. This results in a cream that is pure and free from any unwanted additives. Additionally, pay attention to the butterfat content of the cream. Higher butterfat content will yield a richer and creamier butter. Look for cream with a butterfat content of around 35-40%.
Now that we have the perfect cream, let’s move on to the next step: churning the cream.
Churning the Cream
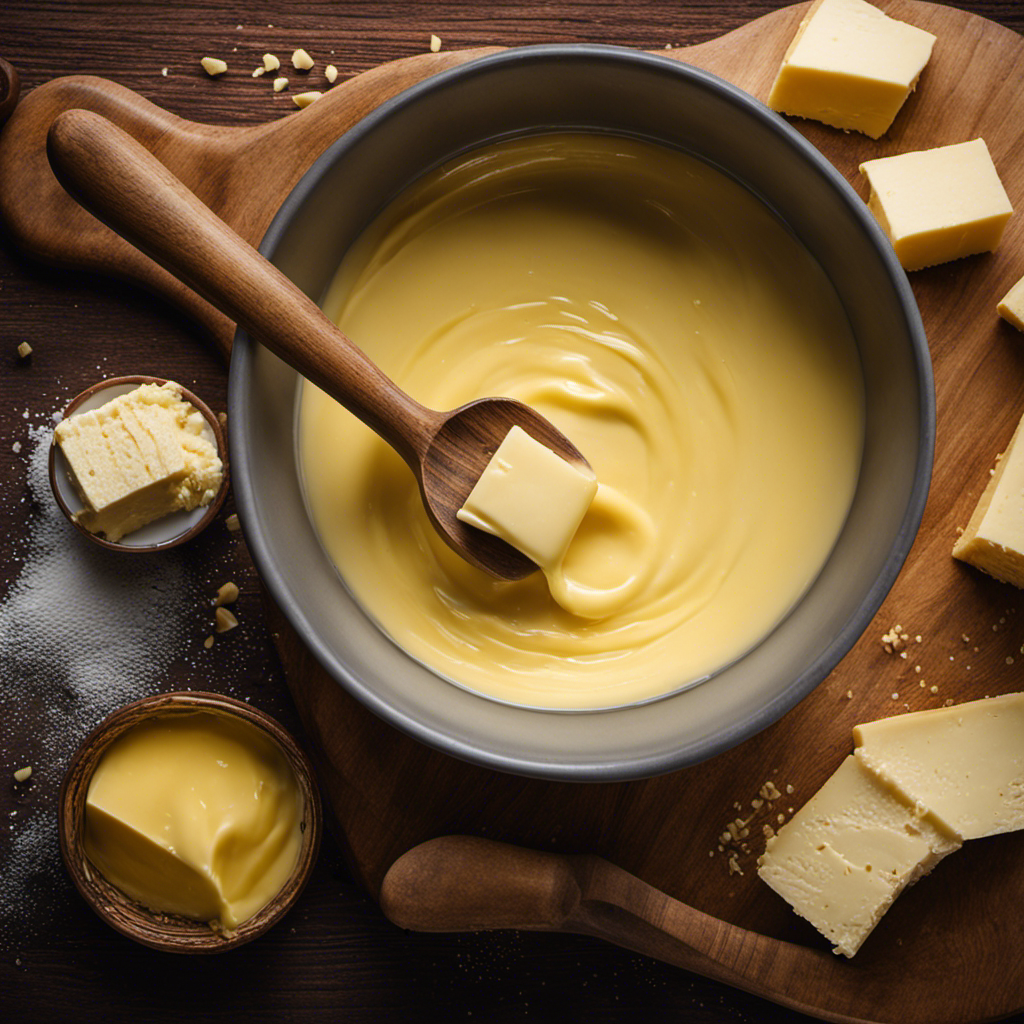
As you’re churning the cream, be sure to keep an eye on its consistency. The churning technique plays a crucial role in the formation of butter. I recommend using a hand crank or an electric churn to agitate the cream. The goal is to separate the butterfat from the buttermilk by breaking the fat globules. This process creates a network of fat particles that eventually come together to form butter. It’s important to note that the butterfat content of the cream will determine how long it takes to churn. Cream with higher butterfat content will churn faster than cream with lower butterfat content. To help you understand the butterfat content of different creams, here is a table:
| Cream Type | Butterfat Content |
|---|---|
| Heavy Cream | 36% or more |
| Whipping Cream | 30% – 35% |
| Light Cream | 18% – 30% |
| Half and Half | 10% – 18% |
With the churning technique and butterfat content in mind, let’s move on to the next step: straining the buttermilk.
Straining the Buttermilk
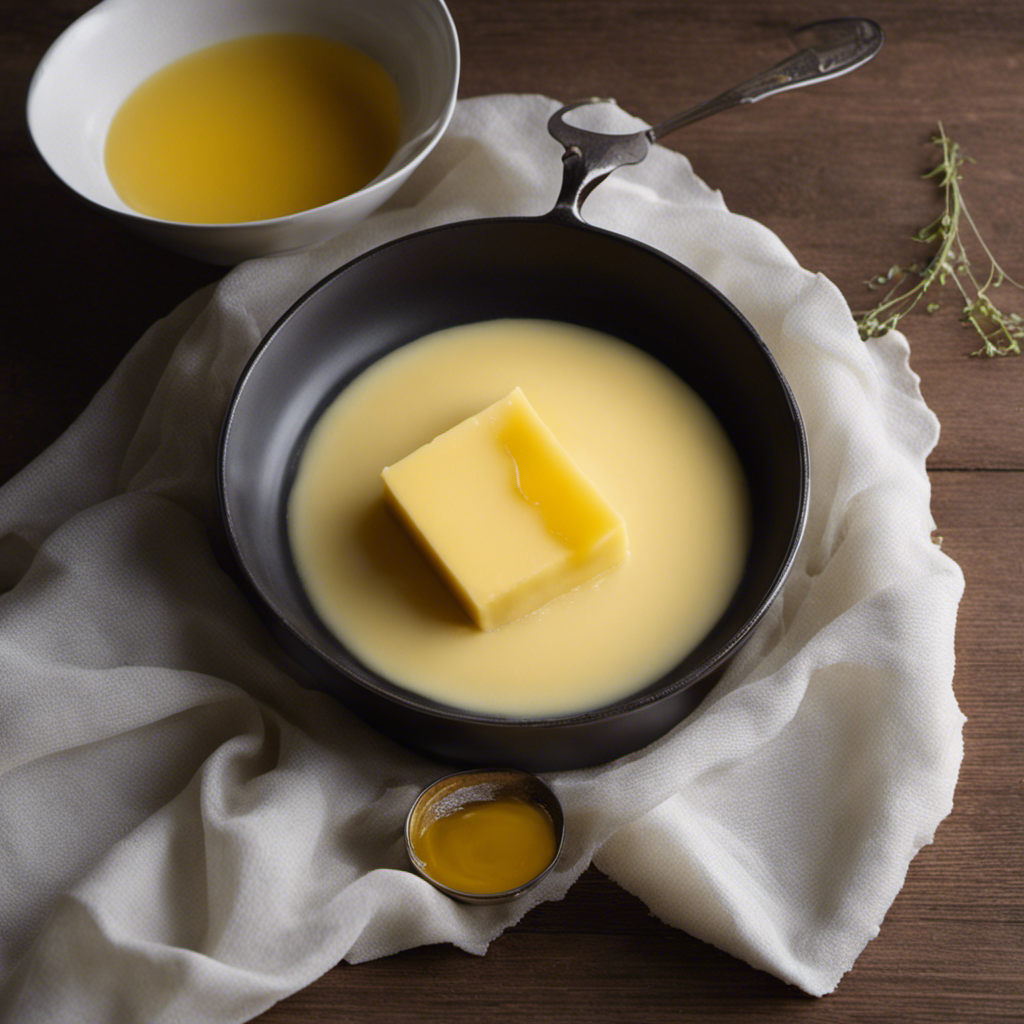
To strain the buttermilk, you’ll need a fine mesh strainer or cheesecloth. This step is crucial in separating the solids from the liquid and achieving a smooth and creamy texture for your homemade French butter.
Here are some straining techniques that will help you perfect your butter-making process:
- Place the strainer or cheesecloth over a bowl or container to catch the buttermilk.
- Pour the churned cream into the strainer or cheesecloth slowly, allowing the liquid to pass through while the solids remain.
- Gently press down on the solids with a spoon or spatula to extract any remaining buttermilk.
- If using cheesecloth, gather the corners and twist to squeeze out the excess liquid.
Once the buttermilk is strained, it’s time to move on to the next step: washing the butter to remove any remaining buttermilk and enhance its flavor and texture.
Washing the Butter
When it comes to washing butter, there are a few key points to keep in mind.
First, the washing technique is of utmost importance as it helps remove any remaining buttermilk and impurities, resulting in a better-tasting and longer-lasting butter.
Secondly, the optimal water temperature for washing butter is crucial to achieve the desired results.
Lastly, the choice of drying method can greatly impact the texture and shelf life of the butter, making it essential to compare different options and choose the most suitable one.
Washing Technique Importance
The washing technique is crucial in order to remove any excess buttermilk from the butter. Properly rinsing the butter ensures that it is creamy, smooth, and free from any lingering buttermilk taste. The importance of rinsing cannot be overstated, as it significantly impacts the overall quality of the butter.
The duration of the washing process also plays a key role in achieving the desired results. Here are some key points to consider when it comes to the washing technique:
- Thoroughly rinse the butter under cold water to remove any remaining buttermilk.
- Gently knead the butter to help release the excess liquid.
- Continue rinsing and kneading until the water runs clear.
- Be mindful of the washing duration, as over-washing can result in a loss of flavor and texture.
Optimal Water Temperature
For optimal results, ensure you use cold water to rinse the butter and remove any remaining buttermilk. The water temperature plays a crucial role in the process of making butter. When it comes to butter making, water temperature is of utmost importance. It can greatly impact the final quality and texture of the butter.
Using cold water helps to solidify the butter and separate it from the buttermilk more effectively. The cold water helps to lower the temperature of the butter, making it easier to handle and shape. Additionally, cold water helps to remove any residual buttermilk, which can affect the taste and spoil the butter faster.
Drying Methods Comparison
After determining the optimal water temperature for making French butter, it’s crucial to focus on the drying techniques to ensure the desired moisture content. There are several methods that can be used, each with its own advantages and considerations:
-
Air drying: This traditional method involves leaving the butter exposed to air at room temperature. It allows for natural evaporation of moisture, resulting in a creamy texture and rich flavor.
-
Paper towel drying: Placing the butter on a paper towel helps to absorb excess moisture. This can be a quick and effective way to achieve the desired moisture content.
-
Chilling in the refrigerator: By placing the butter in the refrigerator, the cooler temperature helps to solidify the butter and reduce moisture content. This method is ideal for those looking for a firmer texture.
-
Using a dehydrator: This method involves using a dehydrator to remove moisture from the butter. It provides precise control over the drying process and can result in a drier butter.
With the butter properly dried, we can now move on to the next step: adding salt (optional).
Adding Salt (Optional
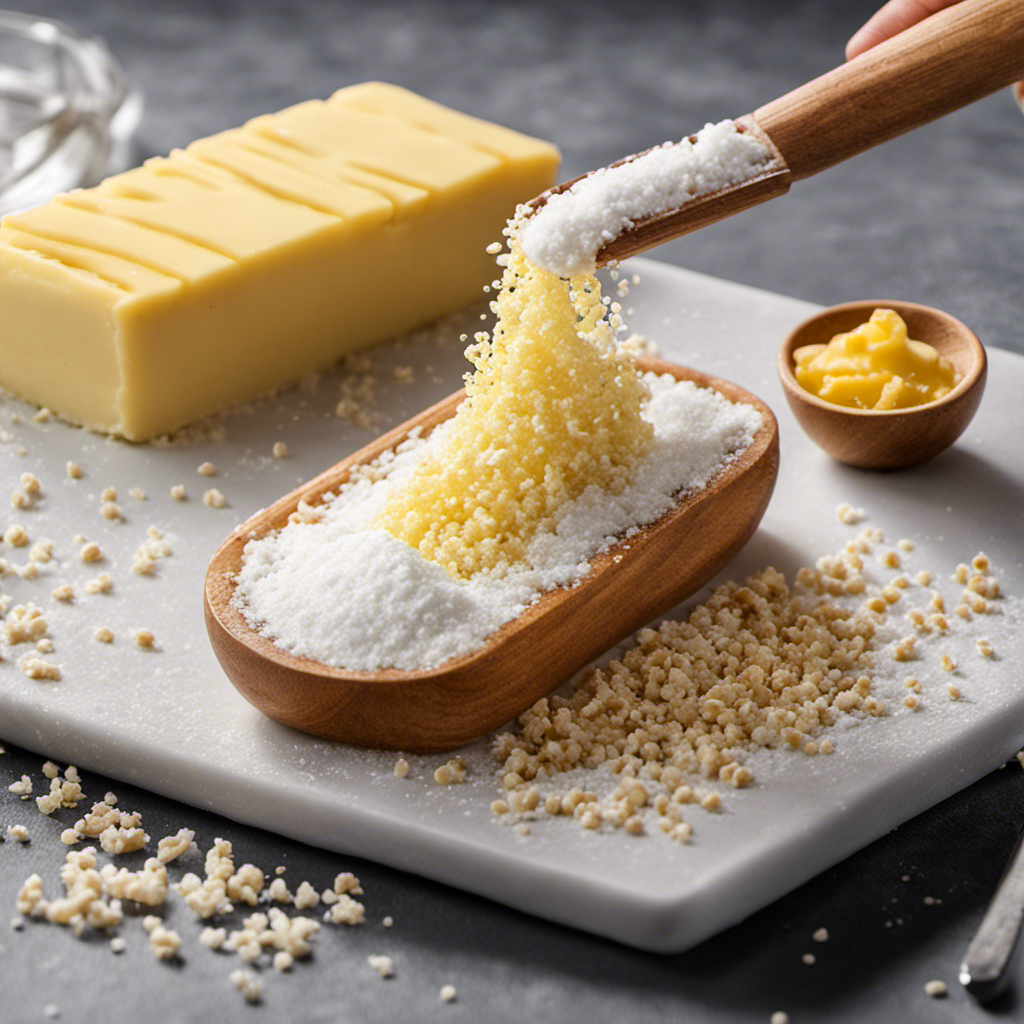
If you want to enhance the flavor, you can add salt to your French butter. The quantity of salt you add is entirely up to your personal preference. Some people like a pinch of salt, while others prefer a more pronounced salty taste.
Adding salt to French butter not only enhances the flavor but also helps to extend its shelf life. The salt acts as a natural preservative, inhibiting the growth of bacteria and mold.
Additionally, salt has several health benefits. It helps to regulate fluid balance in the body, supports proper nerve and muscle function, and aids in the absorption of nutrients. However, it is important to note that excessive salt consumption can have negative effects on health, so it’s best to use salt in moderation.
Storing and Using French Butter
When it comes to French butter, proper storage techniques are essential to maintain its quality and flavor. French butter should be stored in an airtight container or wrapped tightly in parchment paper to prevent it from absorbing any unwanted odors or flavors from the fridge.
Additionally, French butter is incredibly versatile in culinary applications, adding richness and depth to both sweet and savory dishes, from flaky pastries to creamy sauces.
Proper Storage Techniques
To keep your French butter fresh and flavorful, it’s important to store it properly. Here are some effective butter preservation techniques:
-
Keep it in the refrigerator: Store your French butter in the coolest part of your refrigerator, ideally at a temperature between 32 and 41 degrees Fahrenheit.
-
Wrap it tightly: Ensure that your butter is tightly wrapped in wax paper or aluminum foil to prevent it from absorbing any unwanted odors or flavors.
-
Use a butter dish: If you prefer to keep your butter at room temperature for easy spreading, use a butter dish with a lid to protect it from exposure to air and light.
-
Avoid direct sunlight: Make sure to keep your butter away from direct sunlight, as exposure to heat and light can cause it to spoil faster.
Versatile Culinary Applications
One great way to elevate your cooking is by finding versatile culinary applications for this creamy ingredient.
French butter, with its rich and smooth texture, can be used in a myriad of ways to enhance the flavors of your dishes. Spread it on a warm baguette for a simple yet indulgent treat, or use it to create a sumptuous sauce for your pasta. The possibilities are endless.
Not only does French butter add a luxurious touch to your meals, but it also offers health benefits. It is a good source of Vitamin A and E, which are essential for healthy skin and eyes. Additionally, French butter contains healthy fats that can help improve cholesterol levels.
Frequently Asked Questions
How Long Does It Take to Churn the Cream Into Butter?
Churning time for butter depends on the cream consistency. It can take anywhere from 10 to 20 minutes. The cream needs to be whipped until it separates into butterfat and buttermilk.
Can I Use Low-Fat Cream to Make French Butter?
No, using low-fat cream to make French butter is not recommended. The high fat content in traditional cream is crucial for achieving the rich and creamy texture. However, there are alternative butter recipes available that use different ingredients.
What Is the Purpose of Straining the Buttermilk?
Straining the buttermilk in the butter making process is crucial. It helps remove excess liquid and impurities, resulting in a smoother and creamier texture. Common methods include using a cheesecloth or a fine-mesh strainer.
How Many Times Should I Wash the Butter to Remove All the Buttermilk?
To remove all the buttermilk from the butter, I wash it three times. This ensures that the butter is thoroughly rinsed and free from any remaining traces of buttermilk, resulting in a smooth and creamy texture.
How Much Salt Should I Add to the Butter if I Choose to Use It?
When making French butter, it’s important to consider the amount of salt to add. Adding a touch of salt not only enhances the flavor, but also offers health benefits by balancing the rich creaminess of the butter.
Conclusion
Well, there you have it! Making French butter is truly a delightful endeavor.
From carefully selecting the perfect cream to the soothing process of churning, every step is a pleasure.
Straining the buttermilk and washing the butter only add to the satisfaction of creating this golden delight.
And if you choose to sprinkle in a touch of salt, it will surely elevate the taste to new heights.
Once stored, this luxurious French butter can be used to enhance any dish, bringing a touch of elegance and sophistication to your culinary creations.
Bon appétit!
