I understand your hesitation – the idea of turning heavy whipping cream into butter may seem intimidating. However, I can guarantee you that it is simpler than you imagine.
With just a few simple steps and some basic ingredients and equipment, you can transform that cream into delicious homemade butter.
In this article, I’ll guide you through the process, from churning the cream to separating the butter from the buttermilk, and even flavoring and storing your freshly made butter.
So let’s get started, and soon you’ll be enjoying the rich and creamy goodness of homemade butter.
Key Takeaways
- Churning heavy whipping cream at medium speed will result in whipped cream, butterfat, and buttermilk.
- Straining and rinsing the butterfat thoroughly is important for taste and shelf life.
- Kneading the butter helps distribute moisture evenly and improve flavor and texture.
- Homemade butter can be flavored with herbs, spices, honey, or maple syrup and should be stored in an airtight container in the refrigerator for freshness and flavor.
Gathering the Ingredients and Equipment
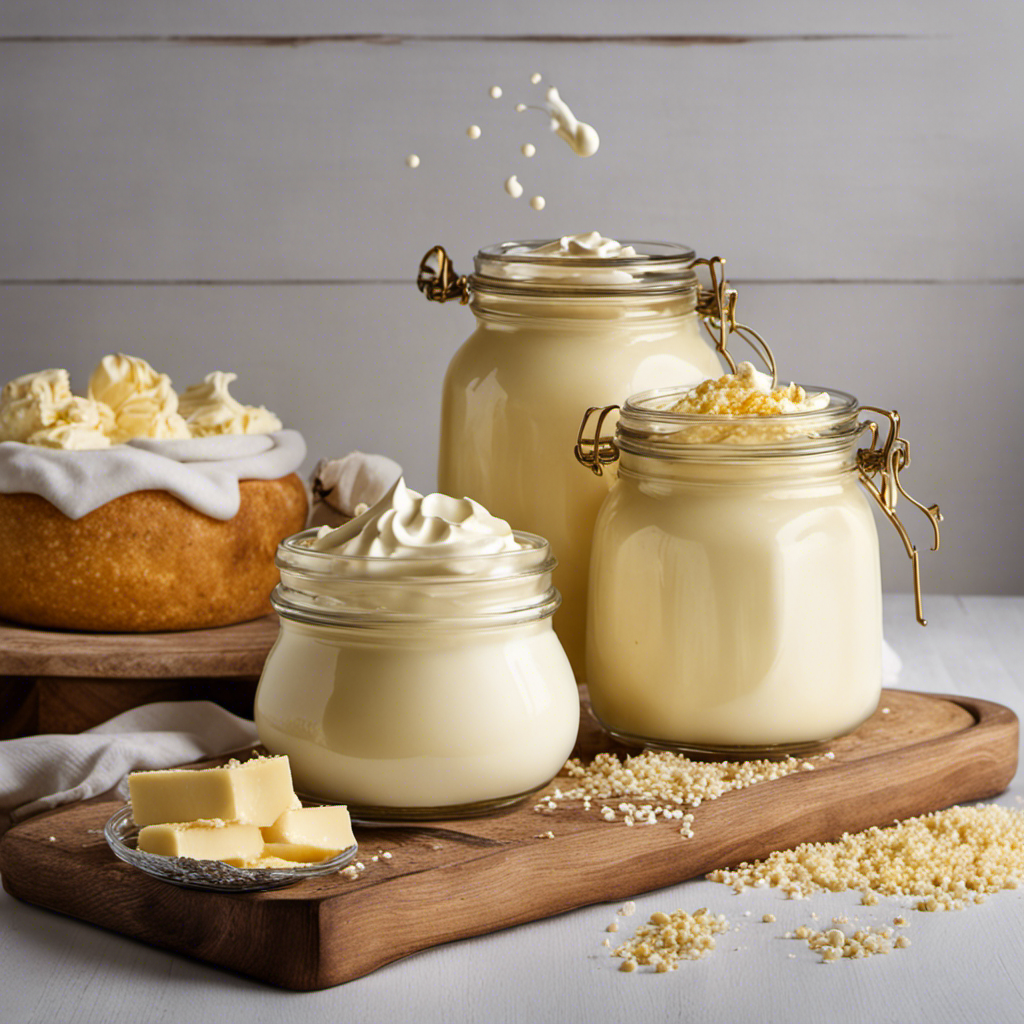
First, gather all of the ingredients and equipment you’ll need to make homemade butter. For this recipe, you will need heavy whipping cream. You can also experiment with using different types of cream, such as raw cream or cultured cream, for unique flavors.
Additionally, you will need a mixing bowl, a whisk or an electric mixer, a strainer, and a container to store the finished butter. If you don’t have a whisk or an electric mixer, you can use alternative equipment options for churning, such as a mason jar with a tight-fitting lid or a food processor. These alternatives can still achieve the desired result of separating the butterfat from the cream.
Make sure all your ingredients and equipment are clean and ready before you begin the butter-making process.
Churning the Cream
Next, you’ll need to start churning the creamy mixture to transform it into a delicious spread. Churning is the process of agitating the cream to separate the fat from the liquid.
There are various churning techniques you can use to achieve this. The most common method is using a butter churn or a stand mixer with a whisk attachment. Simply pour the cream into the churn or mixer and start churning at a medium speed. The cream will go through different stages – first, it will become whipped cream, then it will start to separate into butterfat and buttermilk.
Continue churning until the butterfat clumps together and separates completely from the buttermilk. Alternatively, you can also use a mason jar or a food processor. Just pour the cream into the container and shake vigorously or process until the butterfat separates.
Whichever method you choose, make sure to strain the buttermilk from the butterfat once it’s fully separated.
Separating the Butter From the Buttermilk
Once the churning process is complete, you’ll need to strain the buttermilk from the separated butterfat. Separating the butter from the buttermilk is an essential step in the butter-making process. Here are the best methods for separating butter from buttermilk:
-
Pour the churned cream into a fine-mesh strainer set over a bowl. Gently press the butter solids with a spoon to release any remaining buttermilk.
-
Place the butter in a cheesecloth and twist the cloth to squeeze out any excess liquid.
-
Rinse the butter under cold water to remove any remaining buttermilk.
Common mistakes when separating butter and buttermilk include not straining the butter thoroughly, which can lead to a sour taste, and not rinsing the butter properly, resulting in a shorter shelf life.
Once the butter is separated from the buttermilk, it’s time to move on to the next step: washing and kneading the butter.
Washing and Kneading the Butter
When it comes to making butter, understanding the water content and separation is crucial. Properly kneading the butter is of utmost importance to achieve the desired consistency and texture.
Water Content and Separation
To separate the water content from the heavy whipping cream, you’ll need to let it sit for a few hours in the refrigerator. This step is crucial because the water content can affect the texture and consistency of your butter.
Here are three important things to keep in mind when dealing with water content and troubleshooting separation:
-
Chilling time: Make sure to let the cream sit in the refrigerator for at least 4-6 hours. This will allow the water to separate from the cream and settle at the bottom.
-
Temperature: Ensure that the cream is at the right temperature before churning. Too cold or too warm cream can affect the separation process and result in uneven butter.
-
Draining excess water: After churning, strain the butter to remove any remaining water. This will help achieve a smoother and creamier texture.
By properly separating the water content, you’ll be able to troubleshoot any separation issues and achieve the best results when making butter.
Now, let’s move on to the importance of kneading.
Importance of Kneading
To achieve a smooth and cohesive texture in your final product, it’s important to knead the butter after churning it.
Kneading is a crucial step in the butter-making process as it helps distribute the moisture evenly and removes any excess liquid. By kneading the butter, you are essentially working the remaining water out of the butter, resulting in a firmer and more spreadable consistency.
Additionally, kneading also helps develop the butter’s flavor and improves its overall quality. The process of kneading involves pressing and folding the butter repeatedly until it becomes smooth and uniform.
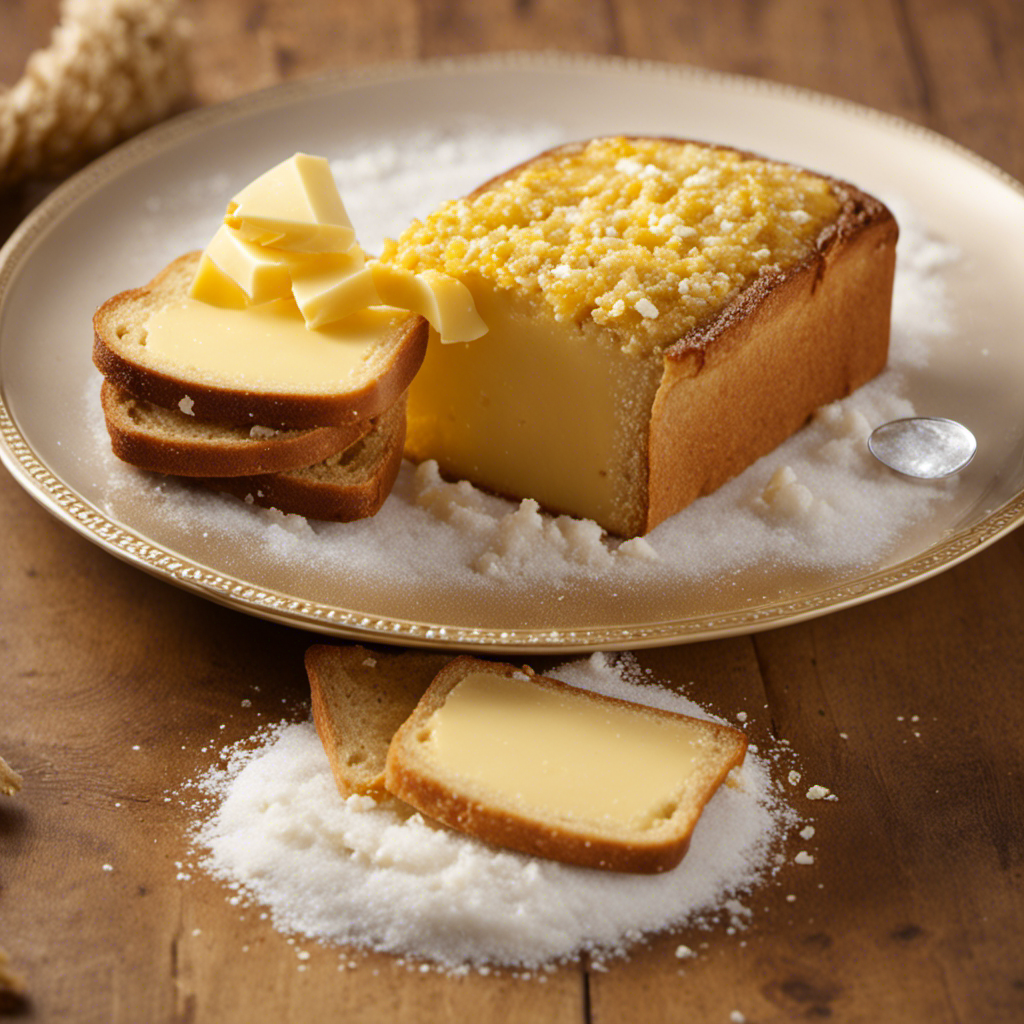
This action ensures that all the moisture is fully incorporated, leaving you with a delicious and well-textured butter that is perfect for spreading on bread or using in your favorite recipes.
Butter Consistency and Texture
For a smooth and spreadable consistency, you’ll want to ensure that your butter is properly kneaded. Achieving the right consistency and texture is crucial in making butter that is easy to spread and enjoyable to eat.
Here are three important factors to consider:
-
Churning time: The longer you churn the cream, the firmer the butter will become. This will help create a creamy and smooth texture.
-
Temperature: Keeping the cream at a slightly cooler temperature during churning can result in a softer and more spreadable butter. Avoid overheating the cream, as it can lead to a greasy texture.
-
Washing the butter: After churning, washing the butter with cold water helps remove any residual buttermilk. This step not only improves the consistency but also enhances the shelf life of your homemade butter.
Flavoring and Storing the Butter
When it comes to flavoring options for butter, there are endless possibilities to explore. From adding herbs and spices to incorporating sweet ingredients like honey or maple syrup, the choice is yours to create a butter that suits your taste preferences.
Once you have flavored your butter to perfection, it is important to know how to store it properly to maintain its freshness and flavor for as long as possible.
Flavoring Options for Butter
Adding herbs and spices is a great way to enhance the taste of your homemade butter. Here are some delicious options for infusing your butter with sweet and savory flavors:
Sweet options:
- Vanilla: Add a few drops of vanilla extract for a subtle sweetness.
- Cinnamon: Sprinkle in ground cinnamon for a warm and comforting flavor.
- Honey: Incorporate a drizzle of honey for a touch of natural sweetness.
Savory options:
- Garlic and herb: Mix in minced garlic, dried herbs like thyme or rosemary, and a pinch of salt for a savory spread.
- Chili pepper: Add some heat by mixing in finely chopped chili peppers or a dash of cayenne pepper.
- Lemon and dill: Zest a lemon and mix it with chopped dill for a refreshing and tangy flavor.
Experiment with different combinations to create unique and delicious flavored butters. Enjoy spreading them on bread, melting them on vegetables, or using them in your favorite recipes.
Storing Homemade Butter
To keep your homemade butter fresh and flavorful, store it in an airtight container in the refrigerator.
Storing butter properly is crucial for preserving its taste and texture. After making your own butter, it is important to ensure its longevity by following the correct storage method.
Start by transferring the butter into a clean, dry container with a tight-fitting lid. This will prevent any unwanted odors or flavors from seeping in.
Place the container in the refrigerator, preferably in the coldest part, such as the back. The airtight container will shield the butter from absorbing any other smells in the fridge.
Remember to keep the butter away from strong-smelling foods like onions and garlic.
Tips and Troubleshooting
One common issue when making butter is that it can take longer than expected. Here are some troubleshooting tips and common mistakes to avoid:
-
Temperature: Ensure that the heavy whipping cream is at the right temperature, around 60-65°F. If it’s too cold, it will take longer to churn, and if it’s too warm, it may not separate properly.
-
Churning time: Be patient and give it enough time. It can take anywhere from 10 to 30 minutes of continuous churning before the cream separates into butter and buttermilk.
-
Over-churning: Be careful not to over-churn the cream, as this can result in the butter becoming too hard and dry. Stop churning as soon as you see the cream separating into small butter granules.
Frequently Asked Questions
How Long Should I Let the Heavy Whipping Cream Sit Out Before Churning It?
I usually let the heavy whipping cream sit out for about 30 minutes before churning it into butter. This allows it to reach room temperature, which is the optimal time for achieving a smooth and creamy texture.
Can I Use a Blender Instead of a Hand Mixer to Churn the Cream?
Using a blender instead of a hand mixer may not yield the same results when churning heavy whipping cream into butter. The hand mixer provides better control and allows for a smoother and creamier texture.
Is It Possible to Make Butter Out of Non-Dairy Whipping Cream Alternatives?
Yes, it is possible to make butter out of non-dairy whipping cream alternatives. Vegan alternatives like coconut cream or cashew cream can be used. Homemade butter has the benefit of being customizable and free from additives.
Can I Use Salted Butter Instead of Unsalted Butter for Flavoring the Homemade Butter?
Yes, you can use salted butter for flavoring homemade butter. However, it’s important to keep in mind that the final product will be saltier. Alternatively, you can experiment with other flavorings to customize your homemade butter.
How Long Can I Store the Homemade Butter in the Refrigerator?
I store homemade butter in the refrigerator for up to two weeks. To keep it fresh, I use an airtight container. It’s important to note that the storage duration may vary depending on the quality of the cream used.
Conclusion
In conclusion, making butter out of heavy whipping cream is a simple and rewarding process. By gathering the necessary ingredients and equipment, churning the cream vigorously, and separating the butter from the buttermilk. Then, washing and kneading the butter to remove any remaining liquid. Finally, flavoring and storing it properly, you can create a delicious and homemade butter.
Just remember to be patient and enjoy the rhythmic motion of churning, as it will transport you to a butter-making paradise. Where the possibilities are as endless as the creamy spread itself.
Happy butter-making!
