I enjoy creating my own butter at home, and I recently found a quick and entertaining method to make it using only a mason jar.
In this article, I’ll guide you through the step-by-step process of making delicious, creamy butter in the comfort of your own kitchen.
With just a few ingredients and a little bit of shaking, you’ll be amazed at the transformation of ordinary cream into rich, flavorful butter.
Get ready to impress your friends and family with your homemade butter-making skills!
Key Takeaways
- Choose cream with high fat content for a rich and creamy butter
- Shake the jar vigorously to churn the cream into butter
- Use a fine-mesh strainer or cheesecloth to drain the liquid from the butter
- Store homemade butter in the refrigerator for up to two weeks or freeze it for several months
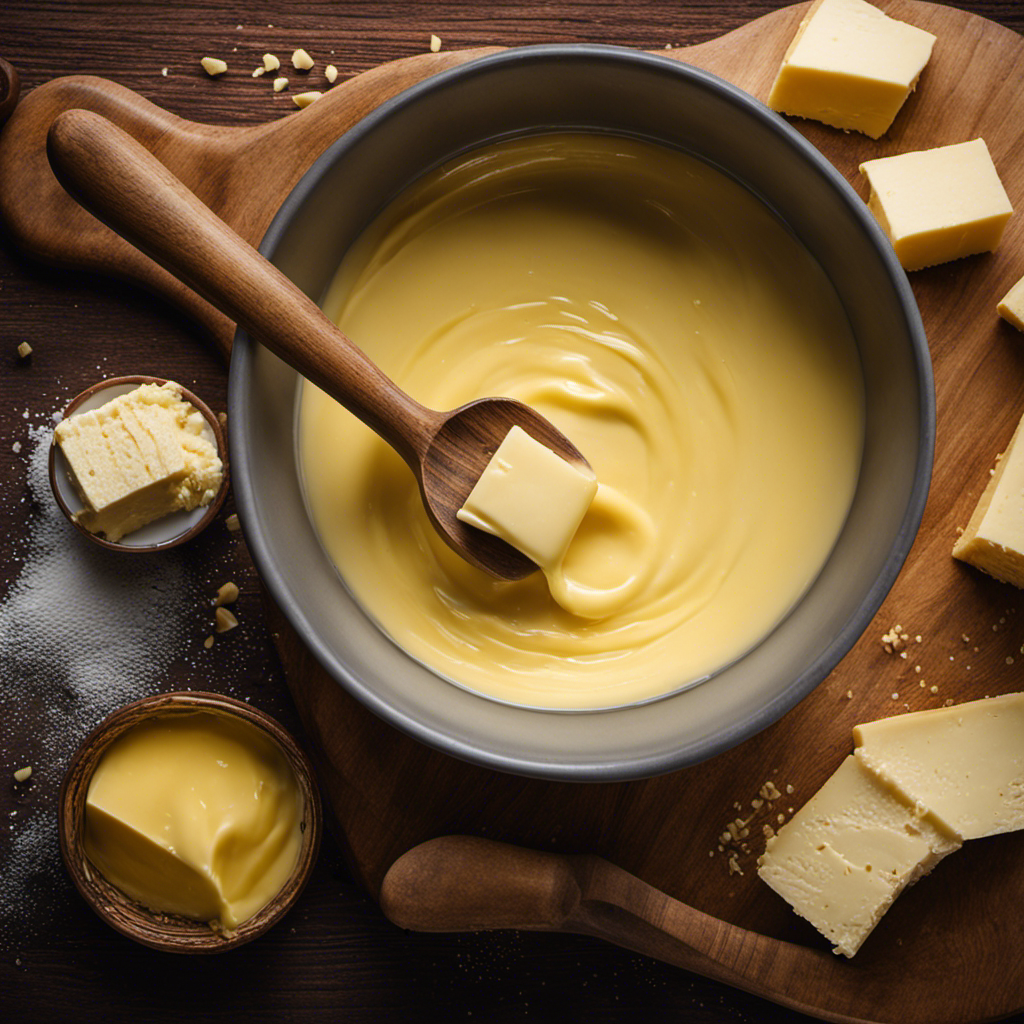
Gather the Necessary Ingredients
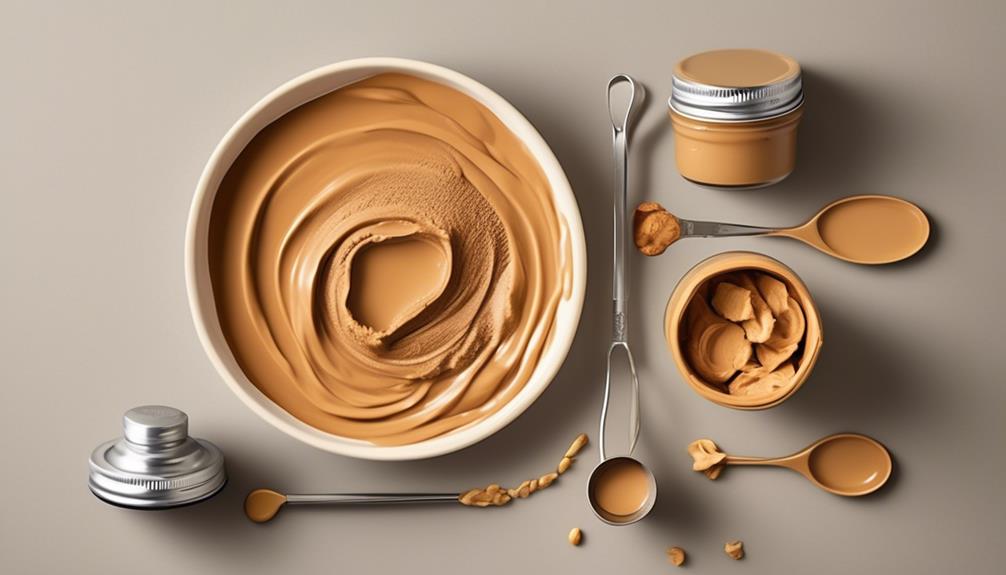
First, you’ll need to gather all the necessary ingredients for making butter in a mason jar. To start, you’ll need cream. There are a few different types of cream you can use, such as heavy cream, whipping cream, or even double cream. The higher the fat content, the better your butter will turn out.
Next, you’ll need a pinch of salt to enhance the flavor of your butter. Don’t forget a mason jar with a tight-fitting lid, as this will be your butter-making vessel.
Now, let’s talk about troubleshooting common butter making mistakes. One mistake people often make is over-churning the cream, which can result in a grainy texture. Another mistake is not properly draining the buttermilk from the butter, leading to a shorter shelf life.
Prepare the Mason Jar for Butter-Making
To begin, you’ll need to gather all the necessary ingredients for making butter in a mason jar. But what if you don’t have a mason jar? Don’t worry, there are alternatives you can use, such as a sturdy glass jar with a tight-fitting lid or a plastic container with a secure seal.
Now, let’s talk about achieving the perfect texture in homemade butter.
- Use heavy cream that has a high fat content, preferably at least 35%. This will ensure a rich and creamy butter.
- Let the cream sit at room temperature for about 30 minutes before starting. This will make it easier to churn.
- Don’t overchurn the cream. Stop when you see the butter solids separate from the buttermilk.
- Rinse the butter with cold water to remove any remaining buttermilk. This will help preserve its freshness.
Now that you’re ready to prepare the mason jar and have some tips for achieving the perfect texture, it’s time to move on to the next step: shaking the jar to churn the cream.
Shake the Jar to Churn the Cream
Now, all you need to do is shake the jar vigorously for several minutes to churn the cream into butter. This is the fun part! Hold the jar tightly and shake it up and down, side to side, and in circular motions. You want to create enough movement to agitate the cream and separate the butterfat from the buttermilk. As you shake, you will notice the cream thickening and eventually forming clumps. This means the butter is starting to come together. Keep shaking until the clumps of butter are fully formed and separate from the liquid.
If you’re looking for alternative churning methods, there are a few options you can try. One method is using a stand mixer with the whisk attachment. Simply pour the cream into the mixer bowl and whisk on medium-high speed until it turns into butter. Another option is using a food processor. Pour the cream into the processor and process on low speed until butter forms. You can also try using a hand mixer or a blender, but be cautious of the speed settings to avoid splattering.
Common issues that may arise during the churning process include the cream not thickening or the butter failing to separate from the buttermilk. If the cream isn’t thickening, make sure you’re using heavy cream with a high fat content. If the butter isn’t separating, the cream might be too cold. Try letting it sit at room temperature for a while before churning. Additionally, if you’re using a mason jar and the butter is sticking to the sides, you can try using a rubber spatula to scrape it down and continue shaking.
Now, let’s take a look at the emotional response evoked by the following table:
| Troubleshooting | Emotion | Action |
|---|---|---|
| Cream not thickening | Frustration | Check fat content of cream |
| Butter not separating | Confusion | Let cream warm up to room temperature |
| Butter sticking to jar | Annoyance | Scrape down butter with spatula |
The table effectively conveys the emotions that might be experienced when encountering common issues while making butter, and provides clear actions to address these problems.
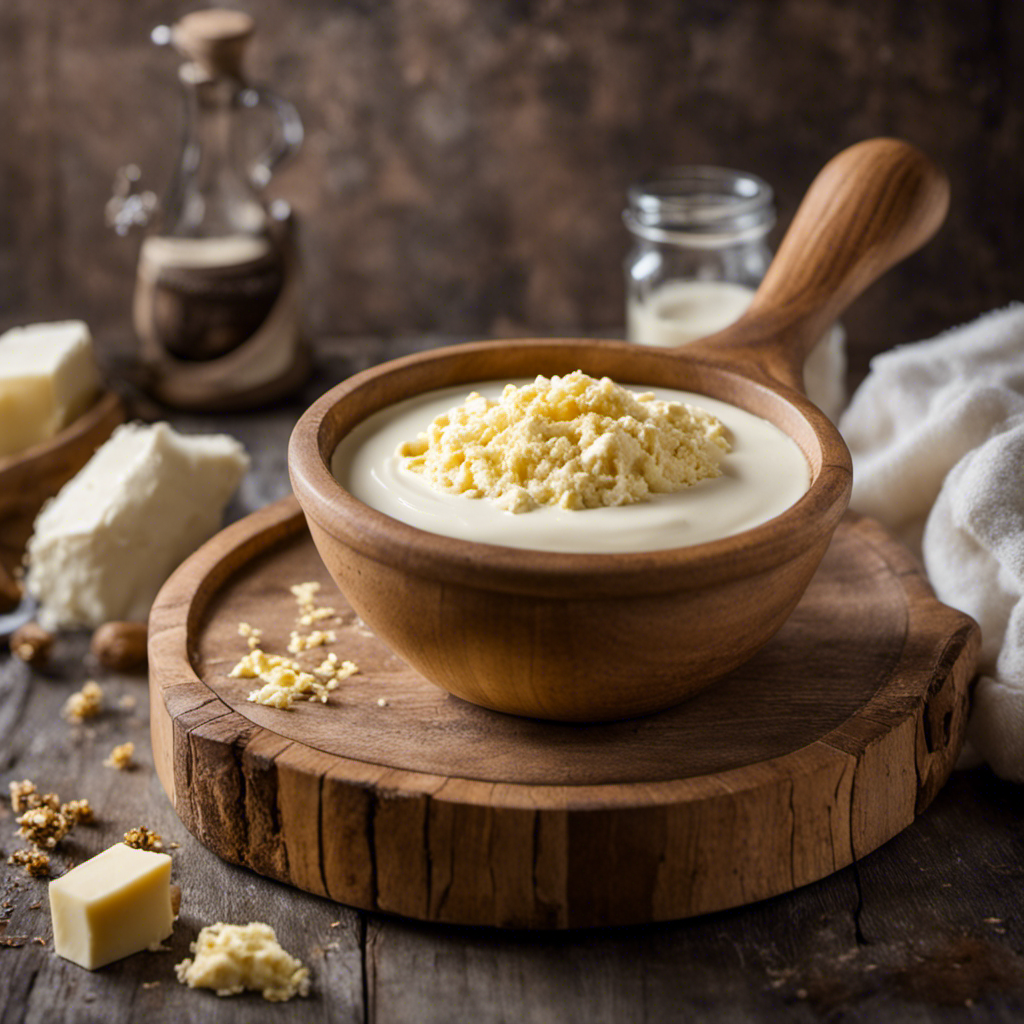
Drain the Liquid From the Jar
After shaking the jar, you’ll need to drain the liquid from it. This step is crucial to separate the butter from the buttermilk. Here’s how to properly drain the liquid from the jar:
- Place a fine-mesh strainer or cheesecloth over a clean bowl.
- Slowly pour the contents of the jar into the strainer, allowing the liquid to drain through.
- Gently press the butter solids with a spatula or the back of a spoon to remove any excess liquid.
Now that you have successfully drained the liquid from the jar, you may be wondering what to do with the leftover liquid from butter making. Here are a few different ways you can use it:
- Use it in baked goods like pancakes, biscuits, or cakes for added richness and flavor.
- Make a refreshing buttermilk dressing or marinade for salads or meats.
- Use it as a substitute for regular milk or buttermilk in recipes like mashed potatoes or creamy soups.
With these tips, you’ll not only know how to properly drain the liquid from the jar but also have some creative ideas for using the leftover liquid from butter making. Enjoy!
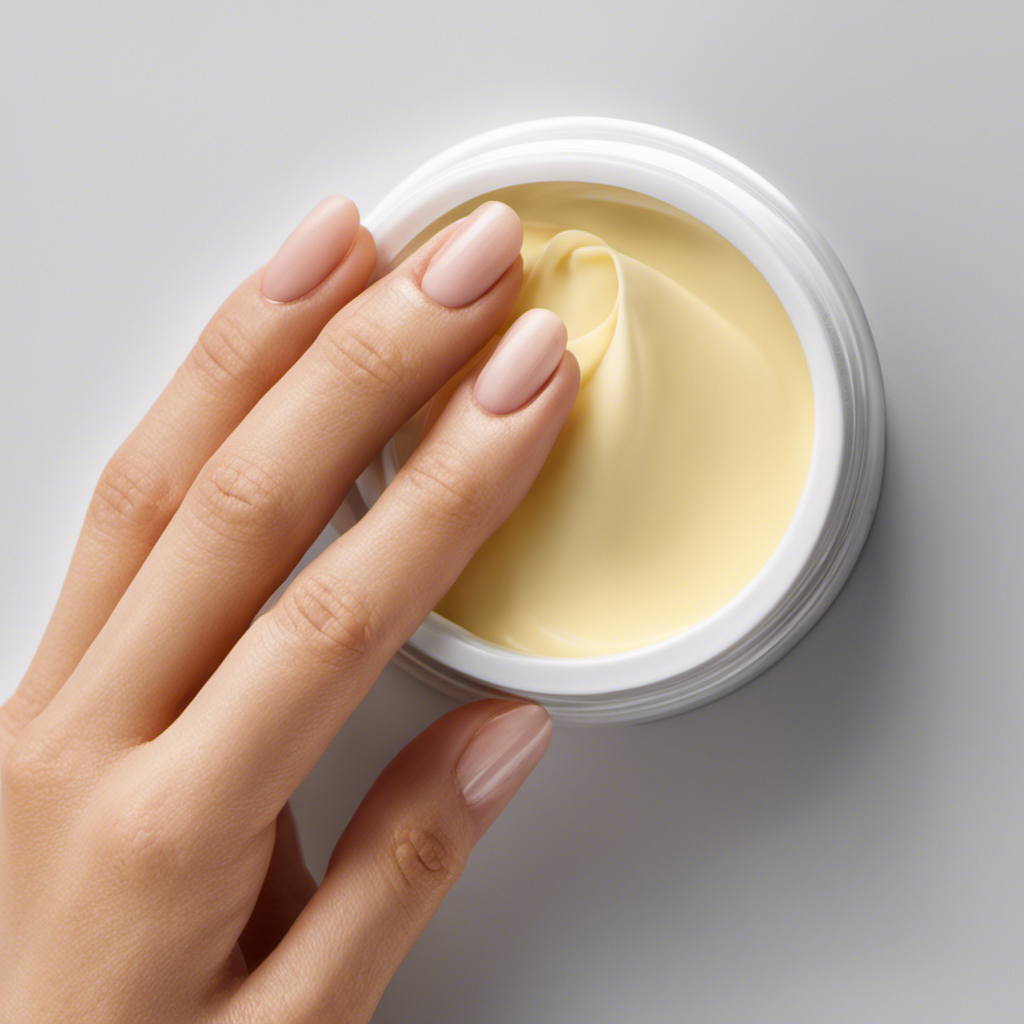
Store and Enjoy Your Homemade Butter
Once you’ve successfully drained the liquid from the jar, it’s time to store your homemade butter and start enjoying it! Storing homemade butter is easy and can be done in a few different ways. One option is to keep it in the refrigerator, where it will stay fresh for up to two weeks. Another option is to freeze it, which can extend its shelf life for several months. To freeze your butter, simply wrap it tightly in plastic wrap or place it in an airtight container before putting it in the freezer.
To help you make the most of your homemade butter, here are a few different uses for it:
| Uses for Homemade Butter | Emotional Response |
|---|---|
| Spreading on fresh bread | Comfort and satisfaction |
| Melting over hot pancakes | Indulgence and joy |
| Baking delicious cookies | Warmth and nostalgia |
Frequently Asked Questions
Can I Use Any Type of Cream to Make Butter in a Mason Jar?
Yes, you can use different types of cream to make butter in a mason jar. The type of cream may affect the taste of homemade butter, so choose accordingly.
Do I Need to Refrigerate the Cream Before Starting the Butter-Making Process?
I shouldn’t let the cream come to room temperature before making butter. It is possible to make butter without refrigerating the cream first. However, refrigerating can help in achieving a better consistency.
How Long Does It Typically Take to Churn the Cream Into Butter?
Typically, churning cream into butter takes around 10-15 minutes. However, the time can vary depending on factors like the temperature of the cream and the speed at which you’re churning.
Can I Reuse the Liquid Drained From the Jar for Other Recipes?
Yes, I can reuse the liquid drained from the jar for other recipes. It opens up a world of culinary experiments and alternative uses. Get creative and explore the possibilities with this leftover liquid!
How Long Can I Store Homemade Butter in the Refrigerator?
The shelf life of homemade butter in the refrigerator varies depending on the freshness of the cream used. Generally, it can be stored for up to 2-3 weeks. To extend its shelf life, store it in an airtight container and keep it away from strong odors.
Conclusion
Well, I never thought I’d be making my own butter in a mason jar, but here we are! Who knew it could be so easy and satisfying?
With just a few simple steps, I transformed cream into a creamy, delicious spread that rivals any store-bought version.
From gathering the ingredients to shaking the jar like a mad scientist, it was a fun and rewarding process.
Now, I have my very own homemade butter to enjoy on toast, pancakes, and everything in between. Who needs store-bought when you can make your own?