Hello there!
Ever wondered how to turn that ordinary carton of whipping cream into delicious homemade butter? Well, you’re in luck! In this article, I’ll guide you through the step-by-step process of making butter from whipping cream.
We’ll start by selecting the perfect cream, chilling it to the ideal temperature, and then whipping it to perfection.
From there, we’ll separate the butterfat, wash and shape the butter, and finally, store it for later enjoyment.
So, let’s get started on this buttery adventure!
Key Takeaways
- Choosing a high-fat whipping cream ensures a rich and creamy butter.
- Chilling the cream before churning helps separate butterfat from liquid.
- Whipping the cream gradually and avoiding over-whipping prevents separation into butterfat and buttermilk.
- Straining the cream effectively separates the butterfat from the buttermilk and preserves the freshness of the butter.
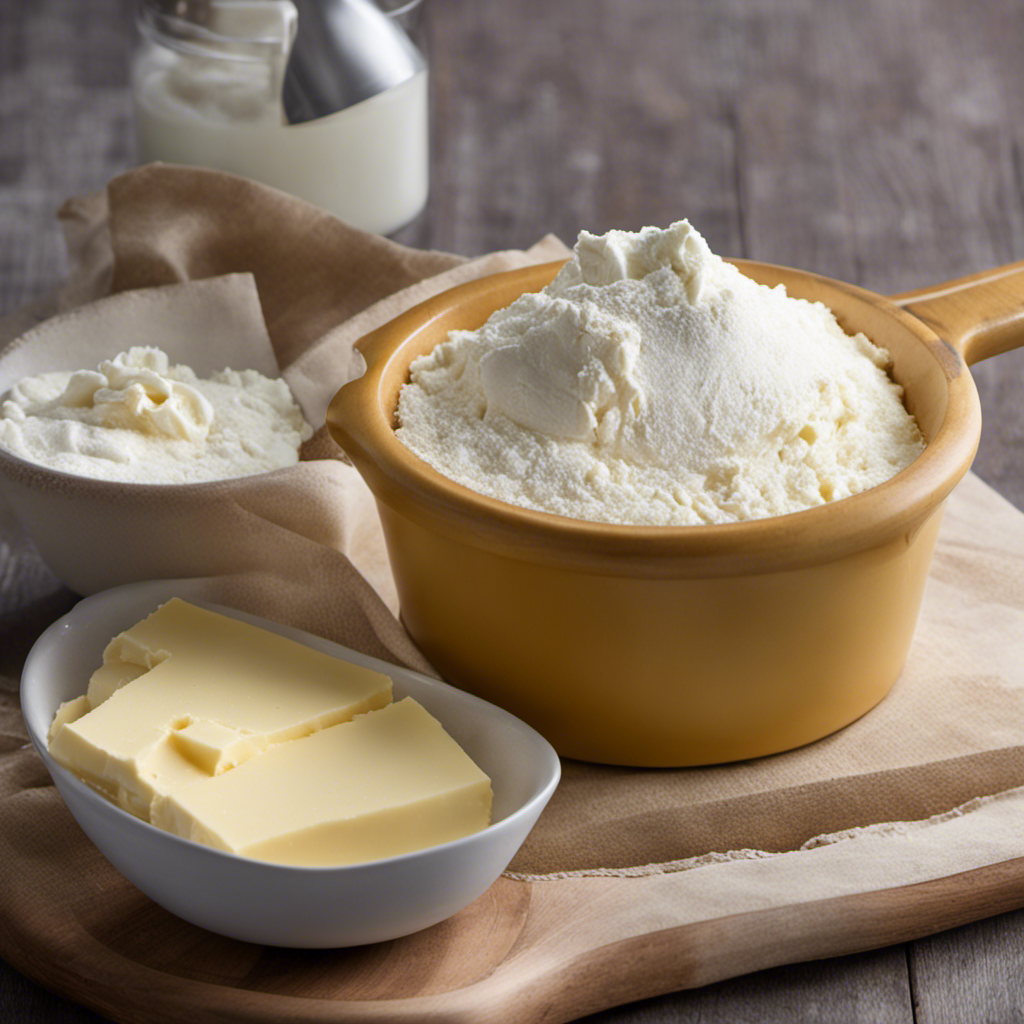
high fat whipping cream for butter
As an affiliate, we earn on qualifying purchases.
As an affiliate, we earn on qualifying purchases.
Selecting the Right Whipping Cream
To make the best butter, you’ll want to start by choosing the right whipping cream. When selecting the best brand, it’s important to consider the fat content. Look for a whipping cream with a high fat content, preferably around 35% or higher. This will ensure that your butter will have a rich and creamy texture. Avoid low-fat or light whipping creams, as they won’t yield the same results.
It’s also a good idea to check the expiration date and choose a brand that is known for its quality. Once you have chosen the perfect whipping cream, it’s time to move on to the next step: chilling the cream. This will help separate the butterfat from the liquid, making it easier to churn into butter.
Chilling the Cream
Chilling the cream will help it thicken faster when making butter. When the cream is cold, the fat molecules solidify, making it easier for them to separate from the liquid. This speeds up the churning process and helps achieve the desired butter consistency. Before starting, it’s important to ensure that the cream is well chilled. I recommend placing the whipping cream in the refrigerator for at least 1-2 hours before churning. This will allow the cream to reach a temperature of around 45°F (7°C), which is ideal for butter making. Remember, if the cream is too warm, it will take longer to thicken and might not churn into butter properly. So, make sure to chill the cream before starting the churning process to ensure a smooth and successful butter-making experience.
| Tips for Chilling Cream |
|---|
| Place cream in the refrigerator for 1-2 hours |
| Keep the temperature around 45°F (7°C) |
| Check the cream is cold before starting the churning process |
| Enjoy the smooth and successful butter-making experience! |
Whipping the Cream
When whipping, you’ll want to use a cold bowl and beaters to help the cream reach the desired consistency. Here are some whipping techniques and troubleshooting tips to help you along the way:
- Start slow: Begin whipping the cream on low speed to incorporate air evenly and prevent splattering.
- Increase speed gradually: Once the cream starts to thicken, gradually increase the speed to medium-high for faster whipping.
- Watch for soft peaks: Whip until soft peaks form, meaning the cream holds its shape but the tips flop over.
- Avoid over-whipping: Be careful not to over-whip the cream, as it can turn into butter and separate into butterfat and buttermilk.
By following these techniques and tips, you’ll be able to whip the cream to the perfect consistency for making butter.
Now, let’s move on to separating the butterfat.
Separating the Butterfat
Once the cream has thickened, you’ll need to strain it to separate the butterfat from the buttermilk. There are a few methods for separating the butterfat, but I prefer using a cheesecloth or a fine-mesh strainer.
First, make sure the cream has been chilled for a few hours to allow it to thicken properly. Then, pour the thickened cream into a bowl or a jar lined with the cheesecloth or the fine-mesh strainer.
Gently press down on the cream to release the buttermilk, which will pass through the cloth or strainer and collect in the container below. This method not only separates the butterfat effectively but also helps in preserving the freshness of the butter.
The strained butterfat can now be further processed to make homemade butter.
Washing and Shaping the Butter
To wash and shape the homemade butter, simply place it in a bowl of cold water and knead it gently. This process helps remove any excess buttermilk and ensures a smoother texture.
Here are some shaping techniques and butter molds you can use:
-
Roll and wrap: After washing the butter, place it on a clean surface and shape it into a log by rolling it back and forth. Then, wrap it tightly in plastic wrap and refrigerate until firm.
-
Butter molds: If you want to give your butter a decorative shape, consider using butter molds. These molds come in various designs, such as flowers, animals, or traditional patterns. Press the softened butter into the mold, then carefully remove it to reveal the intricate design.
-
Butter pats: For a simple and classic shape, use a butter pat. Simply scoop the washed butter into a small dish, press it down with a spoon, and refrigerate until solid.
-
Butter balls: To create individual servings or to add a touch of elegance to your table, roll the washed butter into small balls using your hands. Chill them in the refrigerator until firm.
Storing and Enjoying Your Homemade Butter
When it comes to storing homemade butter, there are several long-term storage options to consider.
From wrapping it tightly in wax paper and placing it in the refrigerator to freezing it in an airtight container, each method has its own pros and cons.
Additionally, it’s important to consider serving suggestions and pairings for your homemade butter. For example, spreading it on warm toast or using it in baking recipes for that extra rich and creamy flavor.
Long Term Storage Options
If you want to store your homemade butter for a long time, you can use airtight containers or freezer bags. However, if you’re looking for more advanced storage options, vacuum sealing and canning butter can be great choices.
Here’s how you can do it:
-
Vacuum Sealing: Place your homemade butter in a vacuum-sealable bag or container. Remove as much air as possible by using a vacuum sealer. This method helps to eliminate oxygen, preventing spoilage and extending the shelf life of your butter.
-
Canning Butter: Fill sterilized canning jars with your melted and clarified butter, leaving about 1/2 inch of headspace. Process the jars in a water bath canner for about 10 minutes. This method creates a seal that keeps bacteria out and allows you to store your butter for up to a year.
Serving Suggestions and Pairings
Now that you know how to store your homemade butter for the long term, let’s talk about serving suggestions and pairings. Butter is a versatile ingredient that can enhance the flavor of various dishes. Whether you’re spreading it on toast or using it in your favorite recipes, there are endless possibilities to explore.
To help you get started, here are some flavor variations and creative butter recipes to try:
| Flavor Variations | Creative Butter Recipes |
|---|---|
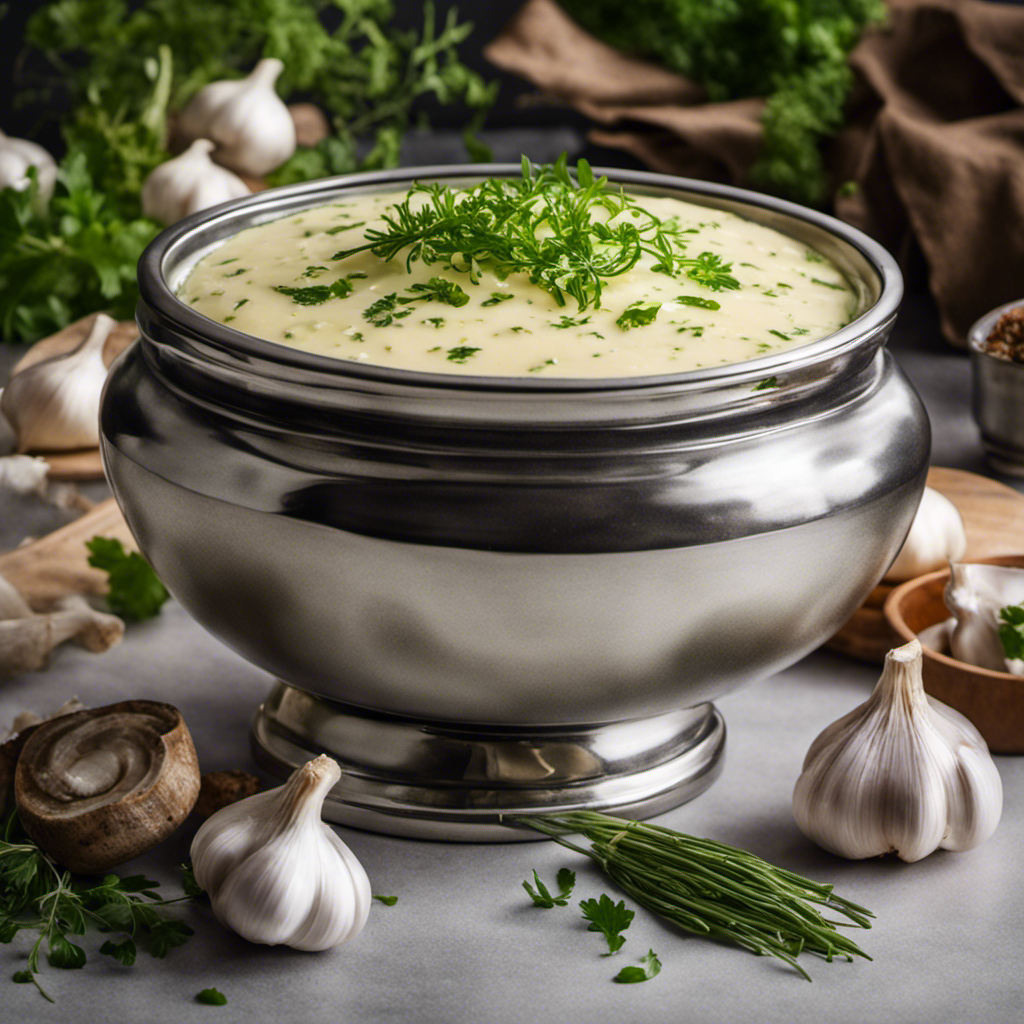
| Garlic Parmesan | Herb-infused butter |
| Honey Cinnamon | Citrus zest butter |
| Truffle | Spicy chili butter |
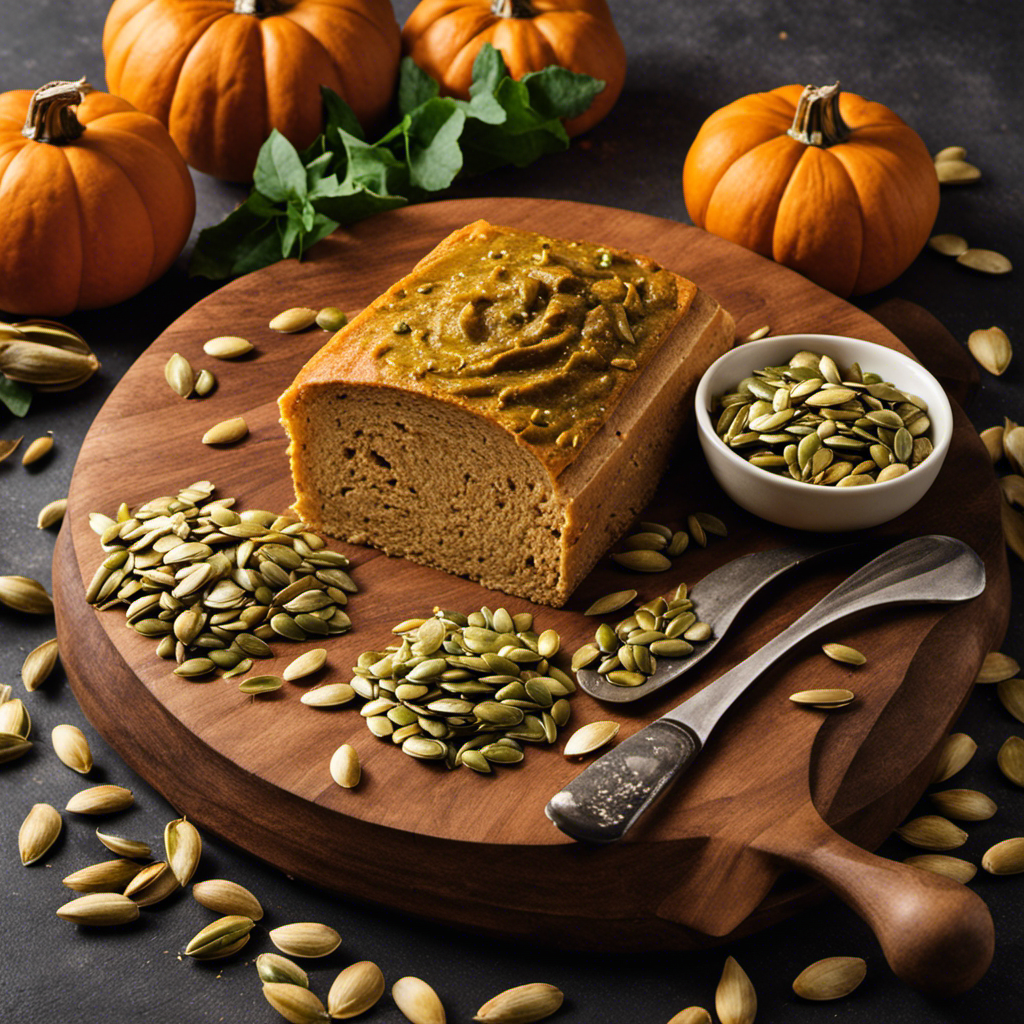
| Sun-dried Tomato and Basil | Maple pecan butter |
These flavor variations can be achieved by mixing in different ingredients with your butter. For example, to make garlic Parmesan butter, simply blend minced garlic and grated Parmesan cheese into softened butter. Spread it on warm bread or use it to add richness to pasta dishes. The possibilities are endless when it comes to experimenting with different flavors and recipes. So, have fun and enjoy the deliciousness of homemade butter!
Frequently Asked Questions
What Are Some Common Mistakes to Avoid When Selecting the Right Whipping Cream?
When selecting whipping cream, it’s important to be mindful of common mistakes. Here are some tips: check the expiration date, look for cream with a high fat content, and avoid creams with additives or stabilizers.
Can I Use a Hand Mixer Instead of a Stand Mixer for Whipping the Cream?
I prefer using a hand mixer for whipping cream because it’s more convenient and gives me control over the process. However, if you don’t have a mixer, you can also use a whisk or a jar with a tight lid.
How Long Does It Usually Take to Separate the Butterfat From the Buttermilk?
It usually takes around 10-15 minutes to separate the butterfat from the buttermilk when making butter with whipping cream. Once separated, store the homemade butter in an airtight container in the refrigerator. Different methods of churning butter include using a stand mixer or shaking it in a jar.
Is It Necessary to Wash the Butter After Separating the Butterfat?
Washing butter after separating butterfat has pros and cons. On one hand, it removes residual buttermilk, preventing spoilage. On the other hand, it can remove flavor and texture. To store homemade butter longer, keep it in an airtight container in the refrigerator.
Can I Add Flavorings or Herbs to My Homemade Butter?
Yes, you can add flavorings or herbs to homemade butter. There are various options for infusing herbs into butter, such as blending them into the cream before churning or mixing them in after the butter is formed.
Conclusion
In conclusion, making butter with whipping cream is a simple and rewarding process. By selecting the right cream, chilling it properly, and whipping it until the butterfat separates, you can create creamy and delicious homemade butter.
Don’t forget to wash and shape the butter before storing it in the refrigerator. With these steps, you’ll have a supply of fresh and flavorful butter to enjoy on toast, in recipes, or however you please.
Get ready to elevate your butter game with this easy-to-follow method.