
Making butter from goat milk is simple! Chill the milk to separate the cream naturally. Skim off the cream and freeze until you have a quart. Mix the cream with salt, blend until it separates into butter clumps and buttermilk. Strain out buttermilk, shape the butter, and refrigerate. Enjoy organic, cost-effective butter with better quality! Secrets like Nigerian Dwarf goat milk's ideal fat content and LaMancha goat milk's rich flavor enhance the process. Try rinsing the butter for a smoother texture. Keep going to discover more tips and details for successful goat milk butter making!
Key Takeaways
- Properly skim and accumulate cream from goat milk.
- Churn cream until it separates into butter and buttermilk.
- Strain and shape butter, ensuring to remove excess liquid.
- Refrigerate homemade butter for freshness.
- Enjoy organic, cost-effective, and high-quality goat milk butter.

BeadHub Soap Making Kit for Adults Beginners | 6LBS Melt & Pour Soap Base – Shea Butter, Clear Glycerin & Goat Milk, All-in-one Deluxe Kit for Soaps with Fragrances, Colors, Making Tools & Supplies
- Includes 3 Soap Bases: 6 lbs of Shea, Glycerin, Goat Milk bases
- Perfect for Beginners: Step-by-step instructions and all supplies included
- Creative Molds and Decorations: Variety of molds, fragrances, colors, and decorative elements
As an affiliate, we earn on qualifying purchases.
As an affiliate, we earn on qualifying purchases.
Cream Separation Techniques
To separate cream from goat milk, simply allow the cream to rise naturally to the top over a few days in the fridge. Since goat milk cream is naturally homogenized, this process might take a bit longer than with cow's milk. Patience is key as you wait for the cream to separate and rise to the surface.
Once the cream has risen, carefully skim it off the top, making sure to leave the watery layer underneath untouched. This step is vital to make sure you get a good amount of pure cream for making butter later on.
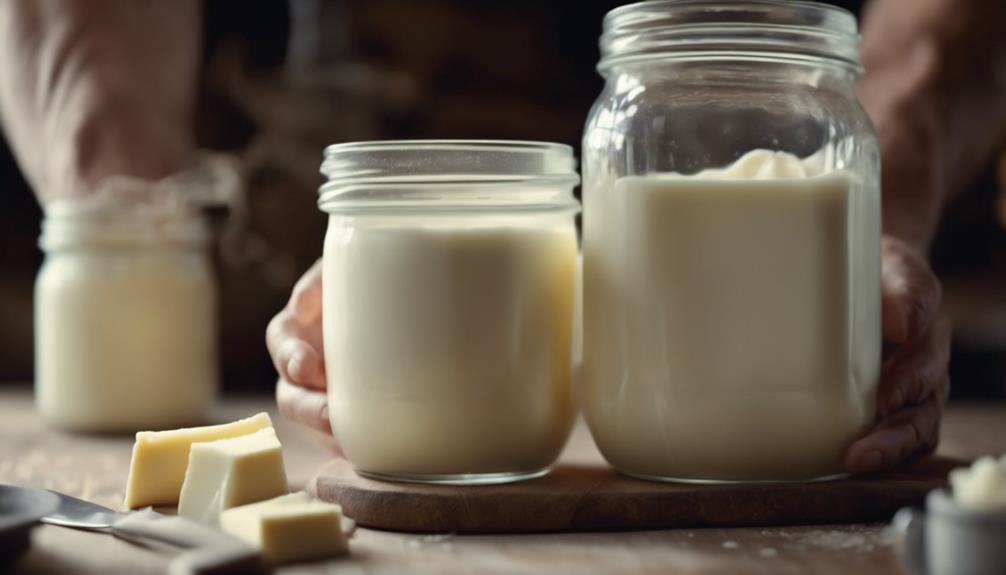
As you accumulate the cream, store it in quart jars in the freezer until you have enough for butter making. Skim the cream off the top of multiple jars of goat milk until you collect about a quart of cream.
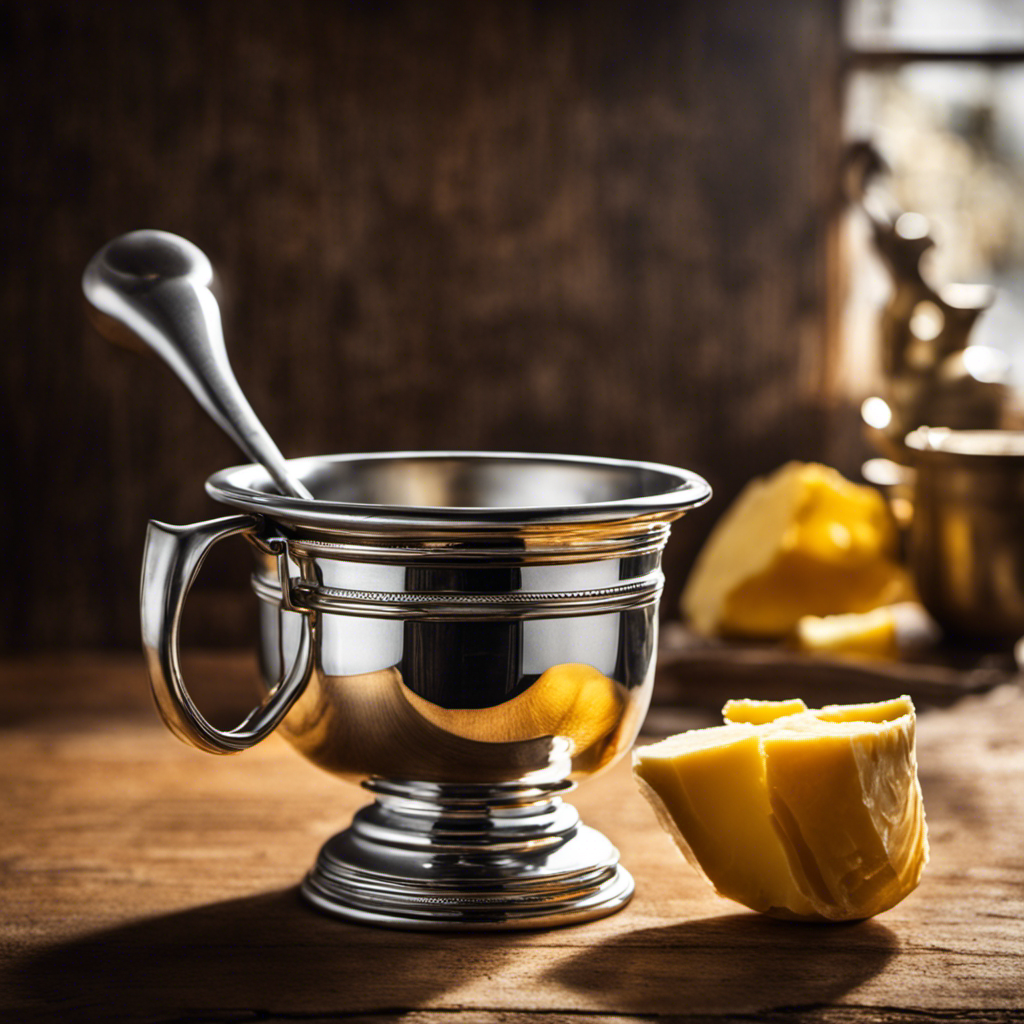
Goat Milk Butter Recipe
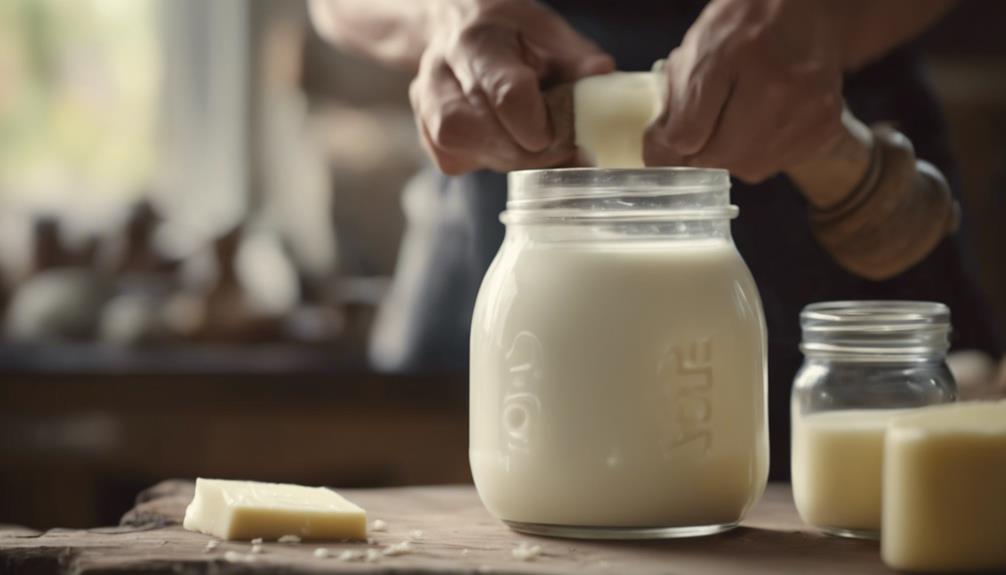
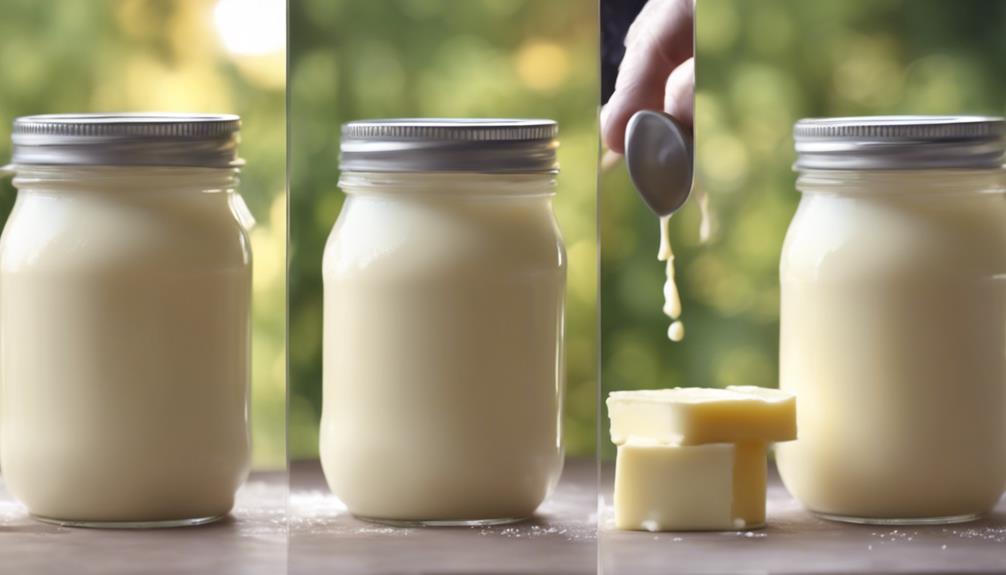
For making goat milk butter, you'll need just 1 cup of heavy cream and 1/8 teaspoon of salt. To start, pour the heavy cream into a mixer, add the salt, and blend until the mixture separates into butter clumps and buttermilk. Once separated, strain the buttermilk from the butter clumps.
Gather the butter, press out any excess liquid, and shape it into a cube or any desired form for storage. Refrigerate your homemade goat milk butter until you're ready to use it.
This simple homemade goat milk butter recipe allows you to enjoy the organic and cost-effective delight of freshly made butter. By creating your own butter, you have full control over the ingredients used, ensuring a wholesome final product. Whether you spread it on toast or use it in your cooking, this homemade goat milk butter will add a delicious touch to your meals.
Benefits of Homemade Butter
Making your own butter at home using goat milk provides numerous benefits that enhance both the quality and taste of your culinary creations.
Homemade goat milk butter is organic, ensuring that you're using pure and natural ingredients without any additives or preservatives. This guarantees a higher quality product compared to store-bought alternatives.
Additionally, creating homemade butter from goat milk is cost-effective, saving you money in the long run, especially if you use organic ingredients.
Tips for Successful Butter Making
For successful butter making from goat milk, it's vital to ensure proper separation of the cream before starting the churning process. When the cream is thick and visibly separates into butter during churning, you're on the right track.
Make sure you strain the buttermilk thoroughly from the butter to prevent excess liquid in the final product. After draining, give the butter a good rinse to eliminate any remaining buttermilk for a smoother texture.
Once you've completed the churning process and removed excess liquid, refrigerate the butter to firm it up before use. Refrigeration not only helps with texture but also extends the freshness of your homemade goat milk butter.
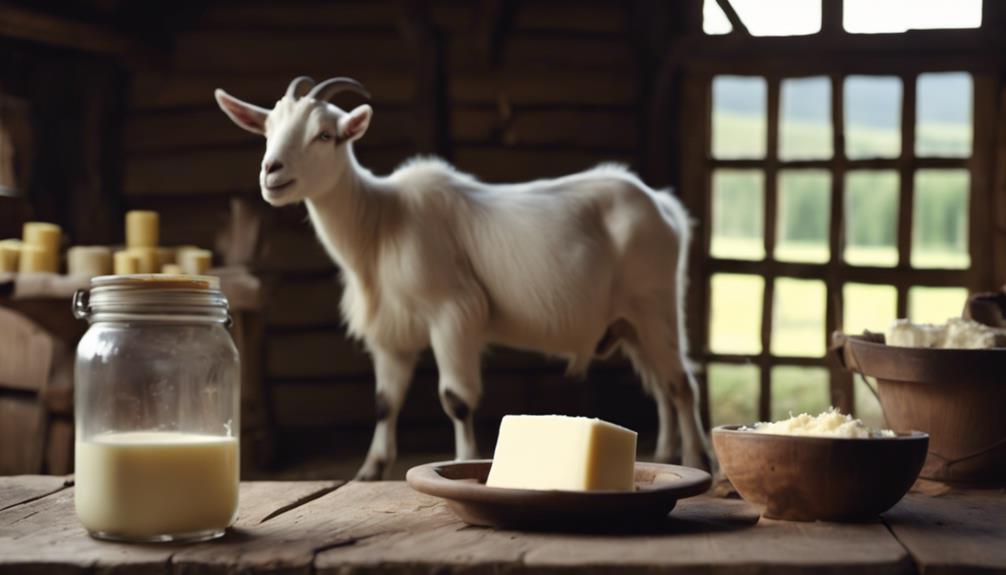
Goat Milk Selection and Prep
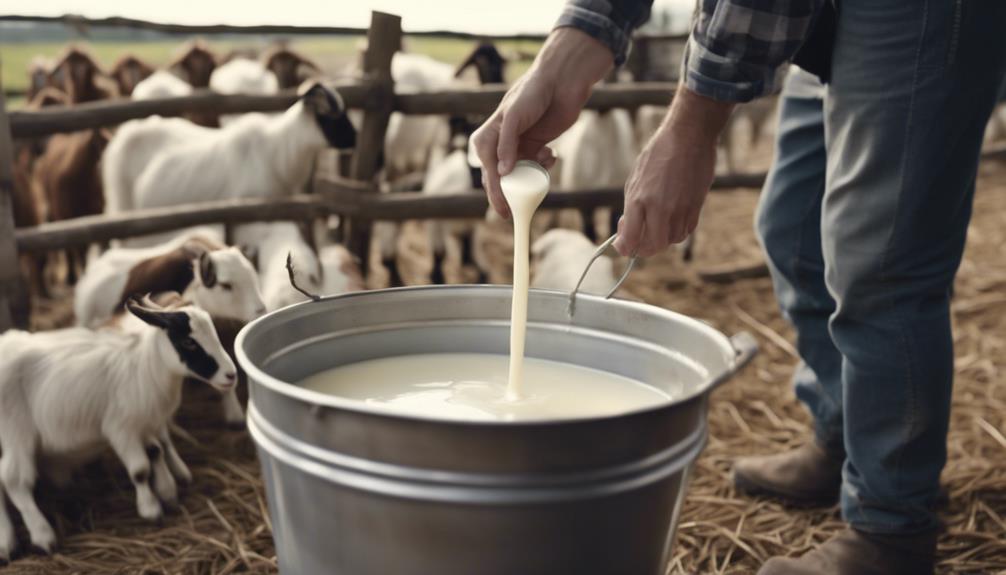
To secure the best butter quality, selecting and preparing goat milk plays a crucial role in the butter-making process. Nigerian Dwarf goats are excellent choices as they produce milk with nearly 8% fat content, which is ideal for butter making.
When milking LaMancha goats, keep in mind that their milk has a rich flavor with slightly lower cream content compared to other breeds. Contrary to popular belief, feeding grain doesn't always boost the fat content in goat milk; the fiber from grass significantly contributes to its richness.
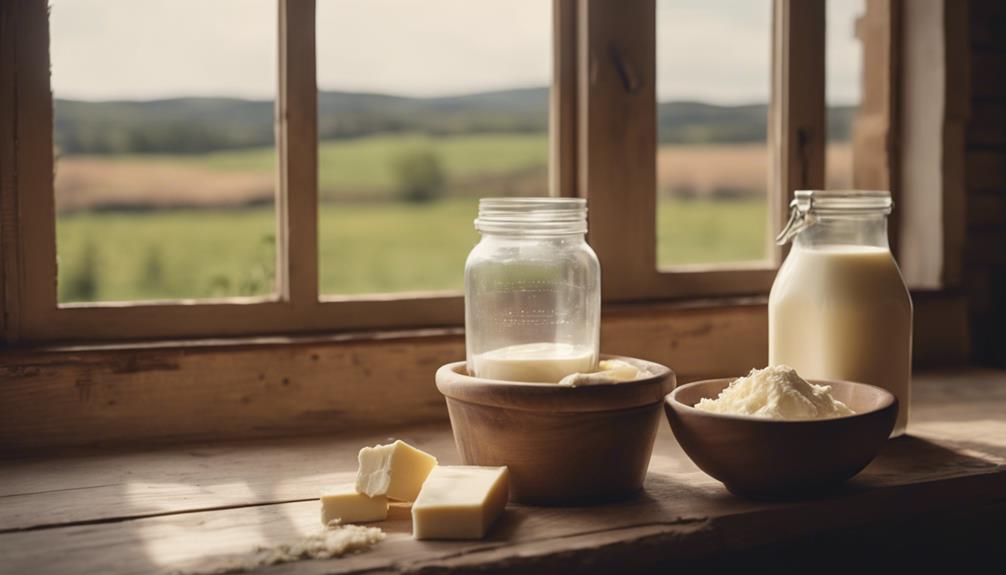
After milking your goats, refrigerate the milk for approximately four days to allow the cream to rise for easier skimming. To facilitate cream separation and prepare for butter making, strain the warm goat milk into wide-mouth jars. This simple step will help you achieve a smooth butter-making process and secure a delicious end product.
Cream Skimming Methods
To efficiently separate cream from goat milk, allow it to chill in the fridge for 3-7 days to let the cream rise naturally.
Skim off the cream with a spoon, being cautious not to disturb the lower watery layer.
Remember to store the collected cream in the freezer until you have enough for butter-making.
Efficient Cream Separation
Skimming cream from goat milk can be challenging due to its natural homogenization, necessitating a different approach compared to cow's milk. To achieve efficient cream separation, place the goat milk in the fridge for 3-7 days. During this time, the cream will rise to the top, though not as visibly as in cow's milk due to the lack of a distinct cream line.
When ready, use a gentle skimming method by scooping the thick cream from the surface of the chilled milk. It's crucial to skim enough cream to fill a quart jar adequately, ensuring a smooth and efficient butter-making process later on. Patience is key when separating cream from goats, as the process may take longer than with other types of milk.
Cream Skimming Techniques
Consider utilizing a cream separator or implementing a homemade cream separating technique to efficiently skim the cream from goat milk for making butter. If you prefer a more modern approach, investing in cream separators can streamline the process by mechanically separating the cream from the milk.
However, if you enjoy a hands-on method, you can let your goat milk sit in the fridge for 3-7 days to allow the cream to rise to the top. Once the cream has accumulated, skim it off the top and store it in a quart jar in the freezer until you have enough cream to make your own goat butter.
Skim the cream carefully, ensuring you only collect the thick cream layer while leaving the watery portion behind. Repeat this process until you have gathered a sufficient amount of cream, about a quart, for your homemade goat butter.
Butter Production Steps
Now, let's move on to the essential steps involved in butter production from goat milk.
You'll learn about churning techniques, cream separation methods, and the benefits of using skimmed milk in the process.
These points will guide you through the process of transforming goat milk into delicious homemade butter.
Churning Techniques
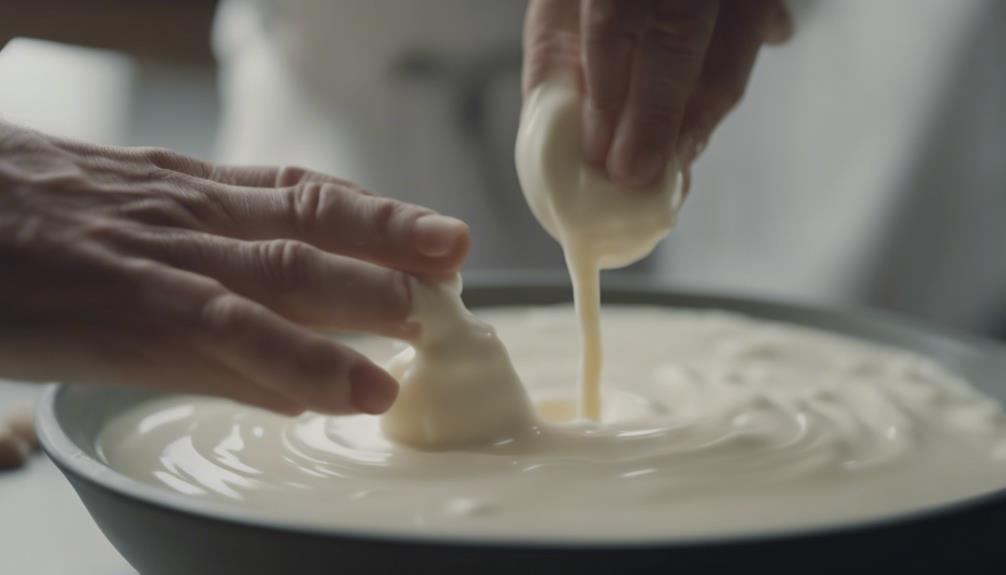
To commence the churning process in making butter from goat milk, you need to agitate the cream to separate the butterfat from the buttermilk. Churning is vital as it causes fat globules in the cream to clump together, forming butter granules.
The best temperature for churning ranges from 52-60 degrees Fahrenheit to ensure efficient butter formation. Whether you choose to churn manually in a glass churn or opt for an electric churn for increased efficiency, the key is to keep the cream at the right temperature for successful butter production.
Once churning is complete, the resulting butter granules need to be washed to remove any excess buttermilk. This washing step is essential as it helps improve the butter's shelf life and flavor.
Cream Separation Methods
When it comes to butter production steps, one of the initial processes involves separating the cream from goat milk efficiently. While the traditional method of skimming cream requires waiting for the cream to naturally rise to the top of refrigerated milk over several days, using cream separators can provide a more efficient extraction process.
Cream separators utilize centrifugal force to separate the cream from the milk quickly and effectively, saving time and effort in the butter-making process. This method is especially beneficial for larger quantities of milk, where skimming cream manually can be time-consuming.
However, whether using skimming or cream separators, it's crucial to handle and store the milk carefully to prevent contamination and maintain the quality of the cream for homemade butter production.
Ultimately, cream separation methods play an essential role in obtaining the necessary cream for crafting delicious goat milk butter at home.
Skimmed Milk Benefits
Skimming milk is an important step in the butter production process as it helps concentrate cream for making delicious goat milk butter at home.
Skimmed milk, a byproduct of this process, offers various benefits that are essential for producing high-quality butter:
- Retention of Essential Nutrients: Skimmed milk retains crucial nutrients even after the removal of butterfat, ensuring that the final product is both nutritious and delicious.
- Concentration of Cream: By skimming the milk, the cream is concentrated, resulting in a higher fat content. This higher fat content is vital for achieving the desired richness and flavor in homemade butter.
- Enhanced Butter Making: Skimming milk allows for a more efficient butter-making process by providing cream with a higher fat content. This leads to better texture and flavor in the final product, making your goat milk butter truly exceptional.
Characteristics of Goat Butter
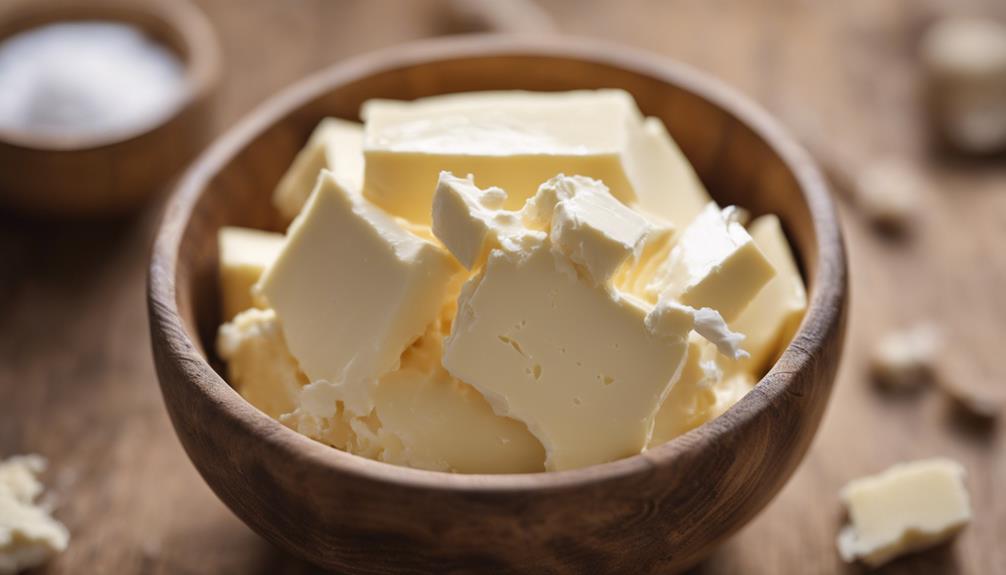
With its mild and delicious nutty flavor, goat butter stands out as a unique alternative to traditional cow butter. Unlike cow butter, goat butter has a distinct white color, making it easily recognizable. The churning process for goat butter is quicker compared to cow butter, resulting in a smoother and creamier texture.
One unique characteristic of goat butter is that freezing the cream gives it a grainy texture, aiding in the cohesion of fat globules and enhancing its spreadability. This texture adds an interesting element to dishes where butter is used.
The mild flavor of goat butter makes it versatile in various culinary applications. Whether you use it for baking, cooking, or simply spreading on toast, goat butter offers a unique taste profile that can elevate your dishes. Its nutty undertones can complement both sweet and savory recipes, providing a delightful twist to your meals.
Post-Churning Process
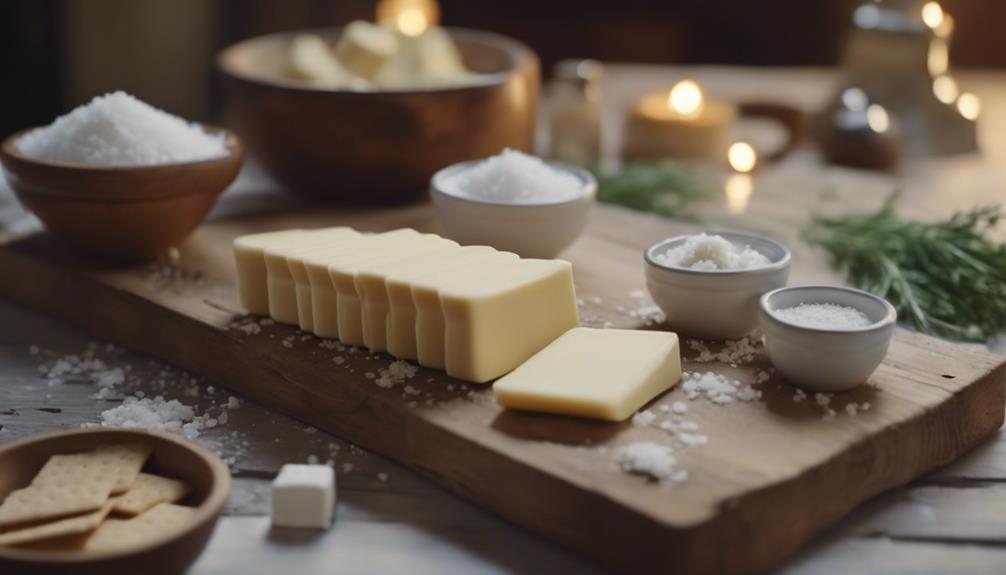
After churning the goat butter, the post-churning process involves rinsing the freshly churned butter in cold water to remove excess buttermilk. This step is essential to make sure the butter's quality and taste.
Once rinsed, consider adding a pinch of fine sea salt to enhance the flavor profile of the butter. The salt not only complements the natural richness of the goat butter but also acts as a preservative, extending its shelf life.
To store the butter properly, transfer it into a pint jar and refrigerate it for convenient access during the week. Remember to utilize the leftover buttermilk, either for personal consumption or as a nutritious addition to animal feed.
Culinary Uses of Goat Butter
You can elevate your dishes by cooking with goat butter, adding a unique nutty flavor that complements blackberry recipes.
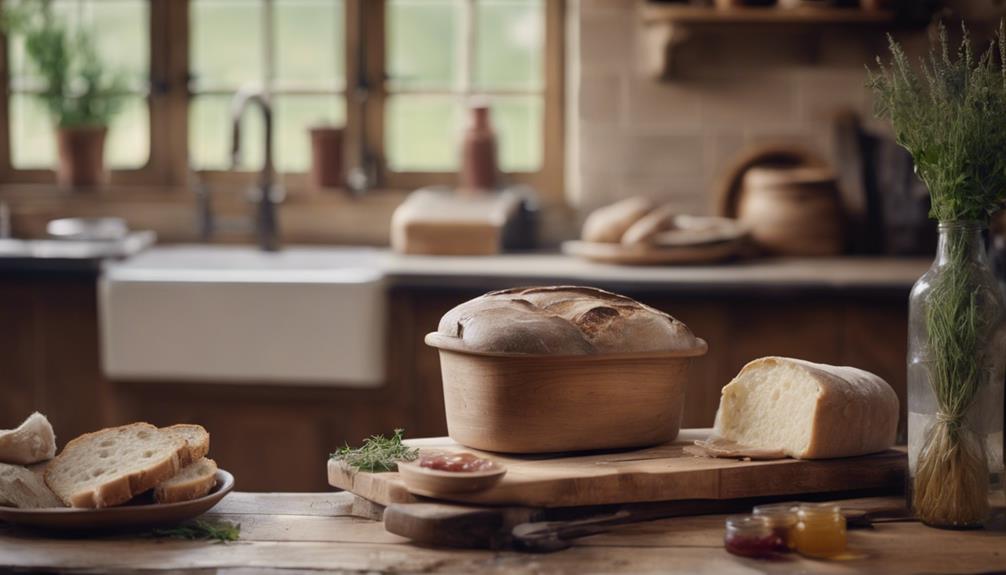
When baking, goat butter enhances the taste of homemade bread like cornbread and can be used in various baking recipes.
The mild and delicious nuttiness of goat butter makes it a versatile ingredient in both cooking and baking.
Cooking With Goat Butter
Goat butter, with its unique nutty flavor, is a versatile ingredient that can elevate various dishes in your culinary creations.
When cooking with goat butter, consider these tips to make the most of its flavor profile:
- Enhancing Savory Dishes: Use goat butter to sauté vegetables or sear meats for an added depth of flavor that regular butter may not provide.
- Creating Creamy Sauces: Incorporate goat butter into creamy sauces like alfredo or béchamel for a rich and distinctive taste that will impress your guests.
- Flavorful Spreads: Whip goat butter with herbs or spices to create a flavorful spread for bread, crackers, or even to top grilled meats.
Baking With Goat Butter
To expand your culinary repertoire, consider the delightful ways in which goat butter can enhance your baking endeavors. Goat butter adds a unique nutty flavor to baked goods like cookies, cakes, and pastries, making them stand out with a distinct taste. The mild and delicious nuttiness of goat butter complements both sweet and savory recipes, offering a versatile option for your baking needs. Use goat butter to elevate the flavor of homemade bread, biscuits, and scones, giving them a rich and creamy texture. Additionally, goat butter can be utilized as a substitute for cow butter in various baking recipes, providing a healthier alternative with a unique taste profile. For a special touch, incorporate goat butter into blackberry recipes to experience a delightful and distinctive flavor combination.
| Recipe | Description |
|---|---|
| Cookies | Rich and nutty flavor profile |
| Cakes | Moist and flavorful texture |
| Pastries | Buttery and delicate finish |
Flavor Profile of Goat Butter
What makes the flavor of goat butter uniquely suited for enhancing a wide range of culinary creations?
Goat butter stands out with its mild and delicious nutty flavor, making it a versatile ingredient that can elevate various dishes.
Here's why the flavor profile of goat butter makes it a favorite in the kitchen:
- Mild and Nutty Flavor: The mild and nutty taste of goat butter adds a unique twist to both sweet and savory recipes.
- Enhances Dishes: Goat butter complements a wide range of dishes, from homemade bread to blackberry recipes, enhancing their flavor profile.
- Versatile Cooking: With its white color and faster churning process, goat butter is versatile for cooking, baking, and experimenting with special food challenges.
Incorporating goat butter into your culinary creations can provide a delightful alternative to traditional butter, adding a distinct flavor profile that will impress your taste buds.
Frequently Asked Questions
How to Make Butter Out of Fresh Goat Milk?
To make butter from fresh goat milk, skim the cream, churn it with a mixer until it separates into butter and buttermilk, rinse the butter in ice water, shape it, add salt, and refrigerate until ready.
How Do You Make Butter From Farm Fresh Milk?
So, you wanna make butter from farm fresh milk, huh? Well, heat that cream just right, churn away until you see those butterfat granules, wash 'em clean, and voilà! Fresh homemade goat butter ready to impress!
How to Make Butter From Milk Easily?
To make butter from milk easily, separate cream by refrigerating for 3-7 days. Scoop out cream, mix in a mixer until solids separate, solidify in ice water, shape into a ball, and add salt. Enjoy your homemade butter!
How Long Does Goat Milk Butter Last?
Goat milk butter typically lasts 2-3 weeks in the fridge. Properly stored in an airtight container, it can last longer. Freezing extends shelf life to 6 months. Check for spoilage signs like odors or mold before using. Butter crocks help maintain freshness.
Conclusion
Well, congratulations on becoming a professional butter churner! Who knew it could be so easy to make your own creamy, delicious goat butter right at home?
So next time you're at the grocery store staring at those overpriced butter options, just remember – you can whip up your own batch in no time.
Happy churning!