I have found a great way to elevate the taste of imitation crab meat – by cooking it in butter!
In this article, I’ll guide you through the simple steps of preparing a delicious butter sauce, seasoning the crab meat, and sautéing it to perfection.
With my tips and tricks, you’ll be able to create a mouthwatering dish that will impress your family and friends.
So let’s get started on this culinary journey of cooking imitation crab meat with butter!
Key Takeaways
- Choose the right imitation crab meat based on taste, quality, and price
- Experiment with different seasoning techniques and cooking methods to enhance the flavor
- Consider using butter or oil for sautéing, taking into account the impact on flavor and texture
- Get creative with seasoning combinations and try grilling, sautéing, baking, or steaming the crab meat for different flavor profiles

MeatWorks USDA Prime 8 Steak Assortment Box - 4 x (12 oz.) Ribeye, 2 x (12 oz.) NY Strip, 2 x (8 oz.) Filet Mignon - Ideal Gifts for Men, Husbands, and Adults That Like Food Gifts
- Includes Assorted USDA Prime Steaks: Ribeye, NY Strip, and Filet Mignon varieties
- Rich, Beefy Flavor: Packed with robust taste and tenderness
- Dry-Aged for 28 Days: Enhanced flavor through dry-aging process
As an affiliate, we earn on qualifying purchases.
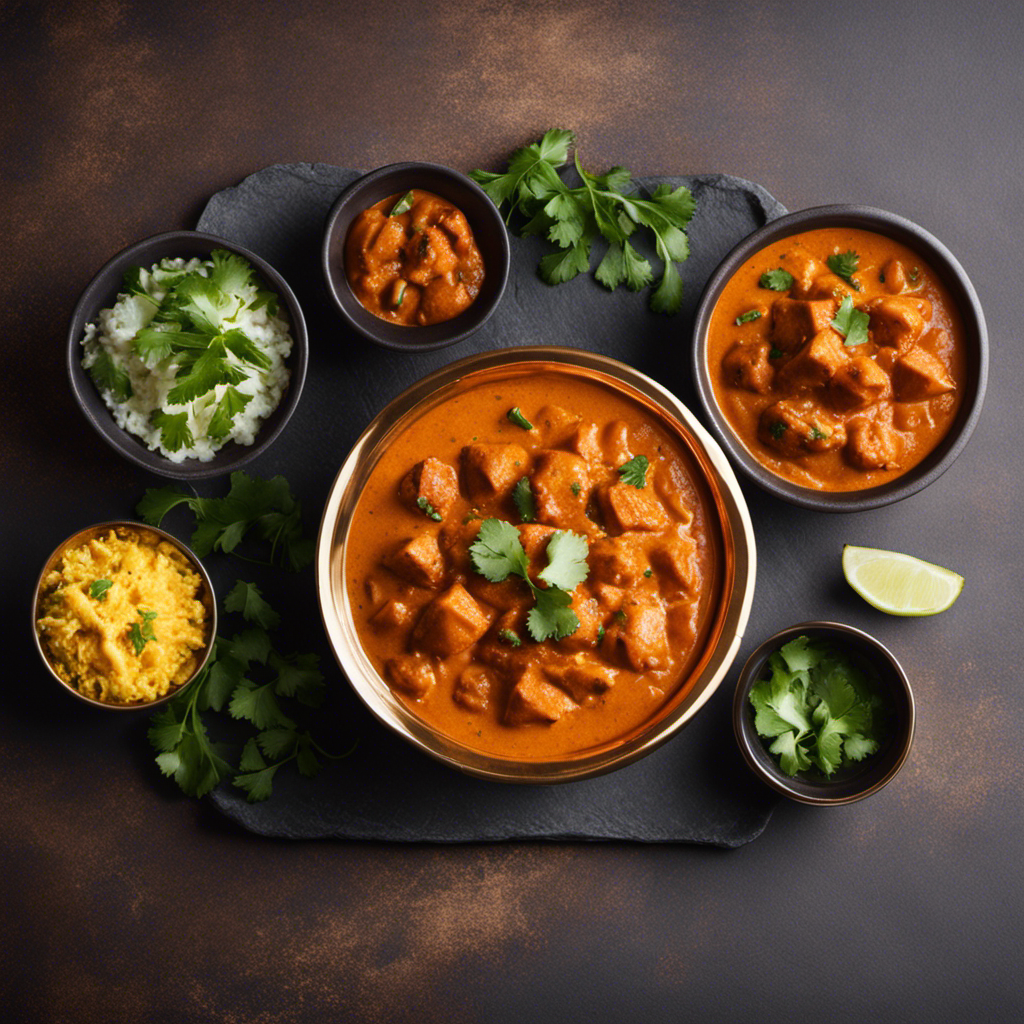
Choosing the Right Imitation Crab Meat
To choose the right imitation crab meat for your recipe, you should look for packages that are labeled as ‘flake style’ or ‘chunk style.’ These labels indicate the texture of the meat and will help you determine which one is best suited for your cooking techniques and recipes.
When it comes to choosing the right brand, it’s important to consider factors such as taste, quality, and price. Some popular brands known for their high-quality imitation crab meat include Louis Kemp and Trans-Ocean. Additionally, it’s helpful to read customer reviews and compare different brands to find the one that suits your preferences.
Whether you’re making a crab salad, crab cakes, or a seafood pasta dish, selecting the right imitation crab meat is essential for achieving the desired flavor and texture in your recipe.
Preparing the Butter Sauce
Melt the butter in a saucepan and season it with your choice of spices. As the butter sizzles, the aroma fills the air, adding a tantalizing touch to your dish. Here’s how to prepare the perfect butter sauce for your imitation crab meat:
-
Gradually add flour to the melted butter, stirring constantly, until it forms a smooth paste. This will help thicken the sauce.
-
Slowly pour in milk or cream, whisking continuously to prevent lumps from forming. The amount of liquid you add will depend on how thick or thin you want your sauce to be.
-
Adjust the heat to low and let the sauce simmer for a few minutes, allowing the flavors to meld together.
-
For a velvety texture, you can also add a bit of grated cheese or a dollop of sour cream.
Seasoning the Crab Meat
Once you’ve seasoned it to your liking, the crab meat will be ready to be paired with the delicious butter sauce. Seasoning the crab meat is essential to enhance its flavor and create a delectable dish.
There are various seasoning techniques you can utilize to elevate the taste of the imitation crab meat. One popular option is to use a blend of herbs and spices such as garlic powder, paprika, and black pepper. This combination adds a savory and slightly spicy kick to the crab meat.
Alternatively, you can experiment with different cooking methods to infuse more flavor into the meat. For instance, marinating the crab meat in a mixture of lemon juice and olive oil before cooking will impart a tangy and zesty taste.
These seasoning techniques and alternative cooking methods will undoubtedly take your imitation crab meat with butter to the next level.
Prepping the Cooking Utensils
When it comes to cooking, having the right utensils is essential. In this discussion, I will be focusing on the different types of utensils and their uses, as well as preparation methods and tips.
Utensil Types and Uses
To cook imitation crab meat with butter, you’ll need a skillet and a spatula. Maintaining your utensils is essential for effective cooking and ensuring their longevity.
Here are four types of utensils and their uses:
-
Skillet: A flat-bottomed pan with low sides, ideal for sautéing or frying the imitation crab meat. It allows for even heat distribution and easy flipping of the meat.
-
Spatula: A flat, flexible tool used for flipping and turning the crab meat. It ensures gentle handling and prevents it from breaking apart.
-
Tongs: Useful for picking up individual pieces of crab meat and transferring them to the skillet. Tongs provide a firm grip and prevent any accidents.
-
Whisk: If you want to incorporate the butter evenly with the crab meat, a whisk can help blend the ingredients smoothly. It ensures a creamy and rich coating.
Preparation Methods and Tips
You can enhance the flavor of your dish by experimenting with different preparation methods and incorporating various seasonings. When it comes to choosing the right crab meat, there are a few things to consider. Imitation crab meat, made from a blend of fish and other ingredients, is a popular option for many recipes. It has a mild and slightly sweet taste, making it versatile in various dishes. To add depth and complexity to your dish, consider using different seasonings. Here are some seasoning suggestions to elevate your imitation crab meat dish:
| Seasoning | Emotional Response |
|---|---|
| Old Bay seasoning | Nostalgia |
| Garlic powder | Comfort |
| Lemon juice | Freshness |
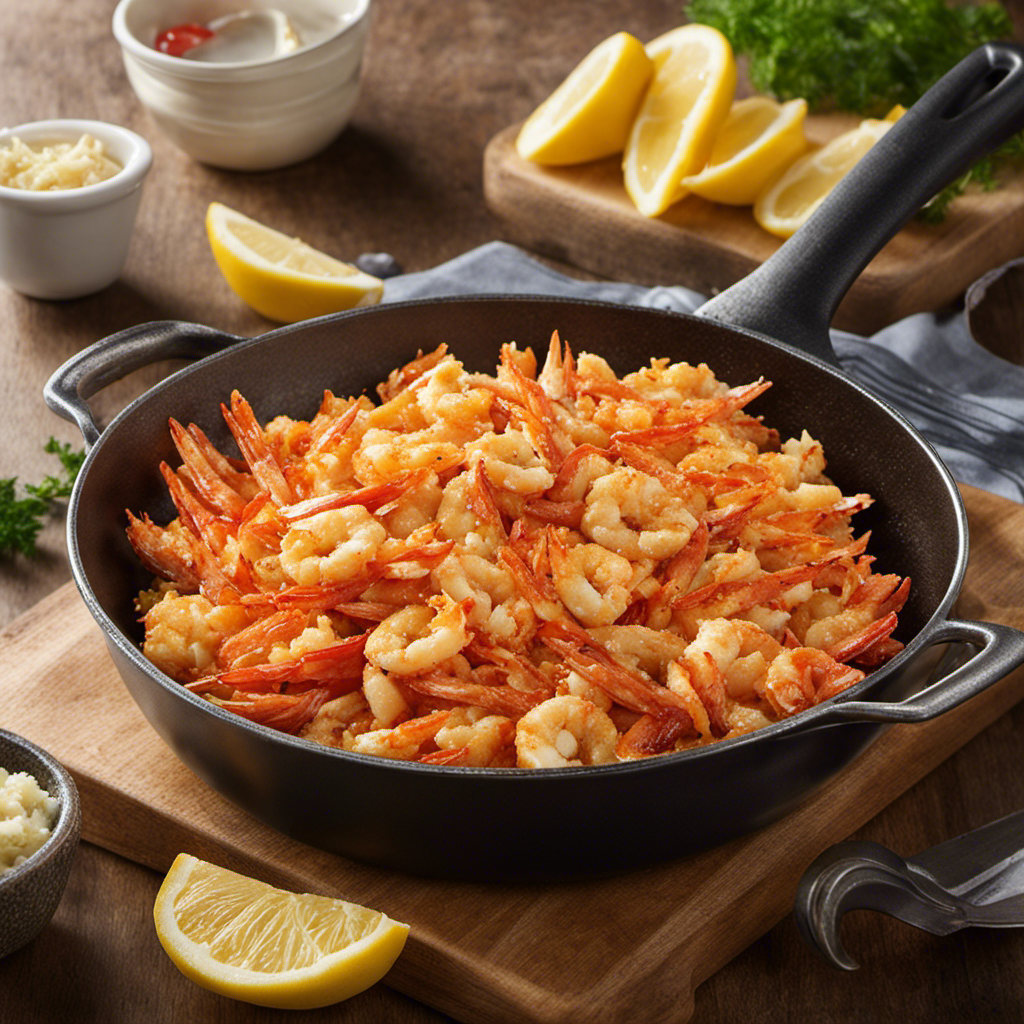
Sautéing the Crab Meat
When it comes to sautéing crab meat, the choice between butter or oil can greatly impact the flavor and texture of the dish.
Butter adds a rich and creamy taste, while oil provides a lighter and more neutral base.
As for seasoning suggestions, options like garlic, lemon zest, and parsley can enhance the natural flavors of the crab and add depth to the overall dish.
Butter or Oil
Choose whether to use butter or oil to cook your imitation crab meat. Both butter and oil can be used to sauté your crab meat, but there are some health considerations to keep in mind. Here’s a comparison to help you make the best choice:
-
Butter: Using butter adds a rich and creamy flavor to the crab meat. However, it is high in saturated fat and cholesterol, so it should be consumed in moderation.
-
Olive oil: Olive oil is a healthier option as it contains monounsaturated fats, which are beneficial for heart health. It also adds a subtle flavor to the crab meat.
-
Canola oil: Canola oil is another good choice, being low in saturated fat and high in omega-3 fatty acids. It has a neutral taste that won’t overpower the delicate flavor of the crab meat.
-
Coconut oil: If you prefer a unique taste, coconut oil can be used. It adds a slight tropical flavor, but keep in mind that it is high in saturated fat.
Consider your dietary needs and preferences when deciding between butter and oil for cooking your imitation crab meat. Now, let’s move on to some seasoning suggestions to enhance the flavors even further.
Seasoning Suggestions?
Now, let’s explore some seasoning suggestions to enhance the flavors of your imitation crab dish.
When it comes to seasoning combinations, there are countless options that can take your imitation crab to the next level. One popular choice is a simple blend of garlic powder, onion powder, and paprika, which adds a savory and slightly smoky flavor.
For a touch of freshness, try combining lemon zest, dill, and a pinch of salt.
If you prefer a bit of heat, a combination of cayenne pepper, chili powder, and black pepper can add some spice to your dish.
Additionally, experimenting with alternative cooking methods such as grilling or baking can also add a unique flavor profile to your imitation crab.
Don’t be afraid to get creative and find the perfect seasoning combination that suits your taste buds.
Adding the Butter Sauce
To add the butter sauce, melt the butter in a saucepan over medium heat. Once melted, incorporate different spices to enhance the flavor. Here are four alternative cooking methods you can try:
- Sprinkle in garlic powder for a savory twist.
- Add a pinch of paprika for a subtle smoky flavor.
- Stir in a dash of cayenne pepper for a hint of heat.
- Balance the richness of the butter with a squeeze of fresh lemon juice.
Remember to stir the sauce continuously to prevent burning. Once the spices are incorporated, drizzle the butter sauce over your imitation crab meat, coating each piece evenly.
This simple yet flavorful sauce will elevate the taste of your dish and leave you craving for more.
Incorporating Additional Flavors
Once you’ve melted the butter for the sauce, you can start enhancing the flavor by incorporating different spices. Choosing alternative seasonings can add a unique twist to your dish.
For example, instead of using traditional Old Bay seasoning, you could try using smoked paprika or Cajun seasoning for a spicier kick.
Experimenting with different cooking techniques can also elevate the flavor profile of your imitation crab meat. Consider sautéing the crab meat in the butter sauce to give it a crispy texture or grilling it for a smoky flavor.
Another option is to marinate the crab meat in the butter sauce before cooking to allow the flavors to penetrate the meat.
Cooking the Crab Meat to Perfection
Grilling or sautéing the imitation crab can give it a delicious smoky or crispy flavor. When preparing the crab meat for cooking, there are different methods you can use to achieve the desired taste and texture. Here are four ways to cook imitation crab meat:
-
Grilling: Place the crab meat on a preheated grill and cook for a few minutes on each side until it’s heated through and has grill marks.
-
Sautéing: Heat some butter in a skillet over medium heat and add the crab meat. Cook for a few minutes, stirring occasionally, until it’s heated through and lightly browned.
-
Baking: Preheat the oven to 375°F. Place the crab meat on a baking sheet and bake for about 10 minutes, or until it’s heated through and slightly crispy.
-
Steaming: Fill a pot with a few inches of water and bring it to a boil. Place the crab meat in a steamer basket and steam for about 5 minutes, or until it’s heated through and tender.
Garnishing and Serving Suggestions
When it comes to garnishing and serving crab meat dishes, there are plenty of creative ideas to explore. From simple herb sprigs to intricate vegetable carvings, the options are endless to make your dish visually appealing.
Additionally, finding the perfect pairing for your crab meat can enhance the flavors and create a well-rounded culinary experience.
In this discussion, I will share some creative garnish ideas and offer recommendations for the perfect pairings to elevate your crab meat dishes.
Creative Garnish Ideas
To add a creative touch, you can try garnishing your imitation crab meat with a sprinkle of fresh herbs and a squeeze of lemon juice. Here are four creative garnish ideas to elevate your dish:
-
Edible Flowers: Arrange a few colorful edible flowers like pansies or nasturtiums on top of the crab meat for a visually stunning presentation.
-
Citrus Zest: Grate some orange or lime zest over the crab meat to add a burst of citrus flavor and a pop of color.
-
Microgreens: Sprinkle a handful of delicate microgreens, such as pea shoots or radish sprouts, to give your dish a fresh and vibrant look.
-
Toasted Sesame Seeds: Toast some sesame seeds until golden brown and sprinkle them over the crab meat for a nutty and crunchy texture.
These creative plating techniques will not only make your dish visually appealing but also enhance the overall dining experience.
Now let’s explore some perfect pairing recommendations for your crab meat dish.
Perfect Pairing Recommendations
Now that we’ve explored some creative garnish ideas, let’s move on to the perfect pairing recommendations for your pasta dishes. Choosing the right wine can greatly enhance the flavors of your meal and create a memorable dining experience. To help you make the best choice, here is a table showcasing some popular pasta types and their ideal wine pairings:
| Pasta Type | Ideal Wine Pairing |
|---|---|
| Spaghetti | Chianti or Sangiovese |
| Fettuccine Alfredo | Chardonnay or Pinot Grigio |
| Penne Arrabiata | Merlot or Zinfandel |
| Linguine Vongole | Sauvignon Blanc or Vermentino |
Storing Leftover Crab Meat
If you want to keep leftover crab meat fresh, store it in an airtight container in the refrigerator. Here are a few tips to ensure the longevity of your leftover crab meat:
-
Use airtight containers: Placing the crab meat in an airtight container helps prevent exposure to air, which can cause spoilage and alter the taste.
-
Separate from other foods: To prevent cross-contamination and maintain the freshness of the crab meat, store it separately from other foods in the refrigerator.
-
Keep at the right temperature: The ideal temperature for storing crab meat is between 32°F and 38°F (0°C and 3°C). Make sure your refrigerator is set to this temperature range.
-
Consume within 2-3 days: While crab meat can be stored for a few days, it is best to consume it within 2-3 days to ensure optimal freshness and prevent the risk of spoilage.
Tips and Tricks for Cooking With Imitation Crab Meat
When incorporating imitation crab into your recipes, you’ll find that it adds a unique flavor and texture to dishes like salads and sushi rolls.
But did you know that you can also use imitation crab to create delicious crab cakes and crab salad?
Preparing crab cakes with imitation crab is a simple process. Start by combining the imitation crab meat with breadcrumbs, mayonnaise, and seasonings like Old Bay. Shape the mixture into patties and pan-fry them until golden brown.
For a refreshing crab salad, mix imitation crab meat with diced celery, red onion, and mayonnaise. Add a squeeze of lemon juice and a sprinkle of dill for extra flavor.
These dishes are quick, easy, and perfect for any seafood lover.
Frequently Asked Questions
How Do I Know Which Brand of Imitation Crab Meat Is the Best to Use?
When it comes to choosing the best brand of imitation crab meat, taste is key. Look for reputable brands that offer a texture and flavor that suits your preferences. As for the sauce, butter adds a rich and indulgent taste compared to margarine.
Can I Use Margarine Instead of Butter for the Sauce?
Sure, you can use margarine instead of butter for the sauce. However, keep in mind that butter adds richness and flavor. While margarine may have health benefits, it may not provide the same taste.
Are There Any Recommended Alternatives to Traditional Seasoning Options?
Recommended substitutes for traditional seasoning options when cooking imitation crab meat with butter can include lemon juice, garlic powder, Old Bay seasoning, or a combination of herbs such as dill, parsley, and chives. Get creative with your seasonings to enhance the flavor!
Do I Need to Use Specific Cooking Utensils for Sautéing the Crab Meat?
I usually use a non-stick skillet when sautéing imitation crab meat with butter. It helps to prevent sticking and ensures even cooking. Plus, it’s easy to clean afterwards.
Can I Freeze Leftover Cooked Imitation Crab Meat?
Yes, you can freeze leftover cooked imitation crab meat. To properly store it, place the crab meat in an airtight container or freezer bag, removing as much air as possible. Then, label and date it before placing it in the freezer.
Conclusion
In conclusion, cooking imitation crab meat with butter is a simple and delicious way to enjoy this versatile seafood substitute. By following the steps outlined in this article, you can create a flavorful dish that will impress your family and friends.
One interesting statistic to note is that the global market for imitation seafood products is projected to reach $1.63 billion by 2026. This indicates the growing popularity and demand for imitation crab meat and other seafood alternatives.
So why not give it a try and discover the delightful taste of buttery imitation crab meat today?