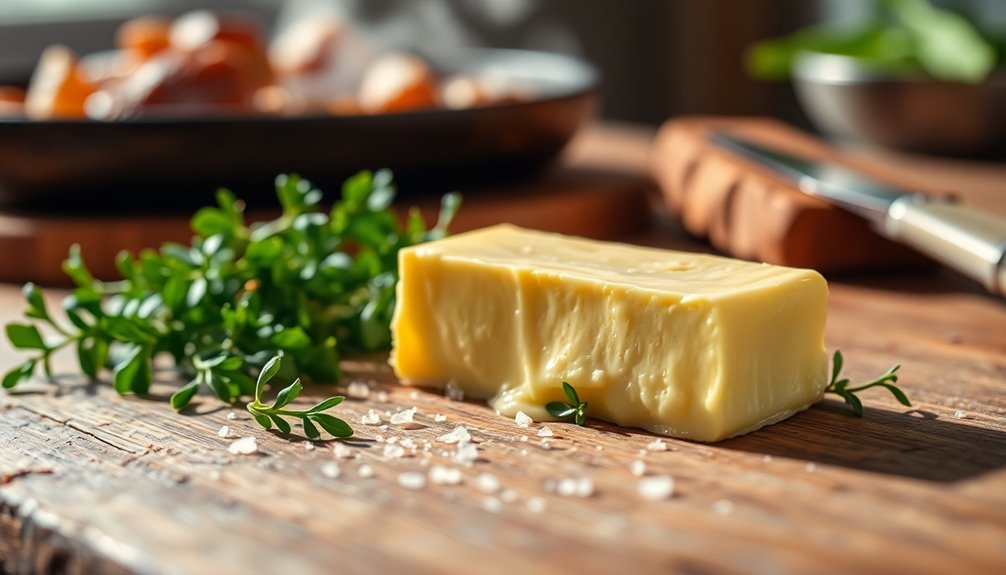
I have always been intrigued by the transformation of milk into butter. It is incredible how something as basic as pasteurized milk can be changed into a luxurious and creamy spread.
In this article, I’ll guide you through the step-by-step process of making butter from pasteurized milk. We’ll explore the science behind butter making, troubleshoot common issues, and discover the health benefits of homemade butter.
Get ready to embark on a delicious and informative butter-making journey!
Key Takeaways
- Pasteurization kills harmful bacteria and pathogens in milk, making it safe for consumption.
- Churning separates butterfat from liquid in pasteurized milk to create homemade butter.
- The process of churning butter involves agitating cream to encourage fat globules to clump together.
- Homemade butter offers the advantage of customization, flavor enhancement, and control over ingredients compared to processed butter.
The Importance of Using Pasteurized Milk
Using pasteurized milk is essential for making butter because it ensures the butter is safe to consume. Pasteurization is a process that involves heating the milk to kill harmful bacteria and pathogens that can cause foodborne illnesses. By using pasteurized milk, we can minimize the risk of contamination and ensure the health benefits of homemade butter.
Pasteurization does not significantly affect the nutritional value of the milk, as it retains most of its vitamins and minerals. Additionally, pasteurized milk is readily available in grocery stores, making it convenient for butter-making purposes.
Now that we understand the importance of using pasteurized milk, let’s move on to the next step of gathering the necessary equipment for making butter.
Gathering the Necessary Equipment
To gather the necessary equipment, you’ll need a blender, a large bowl, and a fine-mesh strainer. These tools are essential for successfully making butter from pasteurized milk. The blender will help you separate the butterfat from the liquid, while the large bowl will catch the liquid for further use. The fine-mesh strainer will ensure that no unwanted particles end up in your final product.
When choosing the right milk for making butter, it is important to opt for pasteurized milk. Pasteurization helps eliminate harmful bacteria and ensures the milk is safe for consumption. Additionally, pasteurized milk has a longer shelf life, making it easier to store and use for making butter.
Step-by-Step Guide to Churning Butter
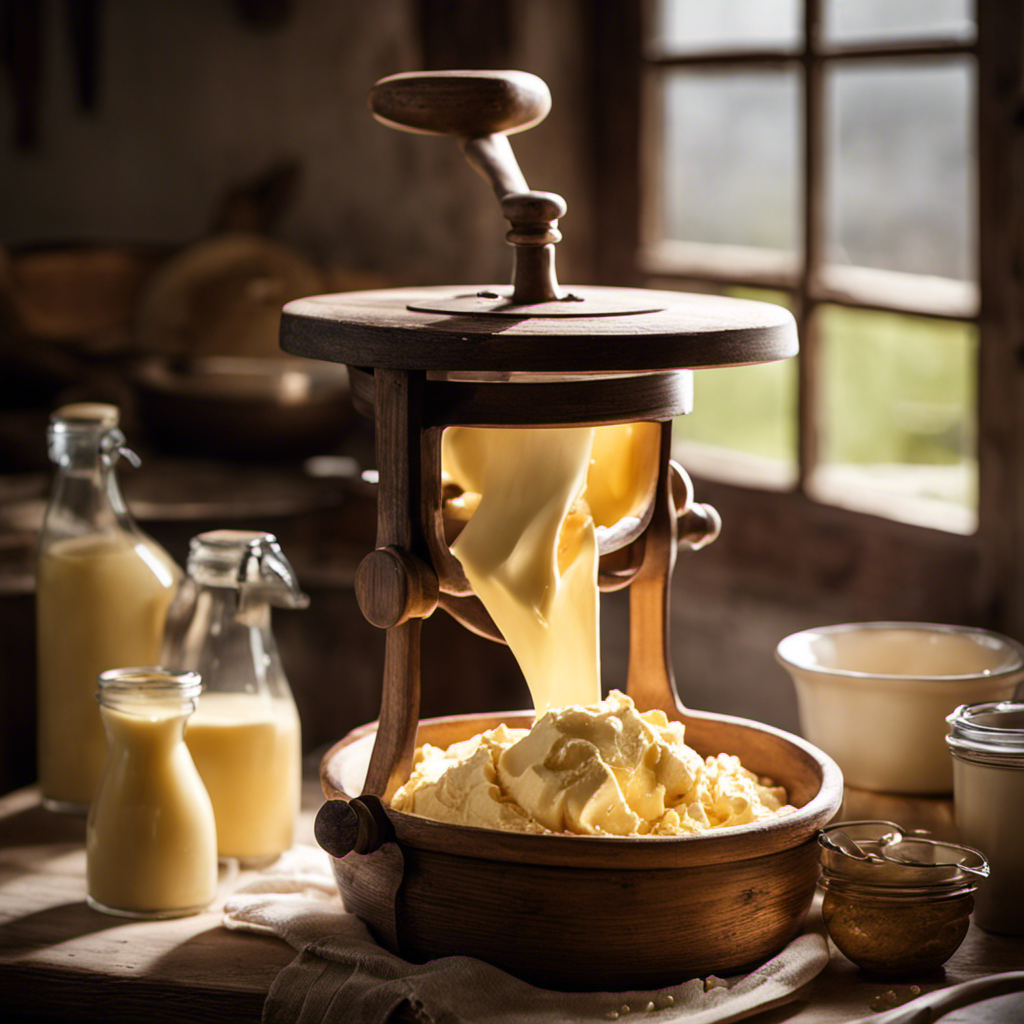
First, you’ll need a clean and spacious workspace to start churning your homemade butter. The science behind churning involves the separation of fat from the liquid in milk. This process can be achieved by agitating the cream until the fat globules clump together and separate from the buttermilk. To achieve the perfect consistency, it is essential to control the temperature and timing during the churning process. Here is a step-by-step guide to churning butter:
| Step | Procedure | Time (minutes) |
|---|---|---|
| 1 | Pour the cream into a churn or mixer. | 10 |
| 2 | Begin churning at a low speed to break up the fat globules. | 20 |
| 3 | Increase the speed gradually to encourage the fat to clump together. | 30 |
| 4 | Once the fat has separated from the buttermilk, stop churning and strain the butter. | 40 |
Understanding the Science Behind Butter Making
Understanding the science behind butter making involves recognizing the separation of fat from the liquid in milk and the process of agitating the cream. When cream is churned, the fat globules in the cream collide with each other, causing them to stick together and eventually form butter. Here are some key points to consider when delving into the science behind churning:
- Cream contains fat globules that are dispersed in water.
- Agitating the cream causes the fat globules to come together and form clumps.
- The clumps of fat globules trap air and water, resulting in the formation of butter.
- The process of churning also helps release buttermilk, which can be used in various culinary applications.
Homemade butter offers several benefits in cooking. Firstly, it has a rich and creamy flavor that enhances the taste of dishes. Secondly, it allows for better control over the ingredients used, ensuring a healthier option. Lastly, it can be customized by adding herbs, spices, or even sweeteners, adding a unique and personalized touch to your culinary creations.
Understanding the science behind churning and the benefits of homemade butter can greatly elevate your cooking skills and enhance your dishes.
Tips for Achieving the Perfect Consistency
When churning your own butter, you can achieve the perfect consistency by ensuring that the cream is chilled before starting the process. This step is crucial in achieving a smooth texture in your homemade butter. Cold cream helps to separate the butterfat from the liquid, resulting in a better consistency.
Another important tip is to avoid over-churning the cream. Over-churning can lead to a grainy texture, so it’s important to stop churning as soon as the butter starts to form clumps.
Additionally, make sure to strain the butter after churning to remove any excess liquid, which can also affect the texture.
By following these tips, you can avoid common mistakes and achieve a smooth and creamy homemade butter.
Now, let’s explore the next section about adding flavors and enhancements to your butter.
Adding Flavors and Enhancements to Your Butter
When it comes to adding flavors and enhancements to butter, there are endless possibilities to explore. Creative butter combinations can elevate the taste of any dish, allowing for a unique and personalized culinary experience.
From savory options like garlic and herbs to sweet additions like honey and cinnamon, the versatility of butter makes it a perfect canvas for experimentation and flavor infusion.
Creative Butter Combinations
To get creative with your butter, try blending in different herbs and spices for unique flavor combinations. Flavored butter recipes are a fantastic way to elevate your dishes and add a burst of flavor.
Here are some unique butter pairings that you can experiment with:
-
Garlic and Parsley: This classic combination adds a delicious savory flavor to your butter, perfect for spreading on bread or melting over grilled meats.
-
Lemon and Dill: The bright citrusy notes of lemon combined with the fresh taste of dill create a refreshing and zesty butter that pairs well with seafood.
-
Cinnamon and Brown Sugar: Transform your butter into a sweet treat by blending in cinnamon and brown sugar. This combination is great for spreading on toast or pancakes.
-
Chili and Lime: Add a kick to your butter by mixing in chili and lime zest. This spicy and tangy combination is excellent for adding a bold flavor to grilled corn or roasted vegetables.
Flavorful Butter Additions
Now that we’ve explored some creative butter combinations, let’s dive into the world of flavorful butter additions.
By experimenting with different flavor pairings, you can create unique and delicious homemade spreads that will elevate any dish.
One popular option is adding herbs and spices to your butter. For example, mixing in chopped garlic and parsley can give your butter a savory kick, perfect for spreading on warm bread or melting over grilled meats.
Another option is incorporating sweet ingredients like honey or cinnamon for a delightful twist. The possibilities are endless, so don’t be afraid to get creative and try out different combinations.
In the next section, we will discuss the best practices for storing and preserving your homemade butter, ensuring its freshness and quality.
Storing and Preserving Homemade Butter
If you want to store and preserve your homemade butter, you can simply place it in an airtight container and keep it in the refrigerator. This will help maintain its freshness and extend its shelf life. However, there are a few techniques you can follow to ensure your butter stays in optimal condition for longer periods of time:
- Keep the butter away from strong-smelling foods to prevent flavor absorption.
- Store the butter in the coldest part of the refrigerator, preferably in the back.
- Wrap the butter tightly in wax or parchment paper to prevent it from picking up any off flavors.
- If you want to store butter for an extended period, consider freezing it in a freezer-safe container or wrapped tightly in plastic wrap.
Troubleshooting Common Butter Making Issues
One common issue when making homemade butter is that it may not solidify properly if the cream was not chilled enough before churning. To troubleshoot this problem, it is important to ensure that the cream is thoroughly chilled before starting the churning process. Additionally, using cream with a higher fat content can help achieve a better solidification of the butter.
Another common issue is the butter turning out too soft or greasy. This can be caused by over-churning the cream, which leads to the fat separating and resulting in a softer consistency. To avoid this, it is crucial to monitor the churning process closely and stop once the butter has formed solid clumps.
By addressing these common butter making issues, you can ensure a successful homemade butter-making experience.
Transition: Now that we have discussed troubleshooting tips for common butter making issues, let’s delve into the health benefits of homemade butter.
Health Benefits of Homemade Butter
When it comes to discussing the nutritional value of butter, it’s important to understand the differences between processed and homemade butter.
Processed butter often contains added ingredients, such as stabilizers and preservatives, which can affect its nutritional composition.
On the other hand, homemade butter is typically made from pure cream, which means it contains higher amounts of beneficial nutrients like vitamins A, D, and E.
In this discussion, we will explore the nutritional differences between processed and homemade butter and how they can impact our overall health.
Nutritional Value of Butter
The nutritional value of butter can vary depending on the quality of the milk used. When it comes to health benefits, homemade butter can provide several advantages. Here are some key points to consider regarding the nutritional content of butter:
-
Rich in healthy fats: Butter is a good source of healthy saturated fats, which are essential for brain function and hormone production.
-
Vitamins and minerals: Butter contains fat-soluble vitamins like A, D, E, and K, which are important for various bodily functions. It also provides small amounts of minerals like calcium, phosphorus, and selenium.
-
Conjugated linoleic acid (CLA): Homemade butter from grass-fed cows may contain higher levels of CLA, a fatty acid associated with potential health benefits, including reduced inflammation and improved heart health.
-
Antioxidants: Butter contains small amounts of antioxidants like beta-carotene and vitamin E, which help protect the body against free radicals.
Overall, homemade butter can be a nutritious addition to a balanced diet, providing essential fats, vitamins, and minerals.
Processed Vs Homemade Butter
If you’re looking for a healthier option, consider opting for homemade butter instead of processed butter. Processed butter often contains additives and preservatives that can be harmful to your health.
On the other hand, homemade butter is made from fresh ingredients and can be customized to your preferences. There are many homemade butter recipes available that are easy to follow and require minimal ingredients.
One popular recipe involves churning pasteurized milk until it separates into butter and buttermilk. This process ensures that you have control over the quality and purity of your butter.
Additionally, making your own butter allows you to experiment with different flavors by adding herbs, spices, or even fruits. So, why settle for processed butter when you can enjoy the taste and health benefits of homemade butter?
Exploring Different Varieties of Butter
To explore different varieties of butter, you can try mixing in various herbs and spices for added flavor. Here are four creative butter combinations that you can experiment with:
-
Garlic and Herb: Mix minced garlic, chopped fresh herbs like parsley, thyme, and rosemary, and a pinch of salt into softened butter. This aromatic blend is perfect for spreading on bread or melting over cooked vegetables.
-
Lemon and Dill: Combine grated lemon zest, freshly squeezed lemon juice, chopped fresh dill, and a sprinkle of salt into softened butter. This tangy and refreshing butter is great for seafood dishes or as a dip for grilled shrimp.
-
Chili and Lime: Add finely chopped red chili pepper, lime zest, lime juice, and a touch of salt to softened butter. The spicy kick and zesty lime flavor make this butter ideal for adding heat to grilled corn or slathering on grilled chicken.
-
Maple and Cinnamon: Mix pure maple syrup, ground cinnamon, and a pinch of salt into softened butter. This sweet and warm butter is a delightful addition to pancakes, waffles, or even a simple slice of toast.
Creative Ways to Use Homemade Butter in Recipes
When it comes to homemade butter, the flavor-enhancing benefits are truly remarkable. The rich and creamy taste of homemade butter can elevate any dish, from baked goods to savory dishes.
Additionally, homemade butter offers versatility in cooking, allowing for a wide range of culinary creations that can satisfy any palate.
Flavor-Enhancing Benefits
Enhancing the flavor of your homemade butter can be achieved by using high-quality, pasteurized milk. When it comes to flavor extraction and taste enhancement, the quality of the milk used plays a vital role. Here are four reasons why using high-quality, pasteurized milk can improve the taste of your homemade butter:
-
Freshness: High-quality milk ensures that your butter will have a fresher taste, as it is sourced from reputable farms that prioritize freshness and quality.
-
Creaminess: Pasteurized milk contains a higher fat content, resulting in a creamier texture and richer flavor in your butter.
-
Nutritional Value: High-quality milk is packed with essential nutrients and vitamins, which can contribute to a more flavorful and nutritious homemade butter.
-
Consistency: Using pasteurized milk ensures a consistent flavor profile in your butter, allowing you to achieve the desired taste every time.
Versatility in Cooking
Using high-quality milk in your recipes allows for greater versatility in your cooking. It enhances the flavor and texture of various dishes. The quality of the ingredients plays a crucial role in the final outcome when it comes to cooking techniques. High-quality milk, with its rich and creamy consistency, can be used in a wide range of recipes to elevate the taste and mouthfeel.
From creamy soups and sauces to fluffy pancakes and custards, the possibilities are endless. The richness of the milk adds depth and complexity to savory dishes, while enhancing the sweetness in desserts. High-quality milk can be a great source of inspiration for creating unique and delicious recipes.
Its versatility allows you to experiment with different flavors and textures, ensuring a delightful culinary experience.
Frequently Asked Questions
How Long Does It Take to Make Butter From Pasteurized Milk?
It takes approximately 20 minutes to make butter from pasteurized milk without using a churner. Alternative methods, such as shaking cream vigorously in a jar or using a food processor, can expedite the process.
Can I Use Unpasteurized Milk to Make Butter?
Yes, using unpasteurized milk for butter making is possible, but it poses safety risks. Unpasteurized milk may contain harmful bacteria that can cause foodborne illnesses. It’s recommended to use pasteurized milk for butter making to ensure safety.
What Type of Equipment Do I Need to Make Butter From Pasteurized Milk?
To make butter from pasteurized milk, you will need a few key pieces of equipment. One option is to use a stand mixer with a whisk attachment. Another alternative is to use a hand-held mixer or a food processor.
Can I Add Salt to My Homemade Butter?
Yes, you can add salt to homemade butter to enhance its flavor. When choosing salt, opt for fine-grained or kosher salt as they dissolve easily. Add a pinch or to taste during the churning process.
How Long Can Homemade Butter Be Stored?
Proper storage is crucial to maximize the shelf life of homemade butter. It can last up to three weeks when stored in an airtight container in the refrigerator.
Conclusion
In conclusion, making butter from pasteurized milk is a rewarding and scientific process that anyone can enjoy.
By following the step-by-step guide and understanding the science behind butter making, you can achieve the perfect consistency for your homemade butter.
The health benefits of homemade butter are numerous, and exploring different varieties can add a unique touch to your culinary creations.
So gather your equipment, churn away, and let the creamy richness of homemade butter transport you to a world of culinary delight.
