Recipes & Culinary Uses
How Much Is a Third Cup of Butter

As someone who loves to cook and bake, I often find myself reaching for the measuring cups and spoons to ensure precise and delicious results.
But what happens when a recipe calls for a third cup of butter? How much exactly is that?
In this article, I’ll guide you through the world of butter measurements, teach you how to convert them to grams or ounces, share some tips and tricks for baking with a third cup of butter, and even provide you with mouthwatering recipes that call for this precise amount.
So, let’s dive in and demystify the third cup of butter.
Key Takeaways
- A third cup of butter is equal to about 5 and 1/3 tablespoons.
- A third cup of butter weighs approximately 76 grams or around 2.7 ounces.
- Precision in butter measurements is crucial for baking or cooking.
- Softening butter and using substitutes like mashed bananas or Greek yogurt can be helpful when baking with a third cup of butter.
Butter Measurements: Understanding Third Cup Measurements
A third cup of butter is equal to about 5 and 1/3 tablespoons. When it comes to converting butter measurements, it’s important to understand the equivalents.
Butter is typically sold in sticks or in cups, and it’s helpful to know how to convert between the two. One stick of butter is equivalent to half a cup or 8 tablespoons. So, if a recipe calls for a third cup of butter, you can simply divide one stick of butter into three equal parts, each part being a third cup.
This knowledge is essential in baking or cooking, as precise measurements can make or break a recipe. Understanding butter measurement equivalents allows you to confidently adjust recipes and create delicious dishes.
Converting Third Cup Measurements: Butter to Grams or Ounces
When it comes to baking, accurate measurements are crucial for achieving the desired results. One common measurement that can be a bit confusing is converting a third cup of butter to grams or ounces.
In this discussion, I will explore various conversion methods and their accuracy, so you can confidently convert butter measurements and ensure your recipes turn out perfectly every time.
Butter Weight Conversions
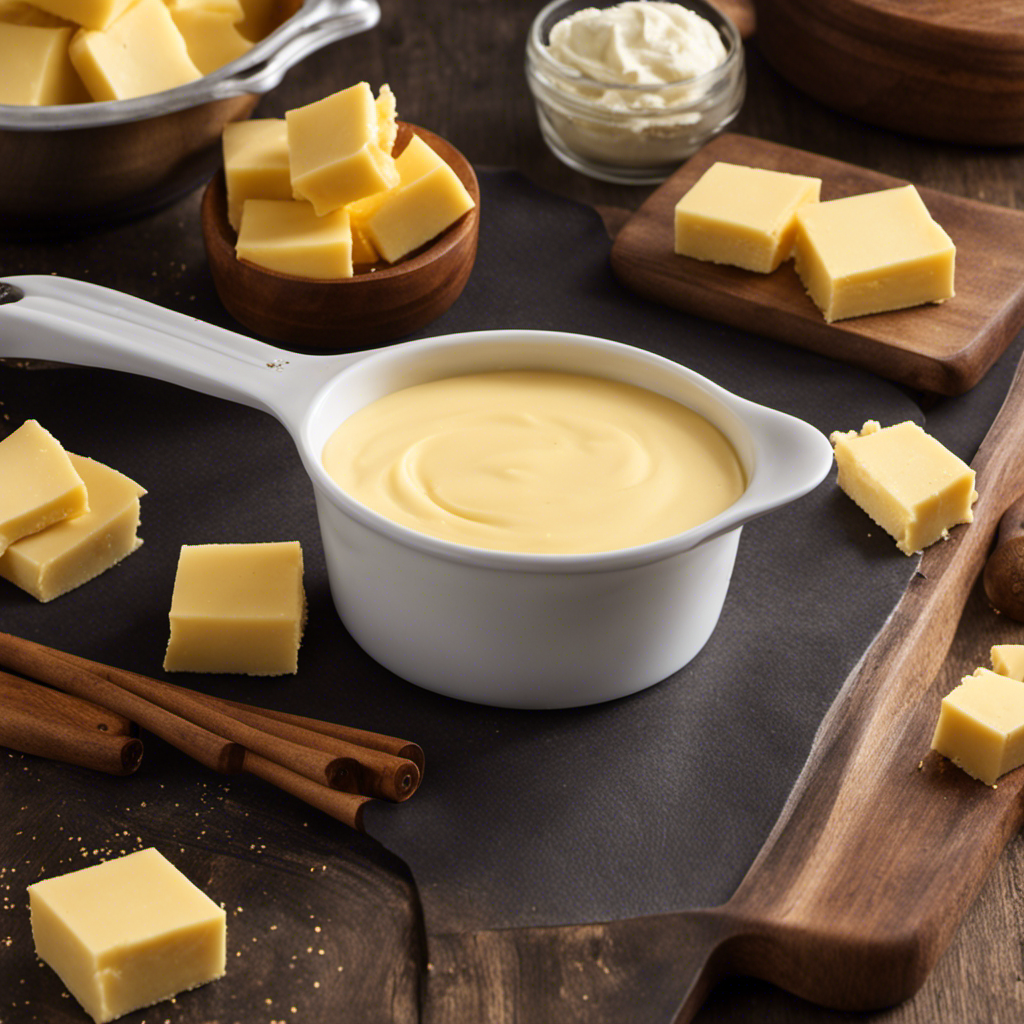
To convert the weight of butter, you’ll need to know how much a third cup of butter weighs. This is quite important when it comes to following recipes accurately.
Here are a few butter weight conversion methods and some common recipes that use a third cup of butter:
-
Grams: A third cup of butter weighs approximately 76 grams. This measurement is commonly used in European recipes.
-
Ounces: In the United States, a third cup of butter weighs around 2.7 ounces. This measurement is often used in American recipes.
-
Cookies: Many cookie recipes call for a third cup of butter. It lends a rich, buttery flavor and helps create a soft and chewy texture.
-
Cake Frosting: Buttercream frosting, a staple in cake decorating, often requires a third cup of butter to achieve a smooth and creamy consistency.
Knowing the weight of a third cup of butter will ensure your recipes turn out just right, so you can enjoy delicious treats every time.
Accuracy of Conversion Methods
Grams and ounces are two common conversion methods used to accurately measure the weight of butter in different recipes. When it comes to baking or cooking, precision is key, especially when it comes to ingredients like butter.
Butter conversion methods ensure that the correct amount of butter is used, resulting in the perfect texture and taste of the dish. Accuracy is crucial because even a slight variation in the amount of butter can significantly affect the final outcome.
Whether you prefer using grams or ounces, it’s essential to follow the recipe’s instructions and convert the measurement accurately. Using a digital kitchen scale can help ensure precise measurements.
Baking With a Third Cup of Butter: Tips and Tricks
If you’re baking with a third cup of butter, here are some tips and tricks you can try.
-
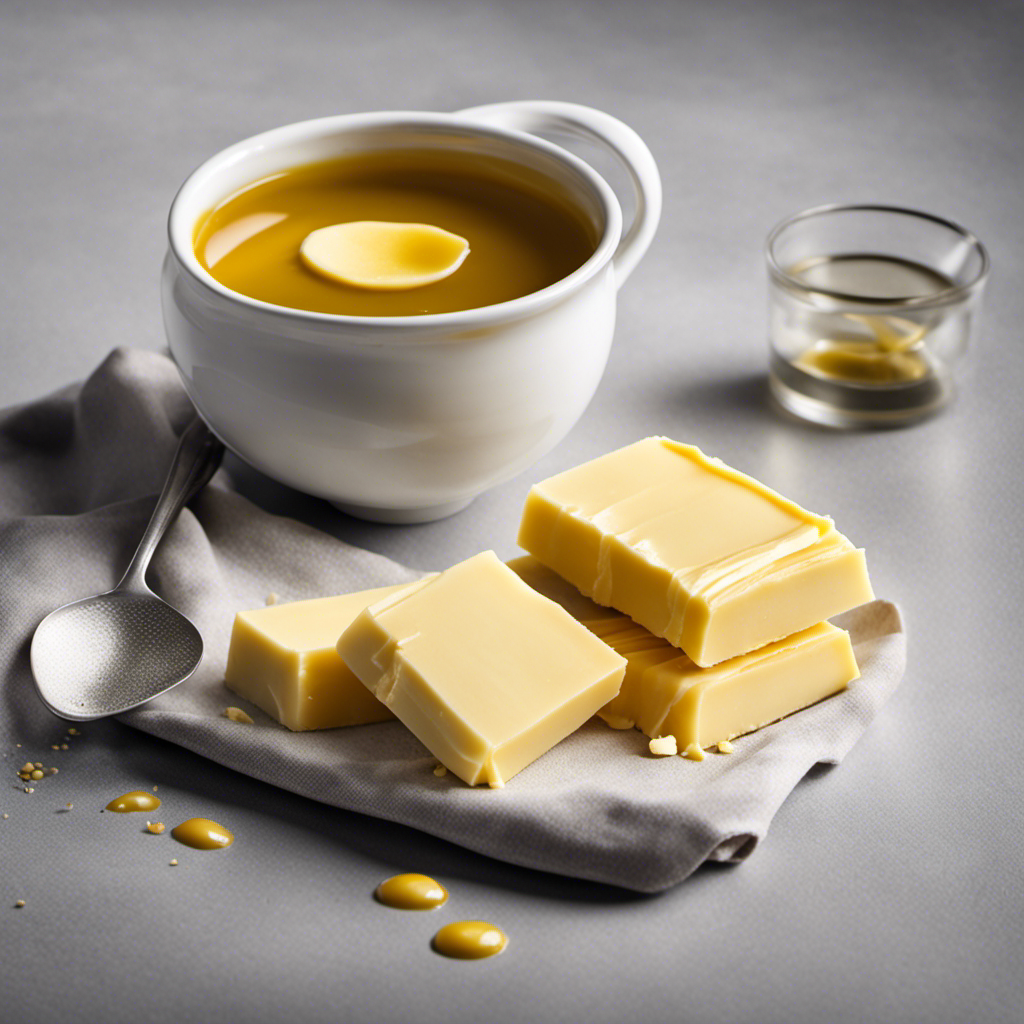
Softening Techniques: To ensure your butter is soft and easily mixable, leave it out at room temperature for about 30 minutes before using. Alternatively, you can microwave it for a few seconds or grate it using a cheese grater.
-
Measuring Accurately: To measure a third cup of butter, use a measuring cup specifically designed for liquids. Fill it to the brim, making sure the butter is level with the top. Scrape off any excess using a straight-edged utensil.
-
Substitution Options: If you’re looking to cut down on saturated fats, you can substitute a third cup of butter with alternatives like mashed bananas, applesauce, or Greek yogurt. These options provide moisture and flavor without the added fat.
-
Creaming Method: When using a third cup of butter in recipes that require creaming, ensure the butter is at the right temperature. It should be soft but not melted. This will allow the butter to incorporate air, resulting in a light and fluffy texture.
With these tips and tricks, you’ll be able to confidently bake using a third cup of butter. Now, let’s explore some delicious ideas to try with this measurement.
Recipes That Call for a Third Cup of Butter: Delicious Ideas to Try
When it comes to baking or cooking, butter is often a key ingredient. However, there are times when you may not have butter on hand or may need to convert the measurement in a recipe.
In this discussion, we will explore alternative butter substitutes and provide helpful tips on butter measurement conversions, ensuring that you can still create delicious dishes without missing a beat.
Alternative Butter Substitutes
Are you looking for alternative butter substitutes? Well, you’re in luck! There are plenty of options out there that not only taste great but also come with added health benefits. Here are four butter alternatives that will surely satisfy your cravings:
-
Avocado Spread: Creamy and rich, avocado spread is a delicious substitute for butter. Packed with healthy fats and essential nutrients, it not only adds a silky texture to your dishes but also provides numerous health benefits.
-
Coconut Oil: Known for its tropical flavor, coconut oil is a versatile substitute for butter. It contains medium-chain fatty acids that are easily metabolized by the body, making it a great choice for those looking to boost their energy levels.
-
Greek Yogurt: Creamy and tangy, Greek yogurt can be used as a replacement for butter in baking recipes. It adds moisture and richness to your dishes while also providing a good source of protein and probiotics.
-
Nut Butter: Whether it’s almond butter, peanut butter, or cashew butter, nut spreads are a tasty alternative to butter. They are packed with healthy fats, vitamins, and minerals, making them a great choice for both savory and sweet dishes.
Butter Measurement Conversions
Now that we’ve explored alternative butter substitutes, let’s dive into the world of butter measurement conversions. As a baking enthusiast, I often come across recipes that call for a third cup of butter. But what exactly does that mean in terms of tablespoons? To make things easier, I’ve put together a handy table below that showcases the butter measurement equivalents.
Butter Measurement Equivalents | |
---|---|
1/3 cup of butter | 5 1/3 tablespoons |
2/3 cup of butter | 10 2/3 tablespoons |
1 cup of butter | 16 tablespoons |
Converting a third cup of butter to tablespoons is not as complicated as it seems. Simply multiply the number of cups by 16, which gives you the total number of tablespoons. So, a third cup of butter is equivalent to 5 1/3 tablespoons. Armed with this knowledge, you can confidently tackle any recipe that calls for butter measurements. Happy baking!
Substituting a Third Cup of Butter: Healthy Alternatives to Consider
There’s a variety of healthy alternatives to consider when substituting a third cup of butter. Here are four options that not only provide great taste but also offer various health benefits:
-
Avocado: Creamy and packed with healthy fats, mashed avocado can be a perfect replacement for butter in baking or spreading on toast.
-
Greek yogurt: With its tangy flavor and creamy texture, Greek yogurt works well in recipes that call for butter. It adds moisture without the extra fat.
-
Coconut oil: This tropical oil adds a delicious hint of coconut flavor to dishes and is a great substitute for butter in both sweet and savory recipes.
-
Applesauce: When baking, applesauce can be used to replace butter for a lower fat and calorie option. It also adds natural sweetness and moisture to your baked goods.
By incorporating these butter substitutes into your cooking and baking, you can enjoy the health benefits they offer while still indulging in delicious treats.
Now, let’s move on to the next topic: storing leftover butter and how to properly save a third cup.
Storing Leftover Butter: How to Properly Save a Third Cup
To properly save a leftover amount, you can seal it in an airtight container and refrigerate it for future use. This simple step not only ensures the freshness of the butter but also helps in saving time and minimizing waste.
When it comes to storing leftover butter, it’s important to remember a few key points. First, make sure the container is airtight to prevent any odors from seeping in and altering the taste. Second, refrigeration is essential to keep the butter from spoiling. Lastly, label the container with the date to keep track of its freshness.
Frequently Asked Questions
Can I Use Margarine Instead of Butter in Recipes That Call for a Third Cup of Butter?
Yes, you can use margarine instead of butter in recipes that call for a third cup of butter. Margarine is a common and suitable substitution for butter, providing a similar texture and flavor to your dish.
How Many Tablespoons Are in a Third Cup of Butter?
In cooking conversions, knowing how many tablespoons are in a third cup of butter is essential. It helps when substituting with butter substitutes like margarine. Let me share the answer with you.
What Is the Calorie Content of a Third Cup of Butter?
The calorie content of a third cup of butter is approximately 715 calories. However, if you’re looking for vegan alternatives, there are options like coconut oil or plant-based margarine that can be used instead.
Can I Freeze Leftover Butter After Measuring Out a Third Cup?
Freezing butter for long term storage is a great way to keep it fresh. As for substituting oil for butter in recipes requiring a third cup, it can be done, but the texture and taste might be slightly different.
Are There Any Vegan Alternatives to Butter That Can Be Used in Recipes Requiring a Third Cup of Butter?
There are many vegan butter alternatives and butter substitutes available that can be used in recipes requiring a third cup of butter. These options provide a plant-based alternative while still maintaining the desired texture and flavor.
Conclusion
In conclusion, understanding the measurements of a third cup of butter is essential for any baking enthusiast. By converting these measurements to grams or ounces, you can ensure precise and delicious results in your recipes.
Additionally, incorporating tips and tricks for baking with a third cup of butter can elevate your culinary creations. Don’t be afraid to explore the vast array of recipes that call for a third cup of butter, as they can provide delightful culinary adventures.
And remember, storing leftover butter properly is crucial for maintaining its freshness. So, seize the opportunity to embrace the wonders of a third cup of butter and let your baking skills soar! As the saying goes, ‘Butter makes everything better.’
Sunny’s articles radiate enthusiasm, much like her sunny disposition. As our resident “Butter Geek”, she delves deep into the latest butter trends, ensuring our readers are always in the know. Beyond her writing, Sunny’s passion lies in exploring vegan butter alternatives and hosting butter-tasting soirées.
Recipes & Culinary Uses
How to Make Butter at Home From Milk

As a passionate home cook, I’ve always found joy in creating my own ingredients from scratch. Making butter at home from milk is not only a rewarding process, but it also allows me to have full control over the quality and taste of the final product.
In this article, I’ll guide you through the steps of transforming ordinary milk into delicious homemade butter. Get ready to roll up your sleeves and experience the satisfaction of churning butter right in your own kitchen.
Key Takeaways
- Gather the necessary ingredients and tools, including fresh milk, salt (optional), ice-cold water, and flavorings.
- Churn the milk using a traditional or modern method until fat globules clump together to form butter with a smooth and creamy texture.
- Separate the butter from the buttermilk by straining the mixture and rinsing the butter with cold water.
- Store the homemade butter in an airtight container in the refrigerator and enjoy it as a spread or in cooking and baking.
Gathering the Necessary Ingredients
To make butter at home, you’ll need to gather the necessary ingredients. Start with fresh or store-bought milk. Make sure it is full-fat milk, as this will yield the best results. Other ingredients you’ll need include a pinch of salt (optional), ice-cold water, and any desired flavorings, such as herbs or spices.
For churning the milk into butter, you can use a hand mixer, a stand mixer with a whisk attachment, or even a mason jar with a tight-fitting lid. When separating the butter from the buttermilk, you can use a cheesecloth or a fine-mesh strainer.
Store your homemade butter in an airtight container in the refrigerator. Enjoy it on toast, baked goods, or in cooking and baking. If you encounter any issues, such as the butter not solidifying or the buttermilk being too watery, troubleshoot by adjusting the churning time or temperature.
Adding flavors to homemade butter is easy – simply mix in your desired herbs or spices while the butter is soft. Homemade butter has several health benefits, including being a good source of healthy fats and vitamins. Don’t throw away the leftover buttermilk – you can use it in various recipes, such as pancakes, biscuits, or salad dressings.
Lastly, if you want to take your butter-making to the next level, try making cultured butter at home by using live cultures or yogurt as a starter.
Preparing the Milk for Churning
Before beginning the churning process, it’s important to ensure the milk is at room temperature. This helps to promote the growth of beneficial bacteria and ensures a successful butter-making process.
To prepare the milk for churning, follow these steps:
- Pasteurizing milk: Heat the milk to 161°F (72°C) for 15 seconds to kill any harmful bacteria while preserving the beneficial enzymes.
- Adding culture: Introduce a starter culture, such as yogurt or buttermilk, to the milk. This helps to acidify the milk, creating a favorable environment for butter formation.
By pasteurizing the milk, you eliminate any potential health risks while retaining the essential components for butter-making. Adding a culture helps to enhance the flavor and texture of the final product.
Now that the milk is ready, it’s time to move on to the exciting process of churning it into butter.
Transition: With the milk properly prepared, let’s explore the next step in the butter-making process: churning.
Churning the Milk Into Butter
Now that you have prepared the milk, it’s time to start churning it into creamy, delicious butter.
Churning is the process of agitating the milk to separate the fat globules from the liquid, resulting in the formation of butter.
There are various methods of churning milk into butter, ranging from traditional butter making techniques to modern machinery.
One traditional method involves using a butter churn, which is a container with a paddle or dasher that is manually rotated. This motion causes the fat globules to collide and stick together, forming butter.
Another method is using a stand mixer or food processor, which provides a more convenient and efficient way to churn the milk.
Regardless of the method chosen, the key is to continue churning until the fat globules clump together and separate from the liquid, creating a smooth and creamy butter.
Separating the Butter From the Buttermilk
Once the churning is complete, you can strain the mixture to separate the butter from the buttermilk. To achieve a creamy and flavorful homemade butter, here are some important tips:
- Use cold, high-quality cream for churning. This will result in a richer and tastier butter.
- Add a pinch of salt to enhance the flavor of the butter.
- Allow the cream to sit at room temperature for a few hours before churning. This helps to develop the flavor and improves the texture of the butter.
- Churn the cream at a moderate speed to avoid over-churning, which can lead to a grainy texture.
- Once the butter has formed, drain the buttermilk and rinse the butter with cold water to remove any remaining buttermilk.
Making butter at home has several benefits compared to store-bought options. It allows you to control the quality of ingredients, resulting in a healthier and more natural product. Additionally, homemade butter often has a fresher taste and creamier texture.
Now that the butter is separated from the buttermilk, let’s move on to the next step of storing and enjoying homemade butter.
Storing and Enjoying Homemade Butter
To store and enjoy your homemade butter, you’ll want to transfer it to an airtight container and keep it refrigerated. This will help maintain its freshness and prevent it from spoiling. When choosing a container, opt for one that is made of glass or food-grade plastic. Avoid using metal containers as they can react with the butter and affect its flavor. It’s also important to label the container with the date of preparation to keep track of its shelf life. Homemade butter can last up to two weeks when stored properly in the refrigerator.
Here is a table highlighting creative ways to flavor homemade butter and how to use it in baking recipes:
Flavoring Ideas | Baking Recipes |
---|---|
Garlic and Herb | Garlic bread, savory scones |
Cinnamon | Cinnamon rolls, apple pie |
Honey | Honey butter cookies, cornbread |
Lemon and Dill | Lemon dill butter salmon, roasted potatoes |
Maple | Maple pecan butter tart, pancakes |
Experimenting with different flavors can add a unique twist to your homemade butter and elevate your baked goods to a whole new level of deliciousness.
Frequently Asked Questions
Can I Use Any Type of Milk to Make Butter at Home?
Yes, you can use any type of milk to make butter at home. However, it’s important to note that different types of milk may yield slightly different results in terms of taste and texture. Here are some tips for making butter at home.
How Long Does It Take to Churn the Milk Into Butter?
Churning milk into butter takes time and effort. Using proper techniques and following tips for consistency is crucial. It’s like turning cream into fluffy clouds—rewarding and satisfying.
Can I Use an Electric Mixer Instead of a Hand Churn?
Yes, an electric mixer can be used instead of a hand churn to make butter at home from milk. The pros of using an electric mixer are faster and easier churning, while the cons include potential over-churning and a less traditional experience.
How Can I Use the Leftover Buttermilk in Other Recipes?
I love using leftover buttermilk in baking! It adds a tangy flavor and moisture to cakes, biscuits, and pancakes. Some creative recipes include buttermilk ranch dressing, buttermilk fried chicken, and buttermilk pancakes.
How Long Can Homemade Butter Be Stored in the Refrigerator?
Homemade butter can be stored in the refrigerator for about 2-3 weeks, depending on the preservation methods used. It’s important to store it in an airtight container to maintain its freshness and extend its shelf life.
Conclusion
In conclusion, making butter at home from milk is a simple and rewarding process. By following the precise instructions provided, you can transform milk into delicious homemade butter.
The analytical perspective allows us to understand the chemical processes involved, while the informative approach ensures a comprehensive understanding of the butter-making process.
With accurate measurements and detailed explanations, you can confidently create your own butter. So go ahead, give it a try and experience the sheer delight of spreading your homemade butter on warm, freshly baked bread – it’s a taste sensation like no other!
From sneaky childhood butter licks to penning some of our most popular articles, Jamie’s journey with butter has been lifelong. His culinary background gives him a unique perspective, allowing him to craft mouthwatering articles that educate and tantalize equally. Jamie’s travel adventures revolve around finding the world’s best buttery treats when he isn’t writing.
Recipes & Culinary Uses
How to Make Butter Balls

Do you crave a dollop of flavor to enhance your dining experience? Look no further!
In this article, we will guide you through the magical process of creating delectable butter balls. With just a few simple ingredients and tools, you’ll be able to craft these little balls of creamy goodness in no time.
So, put on your apron, grab your whisk, and prepare to embark on a buttery adventure that will leave your taste buds dancing with delight.
Key Takeaways
- Experiment with different combinations of herbs and spices to create unique flavors in the butter balls.
- Chilling the butter mixture in the refrigerator helps firm it up and allows the flavors to meld together for a more harmonious taste.
- Roll the chilled butter mixture into small, bite-sized spheres and optionally roll them in finely chopped herbs, spices, or edible flowers for added flavor and presentation.
- Store the butter balls in an airtight container in the refrigerator and let them come to room temperature before serving to enhance their versatility in various dishes and spreads.
Gathering the Ingredients and Tools
First, you’ll need to gather the ingredients and tools necessary for making butter balls. To begin, gather 1 cup of softened butter, 1 ¼ cups of powdered sugar, 1 teaspoon of vanilla extract, and a pinch of salt. These ingredients will create a smooth and flavorful base for your butter balls.
Additionally, you’ll need a mixing bowl, an electric mixer, a spatula, and a baking sheet lined with parchment paper. If you’re feeling adventurous, you can also experiment with alternative ingredients such as almond or coconut extract to add a unique twist to your butter balls.
Once you have everything ready, it’s time to move on to preparing the butter mixture.
Preparing the Butter Mixture
Next, you’ll need to mix together the softened butter, your choice of herbs and spices, and a pinch of salt in a bowl. This step is crucial for adding flavor to your butter balls.
As you mix in the herbs and spices, imagine the burst of savory goodness they will bring to each bite. Experiment with different combinations like garlic and rosemary, or perhaps a hint of lemon zest and thyme.
Once everything is well incorporated, cover the bowl with plastic wrap and place it in the refrigerator to chill. This will help the butter mixture firm up, making it easier to shape into balls later on. The chilling process also allows the flavors to meld together, resulting in a more harmonious taste.
Get ready to elevate your butter balls to a whole new level of deliciousness.
Shaping the Butter Balls
Now it’s time to take the chilled butter mixture and roll it into small, bite-sized spheres. Shaping butter balls requires some techniques to achieve the perfect form.
Start by scooping a small amount of the butter mixture with a spoon or a melon baller. Then, gently roll it between your palms, applying light pressure to create a smooth and round shape.
For a more decorative touch, you can roll the butter balls in finely chopped herbs, spices, or even edible flowers. Arrange them on a serving plate, or place them in a decorative butter dish for a stunning presentation.
These butter balls can be a delightful addition to a cheese platter or served alongside warm bread.
Now, let’s move on to the next step – adding flavors and variations to your butter balls.
Adding Flavors and Variations
To enhance the taste and create unique variations, you can experiment with different ingredients and seasonings for your butter balls. By adding different flavors, you can elevate your butter balls to a whole new level. Here are some ideas to get you started:
Flavor | Ingredients | Creative Uses |
---|---|---|
Garlic and Herb | Garlic, parsley, thyme | Spread on bread or use in pasta dishes |
Citrus | Lemon or orange zest | Use in baking or melt over grilled fish |
Spicy | Chili flakes, paprika | Add a kick to roasted vegetables or steaks |
Sweet | Honey, cinnamon | Delicious on pancakes or toast |
There are endless possibilities when it comes to flavored butter balls. Get creative and experiment with different combinations to find your favorites. Once you have made your butter balls, it’s time to move on to storing and serving them.
TRANSITION: Now that you have created your delicious flavored butter balls, let’s talk about the best way to store and serve them.
Storing and Serving the Butter Balls
When it comes to storing and serving your flavorful creations, remember to keep your butter balls chilled in an airtight container to maintain their freshness. Storing butter balls properly is essential to preserve their taste and texture.
After shaping your butter into small balls, place them in the refrigerator for at least an hour to firm up. Once chilled, transfer the butter balls to an airtight container to prevent them from absorbing any odors or flavors from the fridge. This will ensure that your butter balls stay fresh and delicious.
When it’s time to serve, take out the desired amount and let them come to room temperature for a few minutes. Butter balls are versatile and can be used in various ways – spread them on toast, melt them on steamed vegetables, or use them to enhance the flavor of your favorite dishes. Get creative and enjoy the rich, creamy goodness of your homemade butter balls!
Conclusion
So there you have it, a step-by-step guide on how to make butter balls.
Now that you know the secrets to creating these delectable delights, you can impress your friends and family with your culinary skills.
Imagine the look on their faces as they bite into these creamy, flavorful bites of heaven.
The possibilities are endless when it comes to adding your own unique twist to the recipe.
So go ahead, gather your ingredients and tools, and embark on this buttery adventure.
Get ready to indulge in the buttery goodness that awaits!
Diana’s meticulous nature and editorial prowess set the gold standard for our content. With over a decade in the culinary and publishing industries, her guidance ensures that every article perfectly blends information and entertainment. A culinary experimenter, Diana loves whipping up new butter-based concoctions in her kitchen.
Recipes & Culinary Uses
How to Make Brownies With Weed Butter

Hey there, fellow baking enthusiasts! Ever wondered how to take your brownie recipe to a whole new level? Well, I’ve got a little secret ingredient that’ll surely elevate your baking game: weed butter.
Now, before you start raising eyebrows, let me assure you that this article is all about responsible and informed baking. I’ll guide you through the process of making your very own batch of deliciously potent weed brownies.
So, get ready to embark on a mouthwatering journey that combines the best of baking and cannabis. Let’s dive in!
Key Takeaways
- Different weed strains have different effects, so choose a balanced strain with a combination of THC and CBD for making weed butter.
- Decarboxylate cannabis in the oven to activate THC before making weed butter.
- Use proper dosing techniques and start with a lower dose to avoid overconsumption and unpleasant side effects.
- Store weed brownies properly in a cool, dark place and consume within a week for optimal freshness and potency.
Selecting the Right Strain for Weed Butter
To make the best brownies with weed butter, you’ll need to choose the right strain of cannabis. When it comes to selecting the best cannabis strain for edibles, it’s important to understand the effects that different weed strains can have.
Some strains are known for their uplifting and energizing effects, while others are more relaxing and calming. For edibles, you’ll want to choose a strain that has a balanced combination of THC and CBD. THC is responsible for the psychoactive effects, while CBD provides a more calming and therapeutic experience. Finding the right balance will ensure that your brownies have the desired effects.
Now that you know the importance of choosing the right strain, let’s move on to making weed butter from scratch.
Making Weed Butter From Scratch
First, you’ll need to gather the necessary ingredients for making weed butter from scratch. To make weed butter, you’ll need unsalted butter, ground cannabis, and water. Start by decarboxylating your cannabis in the oven to activate the THC.
Next, melt the butter and add the ground cannabis. Simmer the mixture on low heat for a few hours, stirring occasionally. The alternative method of making weed-infused butter involves using a slow cooker, which can simplify the process.
The benefits of using weed butter in other recipes are numerous. Not only does it add a unique flavor to your dishes, but it also allows for a more controlled and precise dosage of cannabis.
Once the butter has cooled, strain out the plant matter, and you’re left with homemade weed butter ready to be used in all sorts of delicious recipes.
Infusing Weed Butter Into Your Brownie Mix
Once you’ve infused your homemade weed butter into your brownie mix, the rich and potent flavors will elevate your brownies to a whole new level of deliciousness. Infusing weed butter into your brownie mix is a simple and effective way to create alternative edibles that pack a punch.
Here are three infusing techniques to help you make the most of your weed butter brownies:
-
Double Boiler Method: Place a heatproof bowl over a pot of simmering water, and melt your weed butter in the bowl. Once melted, add it to your brownie mix and stir well to ensure even distribution.
-
Stovetop Method: Melt your weed butter in a saucepan on low heat, stirring continuously to prevent burning. Once melted, add it to your brownie mix and mix thoroughly.
-
Microwave Method: Melt your weed butter in a microwave-safe bowl, heating in short bursts and stirring in between. Once melted, add it to your brownie mix and mix well.
With these infusing techniques, you can create delectable weed butter brownies that are sure to impress. Enjoy responsibly!
Baking Perfectly Potent Weed Brownies
For perfectly potent weed brownies, ensure you mix the infused butter thoroughly into the brownie batter. This step is crucial to evenly distribute the cannabis throughout the mixture, ensuring each bite is infused with the desired dose.
When it comes to dosing techniques, it’s important to note that the potency of your brownies will depend on the strength of your infused butter. To control the dosage, start by calculating the total amount of THC in your butter and divide it by the number of servings. This will give you an idea of how much THC is in each brownie.
If you’re looking for alternative cannabis-infused desserts, consider trying recipes like cannabis-infused cookies, cakes, or even ice cream. Just remember to adjust the dosage accordingly and always label your edibles clearly.
Happy baking!
Dos and Don’ts of Dosing Weed Brownies
When it comes to making weed brownies, proper dosage of weed butter is crucial. Overconsumption can lead to unpleasant experiences, so it’s important to know how much weed butter to use for the desired effect.
To ensure consistent potency, there are a few tips to keep in mind. First, use a reliable recipe that provides specific instructions on the amount of weed butter needed. This will help you avoid using too much or too little.
Second, properly measure the weed butter. Use a kitchen scale to weigh the butter accurately, as eyeballing it can result in inaccurate dosing. This step is crucial for achieving the desired effect and avoiding any potential negative experiences.
Proper Weed Butter Dosage
To determine the proper dosage of weed butter for your brownies, it’s essential to consider the potency and desired effects. Here are three important things to consider:
-
Weed butter infusion methods: The potency of your weed butter depends on how you infuse it. Common methods include using a stovetop, slow cooker, or a specialized cannabis-infused butter machine. Each method may result in varying levels of THC extraction, so it’s important to choose a method that suits your desired potency.
-
Calculating THC content: To accurately calculate the THC content in your weed butter, you need to know the percentage of THC in your starting cannabis material. This information can usually be found on the packaging of your cannabis product. From there, you can use a simple formula to determine the approximate THC content in your infused butter.
-
Desired effects: Understanding your desired effects is crucial in determining the proper dosage of weed butter. If you’re a beginner or have a low tolerance, it’s recommended to start with a lower dose and gradually increase as needed. It’s important to remember that the effects of edibles can take longer to kick in and can be more potent, so patience is key.
Avoid Overconsumption Risks
Understanding the potential risks of overconsumption is crucial in ensuring a safe and enjoyable experience with cannabis-infused edibles. While edibles can provide a longer-lasting and more intense high compared to smoking or vaping, it’s important to consume them responsibly.
Overconsumption can lead to unpleasant side effects such as anxiety, paranoia, and even hallucinations. To avoid these risks, it is recommended to start with a low dose, especially if you are a beginner. Give your body enough time to process the edible before consuming more.
It’s also important to be aware of the potency of the edible you are consuming, as different products can have varying levels of THC. By practicing responsible consumption practices and being aware of the risks, you can have a safe and enjoyable experience with cannabis-infused edibles.
Tips for Consistent Potency
When it comes to making weed butter brownies, maintaining consistent effects can be a challenge. However, there are a few tips that can help you adjust the potency levels and ensure a consistent experience every time. Here’s what you need to know:
-
Use precise measurements: To achieve consistent potency, it’s crucial to measure your ingredients accurately. This applies not only to the amount of weed butter you use but also to the other ingredients in your recipe.
-
Test potency before baking: Before adding the weed butter to your brownie mix, try a small amount to gauge its potency. This will give you an idea of how strong the final product will be and allow you to adjust the amount of weed butter accordingly.
-
Keep notes: Maintaining a record of your recipes and the effects they produce can help you fine-tune the potency levels over time. By noting the amount of weed butter used and the resulting effects, you can make adjustments to achieve your desired experience.
Following these tips will help you create consistently potent weed butter brownies that deliver the desired effects every time.
Storing and Enjoying Your Weed Brownies
Once they’ve cooled, you can store your weed brownies in an airtight container to keep them fresh. Proper storage techniques are essential to maintain the potency and flavor of your infused brownies. Here are some tips for storing and enjoying your weed brownies:
Technique | Description |
---|---|
Store in a cool, dark place | Heat and light can degrade the potency of the cannabinoids in your brownies. Keep them away from direct sunlight or high temperatures. |
Separate from regular brownies | To avoid confusion or accidental consumption, it’s best to store your weed brownies separately from regular ones. Label the container clearly. |
Use within a week | Although the brownies can last longer, it’s recommended to consume them within a week to ensure optimal freshness and potency. |
Freeze for long-term storage | If you have a large batch or want to save them for later, you can freeze your weed brownies in an airtight container. Thaw them before serving. |
Best serving methods | Enjoy your weed brownies by cutting them into small, manageable pieces. Start with a low dosage and wait at least an hour before consuming more. Remember to always store them securely and out of reach of children or pets. |
Frequently Asked Questions
Can I Use Any Strain of Weed to Make Weed Butter, or Are There Specific Strains That Work Best?
Any strain of weed can be used to make weed butter, but there are specific strains that work best for making edibles. When infusing weed butter, consider the potency, flavor profile, and desired effects of the strain.
How Long Does It Take to Make Weed Butter From Scratch?
To make weed butter from scratch, it typically takes a few hours. After infusing the butter with cannabis, you can use it to enhance various recipes. Remember to store the weed butter properly to maintain its potency.
Can I Use Store-Bought Brownie Mix or Do I Have to Make the Mix From Scratch?
I can use store-bought brownie mix for weed brownies, but it’s important to properly dose them. The homemade mix gives more control over the ingredients, but store-bought is convenient.
How Do I Know if My Weed Brownies Are Potent Enough?
To properly dose weed brownies, start by using a reliable recipe and accurately measuring the amount of weed butter. Test the potency by starting with a small piece and waiting for the effects. Adjust the dosage accordingly for future batches.
How Long Can I Store My Weed Brownies Before They Go Bad?
The shelf life of weed brownies depends on how they are stored. To ensure the best quality, store them in an airtight container in a cool, dark place. They can last up to a week, but it’s best to consume them within a few days for optimal freshness.
Conclusion
In conclusion, making brownies with weed butter is a fun and delicious way to enjoy the benefits of marijuana. By selecting the right strain for your weed butter and infusing it into your brownie mix, you can create perfectly potent treats.
However, it is important to be mindful of dosing to avoid any unwanted effects. Did you know that a recent survey found that 42% of cannabis users prefer edibles as their preferred method of consumption?
So why not try making your own weed brownies and join the growing number of people who enjoy this tasty and alternative way of experiencing the effects of marijuana.
Sunny’s articles radiate enthusiasm, much like her sunny disposition. As our resident “Butter Geek”, she delves deep into the latest butter trends, ensuring our readers are always in the know. Beyond her writing, Sunny’s passion lies in exploring vegan butter alternatives and hosting butter-tasting soirées.
-
Recipes & Culinary Uses3 weeks ago
What Can I Make With Butter Milk
-
Butter Tips and Tricks3 weeks ago
How Much Salt in 1/2 Cup Salted Butter
-
Recipes & Culinary Uses3 weeks ago
What Goes Good With Butter Beans
-
Recipes & Culinary Uses3 weeks ago
How to Season Popcorn Without Butter
-
Production & Processing3 weeks ago
How to Find Used Peanut Butter Maker for Comomercial Use in Pa
-
Recipes & Culinary Uses58 mins ago
How to Make Butter at Home From Milk
-
Specialized Equipment3 weeks ago
Best Butter Infuser for Cannabis
-
Specialized Equipment3 weeks ago
STX Infuzium 420 Herbal Butter Infuser