As a big fan of butter, I often contemplate the inner workings of a butter churn. How does this simple yet ingenious device transform cream into tasty, creamy butter?
In this article, we will delve into the fascinating history, the different types, and the components of a butter churn. We will also explore the science behind butter churning, traditional methods, modern techniques, and offer valuable tips for using a butter churn.
Prepare to be amazed by the magical process that turns liquid gold into a spreadable delight.
Key Takeaways
- Butter churns have a long history and cultural significance, playing a vital role in rural economies and serving as gathering points for women in the community.
- Different types of butter churns offer varying levels of convenience and efficiency, from manual hand crank churns to electric churns.
- The science behind butter churning involves agitation, coalescence, phase separation, and solidification of fat molecules to form butter.
- Traditional churning methods and tips include using chilled cream, maintaining a consistent churning speed, and stopping once the butter separates from the buttermilk to prevent greasy butter.
Beurre D’Isigny AOP Unsalted French Butter - 8.8 oz / 250 g - GUARANTEED OVERNIGHT
- Origin: Made in Isigny, France since 16th century
- Type: Unsalted cow's milk butter
- Production: Made from traditional slow-matured creams
As an affiliate, we earn on qualifying purchases.
The History of Butter Churns
If you want to learn about the history of butter churns, you should know that they have been used for centuries to make butter. Butter churns hold great cultural significance and played a vital role in rural economies. In many cultures, butter was a staple food and a symbol of prosperity.
Butter churns were not only a means to produce butter but also served as a gathering point for women in the community. They would come together to churn butter, exchange recipes, and share stories.
In rural economies, butter churns provided a source of income for farmers. They would sell their homemade butter at local markets, contributing to the local economy.
Now that we know the historical significance of butter churns, let’s explore the different types of butter churns.
Different Types of Butter Churns
There are various types of butter churns available on the market today. As someone interested in the dairy industry and making homemade butter, I’ve done some research to understand the different options out there.
Here are four types of butter churns that you may come across:
-
Hand Crank Churn: This traditional churn requires manual effort to turn the crank and agitate the cream until it separates into butter and buttermilk.
-
Barrel Churn: With a barrel-shaped design, this churn uses a hand-operated paddle or a motorized mechanism to agitate the cream.
-
Electric Churn: As the name suggests, an electric churn uses electricity to power the agitating mechanism, making the butter-making process more convenient and efficient.
-
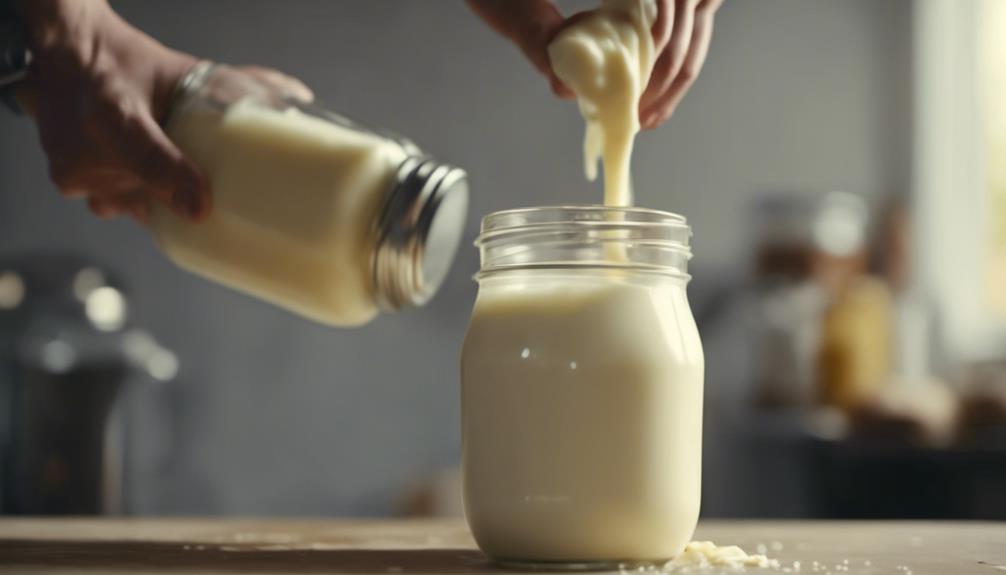
Mason Jar Churn: A smaller and simpler option, this churn utilizes a mason jar with a shaking or rolling motion to separate the cream.
These different types of butter churns offer varying levels of convenience and efficiency when it comes to making your own homemade butter.
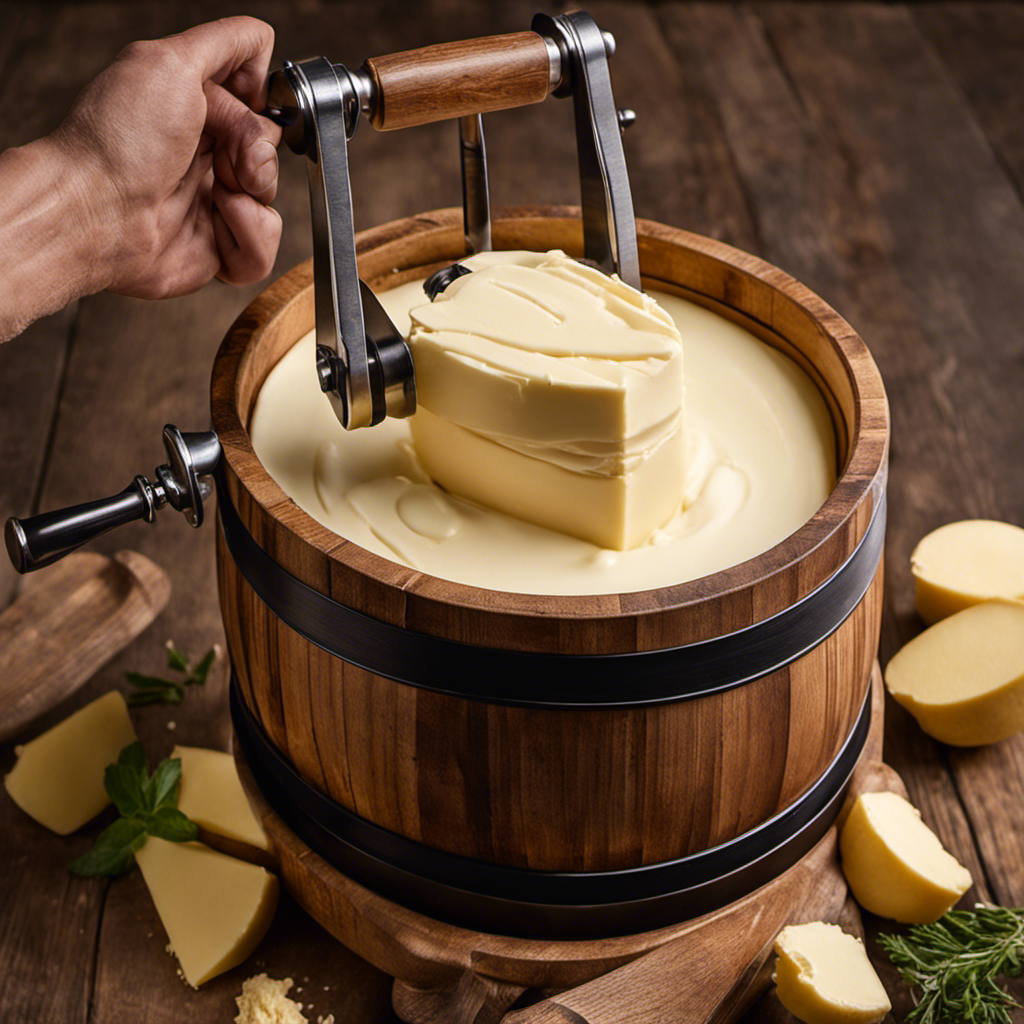
Components of a Butter Churn
The components of a butter churn include a crank or paddle, an agitating mechanism, and a container like a barrel or mason jar. The crank or paddle is what you use to manually churn the butter. It is attached to the agitating mechanism, which helps to mix the cream and separate the butterfat from the buttermilk.
The container holds the cream and provides a space for the churning process to take place. To ensure proper functioning of the butter churn, regular maintenance is important. This includes cleaning the churn thoroughly after each use and lubricating any moving parts.
If you encounter any issues with your butter churn, troubleshooting steps can help identify and resolve the problem. Common issues may include the paddle not rotating smoothly or the cream not forming into butter. By following proper maintenance and troubleshooting techniques, you can keep your butter churn in good working condition.
The Science Behind Butter Churning
To understand the science behind butter churning, you should know that the agitation process causes the fat molecules in the cream to clump together and separate from the liquid. This separation occurs due to the physical force applied to the cream during churning.
Here’s a breakdown of the science behind butter churning:
-
Agitation: When the cream is agitated, the fat molecules start to collide, causing them to stick together and form clumps.
-
Coalescence: As agitation continues, the clumps of fat molecules start to merge and form larger masses.
-
Phase separation: The fat molecules separate from the liquid portion of the cream, which is known as buttermilk.
-
Solidification: The fat clumps continue to solidify and eventually turn into butter.
Understanding the science behind butter churning helps us appreciate the historical significance of this process and the various techniques used throughout history.
Now, let’s dive into the traditional churning methods.
Traditional Churning Methods
When it comes to churning butter, understanding the process is essential. In this discussion, we will explore the churning process in detail, including the tools and techniques used.
Additionally, we will delve into the factors that affect the quality of butter produced, such as the type of cream used and the temperature at which the churning takes place.
Churning Process Explained
Once you add cream to the butter churn, you’ll need to turn the handle to start the churning process. Churning is a simple yet fascinating technique that transforms cream into butter.
Here’s how it works:
-
Agitation: The constant turning of the handle causes the cream to move vigorously, creating friction and separating the fat globules from the liquid.
-
Coalescence: As the fat globules collide with each other, they start to stick together, forming larger clusters.
-
Butter grains: These clusters of fat globules join together to form small butter grains. The more you churn, the larger and firmer these grains become.
-
Separation: Finally, the butter grains separate from the liquid, called buttermilk. The buttermilk is drained, leaving behind creamy homemade butter.
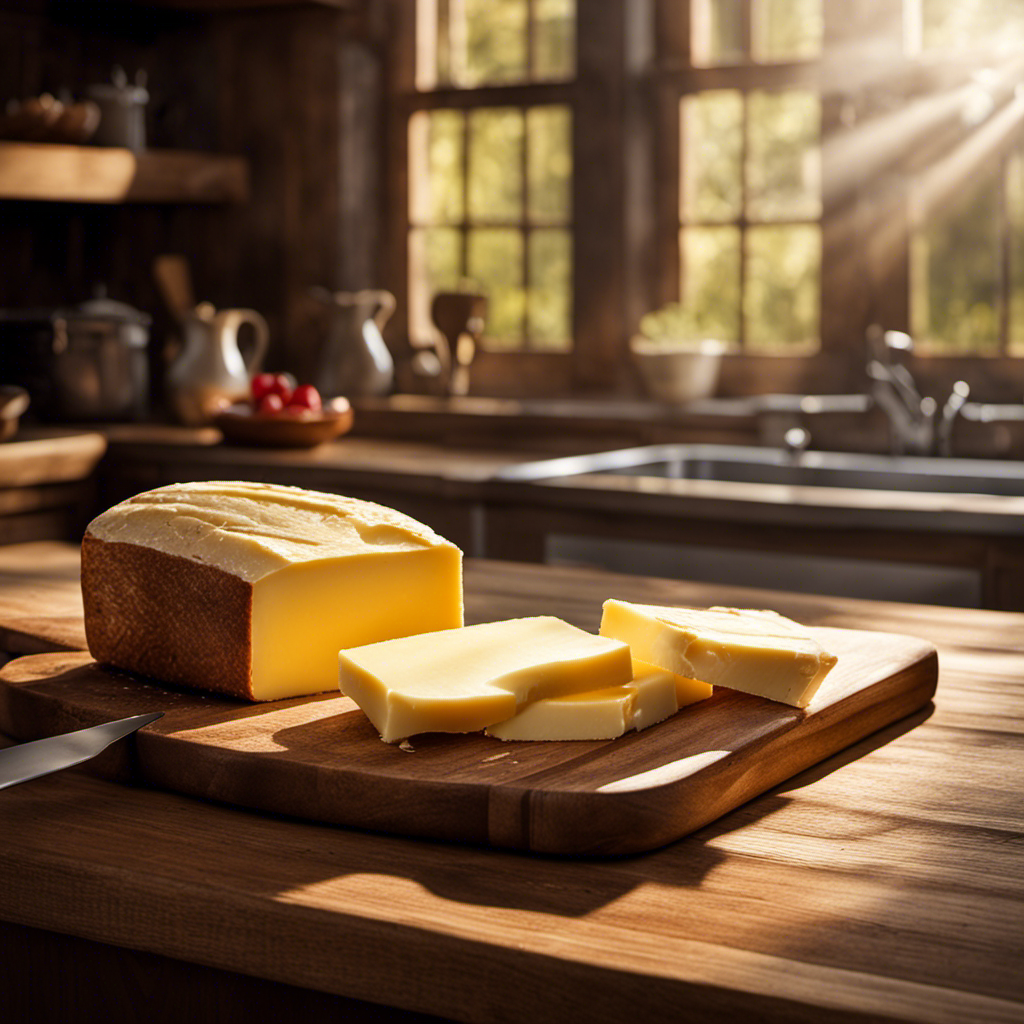
The benefits of homemade butter are numerous. It is fresher, creamier, and has a richer flavor compared to store-bought butter. Plus, you have control over the ingredients, ensuring a healthier and more natural product.
Tools and Techniques Used
The constant turning of the handle in the churning process creates friction and separates the fat globules from the liquid.
Throughout history, butter has been made using various tools and techniques. The butter churn, a device specifically designed for this purpose, has a long and fascinating history.
Early butter churns were made from materials such as wood, clay, or animal skins. Over time, churns evolved and were made from more durable materials like cast iron or stainless steel. The choice of materials depended on availability and affordability.
Each material had its advantages and disadvantages, affecting the efficiency and durability of the churn. These advancements in churn materials allowed for more efficient butter production and improved the overall quality of butter.
Now, let’s explore the factors that influence butter quality.
Butter Quality Factors
In my previous discussion, I talked about the tools and techniques used in butter churns. Now, let’s focus on the factors that affect the quality of butter.
When it comes to butter storage and packaging, several important factors must be considered:
-
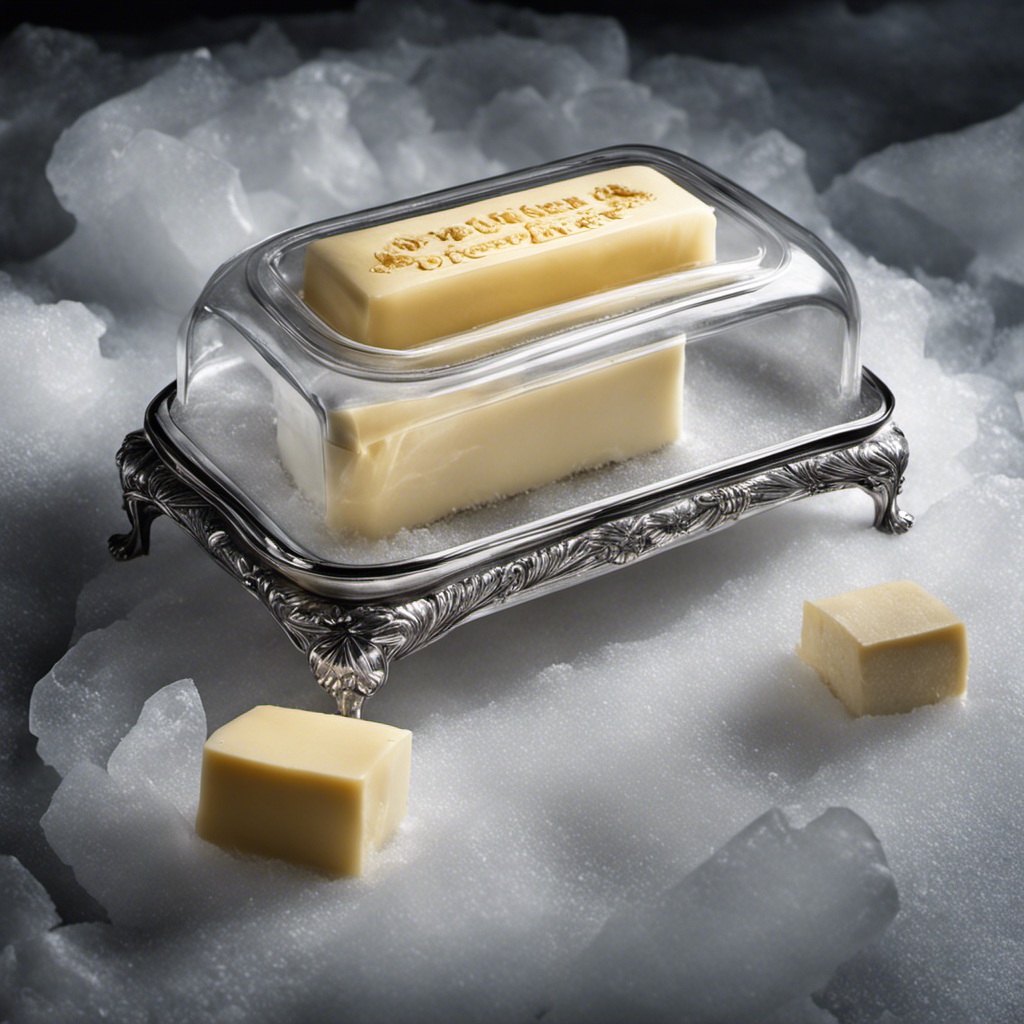
Temperature: Butter should be stored in a cool place to maintain its freshness and prevent it from melting or becoming rancid.
-
Moisture: Butter is susceptible to absorbing odors and flavors from its surroundings. Therefore, it should be stored in an airtight container to prevent moisture and unwanted odors from affecting its quality.
-
Light: Exposure to light can cause butter to spoil quickly. It is best to store butter in an opaque or wrapped in foil to protect it from light.
-
Packaging: Butter is commonly packaged in blocks or sticks. Proper packaging is crucial to protect the butter from oxidation and maintaining its shape during storage and transportation.
Modern Butter Churning Techniques
Nowadays, you can easily churn butter using an electric butter churner. Modern butter churns have made the process of churning butter much more convenient and efficient. These churns are designed to agitate cream and separate the fat from the buttermilk, resulting in smooth and creamy butter.
One of the main benefits of using a butter churn is the ability to control the churn speed, allowing for consistent and high-quality butter production. Additionally, modern butter churns often have built-in timers and temperature controls, ensuring that the butter is churned at the ideal conditions. These features not only improve the overall quality of the butter but also make the churning process less time-consuming and labor-intensive.
Using a butter churn is a great way to enjoy freshly made butter at home without the hassle and effort of traditional churning methods. Now, let’s explore some tips for using a butter churn.
Tips for Using a Butter Churn
When using a butter churner, it’s important to start with chilled cream for optimal results. Here are some tips to troubleshoot common mistakes in butter churning:
-
Use the right amount of cream: Make sure to fill the churner no more than halfway to allow room for the cream to expand as it churns.
-
Maintain a consistent churning speed: Avoid churning too fast or too slow. Find a steady rhythm that allows the cream to be agitated evenly.
-
Monitor the temperature: If the cream becomes too warm during churning, it can affect the butter’s texture. Keep an eye on the temperature and adjust as needed.
-
Don’t over-churn: Stop churning once the butter begins to separate from the buttermilk. Over-churning can result in a greasy butter with a less desirable texture.
Troubleshooting Butter Churning Issues
When it comes to butter churns, there can be a few common issues that arise during the churning process. One of the main problems is churning speed, as it can affect the overall quality of the butter.
Another issue is butter texture, which can be influenced by factors such as temperature and timing.
Lastly, proper equipment maintenance is crucial for ensuring smooth and efficient churning.
In this discussion, we will explore these key points in detail and provide helpful tips for troubleshooting and resolving these butter churning issues.
Churning Speed Problems
If you’re experiencing churning speed problems, try adjusting the temperature of the cream. Churning speed optimization is crucial for achieving a smooth and creamy butter consistency.
Here are four factors to consider when troubleshooting butter separation:
-
Cream temperature: Ensure the cream is at the ideal temperature for churning, usually between 55-65 degrees Fahrenheit. Too cold and it will take longer to churn, while too warm can cause butter separation.
-
Churning duration: Churning for too long can lead to butter separation. Monitor the process closely and stop churning once the butter starts to form.
-
Churning speed: Adjust the churning speed to maintain a steady and consistent pace. Avoid excessive speed variations that can lead to uneven butter formation.
-
Cream quality: Use fresh and high-quality cream to achieve better churning results. Older or lower quality cream can affect the churning process and increase the chance of butter separation.
Butter Texture Issues
During the butter churning process, there can be issues with the texture of the butter that is produced. These texture issues can affect the overall quality and taste of the butter. One common problem is the presence of grainy or lumpy butter. This can occur if the cream is not properly churned or if the churning speed is too high, causing the fat globules to clump together. Another issue is the butter becoming too soft or greasy. This can happen if the churned butter is not properly separated from the buttermilk or if it is not properly washed. To ensure the best texture, it is important to control the churning speed and properly separate and wash the butter. Additionally, proper storage and preservation techniques, such as keeping the butter in a cool and dry place or using specialized butter dishes, can help maintain the texture and freshness of the butter.
Here is a table summarizing the common texture issues in butter production and their possible causes:
| Texture Issue | Possible Cause |
|---|---|
| Grainy or lumpy butter | Improper churning or high churning speed |
| Soft or greasy butter | Inadequate separation or washing |
| Rancid butter | Poor storage and preservation techniques |
Equipment Maintenance Tips
Regular equipment maintenance is essential for maintaining the quality and efficiency of butter production. Here are four troubleshooting tips to ensure smooth operation and optimal performance of your equipment:
-
Cleanliness: Regularly clean all parts of the equipment, including the churn, paddles, and filters, to prevent the buildup of residue and bacteria that can affect the flavor and quality of the butter.
-
Lubrication: Check and lubricate the moving parts of the equipment, such as gears and bearings, to reduce friction and ensure smooth operation.
-
Calibration: Regularly calibrate the equipment to ensure accurate temperature and speed settings, as these factors can greatly impact the texture and consistency of the butter.
-
Inspection: Conduct regular inspections of the equipment for any signs of wear or damage. Replace worn-out parts promptly to prevent further damage and maintain the efficiency of the equipment.
Frequently Asked Questions
How Long Does It Take to Churn Butter Using a Traditional Method?
It takes about 20-30 minutes to churn butter using a traditional method. The temperature of the cream and the technique used can affect the time it takes to achieve butter.
Can I Use Any Type of Milk to Churn Butter?
I can use alternative milk options like coconut or almond milk to churn butter. Different techniques, like using a blender or shaking a jar, can be used to churn non-dairy milk into butter.
Is It Possible to Over-Churn Butter?
Yes, it is possible to over-churn butter. Over churning can lead to a greasy texture and a loss of flavor. Signs of over churning include a watery consistency and separation of butter solids and buttermilk.
Are There Any Health Benefits to Churning Your Own Butter?
There are several benefits to churning your own butter. It allows you to control the ingredients and avoid additives. Additionally, homemade butter is often fresher and can have a higher nutritional value compared to store-bought options.
How Do I Clean and Maintain a Butter Churn?
To clean and maintain a butter churn, proper care is essential. Regularly disassemble the churn and wash all parts with warm soapy water. Dry thoroughly before reassembling. Lubricate moving parts with food-grade oil to prevent rust.
Conclusion
In conclusion, understanding how a butter churn works gives us a glimpse into the fascinating history and science behind this age-old process.
From the traditional methods used by our ancestors to the modern techniques employed today, churning butter is a skill that has stood the test of time.
So, the next time you spread that creamy goodness onto your toast, take a moment to appreciate the hard work and craftsmanship that goes into making it.
Now, isn’t it amazing how a simple device can turn ordinary cream into a delectable treat?