I understand your skepticism. Creating butter in Little Alchemy 2 may seem far-fetched, but I assure you, it is achievable.
In just a few simple steps, you can create your very own butter from scratch. With the right elements and a little bit of churning, you’ll be amazed at how easy and satisfying it is to make this creamy delight.
So, let’s dive in and discover the scientific process behind creating butter in the world of Little Alchemy 2.
Key Takeaways
- The required elements to make butter in Little Alchemy 2 are milk and pressure.
- In real life, butter is made by churning cream.
- Homemade butter has higher levels of healthy fats, is free from additives and preservatives, and can vary in flavor depending on the milk or cream used.
- The steps for making butter involve obtaining fresh cow’s milk or cream, churning it to separate the fat, and using various techniques to achieve the desired consistency and flavor.

Cosori 9-in-1 TurboBlaze Air Fryer 6 Qt, Smart Control, 90°–450°F, Shake Reminders, Precise Heating for Even Results, Air Fry, Roast, Bake, Broil, Dry, Frozen, Proof, Reheat, Keep Warm, 120V, Cream
- TurboBlaze Technology: Powerful 3600 rpm fan, up to 450°F
- Even Heating System: 5-fan system for consistent results
- Smart Control: Control via smartphone with recipes and guides
As an affiliate, we earn on qualifying purchases.
Required Elements
To make butter in Little Alchemy 2, you’ll need to combine milk and pressure. However, in real life, there are alternative ingredients for making butter.
While milk and pressure are essential in the game, you can also make butter by simply churning cream. This process involves agitating cream until the fat molecules clump together, separating from the liquid.
Homemade butter has several health benefits compared to store-bought versions. It contains higher levels of healthy fats like conjugated linoleic acid, which can boost heart health and help with weight management.
Additionally, homemade butter is free from additives and preservatives commonly found in commercial products, making it a healthier choice.
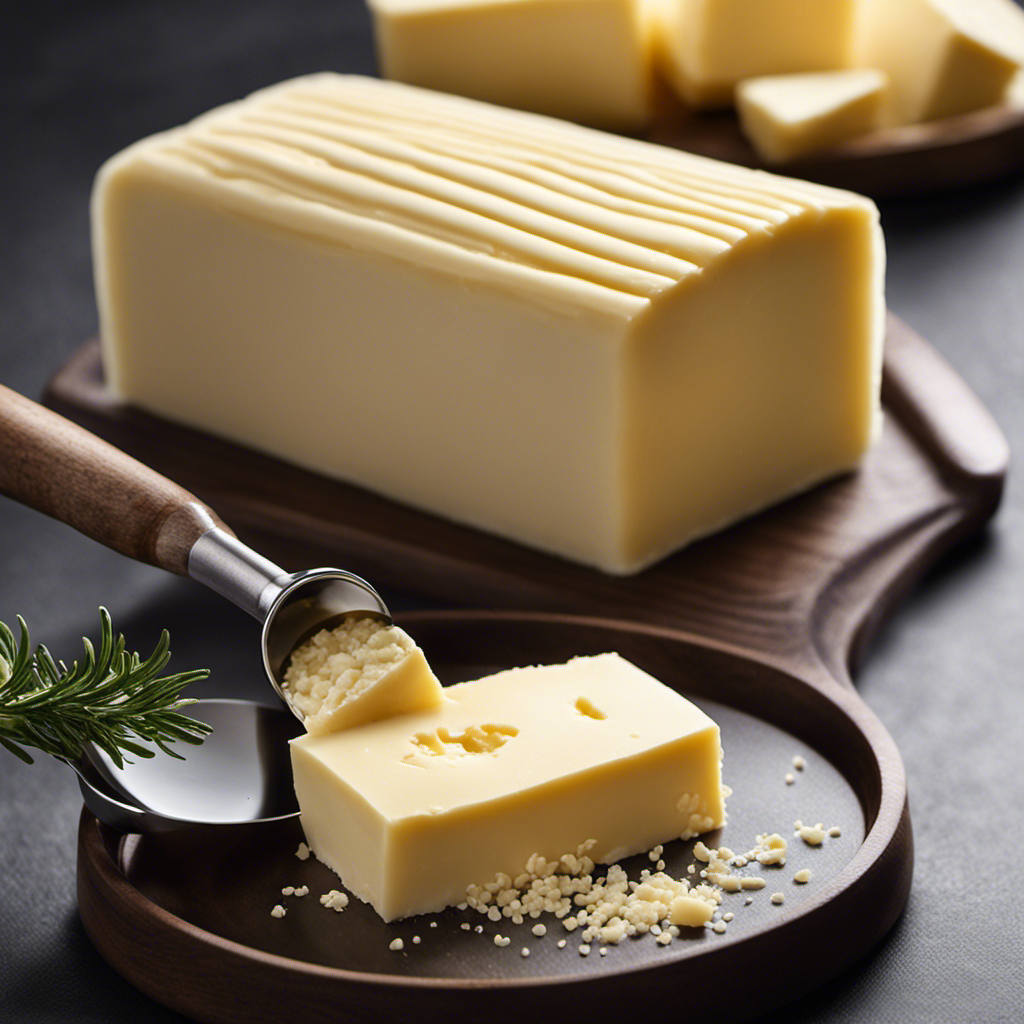
Step 1: Milk
First, begin by getting some milk for the first step in making butter. Milk is the primary ingredient in the churning process of butter production. To make butter, you will need fresh cow’s milk or cream. It is important to use high-quality milk to obtain a rich and flavorful butter. Different types of butter can be made depending on the milk used.
For example, if you use cream with a high fat content, you will produce a creamy and luscious butter. On the other hand, if you use milk with a lower fat content, the resulting butter will be lighter and less dense.
The churning process begins by agitating the milk or cream vigorously until the fat globules separate from the liquid, forming butter.
Step 2: Cream
Next, grab some cream to move on to the second step in making butter. Cream is an essential ingredient in the butter-making process as it contains the necessary fat content. The cream can be obtained from various sources, such as cow’s milk or alternative ingredients like coconut cream for those seeking a vegan option.
To create butter, the cream needs to be churned vigorously. This process separates the fat molecules from the liquid, resulting in butter and buttermilk. The fat content in the cream determines the richness and texture of the butter produced.
Flavor variations can be achieved by incorporating different ingredients during the churning process. For example, adding herbs or spices like garlic or cinnamon can enhance the taste of the butter. Additionally, experimenting with alternative creams, such as those derived from nuts or seeds, can result in unique flavor profiles.
Step 3: Churning
When it comes to making butter, achieving the right consistency and texture is crucial. In this discussion, I will explore different churning techniques and methods that can help us achieve the desired results.
Additionally, we will delve into the time required for churning and how it can impact the final product.
Butter Consistency and Texture
To achieve a smooth and spreadable texture, I mix the softened butter with a pinch of salt. This step is important as it helps enhance the flavor of the butter and also acts as a preservative.
Once the butter is mixed well, it can be flavored in various ways to create interesting variations. Some popular flavor variations include adding herbs like dill or rosemary, mixing in honey or maple syrup for a sweet touch, or incorporating spices like cinnamon or garlic for a savory twist.
Homemade butter can be used in a variety of ways. It can be spread on toast or used as a topping for pancakes or waffles. It can also be used in baking to add richness and flavor to cakes, cookies, and pastries.
Additionally, homemade butter can be used to make homemade sauces, giving them a delicious creamy base.
Churning Techniques and Methods
One popular method of churning butter is by using a stand mixer fitted with a paddle attachment. However, there are different types of churners used in butter making, both traditional and modern.
Traditional churners include the dash churn, which has a long handle used to manually agitate the cream until it separates into butter and buttermilk. Another traditional churner is the barrel churn, where the cream is placed inside a barrel and rolled back and forth until butter forms.
On the other hand, modern churning techniques involve the use of electric butter churns or even food processors. These methods provide a quicker and more efficient way of churning butter, as they require less physical effort.
Nevertheless, the choice between traditional and modern churners ultimately depends on personal preference and the desired outcome.
Time Required for Churning
If you want to speed up the churning process, try using an electric butter churn or a food processor. These modern appliances can significantly reduce the time required to make homemade butter. Traditional hand-churning methods can take anywhere from 20 minutes to an hour, depending on the amount of cream and the technique used. However, with an electric butter churn or a food processor, you can expect the churning process to be completed in just a few minutes. This is especially beneficial for those who want to make butter in large quantities or are short on time.
Here is a table showcasing the benefits of homemade butter and the different types of churns for making butter:
| Benefits of Homemade Butter | Different Types of Churns |
|---|---|
| Rich and Creamy Flavor | Hand Churn |
| No Preservatives | Electric Butter Churn |
| Control Over Ingredients | Food Processor |
| Freshness and Quality | Jar Method |
Step 4: Separation
After churning the cream, you’ll notice that the butter begins to separate from the liquid. This separation occurs due to the physical properties of the cream, where the fat globules coalesce and form a solid mass.
To aid in this process, separation techniques such as using a butter churn or a mixer can be employed. These butter making equipment help to agitate the cream, causing the fat globules to clump together and eventually separate from the liquid.
The separation can also be accelerated by applying cold temperatures, as the fat solidifies and becomes easier to separate. Once the butter has fully separated, it can be removed from the liquid, which is known as buttermilk, and further processed or consumed.
Step 5: Collecting the Butter
To collect the butter, simply use a strainer or cheesecloth to separate the solid butter from the liquid buttermilk. Once the separation process is complete, you will be left with pure, creamy butter ready to be used in various culinary applications.
Butter comes in many different types, each with its own unique characteristics and uses. Some common types of butter include salted butter, unsalted butter, clarified butter (also known as ghee), and cultured butter. Salted butter is often used for spreading on bread or toast, while unsalted butter is preferred for baking and cooking. Clarified butter is great for high-heat cooking as it has a higher smoke point, and cultured butter is prized for its rich and tangy flavor.
In the table below, I have provided some examples of the different types of butter and their uses:
| Type of Butter | Uses |
|---|---|
| Salted Butter | Spreading on bread, cooking |
| Unsalted Butter | Baking, cooking |
| Clarified Butter (Ghee) | High-heat cooking, Indian cuisine |
| Cultured Butter | Gourmet recipes, enhancing flavors |
Butter is not only a delicious and versatile ingredient, but it also adds richness and flavor to various dishes. Whether you’re baking a cake, sautéing vegetables, or making a creamy sauce, butter can elevate your culinary creations to new heights. So next time you’re in the kitchen, don’t forget about the different types of butter and their unique uses.
Frequently Asked Questions
Can I Use Any Type of Milk to Make Butter in Little Alchemy 2?
Yes, any type of milk can be used to make butter in Little Alchemy 2. However, if you prefer a vegan alternative, you can make vegan butter by using alternative milk such as almond milk or coconut milk.
How Long Does It Take to Churn the Cream Into Butter?
The time it takes to churn cream into butter depends on several factors. Traditional methods can take anywhere from 20 minutes to an hour, while modern methods can reduce the time to just a few minutes.
Can I Use a Blender or Mixer Instead of a Jar to Churn the Cream?
Using a blender or mixer instead of a jar to churn cream into butter may be faster, but it may not produce the same quality. The slow process in a jar allows for better separation and texture.
What Is the Purpose of Adding Salt to the Cream Before Churning?
Adding salt to cream before churning enhances the flavor and acts as a preservative. It improves the texture and helps separate the butterfat from the buttermilk more efficiently. Salted butter is versatile and adds depth to baking and cooking.
Is It Possible to Make Butter Without Using Cream in Little Alchemy 2?
Yes, it is possible to make butter in Little Alchemy 2 without using cream. There are alternative ingredients such as milk and yogurt that can be used. Experiment with different combinations and follow the tips for the perfect consistency.
Conclusion
In conclusion, making butter in Little Alchemy 2 is a simple yet fascinating process. By combining milk and cream, churning the mixture, and separating the butter, you can create this delicious ingredient.
Remember, patience is key in the art of butter making. Just like the saying goes, ‘Good things come to those who wait.’ So, take your time and enjoy the process as you collect the creamy and rich butter.
Happy experimenting!