I adore seafood, and one of the ways I love to bring out its flavor is by using a tasty garlic butter sauce.
Did you know that garlic butter sauce is not only easy to make, but it can also elevate any seafood dish to a whole new level?
In this article, I’ll show you the simple steps to create a mouthwatering garlic butter sauce that will make your taste buds dance.
So, let’s get started and take your seafood dishes to the next level!
Key Takeaways
- There are multiple ways to prepare the garlic for the sauce, including smashing and mincing it or using a garlic press.
- It is important to melt the butter at the right temperature, around 65-70°F (18-21°C), to achieve the perfect consistency for the sauce.
- Olive oil can be used as a healthier alternative to melted butter, offering a rich flavor and nutritional benefits.
- Adding herbs and spices, such as dried parsley, can enhance the flavor of the garlic butter sauce and make it versatile for various dishes.

Kerrygold, Imported Garlic and Herbed Butter, 3.5 oz
- Creamy Irish Butter with Herbs: Rich texture with garlic and herbs
- All-Natural Ingredients: Made from grass-fed cow milk
- Versatile Usage: Perfect for spreading or cooking
As an affiliate, we earn on qualifying purchases.
Ingredients for Garlic Butter Sauce
The ingredients for the garlic butter sauce are butter, garlic, lemon juice, and parsley. This mouthwatering sauce is not only delicious but also versatile, making it the perfect accompaniment to a variety of seafood dishes.
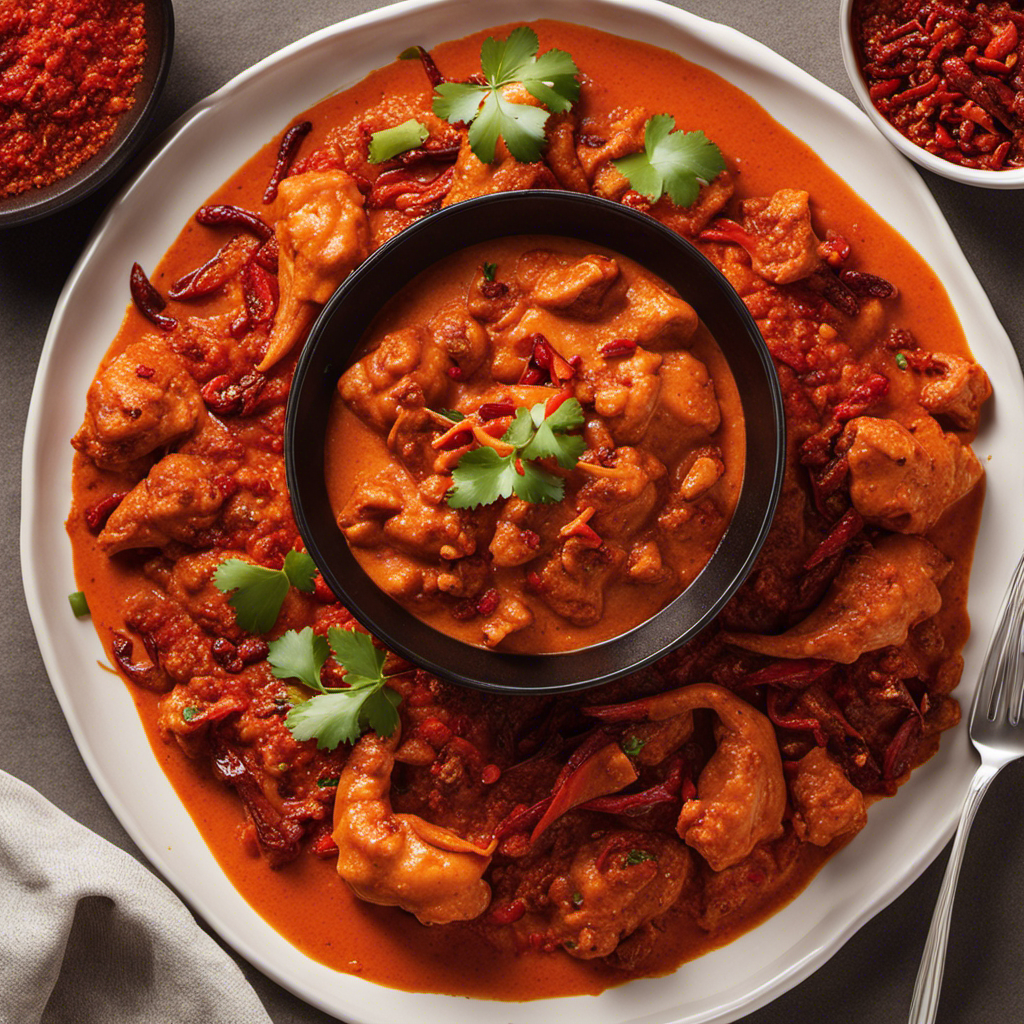
One of the great things about garlic butter sauce is the endless possibilities for variations. You can add a dash of hot sauce for a spicy kick or a sprinkle of Parmesan cheese for a creamy twist.
The rich and savory flavors of the sauce pair exceptionally well with seafood, enhancing the natural taste of the ocean’s bounty. Whether you’re grilling shrimp, searing scallops, or baking salmon, garlic butter sauce will take your dish to the next level. It adds a burst of flavor that elevates the seafood and leaves you craving for more.
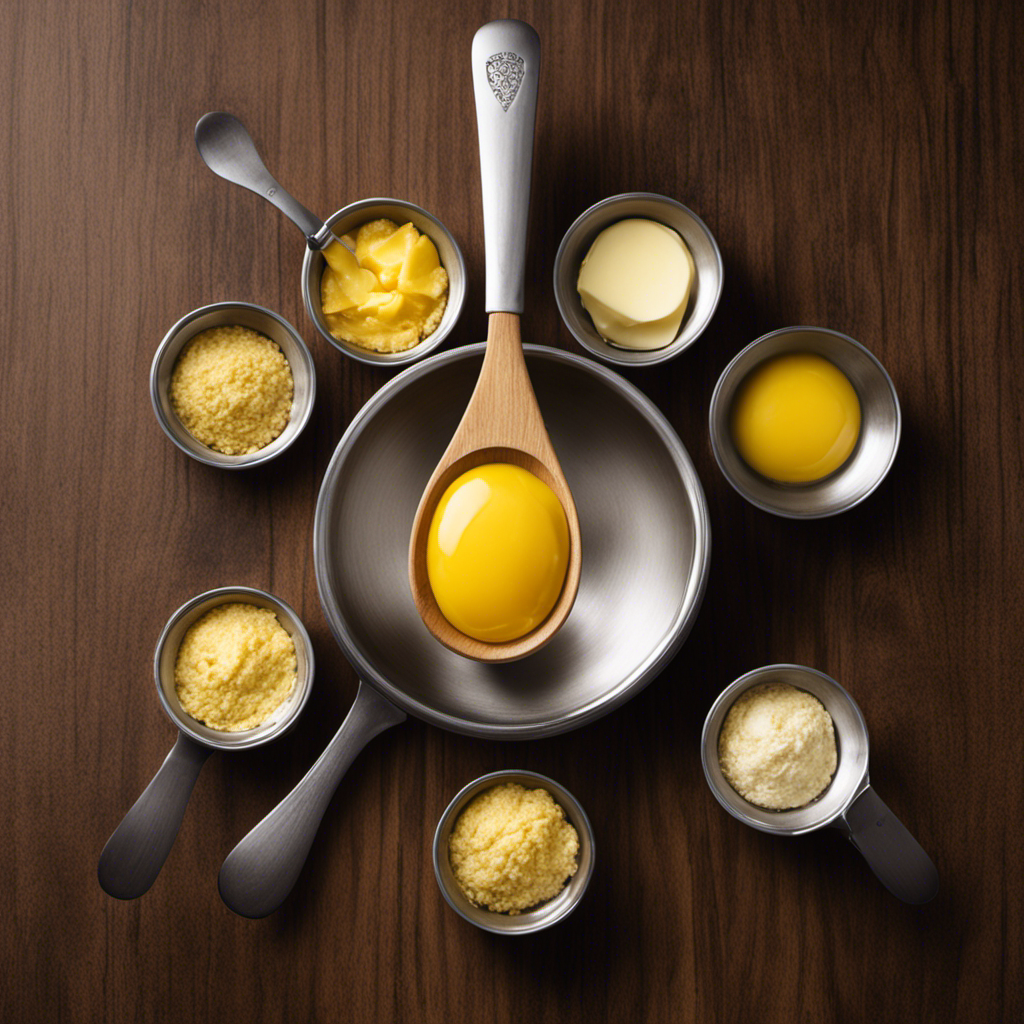
Preparing the Garlic
First, crush your garlic cloves to release their aromatic flavor. This step is essential to achieving a rich and flavorful garlic butter sauce for your seafood. Here are some tips to make the garlic preparation process easier:
- Use the flat side of a chef’s knife to gently smash the garlic cloves. This will loosen the skin and make peeling them a breeze.
- Once peeled, finely mince the garlic cloves using a sharp knife. The smaller the mince, the more evenly the garlic flavor will distribute throughout the sauce.
- Alternatively, you can use a garlic press to quickly and efficiently mince the garlic cloves.
- If you want a milder garlic flavor, remove the green sprout from the center of each clove before mincing.
- To prevent your hands from smelling like garlic, try rubbing them with a stainless steel object, like a spoon, under cold running water.
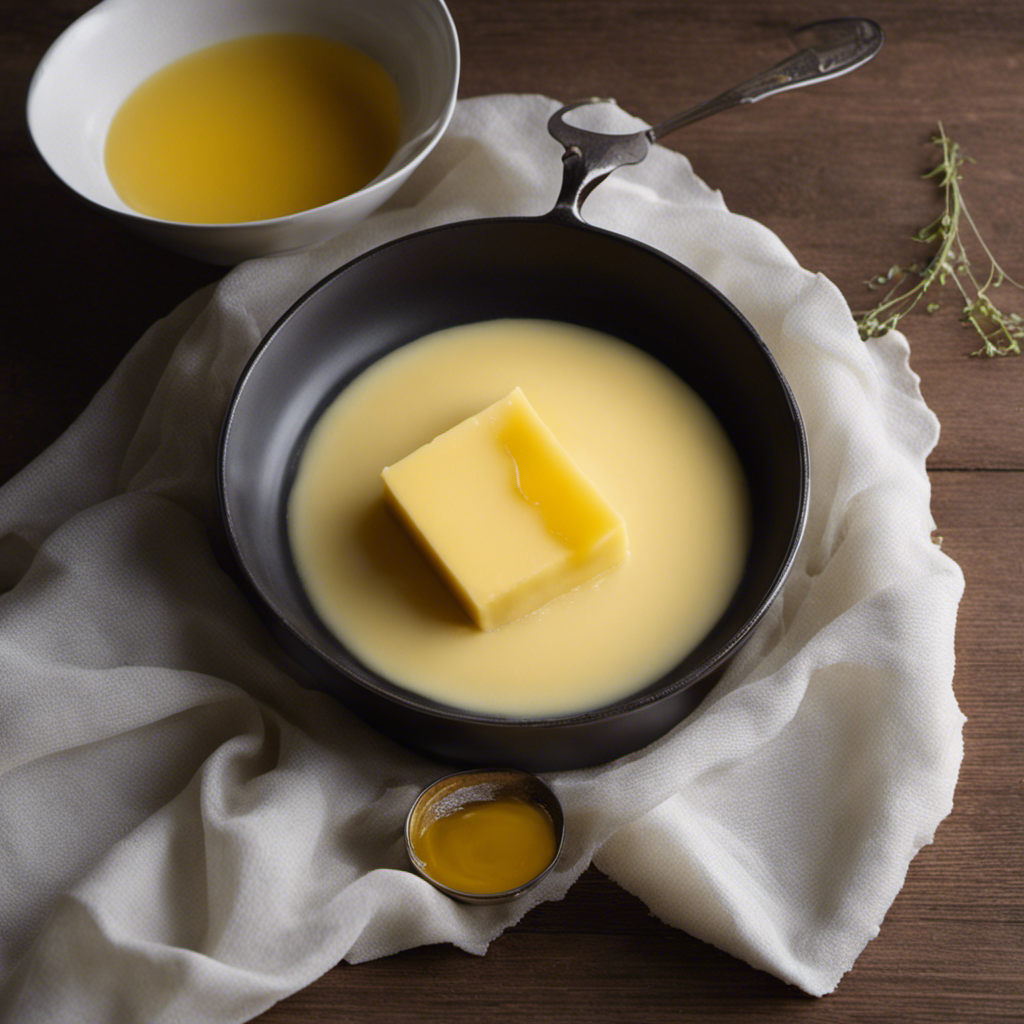
Melting Butter for the Sauce
When it comes to melting butter for my sauce, I always pay attention to the temperature. It’s crucial to have the butter at the right temperature to achieve the perfect consistency.
Additionally, there are alternatives to melting butter that can be just as delicious and add a unique twist to the sauce.
Butter Temperature for Melting
To achieve the perfect garlic butter sauce consistency, make sure you’re using softened butter that’s at room temperature. The ideal temperature for the butter should be around 65-70°F (18-21°C). This will ensure that the butter blends smoothly and evenly with the other ingredients, resulting in a creamy and luscious sauce.
However, if your butter is too cold, it will be difficult to incorporate and may result in a lumpy sauce. On the other hand, if the butter is too warm, it can cause the sauce to separate and become greasy.
Here are some troubleshooting tips to help you achieve the ideal butter temperature for your garlic butter sauce:
- Allow the butter to sit at room temperature for about 30 minutes before using.
- Cut the butter into small cubes to speed up the softening process.
- If you’re in a hurry, you can gently microwave the butter in short bursts of 5-10 seconds until softened.
- Avoid using melted butter, as it will not give the sauce the desired consistency.
- If your sauce does separate, try whisking it vigorously or adding a small amount of cold butter to help bring it back together.
Alternatives to Melting Butter
If you’re looking for a simple swap, you can try using olive oil instead of melted butter in your recipe. Olive oil is a great alternative to butter, especially if you’re looking for a healthier option. It adds a rich and smooth flavor to your dishes and works well in both savory and sweet recipes. Additionally, olive oil is packed with healthy fats and antioxidants, making it a great choice for those who are health-conscious.
Here is a table that compares the nutritional values of olive oil and melted butter:
| Nutritional Values | Olive Oil | Melted Butter |
|---|---|---|
| Calories | 120 | 100 |
| Total Fat | 14g | 11g |
| Saturated Fat | 2g | 7g |
| Cholesterol | 0mg | 30mg |
| Vitamin E | 10% | 2% |
As you can see, olive oil has fewer calories and saturated fats compared to melted butter. It’s a great option for those who are watching their waistline or trying to maintain a healthy diet. So next time you’re in need of a butter substitute, give olive oil a try!
Mixing in the Garlic
When it comes to cooking, one ingredient that can truly elevate the flavor of a dish is garlic. Its pungent aroma and distinct taste can turn an ordinary meal into something extraordinary.
In this discussion, we will explore the art of enhancing the flavor through a perfect garlic infusion. From the technique of finely mincing the garlic to the optimal cooking temperature, we will delve into the secrets of achieving that mouthwatering garlic taste that will leave your taste buds begging for more.
Enhancing the Flavor
First, don’t forget to add a pinch of salt to your garlic butter sauce to really bring out the flavors. Now that you have the base of your sauce ready, let’s explore some variations and different ways to pair it with seafood dishes. Here are five exciting ideas to try:
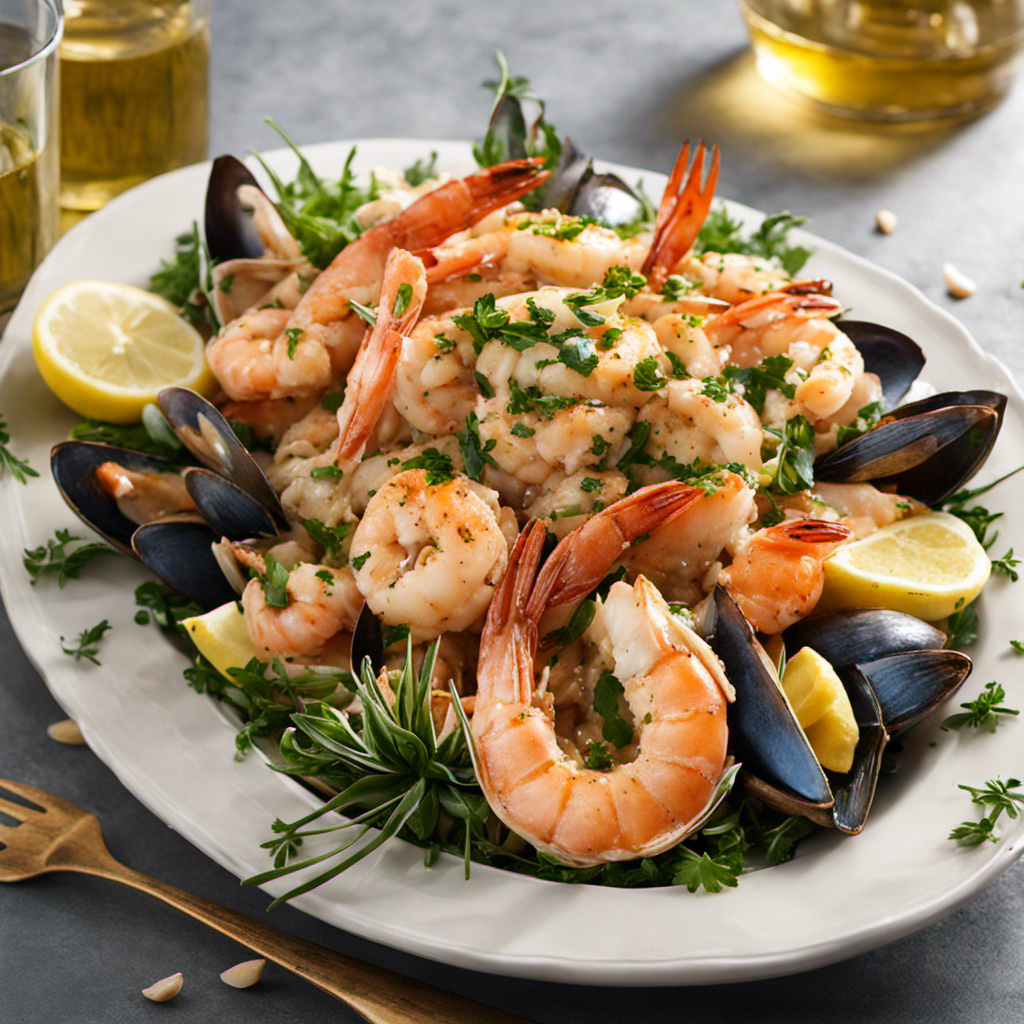
- Garlic Butter Shrimp: Toss succulent shrimp in a luscious garlic butter sauce for a classic and mouthwatering combination.
- Garlic Butter Lobster: Drizzle the rich and creamy sauce over tender lobster meat for an indulgent seafood feast.
- Garlic Butter Scallops: Pan-sear plump scallops and finish them off with a generous spoonful of garlic butter sauce for a luxurious treat.
- Garlic Butter Salmon: Bake a beautiful piece of salmon and top it with a velvety garlic butter sauce for an elegant and flavorful meal.
- Garlic Butter Crab Legs: Dip sweet and juicy crab legs into a warm garlic butter sauce to take your seafood experience to the next level.
With these garlic butter sauce variations, you can elevate any seafood dish to new heights. Now, let’s move on to the next section and learn the secrets to achieving the perfect garlic infusion.
Perfect Garlic Infusion
To achieve the perfect garlic infusion, it’s important to finely mince the garlic cloves before adding them to the sauce. This step ensures that the garlic flavor is evenly distributed throughout the sauce, giving it a rich and robust taste.
When making garlic butter sauce, there are endless variations to explore. You can add a touch of lemon juice for a tangy twist, or sprinkle in some chopped parsley for a fresh and vibrant flavor.
Garlic butter sauce can be used in a variety of dishes, such as drizzling it over grilled shrimp or tossing it with pasta. It also makes a delicious dipping sauce for crusty bread or steamed artichokes.
The possibilities are endless with this versatile sauce, so get creative and enjoy the wonderful flavors of garlic butter sauce.
Adding Herbs and Spices
Next, you’ll want to sprinkle in a pinch of dried parsley and a dash of black pepper to enhance the flavor of your garlic butter sauce. These herb combinations and seasoning options will take your sauce to the next level of deliciousness:
- Freshly chopped basil: adds a vibrant and aromatic touch to the sauce.
- Dried oregano: brings a savory Mediterranean flavor to the mix.
- Red pepper flakes: gives a subtle kick of heat for those who like a little spice.
- Lemon zest: adds a refreshing citrusy note that compliments seafood beautifully.
- Garlic powder: intensifies the garlic flavor and adds depth to the sauce.
By incorporating these herbs and spices, you’ll create a well-balanced and flavorful garlic butter sauce that will elevate your seafood dishes.
Now that we’ve enhanced the flavor, let’s move on to the next step: cooking the sauce.
Cooking the Sauce
Now that you’ve gathered all the necessary ingredients, it’s time to start cooking the flavorful garlic butter sauce. This versatile sauce can be used to enhance the flavors of a variety of seafood dishes. Whether you’re grilling shrimp, searing scallops, or baking salmon, garlic butter sauce is the perfect accompaniment.
To make the sauce, melt butter in a pan over medium heat. Add minced garlic and cook until fragrant, about 1 minute. Next, add your choice of herbs and spices to customize the flavor. Some popular variations include adding parsley, lemon zest, or red pepper flakes. Stir everything together and let it simmer for a few minutes to allow the flavors to meld.
Once the sauce is ready, it’s time to pair it with your favorite seafood. The rich and creamy garlic butter sauce pairs beautifully with grilled shrimp, adding a burst of flavor to each bite. It also complements seared scallops, creating a luxurious and decadent dish. For those who prefer baked fish, drizzle the sauce over salmon or cod for a delicious and satisfying meal.
Serving and Storing the Garlic Butter Sauce
Once the sauce is prepared, you can easily store it in an airtight container in the refrigerator for up to a week. This means you can enjoy the delicious garlic butter sauce on multiple occasions without having to make it from scratch every time.
Here are some serving suggestions and tips for preserving leftovers:
- Drizzle the sauce over grilled seafood like shrimp, scallops, or lobster for a burst of flavor.
- Use it as a dipping sauce for crab cakes or breaded fish fillets.
- Toss it with pasta and add some cooked shrimp for a quick and tasty garlic butter pasta dish.
- Spread it on a warm baguette or garlic bread for a simple and delicious appetizer.
- Mix it with melted cheese for a flavorful fondue experience.
To preserve leftovers, make sure to transfer the sauce to an airtight container and store it in the refrigerator. It’s best to consume it within a week to ensure optimal freshness and taste.
Frequently Asked Questions
Can I Use Margarine Instead of Butter in the Garlic Butter Sauce?
Sure, you can definitely use margarine instead of butter in the garlic butter sauce. It’s a great alternative for those who prefer a dairy-free option or just want a slightly different flavor profile.
How Long Does It Take to Melt the Butter for the Sauce?
When melting the butter for the sauce, the temperature plays a crucial role in determining the consistency. It’s important to melt it slowly over low heat to avoid burning. Achieving a smooth and creamy texture requires constant stirring and patience.
Can I Use Pre-Minced Garlic Instead of Fresh Garlic?
Yes, you can use pre-minced garlic in the garlic butter sauce. However, I recommend using fresh garlic for a more flavorful and aromatic sauce. Fresh garlic adds a delicious depth of flavor that pre-minced garlic may lack.
What Are Some Popular Herbs and Spices That Can Be Added to the Garlic Butter Sauce?
When it comes to enhancing garlic butter sauce, there are countless options. From fragrant rosemary to zesty lemon zest, adding herbs and spices can elevate the flavors and bring creativity to your cooking.
How Long Can the Garlic Butter Sauce Be Stored in the Refrigerator?
The garlic butter sauce can be stored in the refrigerator for up to a week. To ensure its freshness, it’s important to store it in an airtight container and keep it away from other strong-smelling foods. Remember to check for any signs of spoilage before using.
Conclusion
In conclusion, making garlic butter sauce for seafood is incredibly easy and the end result is absolutely mouthwatering.
With just a few simple ingredients and a little bit of time, you can create a sauce that is bursting with flavor.
The combination of the rich melted butter and the aromatic garlic creates a heavenly taste that will make your taste buds dance with delight.
So go ahead and give it a try, and prepare to be blown away by the sensational taste explosion that awaits you!