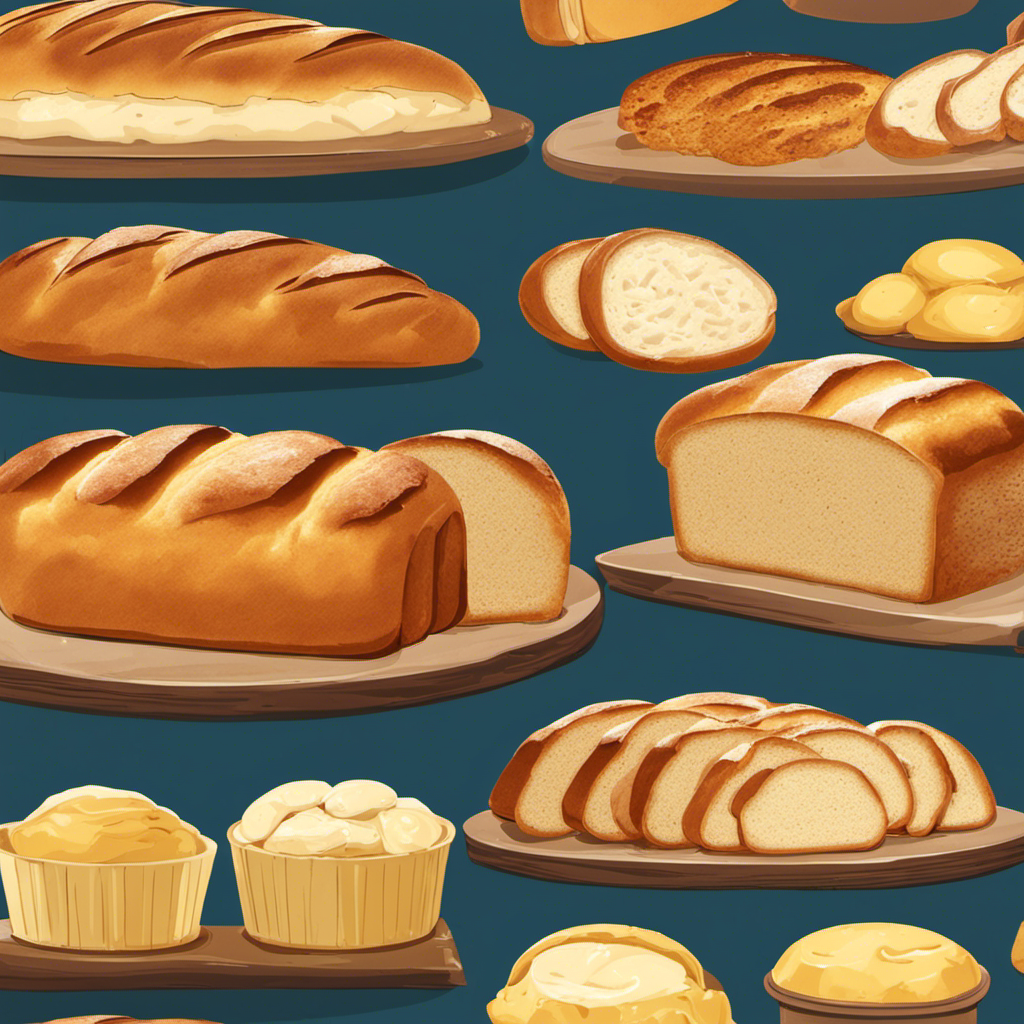
I absolutely adore the scent of freshly baked bread filling my kitchen. Today, I am excited to share with you my fail-proof recipe for creating mouthwatering butter bread from scratch.
With just a few simple ingredients and easy-to-follow steps, you’ll be able to create a loaf of bread that is soft, fluffy, and infused with the rich flavor of butter.
So, let’s roll up our sleeves and get ready to bake some mouthwatering butter bread that will have everyone begging for seconds.
Key Takeaways
- The type of bread flour affects texture and taste
- Proper mixing and kneading techniques ensure perfect texture
- Proof dough in a warm, draft-free area until doubled in size
- Shape dough into desired form and bake until golden brown and hollow when tapped

Brod & Taylor Bread Steel Original for Baking Bread & Cooking Pizza (14" x 14" x 0.1")
BAKERY-QUALITY BREAD AT HOME – The Bread Steel helps you achieve bakery-quality bread with a crisp crust and...
As an affiliate, we earn on qualifying purchases.
Choosing the Right Ingredients
When making butter bread, it’s important to choose the right ingredients. The type of bread flour you use can greatly affect the texture and taste of your bread. There are different types of bread flour available, such as all-purpose flour, whole wheat flour, and bread flour specifically made for bread-making.
Bread flour has a higher protein content, which helps to create a more elastic and chewy texture in the bread. Another crucial ingredient is unsalted butter. Using unsalted butter allows you to control the amount of salt in your bread, ensuring that it doesn’t become too salty. Additionally, unsalted butter adds a rich and creamy flavor to the bread.
Now that we have our ingredients ready, let’s move on to the next step of mixing the dough.

Brod & Taylor Bread Steel Max for Baking Bread & Cooking Pizza (14" x 14" x 0.15")
BAKERY-QUALITY BREAD AT HOME – The Bread Steel helps you achieve bakery-quality bread with a crisp crust and...
As an affiliate, we earn on qualifying purchases.
Mixing the Dough
When it comes to making the perfect dough, achieving the proper consistency is key. In this discussion, I will explain the different mixing techniques that will help you achieve the ideal dough consistency for your bread.
Proper Dough Consistency
To ensure your dough has the proper consistency, you’ll want to add just enough flour to prevent it from sticking to your hands. Achieving the desired texture is crucial for making butter bread. Here are some dough troubleshooting tips to help you get it right:
- Start with the recommended amount of flour in your recipe and add more gradually if needed.
- Knead the dough for the specified time to develop gluten and create elasticity.
- If the dough is too sticky, lightly dust your hands and work surface with flour while kneading.
- If the dough is too dry, gradually add small amounts of water or milk until it reaches the desired consistency.
By following these tips, you’ll be able to achieve the perfect dough consistency for your butter bread.
Now, let’s move on to the next section where I will explain the different mixing techniques in detail.
Mixing Techniques Explained
Once you understand the different mixing techniques, you’ll be able to achieve the perfect texture for your dough. Proper dough hydration and yeast activation are crucial in creating a delicious butter bread.
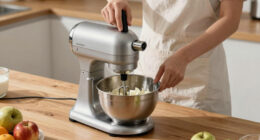
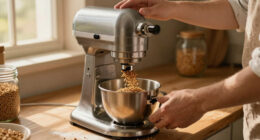
When it comes to mixing, there are two main techniques: the traditional hand-kneading method and the modern stand mixer method. Hand-kneading involves combining the ingredients and using your hands to fold, press, and stretch the dough until it becomes smooth and elastic. This technique allows you to feel the dough’s texture and judge its hydration level.
On the other hand, using a stand mixer with a dough hook attachment can save time and effort. It helps activate the yeast by combining the ingredients and mixing them at a low speed until the dough forms.
Whichever method you choose, remember to adjust the dough’s hydration level by adding more water or flour as needed.

Unicook Large Pizza Stone for Oven 20 Inch, Rectangular Baking Stone 20" x 13.5" x 0.6", Heavy Duty Cordierite Bread Pan, Thermal Shock Resistant, Ideal for Baking Large or 2 Personal Pizzas
20 Inch Large Pizza Stone for Oven: 20" x 13.5", golden thickness 0.6"(15mm), weighs around 10.69 lbs, allows...
As an affiliate, we earn on qualifying purchases.
Kneading and Proofing the Dough
First, make sure you knead the dough until it becomes smooth and elastic. This step is crucial in developing the gluten network, which gives the bread its structure and texture. Here are some key techniques for kneading:
- Use the heel of your hand to push the dough away from you, then fold it back towards you.
- Rotate the dough a quarter turn after each fold to ensure even kneading.
- Add flour sparingly if the dough is too sticky, but avoid adding too much as it can make the bread tough.
For proofing the dough, follow these tips:
- Place the dough in a warm, draft-free area to rise.
- Cover it with a damp cloth or plastic wrap to prevent it from drying out.
- Let the dough rise until it has doubled in size, which usually takes about 1 to 2 hours.

Baking Stone for Oven 20 inch, with Silicone Mat and Dough Tool - Large Baking Stone for Bread and Pizza - Oven Stone - Rectangular Cordierite Bread Stone 20" x 13.5" x 0.6"
BAKE ARTISAN BREAD AT HOME: Elevate your baking with our premium 20inch baking stones. It transforms your home...
As an affiliate, we earn on qualifying purchases.
Shaping the Bread
After kneading and proofing the dough, it’s time to shape it into the desired form for baking. Bread shaping techniques are crucial in creating beautiful and delicious butter bread. To achieve a perfectly golden crust, here are some tips to keep in mind:
-
Use gentle handling: When shaping the dough, be gentle to avoid deflating it. This helps maintain air bubbles, resulting in a lighter texture.
-
Proper folding: Folding the dough creates layers, which contribute to a flaky and crispy crust. Fold the dough in thirds, like a letter, and repeat the process a few times.
-
Final shaping: Depending on the desired loaf shape, you can shape the dough into a round, oval, or batard shape. Properly tuck the edges underneath to create tension on the surface.
Baking and Adding Butter
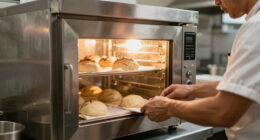
To achieve a perfectly golden crust, you’ll want to preheat your oven to the recommended temperature. Once your bread is shaped and ready to bake, here are the steps to follow:
- Place the bread on a baking sheet or in a loaf pan.
- Brush the top of the bread with melted butter for an extra touch of richness and flavor.
- If you prefer a softer crust, cover the bread loosely with aluminum foil during the first part of baking.
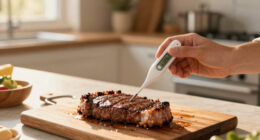
- Bake the bread in the preheated oven for the specified time, or until it is golden brown and sounds hollow when tapped on the bottom.
- Remove the bread from the oven and let it cool on a wire rack before slicing and serving.
Butter melting techniques can vary depending on your preference and the recipe you’re using. Some options include melting butter on the stovetop, in the microwave, or in the oven. Experiment with different techniques to find the one that works best for you.
As for butter bread variations, there are endless possibilities. You can add herbs like rosemary or thyme to the dough for an aromatic twist. Or, you can mix in ingredients like garlic, cheese, or even chocolate chips to create unique flavors. The key is to be creative and have fun with your butter bread recipes.
Enjoying Your Homemade Butter Bread
Once you’ve baked your homemade butter bread, it’s time to savor each delicious bite. To enhance your enjoyment, here are some helpful bread slicing techniques and ideas for pairing your butter bread with different spreads.
When it comes to slicing your bread, it’s important to use a sharp serrated knife. This will help you achieve clean, even slices without squishing the bread. Start by cutting off the crusts, if desired, and then slice the bread to your desired thickness. If you prefer thin slices for sandwiches, aim for about 1/4 inch thickness. For toast or dipping in spreads, slightly thicker slices of around 1/2 inch work well.
Now let’s talk about the wonderful spreads you can pair with your butter bread. The table below provides some delicious options:
| Spread | Description |
|---|---|
| Fruit preserves | The sweet and tangy flavors of fruit preserves complement the rich buttery taste of the bread. Try strawberry, raspberry, or apricot for a burst of fruity goodness. |
| Honey | Drizzle some honey on your butter bread for a touch of natural sweetness. The combination of butter and honey creates a delightful blend of flavors that will satisfy your taste buds. |
| Garlic butter | If you love garlic, spread some garlic butter on your bread. The savory garlic flavor pairs perfectly with the buttery bread, making it an excellent choice for garlic bread or as a base for bruschetta. |
Frequently Asked Questions
How Long Does It Take to Proof the Dough?
Proofing time for dough varies depending on the recipe, but typically it takes around 1-2 hours. However, using alternative fats like butter can speed up the process. It’s important to follow the recipe instructions for best results.
Can I Use Margarine Instead of Butter?
Using margarine as a substitute for butter in bread making can alter the taste and texture. Margarine tends to have a softer texture and a milder flavor compared to butter, which may affect the overall outcome of the bread.
Can I Add Other Ingredients Like Herbs or Cheese to the Bread Dough?
Adding herbs or cheese to the bread dough enhances the flavor and creates a savory twist. It’s a simple way to elevate the classic butter bread recipe and make it even more delicious.
What Type of Flour Should I Use for Making Butter Bread?
For making butter bread, the type of flour to use is bread flour. It has a higher protein content which helps create a chewy texture. As for alternatives to butter, you can try using margarine or vegetable oil.
How Long Does It Take for the Bread to Cool Down After Baking?
After baking, it’s important to let the bread cool down for about 30 minutes. This allows it to set properly and avoids it becoming soggy. The best temperature for bread cooling is room temperature.
Conclusion
Well, who would’ve thought that making butter bread would be such a breeze? I mean, who needs store-bought bread when you can whip up a fresh loaf at home?
It’s as simple as choosing the right ingredients, mixing the dough, kneading and proofing it, shaping it into a beautiful loaf, and finally baking it to perfection.
And let’s not forget the best part – slathering that warm bread with butter and savoring every bite.
So go ahead, give it a try and become the master of your own bread domain!