Connect with us

Recipes & Culinary Uses

How Much Butter in 15g: A Comprehensive Guide

Published

on

An image of a small, rectangular, translucent dish filled with creamy, golden butter, precisely weighed at 15g

I’m no stranger to the kitchen, and when it comes to cooking, precise measurements matter.

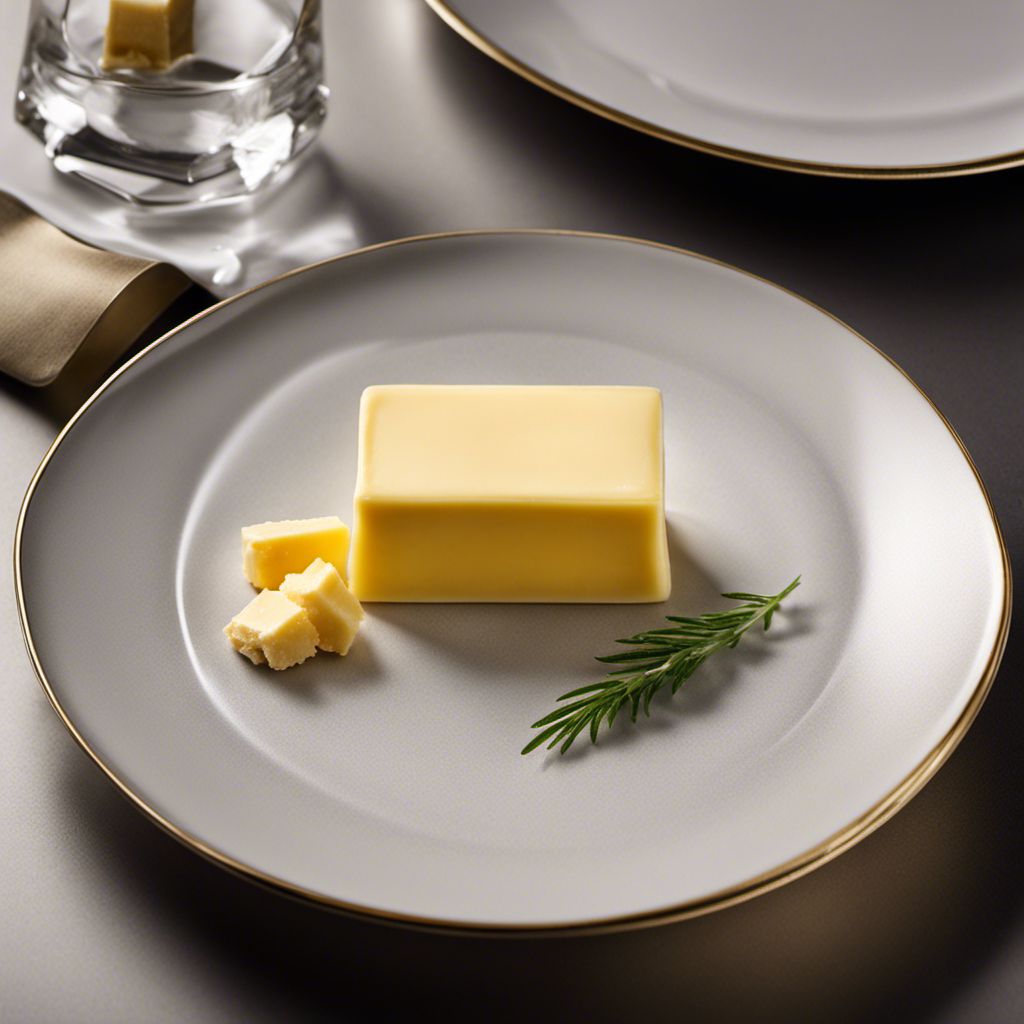
Picture this: you’re in the midst of preparing a delicious recipe when it calls for 15g of butter. But how much is that exactly? Don’t worry, I’ve got you covered.

In this article, I’ll break down the conversion rates, explain different packaging options, and even provide some handy equivalents.

So, let’s dive in and demystify the mystery of 15g of butter.

Key Takeaways

  • 15 grams of butter is approximately 0.53 ounces.
  • Precision is key in baking and cooking.
  • Understanding conversion rates ensures accurate measurements.
  • Butter equivalents simplify measurements.

Conversion Rates

Advertisement

The conversion rates for grams to ounces can be tricky to remember. When it comes to weight conversion, especially with butter measurements, it’s important to have a clear understanding.

To convert grams to ounces, you need to know that there are 28.35 grams in one ounce. This means that if you have 15 grams of butter, it would be approximately 0.53 ounces. It may seem like a small amount, but when it comes to baking or cooking, precision is key.

Understanding these conversion rates will help you accurately measure and portion out ingredients, ensuring the perfect balance of flavors and textures in your dishes.

Weight Measurement

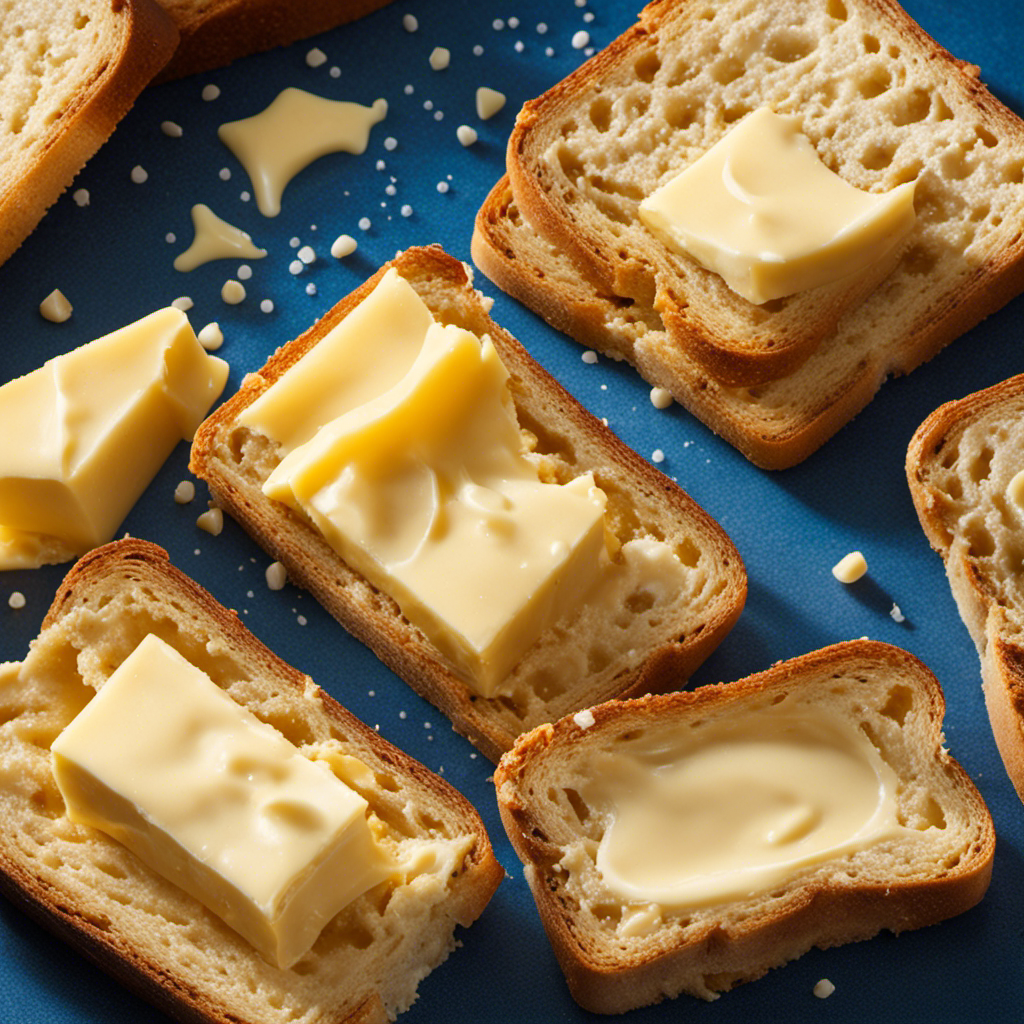
15 grams of butter is pretty light. When it comes to measuring ingredients, accuracy is crucial. Understanding conversion rates can help ensure that your recipes turn out just right. In the world of cooking, butter equivalents are commonly used to simplify measurements.

For example, if a recipe calls for 15 grams of butter, you can easily convert it to tablespoons or cups depending on your preference. This can be especially helpful if you don’t have a kitchen scale or if you prefer using volume measurements.

Advertisement

Now that we know how much 15 grams of butter weighs, let’s explore the various butter packaging options available and how they can affect your cooking and baking experiences.

Butter Packaging Options

When it comes to butter, there are various sizes available on the market, catering to different needs and preferences. From small individual portions to large family-sized blocks, there’s a butter size for every occasion.

However, as we become more aware of our environmental impact, it’s important to explore eco-friendly packaging alternatives that can help reduce waste and promote sustainability.

Additionally, the issue of single-use packaging concerns arises, highlighting the need for finding solutions that balance convenience with environmental responsibility.

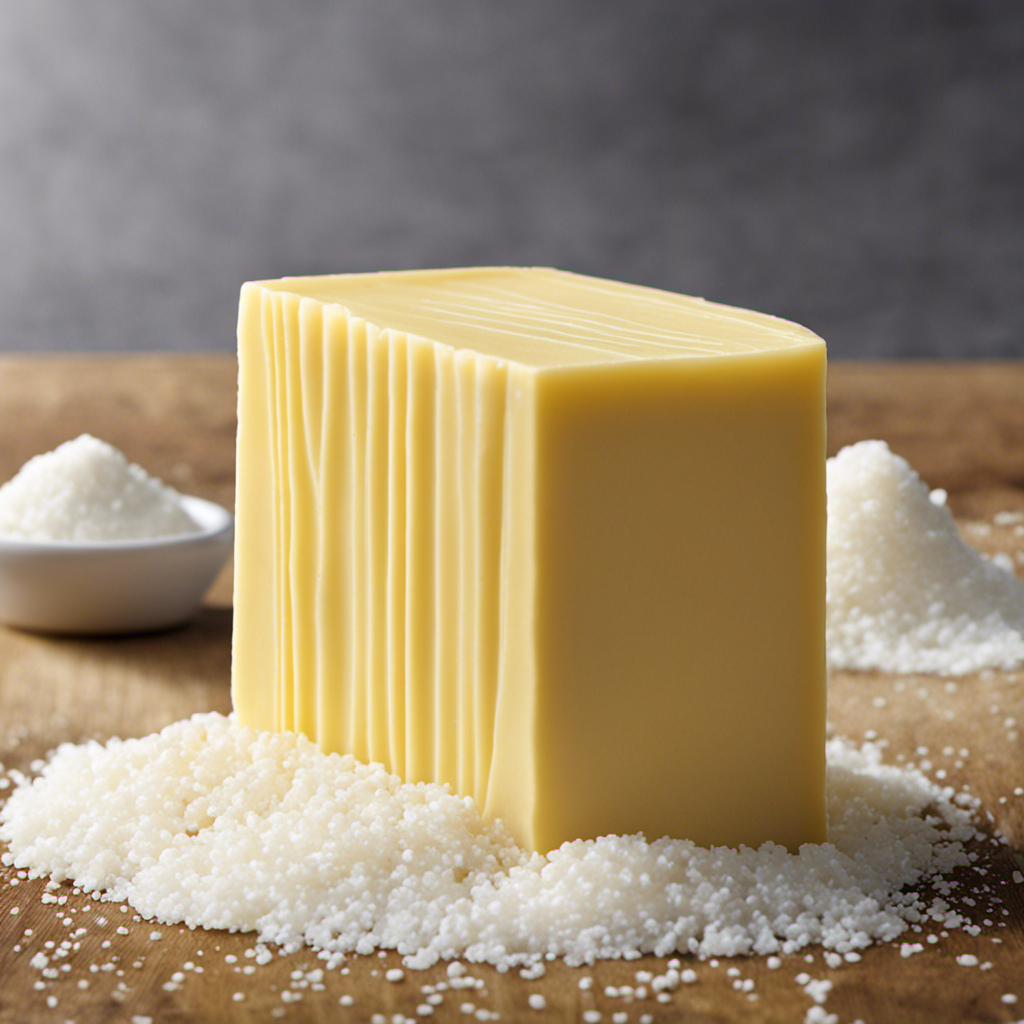
Different Butter Sizes

Butter sizes vary, so it’s important to know how much is in each package. When it comes to buying butter, it’s essential to understand the different sizes available in order to make the right purchase. Here are a few common butter sizes and their corresponding weights:

Advertisement
  • Standard stick of butter (4 oz or 113g)
  • European butter block (8 oz or 227g)
  • Large tub of spreadable butter (16 oz or 454g)
  • Family-sized tub of butter (32 oz or 907g)
  • Bulk-sized butter for commercial use (5 lbs or 2.27 kg)

Knowing these measurements is crucial for recipe conversions and understanding the weight of butter in different packaging options.

When you have a recipe that calls for a specific weight of butter, you can easily convert it to the appropriate packaging size using these conversion rates. So, next time you’re at the grocery store, consider the different butter sizes available and choose the one that best suits your needs.

Eco-Friendly Packaging Alternatives

Eco-friendly packaging alternatives offer a sustainable option for reducing waste and environmental impact. In today’s world, where plastic waste has become a major concern, finding innovative ways to package products without harming the planet is crucial.

Companies are now turning to eco-friendly packaging solutions that are both practical and environmentally conscious. One such solution is the use of biodegradable materials. These materials, such as plant-based plastics and compostable packaging, break down naturally over time, reducing the amount of waste that ends up in landfills.

Additionally, companies are exploring alternatives to single-use plastic, such as reusable containers and packaging made from recycled materials. By adopting these eco-friendly packaging solutions, we can significantly reduce the amount of plastic waste that is generated and ultimately protect our planet for future generations.

It’s time to rethink our packaging choices and embrace sustainable alternatives. Together, we can make a real difference in reducing plastic waste and preserving the environment.

Advertisement

Single-Use Packaging Concerns

The excessive use of single-use packaging is contributing to the growing problem of plastic waste in our environment. It is alarming to see the amount of single-use plastic that is generated on a daily basis. This issue has a significant environmental impact, as plastic takes hundreds of years to decompose. To fully grasp the severity of this problem, consider the following:

  • Single-use plastic is used for a wide range of products, including food and beverage containers, plastic bags, and packaging materials.
  • The convenience of single-use packaging has led to its widespread use, but it comes at a cost to our environment.

Plastic waste often ends up in our oceans, causing harm to marine life and ecosystems. Recycling efforts are not sufficient to address the sheer volume of single-use plastic being produced. Sustainable alternatives, such as reusable containers and biodegradable packaging, are available and should be embraced to reduce our reliance on single-use plastic.

It is crucial that we collectively take action to reduce the use of single-use plastic and find more sustainable solutions. Our environment depends on it.
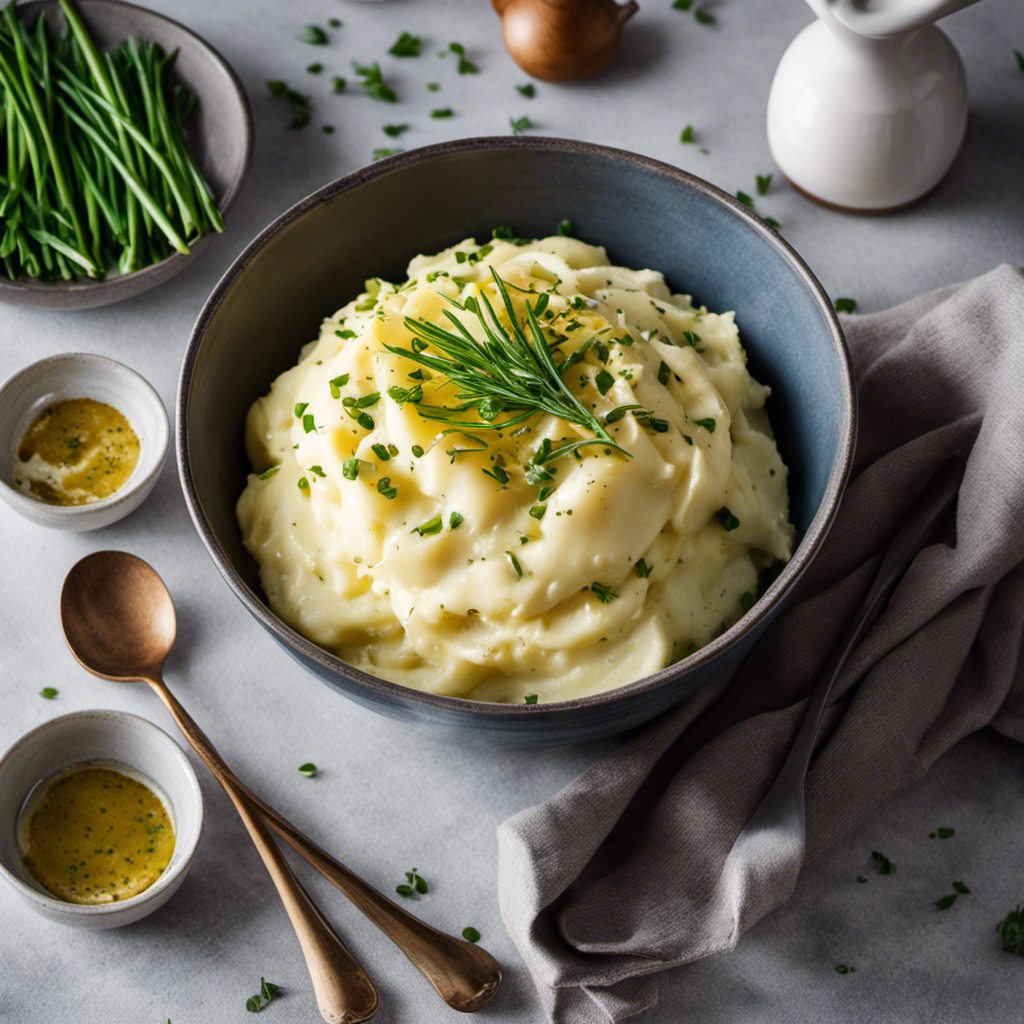
Butter Equivalents

To measure equivalents for butter, you can use charts or online calculators.

But let’s talk about butter alternatives and butter substitutes. With the growing popularity of plant-based diets and dietary restrictions, there are plenty of options available for those who want to avoid or replace butter.

One common alternative is margarine, which is made from vegetable oils and contains less saturated fat than butter.

Advertisement

Another option is coconut oil, which has a similar texture and flavor to butter.

For baking, you can use applesauce or mashed avocado as a substitute for butter.

These alternatives not only provide a healthier option but also add unique flavors to your dishes.

Recipe Adjustments

If you’re following a plant-based diet or have dietary restrictions, there are several recipe adjustments you can make to replace butter. Butter is a common ingredient in baking, but there are other alternatives that can be just as delicious and satisfying.

Here are five recipe modifications you can try:

Advertisement
  • Replace butter with coconut oil: Coconut oil has a similar consistency to butter and adds a subtle coconut flavor to your baked goods.

  • Use mashed avocado: Avocado is rich in healthy fats and can be a great substitute for butter in recipes like brownies or cookies.

  • Try applesauce: Applesauce adds moisture to baked goods and can be used as a replacement for butter in recipes like cakes and muffins.

  • Use nut butters: Almond butter or peanut butter can add a creamy and nutty flavor to your baked goods while replacing the butter.

  • Experiment with vegan butter substitutes: There are many vegan butter substitutes available in stores that are made from plant-based oils and can be used in baking recipes.

Health Considerations

When it comes to health considerations, butter often comes up in discussions about cholesterol and weight gain. Many people wonder about the impact of butter on cholesterol levels and whether it can contribute to weight gain.

Additionally, for those looking for alternatives, there are various butter substitutes available. In this discussion, I will explore the effects of butter on cholesterol and weight, as well as provide information on alternative options for those seeking a healthier choice.

Butter and Cholesterol

You should be aware that butter contains cholesterol, and it’s important to moderate your intake. While many people enjoy the rich and creamy taste of butter, it’s essential to understand the impact it can have on your health. Here are some key points to consider:

  • Butter and heart disease: Consuming high amounts of saturated fat, which is found in butter, can increase your risk of heart disease. It can raise your levels of LDL cholesterol, also known as ‘bad’ cholesterol, which can contribute to the build-up of plaque in your arteries.

  • Butter and diabetes: Butter is high in saturated fat, which can lead to insulin resistance and increase your risk of developing type 2 diabetes. It’s important to choose healthier alternatives, such as olive oil or avocado, which can provide essential nutrients without the negative effects on blood sugar levels.

  • Moderation is key: While butter can be enjoyed in moderation as part of a balanced diet, it’s important not to overindulge. Opt for healthier fats like olive oil or nut butter when possible and limit your consumption of butter to avoid potential health risks.

  • Consider your overall diet: It’s important to look at your overall dietary choices when considering the impact of butter on your health. If you have a diet that is high in unhealthy fats and low in fruits, vegetables, and whole grains, the negative effects of butter can be compounded.

  • Consult with a healthcare professional: If you have specific concerns about how butter may affect your health, it’s always a good idea to consult with a healthcare professional. They can provide personalized advice based on your individual needs and help you make informed decisions about your diet.

Butter and Weight Gain

Consuming excessive amounts of butter can contribute to weight gain due to its high fat content. Butter is a delicious and versatile ingredient that many people enjoy in their daily meals. However, it is important to be mindful of the amount of butter we consume, as it can have a significant impact on our weight.

One tablespoon of butter contains about 100 calories and 11 grams of fat. This high calorie and fat content can easily add up, especially if we use butter generously in cooking or spread it generously on our toast. While butter does have some nutritional value, such as providing essential vitamins and minerals, it is important to moderate our butter consumption to maintain a healthy weight and overall well-being.

Advertisement

Butter Alternatives

If you’re looking for a healthier option, there are several alternatives to butter that you can consider. Here are five butter substitutes that not only taste great but also have some amazing health benefits:

  • Avocado: Creamy and rich, avocado can be used as a spread or in baking. It is packed with heart-healthy monounsaturated fats and is a great source of vitamins and minerals.

  • Greek Yogurt: Replace butter with Greek yogurt in recipes for a tangy twist. It is low in fat and calories and high in protein, calcium, and probiotics.

  • Coconut Oil: With its tropical flavor, coconut oil adds a unique touch to dishes. It contains medium-chain triglycerides, which are easily burned for energy and can help boost metabolism.

  • Olive Oil: Use olive oil as a substitute in cooking and baking. It is rich in monounsaturated fats, which can help lower bad cholesterol levels and reduce the risk of heart disease.

  • Nut Butters: Peanut, almond, or cashew butter can be a delicious alternative to regular butter. They are loaded with healthy fats, protein, and fiber.

Butter Substitutes

Butter substitutes can be a healthier option for those looking to reduce their intake of saturated fats. Not only do they provide a delicious alternative to traditional butter, but they also offer a variety of benefits.

One of the key advantages of butter substitutes is their ability to mimic the taste and texture of butter, making them an excellent choice for baking and cooking. Additionally, many butter substitutes are made from plant-based oils, which are lower in saturated fat and cholesterol. This makes them a great option for individuals with dietary restrictions or those looking to adopt a more plant-based lifestyle.

Furthermore, some butter substitutes come in eco-friendly packaging alternatives, reducing their impact on the environment. So, whether you’re looking to reduce your saturated fat intake or make more environmentally conscious choices, butter substitutes are a fantastic option.

Storing Butter

Storing butter in the refrigerator helps to maintain its freshness and extend its shelf life. Here are some butter storage tips to ensure your butter stays fresh and delicious:

Advertisement
  • Keep butter wrapped tightly in its original packaging or transfer it to an airtight container to prevent it from absorbing odors from other foods.
  • Store butter on a shelf in the refrigerator, away from the door where temperature fluctuations may occur.

If you won’t be using butter within a month, consider freezing it to prolong its shelf life.

Check for freshness indicators such as a tangy or off smell, changes in color or texture, or the presence of mold.

Remember that butter can absorb flavors from other foods, so avoid storing it near strong-smelling items like onions or garlic.

Frequently Asked Questions

Can I Use Margarine Instead of Butter in a Recipe?

Yes, you can use margarine instead of butter in a recipe. However, keep in mind that margarine may alter the taste of the final product. When substituting in a cake recipe, consider the texture and flavor it will bring.

How Long Can Butter Be Stored in the Refrigerator?

Butter can be stored in the refrigerator for up to four weeks. To properly store butter, keep it wrapped tightly in its original packaging or in an airtight container to prevent it from absorbing odors.

Are There Any Health Benefits to Consuming Butter?

There are health risks associated with consuming butter, such as high cholesterol and saturated fat. However, there are alternatives to butter, like olive oil or avocado, that can be incorporated into a healthier diet.

Advertisement

What Are Some Common Butter Substitutes for Baking?

When it comes to baking, there are many butter alternatives to consider. Vegan options like coconut oil, avocado, and applesauce can be used to achieve similar results. They offer a healthier twist to your favorite recipes.

Are There Any Special Considerations for Using Salted or Unsalted Butter in Recipes?

When it comes to baking, using salted or unsalted butter can make a difference in your recipe. The choice depends on your preference for a slightly salty taste or controlling the salt content.

Conclusion

In conclusion, a mere 15g of butter may seem like a small amount, but its impact in cooking and baking is undeniable.

Just like a tiny spark can ignite a roaring fire, this modest portion of butter can elevate flavors and create mouthwatering dishes.

It’s fascinating how such a small quantity can make a big difference.

Advertisement

So next time you’re measuring out butter for a recipe, remember that even the tiniest amount can have a significant impact on the final result.

Continue Reading
Advertisement

Recipes & Culinary Uses

How to Make Creamy Butter Garlic Pasta

Published

on

By

An image of a steaming plate of al dente pasta twirled with a rich, golden butter garlic sauce

I am going to reveal to you the secret to making the most delicious butter garlic pasta you have ever tried.

Get ready to indulge in a symphony of flavors as tender pasta gets enveloped in a rich, velvety butter garlic sauce.

This recipe is simple yet sophisticated, perfect for impressing guests or treating yourself to a truly decadent meal.

So grab your apron and let’s dive into the magic of homemade butter garlic pasta.

Trust me, you won’t be able to resist.

Advertisement

Key Takeaways

  • Choose long and thin pasta like spaghetti or linguine for the best texture.
  • Cook the pasta al dente to prevent mushiness and allow the sauce to cling to the strands.
  • Prepare a well-seasoned and fragrant garlic butter sauce with sautéed minced garlic and optional herbs and spices.
  • Combine the cooked pasta with the simmered sauce, ensuring every strand is coated, and garnish with Parmesan cheese and parsley.

Choosing the Right Pasta

I’ll pick out the perfect type of pasta for my butter garlic pasta. When it comes to choosing the right pasta, there are so many options to consider. Different types of pasta shapes can greatly impact the overall texture and taste of the dish.

For a butter garlic pasta, I’d opt for a long and thin pasta shape like spaghetti or linguine. These types of pasta allow the butter garlic sauce to cling onto the strands, ensuring each bite is full of flavor.

Additionally, the importance of cooking the pasta until it’s al dente can’t be understated. Al dente pasta has a slight bite to it, providing a satisfying texture and preventing it from becoming mushy when combined with the butter garlic sauce.

Preparing the Garlic Butter Sauce

To start, I’ll heat up the olive oil in a skillet and sauté the minced garlic until it becomes fragrant. This step is crucial as it will infuse the sauce with a rich, savory flavor.

Advertisement

Once the garlic is golden and aromatic, I’ll enhance the garlic butter sauce by adding a handful of fresh herbs, such as chopped parsley or basil. These herbs not only add a burst of freshness but also contribute to the overall visual appeal of the dish.

Next, I’ll pour in a splash of white wine to the garlic butter sauce. The wine adds a subtle tanginess and complexity that elevates the flavors. This step is optional, but it truly takes the sauce to another level.

With the garlic butter sauce now perfectly seasoned and fragrant, it’s time to move on to boiling the pasta.

Boiling the Pasta

Advertisement

Once the water reaches a rolling boil, I add a generous amount of salt before adding the pasta. Achieving the perfect al dente texture is essential for a delicious butter garlic pasta. I carefully follow the instructions on the pasta package, cooking it for the recommended time minus a minute or two. This ensures that the pasta is cooked, but still firm to the bite.

To add a twist to the traditional garlic butter pasta, I sometimes incorporate a variety of herbs and spices into the boiling water. A pinch of red pepper flakes adds a subtle kick, while a handful of fresh basil leaves brings a refreshing aroma. These additions elevate the flavors and take the dish to a whole new level.

Cooking the Garlic Butter Sauce

While simmering the sauce, I stir in a knob of butter until it melts and blends seamlessly with the other ingredients. This step is crucial for creating a rich and flavorful garlic butter sauce that will elevate your pasta dish to new heights.

Here are three cooking techniques and flavor variations that you can experiment with to enhance the taste of your butter garlic pasta:

  • Sautéing the garlic: Instead of simply adding minced garlic to the sauce, try sautéing it in the butter until fragrant and golden brown. This will bring out the natural sweetness and depth of flavor in the garlic.

  • Adding herbs and spices: To take your sauce to the next level, consider incorporating herbs like parsley or basil, and spices like red pepper flakes or black pepper. These additions will add complexity and a touch of heat to your butter garlic pasta.

  • Using flavored butter: If you want to get creative with your flavor profile, try using flavored butter. You can find a wide variety of options at the grocery store or make your own by mixing in herbs, spices, or even cheese. This will infuse your sauce with a unique and delicious taste.

Combining the Pasta and Sauce

Advertisement

After the sauce has simmered to perfection, I pour it over the cooked pasta and toss until every strand is coated in the creamy goodness.

The combination of the rich butter and aromatic garlic creates a delectable flavor that’s hard to resist.

To enhance the dish even further, I like to garnish it with a sprinkle of freshly grated Parmesan cheese and a handful of chopped parsley. This adds a touch of freshness and brings out the flavors of the sauce.

As for serving suggestions, this butter garlic pasta pairs well with a simple green salad or some crusty garlic bread on the side.

Advertisement

For variations and substitutions, you can experiment with different types of pasta, such as spaghetti or fettuccine, and add in ingredients like sautéed mushrooms or grilled chicken for added protein.

The possibilities are endless, but one thing is for sure: this butter garlic pasta is a crowd-pleaser that will leave everyone wanting more.

Frequently Asked Questions

How Can I Make This Recipe Vegan-Friendly?

To make this recipe vegan-friendly, you can use vegan substitutes for butter, such as plant-based margarine or coconut oil. Additionally, opt for dairy-free options like almond milk or cashew cream instead of regular milk or cream.

Can I Use Gluten-Free Pasta for This Recipe?

Sure, you can use gluten-free pasta for this recipe. Just remember to follow the cooking instructions for gluten-free pasta and consider alternatives like rice or quinoa pasta for a delicious, gluten-free version.

Can I Substitute Olive Oil for Butter in the Garlic Butter Sauce?

Substituting olive oil or vegan butter in the garlic butter sauce can alter the taste and texture of the dish. Olive oil adds a rich, fruity flavor, while vegan butter provides a creamy and buttery texture.

Advertisement

How Can I Make This Dish Spicier?

To make this dish spicier, there are several ways to add heat. You can incorporate hot chili flakes, spicy red pepper sauce, or even diced jalapeños. Another alternative to garlic could be using ginger for a flavorful twist.

Can I Add Vegetables or Protein to This Pasta Dish?

Adding vegetables and protein to this pasta dish is a great idea. It not only enhances the nutritional value but also adds texture and flavor. I recommend sautéing some bell peppers and adding cooked chicken for a delicious and balanced meal.

Conclusion

In conclusion, making butter garlic pasta is a simple yet delicious dish that can be enjoyed by everyone.

The rich and creamy garlic butter sauce perfectly coats the al dente pasta, creating a mouthwatering combination of flavors.

This recipe allows you to indulge in a culinary experience that’s both satisfying and comforting, like a warm embrace on a chilly evening.

Advertisement

So why not give it a try and treat yourself to a delightful meal?

Continue Reading

Recipes & Culinary Uses

Easy Steps to Make Butter from Raw Milk Using a Mixer

Published

on

By

An image showcasing the step-by-step process of transforming creamy raw milk into luscious butter using a mixer

As I immerse myself in the realm of culinary exploration, I came across a hidden treasure: crafting butter from raw milk using a mixer. With just a few basic ingredients and my reliable mixer, I unveiled the key to producing smooth, homemade butter that would impress any chef.

In this article, I will guide you through the precise steps, from gathering the ingredients to storing the final product. Get ready to churn and savor the rich rewards of your own creation.

Let’s butter up!

Key Takeaways

  • Choose a mixer with a powerful motor and sturdy construction
  • Strain and pasteurize the raw milk before churning
  • Use a high-speed setting on the mixer for faster butter formation
  • Store homemade butter in airtight containers to maintain flavor and freshness

Gathering the Ingredients and Equipment

I’m gathering the ingredients and equipment needed to make butter from raw milk in my mixer.

Advertisement

To ensure a successful butter-making process, it’s crucial to choose the right mixer. Look for a mixer with a powerful motor and a sturdy construction that can handle the thick consistency of the cream. A high-speed setting is also desirable to expedite the churning process.

When it comes to sourcing raw milk, it’s important to prioritize safety and quality. Look for local farms or dairies that follow strict hygiene practices and ensure the cows are healthy and well-cared for. Freshness is key, so opt for milk that has been recently produced and stored properly.

Preparing the Raw Milk for Churning

To start preparing the raw milk for churning, I’ll first need to strain out any impurities. This ensures that the milk is clean and safe for consumption.

Before churning, it’s important to pasteurize the raw milk to eliminate any harmful bacteria that may be present. Pasteurization involves heating the milk to a specific temperature and holding it there for a set period of time. This process helps to destroy any potential pathogens without significantly altering the taste or nutritional composition of the milk.

Once the raw milk is pasteurized, there are different methods of churning it into butter. One method involves using a mixer, which agitates the milk until the fat globules separate from the liquid, forming butter.

Advertisement

Churning the Raw Milk in the Mixer

Using a high-speed setting, I’ll let the mixer agitate the milk until the fat globules separate and butter forms. The speed of the mixer plays a crucial role in the churning process. A higher speed will help the fat globules to separate more quickly, resulting in butter formation. The churning time will vary depending on the mixer speed and the amount of milk being churned. It is important to monitor the process closely to avoid over-churning, which can lead to a grainy texture. To give you an idea of the correlation between mixer speed and churning time, here is a table that summarizes the approximate time required for butter formation at different speeds:

Mixer Speed Churning Time (minutes)
Low 20-30
Medium 15-20
High 10-15
Very High 5-10
Turbo 2-5

Separating the Butter From the Buttermilk

After the churning process, I strain the mixture through a fine-mesh sieve to separate the butter from the buttermilk. The creamy liquid slowly drips down, leaving behind the beautiful golden butter. It’s a delicate process, requiring patience and precision.

As I watch the buttermilk flow through the sieve, I can’t help but appreciate the benefits of using raw milk for making butter. The rich and complex flavors of raw milk add depth and character to the final product. It’s like tasting a piece of the farm, with its grassy undertones and hints of sweetness.

Advertisement

To further enhance the butter’s taste, there are various methods for flavoring homemade butter. From the simplicity of sprinkling salt to the creativity of adding herbs and spices, the possibilities are endless.

Storing and Using Your Homemade Butter

When storing my homemade butter, I prefer to use airtight containers to keep it fresh and prevent any unwanted odors from seeping in. It’s important to protect the butter’s flavor and texture, as well as extend its shelf life. Additionally, I like to experiment with different flavors to add a unique twist to my butter. Some creative ways to flavor homemade butter include incorporating herbs like rosemary or thyme, adding spices like cinnamon or garlic powder, or mixing in sweet ingredients like honey or maple syrup. This allows me to customize my butter based on my preferences and the dishes I plan to use it in. Speaking of which, homemade butter has a multitude of uses in cooking and baking. It can be spread on toast, melted over vegetables, used as a base for sauces, or incorporated into pastry dough for flakier results. The possibilities are endless!

Flavor Ingredients Recommended Uses
Herb-infused Rosemary, thyme Mashed potatoes, roasted vegetables
Spiced Cinnamon, garlic powder Toast, pancakes
Sweet Honey, maple syrup Baked goods, waffles

Frequently Asked Questions

How Long Does It Take for the Raw Milk to Turn Into Butter in the Mixer?

To speed up the process of turning raw milk into butter in a mixer, you can increase the speed and duration of mixing. It is not possible to make butter in a mixer without using raw milk.

Advertisement

Can I Use Pasteurized Milk Instead of Raw Milk for Making Butter in a Mixer?

Using raw milk instead of pasteurized milk for making butter in a mixer has several benefits. It enhances the flavor and nutritional value of the butter. To achieve the best consistency, ensure the milk is fresh and at room temperature before churning.

What Is the Ideal Temperature for the Raw Milk Before Churning It in the Mixer?

The ideal temperature for raw milk before churning it in the mixer is around 50-55°F. This ensures proper fat separation and reduces churning time. It’s crucial to maintain the correct temperature for the best results.

Can I Add Flavorings or Herbs to the Butter While Churning It in the Mixer?

Yes, you can add flavorings or herbs to the butter while churning it in the mixer. This is a great way to incorporate flavor into homemade butter and experiment with different tastes.

Can I Use a Hand Mixer Instead of a Stand Mixer to Churn the Raw Milk Into Butter?

Using a hand mixer for churning raw milk into butter has its pros and cons. It can be more convenient and easier to handle, but may take longer and require more effort compared to a stand mixer. Other methods without a mixer include shaking in a jar or using a food processor.

Conclusion

In conclusion, making butter from raw milk in a mixer is a simple and rewarding process. By following the steps outlined above and using the right ingredients and equipment, you can transform fresh raw milk into delicious homemade butter.

Advertisement

Remember, practice makes perfect, so don’t be discouraged if your first attempt isn’t perfect. With a little patience and perseverance, you’ll be churning out creamy butter in no time, and soon you’ll be able to spread it on toast and enjoy the fruits of your labor.

Continue Reading

Recipes & Culinary Uses

Make Rich Butter from Raw Milk

Published

on

By

An image capturing the process of making butter from raw milk

Hey! Have you ever thought about how to turn raw milk into homemade butter? Look no further, I’ve got the solution for you.

In this article, I’ll take you through the step-by-step process of turning that creamy goodness into delicious homemade butter.

We’ll explore the benefits of using raw milk, learn how to separate the cream, and even discover different flavors you can infuse into your butter.

So, grab your apron and let’s get churning!

Key Takeaways

  • Raw milk contains essential vitamins, minerals, and enzymes that are destroyed during pasteurization.
  • Separating the cream from raw milk can be done through gravity separation, centrifugal separation, or cold separation.
  • Churning the cream into butter can be done through hand churning, using a stand mixer with a whisk attachment, or using a food processor with a blade attachment.
  • Washing and storing the freshly made butter involves cleaning the butter container and preserving its freshness by wrapping it tightly in wax paper or using an airtight container.

Understanding the Benefits of Raw Milk

Advertisement

Raw milk has numerous health benefits that are not found in pasteurized milk. Understanding the nutritional value of raw milk is important for those seeking a natural and wholesome source of nutrients.

Contrary to popular belief, raw milk is not a dangerous product when handled and consumed properly. In fact, it contains essential vitamins, minerals, and enzymes that are destroyed during the pasteurization process.

Raw milk is rich in beneficial bacteria and probiotics, which can support a healthy gut microbiome and enhance digestion. Additionally, raw milk is a good source of bioavailable nutrients such as calcium, protein, and healthy fats.

Debunking myths about raw milk is crucial to prevent misinformation and promote informed choices regarding our food.

Preparing the Raw Milk for Butter Making

To prepare the milk for butter making, it’s important to first skim off the cream. This step is crucial as it allows us to separate the high-fat cream from the milk, which is necessary for obtaining a good quality butter.

Advertisement

Here are three separating techniques to help you achieve the best results:

  1. Gravity separation: After allowing the milk to stand undisturbed for a few hours, the cream naturally rises to the top, making it easy to skim off with a spoon or ladle.

  2. Centrifugal separation: Using a cream separator machine, the milk is spun at high speeds, causing the heavier cream to separate from the lighter milk. This method is efficient and yields a higher cream quality.

  3. Cold separation: By refrigerating the milk overnight, the cream becomes denser and easier to separate. Skimming off the cold cream results in a richer and creamier butter.

Separating the Cream From the Raw Milk

If you want to achieve the best results when separating the cream from the milk, try using gravity separation, centrifugal separation, or cold separation techniques.

Gravity separation involves allowing the milk to sit undisturbed in a container for a period of time, allowing the cream to rise to the top.

Advertisement

Centrifugal separation utilizes a machine that spins the milk at high speeds, forcing the cream to separate from the milk.

Cold separation involves chilling the milk to a low temperature, causing the cream to solidify and separate from the milk.

These techniques are beneficial because consuming raw dairy has numerous health benefits, such as improved digestion, increased nutrient absorption, and enhanced immune function.

Additionally, if you don’t have access to a churn, these separation methods provide alternatives for obtaining cream for making butter.

Churning the Cream Into Butter

Once the cream has separated from the milk, you can start churning it into delicious butter. Churning is the process of agitating the cream until it transforms into butter.

Advertisement

Here are three techniques to help you achieve the perfect consistency:

  1. Hand Churning: This traditional method involves using a small churn or jar and physically shaking or rocking it back and forth until the cream turns into butter.

  2. Stand Mixer: If you have a stand mixer with a whisk attachment, you can use it to churn the cream. Start at a low speed and gradually increase until the butter forms.

  3. Food Processor: Another option is to use a food processor with a blade attachment. Pulse the cream until it separates into butter and buttermilk.

Troubleshooting common butter making problems:

  • If the cream isn’t thickening, ensure it is at the right temperature (around 50-55°F) and give it more time to churn.
  • If the butter is too soft, refrigerate it for a while before churning again.
  • If the butter is too hard, let it soften at room temperature or add a small amount of buttermilk to adjust the consistency.

After churning the cream into butter, it’s time to move on to the next step of washing and storing the freshly made butter.

Washing and Storing the Freshly Made Butter

When it comes to washing and storing freshly made butter, there are a few key points to consider.

Advertisement

First, cleaning the butter container is essential to maintain the quality of the butter. I recommend using warm soapy water and a soft sponge to remove any residue before drying it thoroughly.

Second, preserving the butter’s freshness is crucial to prolong its shelf life. To do this, I suggest wrapping the butter tightly in wax paper or placing it in an airtight container to protect it from air and odors.

Lastly, it’s important to store butter at the proper temperature. The recommended storage temperature for butter is between 32-40°F (0-4°C), as this helps to maintain its texture and prevent spoilage.

Cleaning the Butter Container

Before cleaning the butter container, make sure to remove any leftover butter residue. Cleaning the butter container is essential to maintain its freshness and prevent any cross-contamination. Here are three effective cleaning techniques to ensure a clean and sanitized container:

  1. Soak in hot, soapy water: Fill the container with hot water and add a few drops of dish soap. Let it sit for a few minutes to loosen any residue, then scrub with a sponge or brush.

  2. Use vinegar solution: Mix equal parts white vinegar and water in the container. Let it sit for about 15 minutes to dissolve any stubborn residue. Scrub with a sponge or brush, then rinse thoroughly.

  3. Bleach solution: Mix 1 tablespoon of bleach with 1 gallon of water. Let the container soak in the solution for 10 minutes, then scrub and rinse well.

Preserving Butter’s Freshness

After cleaning the butter container, the next step is to ensure that the butter stays fresh and maintains its texture for as long as possible. This is important because nobody wants to end up with rancid butter. To preserve the butter’s freshness, there are a few key things you can do. Firstly, storing the butter in an airtight container or wrapping it tightly in wax paper will help prevent it from being exposed to air and developing off flavors. Secondly, keeping the butter refrigerated at a consistent temperature, ideally around 40°F (4°C), will slow down the process of it going rancid. Lastly, if you want to store butter for an extended period of time, freezing it is a great option as it can extend its shelf life for several months. By following these steps, you can enjoy fresh and flavorful butter for all your culinary needs.

Advertisement
Preserving Butter’s Freshness
Store butter in an airtight container or wrap tightly in wax paper.
Refrigerate butter at a consistent temperature of around 40°F (4°C).
Freeze butter for extended storage, which can extend its shelf life for several months.
Follow these steps to enjoy fresh and flavorful butter for all your culinary needs.

Recommended Storage Temperature

Storing butter in the refrigerator at a consistent temperature of around 40°F (4°C) helps to maintain its freshness and prevent it from going rancid. Here are three recommended storage methods and the ideal temperature range for butter:

  1. Wrap it properly: Use parchment paper or airtight containers to wrap the butter. This will protect it from absorbing odors and prevent it from drying out.

  2. Keep it away from light: Exposure to light can cause butter to spoil faster. Store it in a cool, dark place, like the refrigerator’s butter compartment or a covered butter dish.

  3. Avoid temperature fluctuations: Butter can easily absorb flavors and odors from other foods in the fridge. To maintain its quality, store it away from strong-smelling foods and make sure the temperature remains constant.

Following these recommended storage methods and keeping the butter at the ideal temperature range will help to preserve its freshness and taste for longer periods.

Using Leftover Buttermilk in Recipes

You can easily use leftover buttermilk in recipes to add a tangy flavor. Buttermilk is a versatile ingredient that can enhance the taste and texture of various baked goods. It’s a great substitute for regular milk in recipes because it adds a unique tanginess and richness. Here are some creative uses for leftover buttermilk in baking:

Row Buttermilk Recipe Result
1 Pancakes Fluffy and Light and
tender texture fluffy pancakes
2 Biscuits Tender and Flaky and
flaky texture buttery biscuits
3 Cakes Moist and Moist and
tender texture tender cakes
4 Fried chicken Crispy and Juicy and
flavorful coating flavorful chicken

Exploring Variations and Flavors in Homemade Butter

When it comes to homemade butter, there are endless possibilities for adding unique flavors and enhancing its taste.

One way to do this is through unique butter infusions, where you can mix in various ingredients like garlic, herbs, or even fruit zest to create a personalized flavor profile.

Advertisement

Another option is to enhance the taste of your homemade butter by incorporating herbs such as rosemary, thyme, or basil, which can add a delightful aroma and taste.

Lastly, experimenting with flavored salts like smoked sea salt or truffle salt can take your butter to a whole new level, adding a burst of flavor that will elevate any dish.

Unique Butter Infusions

To add unique flavors to your butter, try infusing it with herbs or spices. Butter infusion techniques offer a creative way to elevate the taste of your homemade butter. Here are three ideas to get you started:

  1. Garlic and Herb Butter: Melt your butter, then add minced garlic and chopped fresh herbs like rosemary, thyme, or parsley. Let the flavors infuse for a few hours before refrigerating.

  2. Citrus Zest Butter: Grate the zest of an orange, lemon, or lime into your softened butter. Mix well and let it sit in the fridge for a while to let the citrus flavors infuse.

  3. Spiced Butter: Add a pinch of your favorite spices, such as cinnamon, nutmeg, or cardamom, to your softened butter. Mix thoroughly and let it sit in the fridge to develop the flavors.

Enhancing Taste With Herbs

Adding herbs to your butter is a simple and effective way to enhance the taste of your culinary creations. Not only does it add a burst of flavor, but it also adds a touch of freshness and complexity to your dishes. Experimenting with different herbal blends can elevate your butter to a whole new level. Whether you prefer a savory blend of rosemary and thyme or a more exotic combination of cilantro and lime, the possibilities are endless. To help you get started, here is a table showcasing some popular herb and spice combinations that you can try in your butter:

Herb/Spice Flavor Profile Best Pairings
Rosemary Earthy, piney Potatoes, lamb
Basil Sweet, peppery Tomatoes, mozzarella
Dill Fresh, tangy Fish, cucumbers
Cinnamon Warm, sweet Apples, baked goods

Experimenting With Flavored Salts

After experimenting with herbs to enhance the taste of my homemade butter, I decided to take my flavor exploration to the next level by experimenting with flavored salts. Flavored salts can add a unique and exciting twist to butter, elevating its taste and making it even more delicious.

Advertisement

Here are three ways I incorporated different salts into my flavored butter recipes:

  1. Smoked Salt Butter: I mixed smoked salt into softened butter, creating a smoky and savory spread that pairs perfectly with grilled meats and vegetables.

  2. Truffle Salt Butter: By combining truffle salt with butter, I created a luxurious and indulgent spread that adds a hint of earthy and aromatic flavor to any dish.

  3. Citrus Salt Butter: I zested some fresh citrus fruits and mixed the zest with sea salt before incorporating it into butter. The result was a bright and tangy butter that adds a burst of freshness to baked goods and seafood.

Frequently Asked Questions

Can I Make Butter From Pasteurized Milk?

Yes, you can make butter from pasteurized milk. It’s a simple process of churning the cream until it separates into butter and buttermilk. Homemade butter can be healthier than store-bought due to its freshness and lack of additives.

How Long Does It Take to Separate the Cream From the Raw Milk?

Separating cream from raw milk depends on various factors, such as temperature and milk fat content. Once separated, the cream can be churned into butter. The churning process can take anywhere from 10 to 30 minutes.

Can I Use an Electric Mixer Instead of a Churn to Make Butter?

Yes, you can use an electric mixer to make butter. However, it’s important to note that the process may differ slightly between churning raw milk and pasteurized milk.

How Long Can I Store Freshly Made Butter?

Freshly made butter can be stored in the refrigerator for up to two weeks. However, its shelf life can be extended by freezing it. Proper storage is essential to maintain its freshness and quality.

Advertisement

What Other Uses Are There for Leftover Buttermilk Besides Using It in Recipes?

Leftover buttermilk can be used in pancakes, biscuits, or even as a marinade for fried chicken. As for alternative methods for making butter, you can also use heavy cream and a mixer.

Conclusion

In conclusion, making butter from raw milk is a delightful and rewarding process. The benefits of raw milk are numerous, as it contains valuable enzymes and nutrients that are lost during pasteurization.

By separating the cream from the raw milk and churning it vigorously, you can easily transform it into creamy and delicious homemade butter.

Don’t forget to wash and store the butter properly to ensure its freshness. And don’t discard the leftover buttermilk! It can be used in various recipes to add flavor and moisture.

So, grab some raw milk and start your butter-making adventure today!

Advertisement
Continue Reading

Trending