
To make butter at home from milk, start by whipping heavy cream until fat clumps. Agitate the cream to form butter, then strain out the liquid. Store in the fridge for short-term use or freeze for up to 9 months. Enhance with herbs, honey, or spices for unique flavors. Making your homemade butter offers a satisfying and rewarding experience that adds a personal touch to your culinary creations. Explore more about milk fat content, different butter-making methods, and how to use homemade butter to elevate your dishes!
Key Takeaways
- Whip heavy cream until butter forms.
- Strain and press to remove excess liquid.
- Add salt for flavor (optional).
- Store in fridge or freeze for freshness.
- Experiment with herbs and spices for unique butter varieties.

Amazon Grocery, Heavy Whipping Cream, Ultra-Pasteurized, 16 Fl Oz
- Size: 16 Fl Oz carton
- Brand Transition: Part of Amazon Grocery brand
- Milk Source: Made from rBST-free cows
As an affiliate, we earn on qualifying purchases.
As an affiliate, we earn on qualifying purchases.
Benefits of Homemade Butter
When you make butter at home, you gain complete control over its ingredients and quality. By starting with high-quality cream or milk, you can make sure that your homemade butter is free from any additives or preservatives commonly found in store-bought options.
Adding salt to your homemade butter is also customizable, allowing you to adjust the flavor to suit your taste preferences. This hands-on approach to making butter at home not only results in a fresher product but also provides a deeper connection to the dairy products you consume.
Furthermore, creating your own butter enhances your culinary skills and knowledge of food production processes. Through this DIY process, you can better comprehend the chemical reactions involved in butter-making and appreciate the origin of the food on your table.
Homemade butter truly allows for a personalized touch to your cooking, offering a wholesome and satisfying experience from start to finish.
Milk Comparison: Cow Vs. Goat
When comparing cow's milk to goat's milk, consider factors like milk fat content and cheese-making applications.
Dairy goats naturally homogenize their milk, making it easier to digest, while cows yield a higher volume of milk ideal for a wider range of dairy products.
Jersey cows, specifically, produce milk with a higher butterfat content, perfect for creating creamier dairy products.
Milk Fat Content
Comparing the milk fat content between cow and goat, cow's milk generally contains a higher percentage of fat at around 3-4%, while goat's milk typically has a lower fat content ranging from 2-4%. Goat's milk is known for being naturally homogenized, ensuring that the fat is evenly spread throughout the milk. In contrast, cow's milk is popular for its use in butter and cream production due to its higher fat content. Here's a comparison table to showcase the differences:
| Milk Type | Fat Content |
|---|---|
| Cow | 3-4% |
| Goat | 2-4% |
Goat's milk is often preferred for making soft cheeses, while cow's milk, especially from Jersey cows with higher butterfat content, is ideal for creating rich and creamy dairy products like butter. When considering milk fat content for your homemade butter or other dairy creations, these differences play an essential role in determining the final texture and flavor of your homemade goods.
Cheese-Making Applications
Dairy goats' naturally homogenized milk offers a distinct advantage in cheese-making applications compared to dairy cows. The unique composition of dairy goats' milk makes it particularly well-suited for soft cheeses, providing a smooth and creamy texture.
On the other hand, dairy cows yield larger milk volumes, offering more raw material for cheese production. Jersey cows, known for their high butterfat content, are often preferred for making rich and flavorful cheeses. The higher fat content in cow's milk contributes to the creamy consistency and indulgent taste found in many popular cheese varieties.
While dairy goats excel in producing milk ideal for specific types of cheese, such as soft cheeses, dairy cows' higher milk volume allows for a broader range of cheese-making possibilities.
Whether you prefer the delicate flavors of goat cheese or the decadent richness of cow cheese, both dairy goats and cows play essential roles in the art of cheese-making.
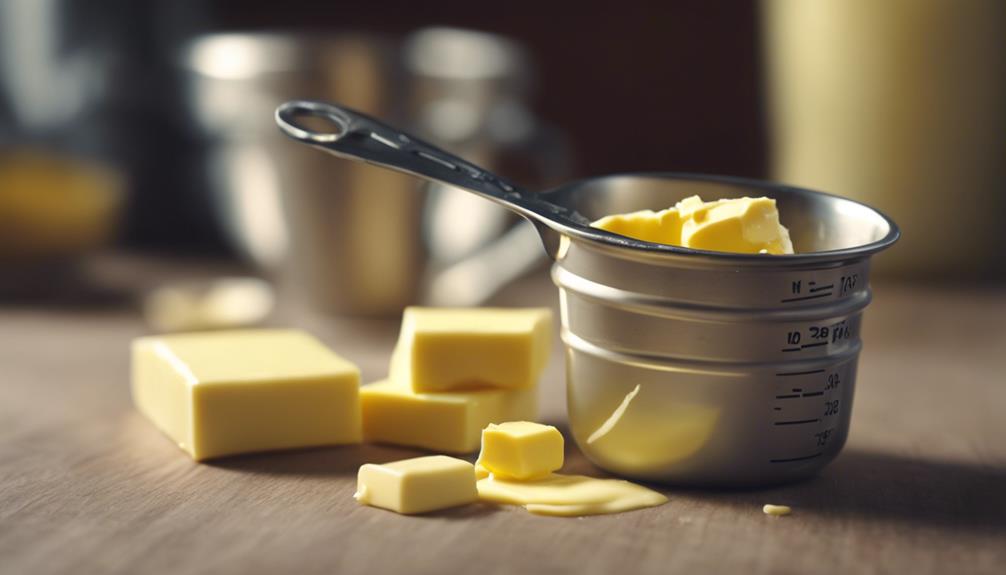
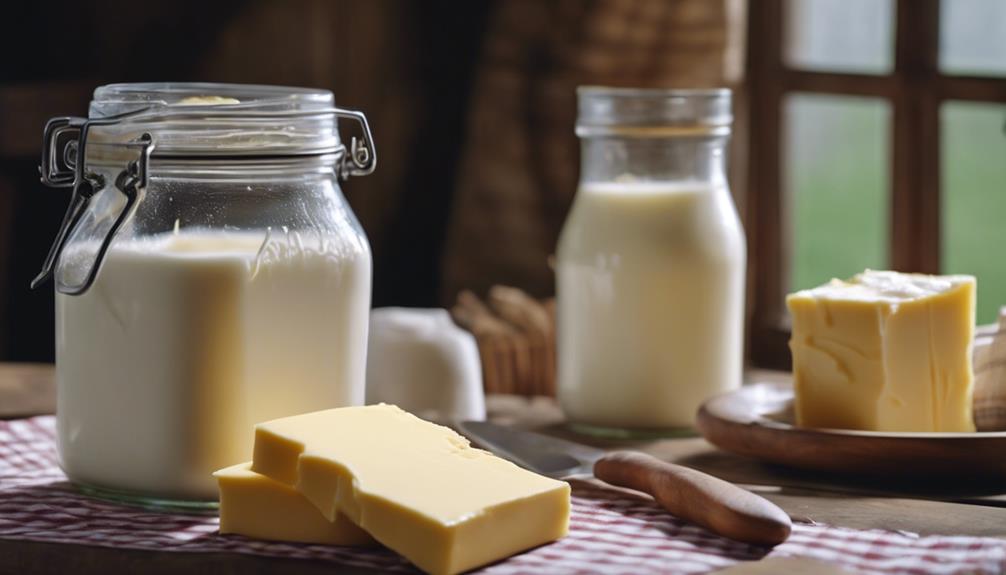
Supplies and Ingredients

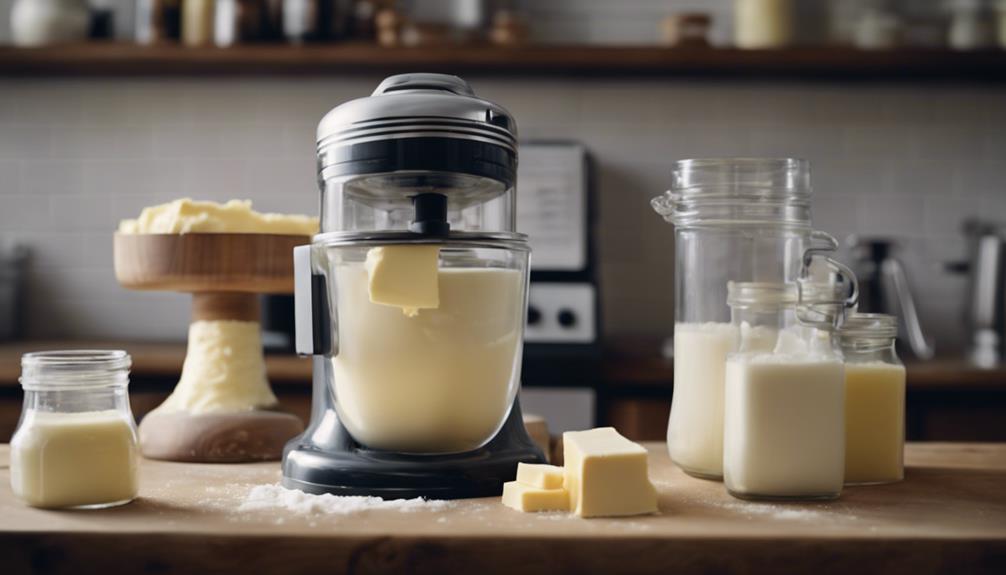
To make butter at home, gather the necessary supplies and ingredients, including a cream separator, stand mixer with whisk attachment, tea towel, spatula, and colander. The main ingredient you'll need is heavy cream, which will be churned to produce butter.
Before whipping the cream, it's important to skim it using a cream separator to remove excess fat. The stand mixer with a whisk attachment will help in the churning process to separate the butter fats from the buttermilk. Additionally, a tea towel can be used to strain out any remaining liquid after churning.
A spatula will come in handy for shaping the butter, and a colander can be used for further draining excess liquids. Remember to add salt for flavoring if desired. Having the right tools and ingredients is essential for a successful homemade butter-making experience.
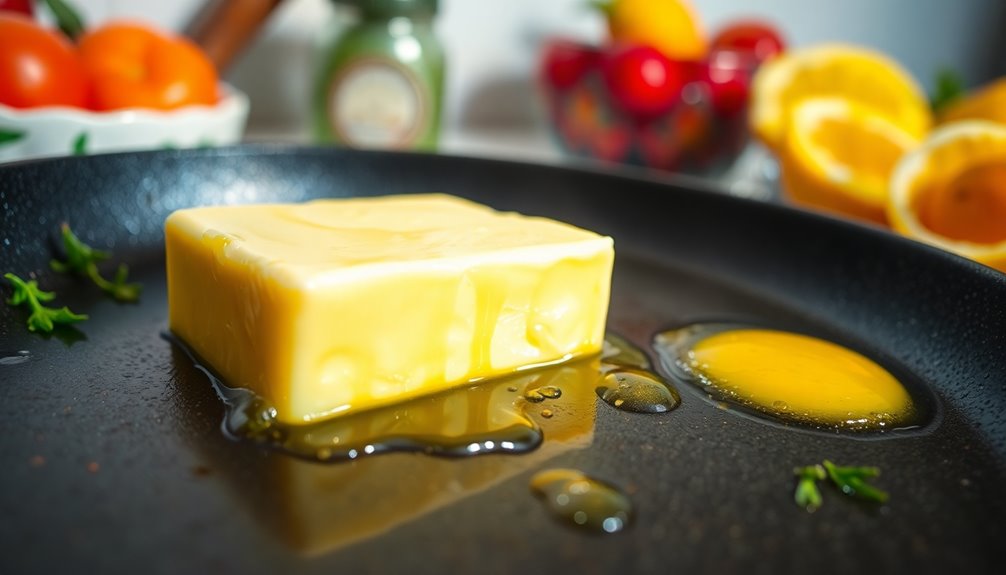
Process of Making Butter
Whipping heavy cream until fat molecules clump together is the primary step in the process of making butter at home. This whipping action causes the fat molecules to separate from the liquid, resulting in a mixture of butterfat and buttermilk.
By agitating the cream, either by hand or with a mixer, you encourage the fat molecules to come together and form butter. As you continue whipping, the mixture will shift from a whipped cream consistency to a thicker texture as the butter solids begin to form.
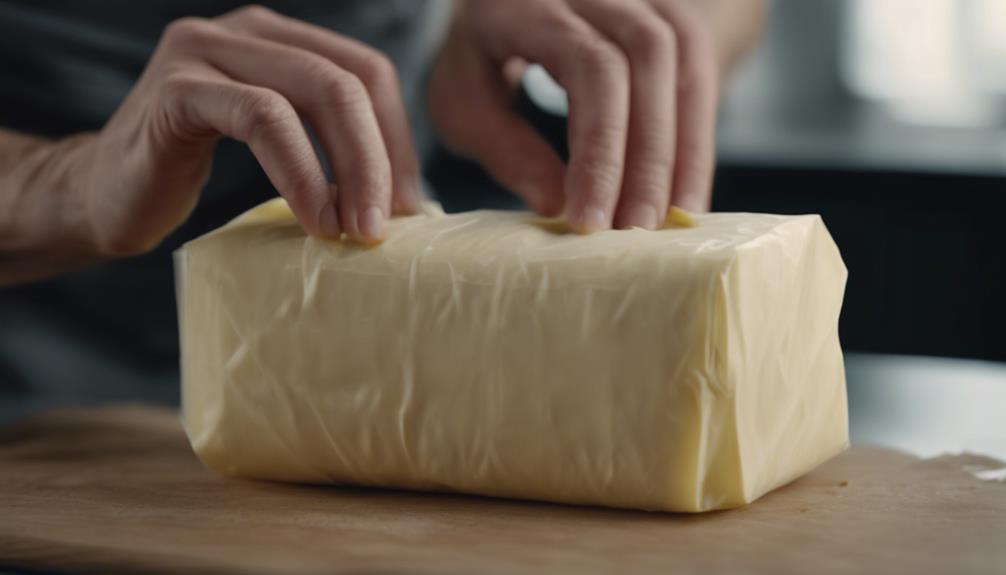
Once the butterfat has sufficiently separated from the buttermilk, you can proceed to create homemade butter by squeezing out the excess liquid from the butterfat. This process ensures that you're left with pure, creamy butter.
Remember to keep an eye on the consistency as you whip the cream beyond the point of whipped cream until the desired butter solids are achieved. Enjoy the satisfaction of creating your very own delicious homemade butter!
Time Commitment of Owning a Cow
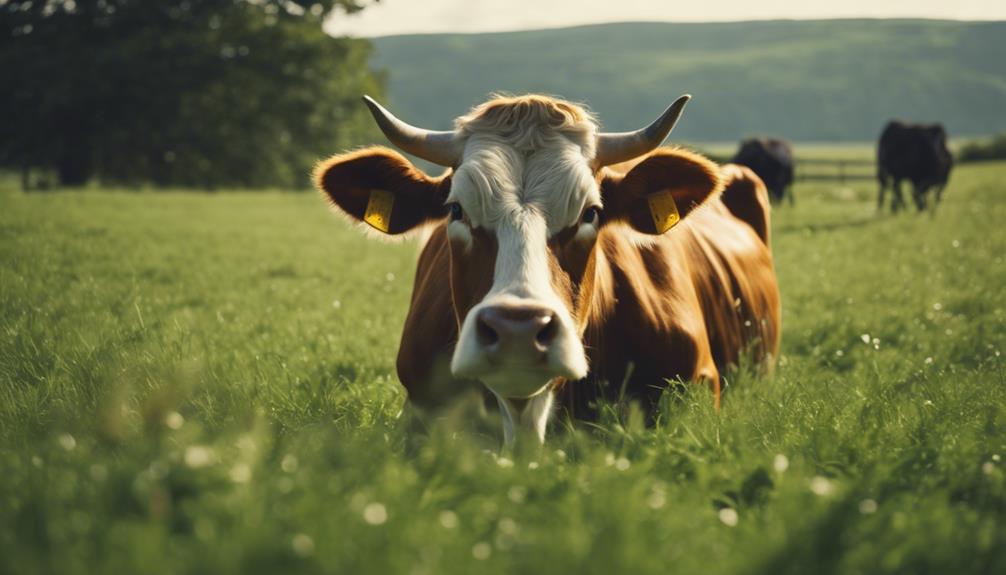
If you're considering the time commitment of owning a cow, daily milking sessions can take anywhere from 30 to 60 minutes each. This task is vital for maintaining your milk cow and ensuring a fresh and reliable milk supply.
Additionally, weekly processing of milk and cream can require 1-2 hours of your time, depending on the quantity of milk produced. Owning a cow entails a significant commitment beyond milking, including proper feeding, health care, and overall well-being considerations.
Effective time management is necessary for milk processing, butter making, and other dairy product production activities. To handle these responsibilities efficiently, you'll need to plan your schedule carefully and prioritize tasks.
However, if time becomes a constraint, remember that purchasing fresh milk from a local farm is an option that provides flexibility while still allowing you to enjoy homemade dairy products. Balancing the demands of owning a cow with your daily routine requires dedication and effective time management skills.
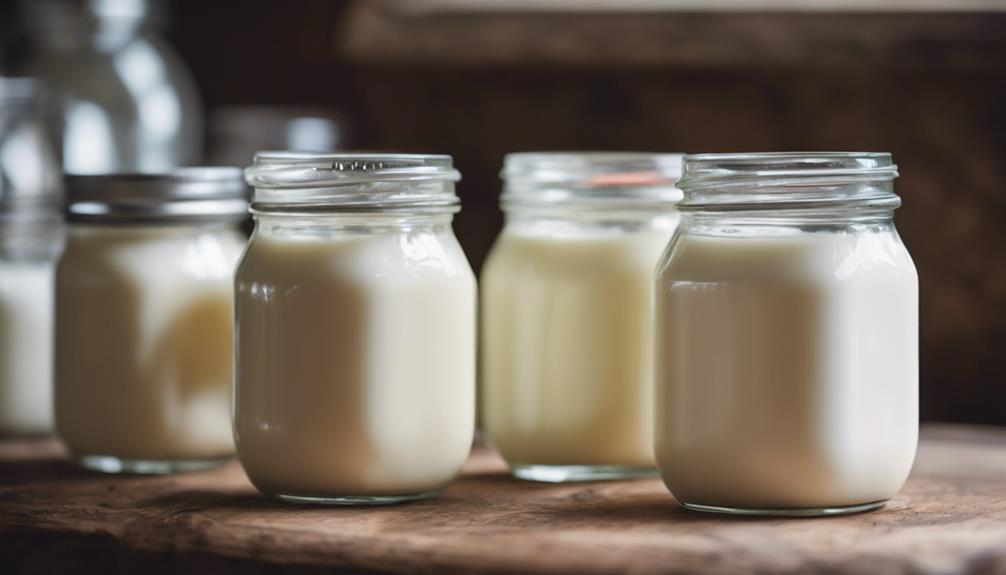
Storing and Freezing Butter
When storing your homemade butter, consider options like keeping it on the counter or in the fridge for short-term use.
Freezing homemade butter can extend its shelf life for up to 9 months, making it a convenient option for future baking projects.
Proper storage techniques are key to maintaining the quality and freshness of your homemade butter.
Storage Options for Butter
To maintain the freshness and longevity of your homemade butter, consider different storage options such as storing it on the counter for a week or refrigerating based on room temperature. Here are some key points to keep in mind:
- Utilize a Butter Bell: Using a butter bell can help enhance the freshness of your stored butter by keeping it at the perfect spreadable consistency without the need for refrigeration.
- Proper Storage Techniques: Ensuring that your homemade butter is stored in an airtight container will help maintain its quality and prevent it from absorbing odors from other foods in the fridge.
- Shelf Life Extension with Salt: Adding salt to your homemade butter not only enhances the flavor but also helps preserve it, extending its shelf life both when stored on the counter and in the refrigerator.
Freezing Homemade Butter
Consider freezing your homemade butter as a convenient method to extend its shelf life and preserve its quality for future use. Homemade butter can be stored in the freezer for up to 9 months, maintaining its freshness and taste.
By freezing homemade butter, you can prevent spoilage and have easy access to this homemade dairy product whenever needed. When properly stored in the freezer, your homemade butter will be readily available for use in various recipes, showcasing its versatility and practicality.
Whether you made a large batch or want to save some for later, freezing homemade butter is a simple way to ensure you always have this homemade delight on hand. So, next time you whip up a batch of homemade butter, consider freezing some to enjoy its richness and flavor in the months to come.
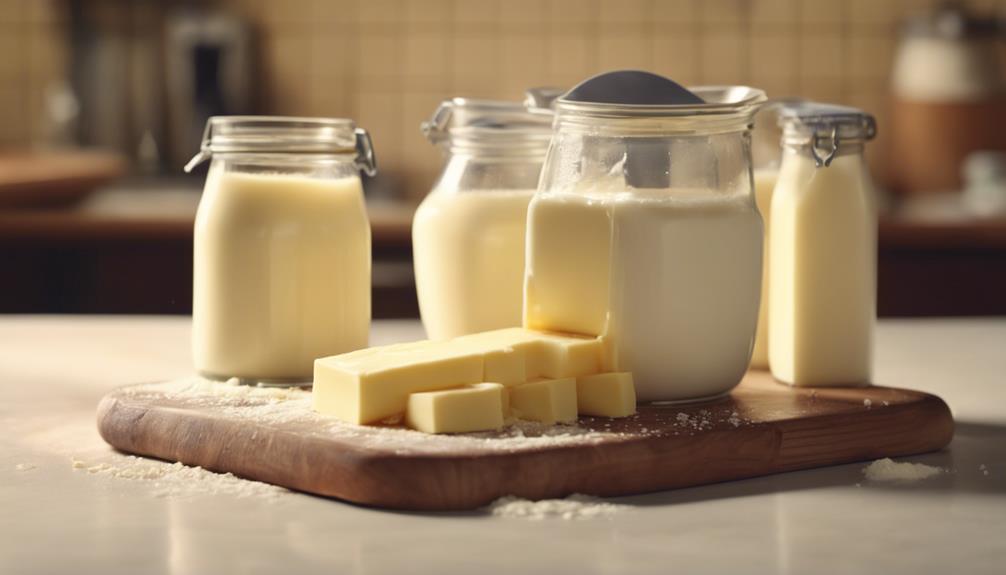
Different Butter-Making Methods
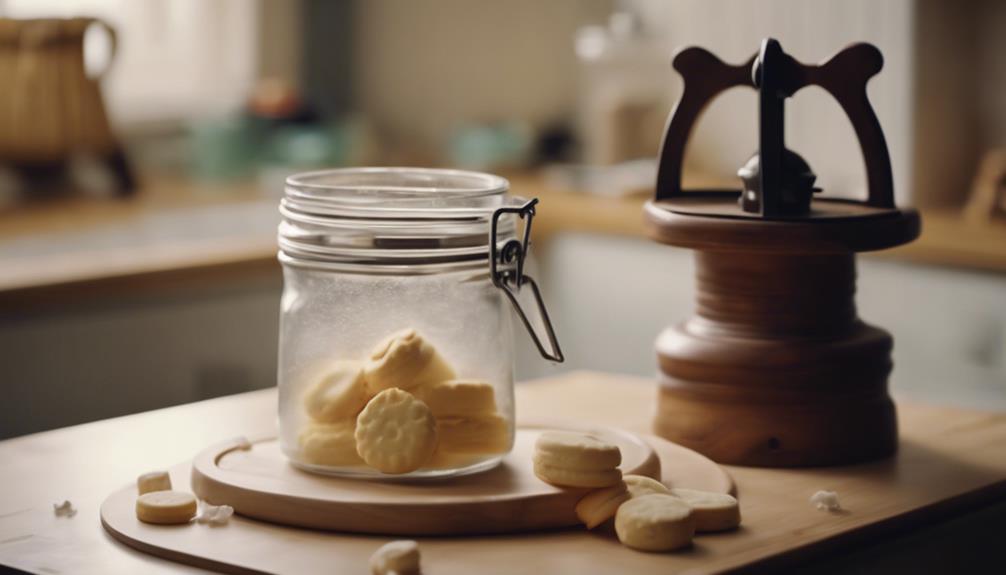
Using various methods like a jar, churning, or shaking cream can help you make butter at home. These techniques separate butter fats from buttermilk, resulting in delicious homemade butter.
Here are some key methods to take into account:
- Jar Method: By vigorously shaking a jar filled with cream, the fats will eventually separate from the buttermilk, forming butter.
- Churning: This traditional method involves agitating cream until the fats coalesce, leaving behind buttermilk as a byproduct.
- Shaking Cream: Similar to the jar method but on a larger scale, shaking cream in a container can also yield butter by separating the fats.
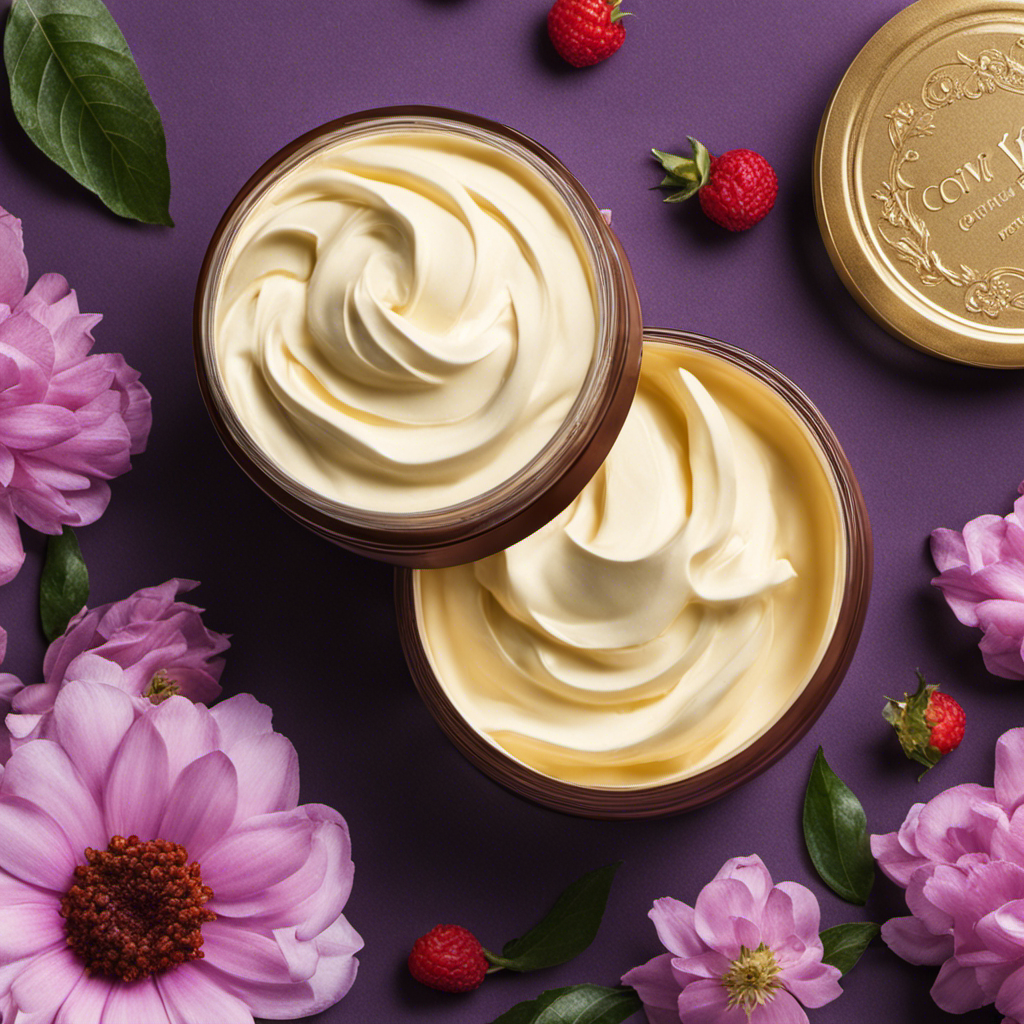
Enhancing and Using Homemade Butter
Enhanced with various flavors, homemade butter can be used in a multitude of ways to elevate your culinary creations. To enhance the flavor of your homemade butter, consider mixing in fresh herbs like rosemary or thyme, honey for a touch of sweetness, cinnamon for warmth, or smoked salt for a unique twist.
Whipping your homemade butter post-straining can create a light and fluffy texture, perfect for spreading on toast or using in baking recipes. Transform your homemade butter into a decadent treat by turning it into honey butter with the addition of honey and a hint of vanilla.
Customizing your homemade butter allows you to tailor it to your preferences and dishes. Experiment with different ingredients to create unique flavors that complement your meals perfectly. Whether you're making Cowboy Butter for your steaks or incorporating homemade butter into various dishes, the versatility of homemade butter will surely enhance the flavor and texture of your culinary creations.
Frequently Asked Questions
How to Make Butter With Just Milk?
To make butter with just milk, separate the cream from the milk. Whip the cream until it thickens into butterfat and buttermilk. Churn or mix the cream until the butterfat clumps together to form butter.
How Is Butter Taken Out From Milk at Home?
To make butter at home from milk, skim off the cream layer, then churn or whip it until the fat clumps together. Agitate the cream to separate butterfat from buttermilk. Squeeze and rinse the clumped fat to remove excess liquid and create homemade butter.
How Much Butter Does a Gallon of Milk Make?
A gallon of milk typically makes around 1 pound (16 ounces) of butter. The fat content in the milk plays a role in the yield. Higher fat content milk, such as Jersey cow milk, can produce more butter.
How Long Does Homemade Raw Milk Butter Last?
Homemade raw milk butter can last up to 2-3 weeks in the refrigerator. Proper storage in an airtight container maintains freshness. Freezing extends shelf life to 6-9 months. Check for spoilage signs. Enjoy your creamy creation longer!
Conclusion
Now that you know how easy it's to make butter at home from milk, why not give it a try?
The benefits of homemade butter are worth the effort, and the taste is unbeatable.
So grab some milk, get your supplies ready, and start churning your way to delicious homemade goodness.
You won't regret it!