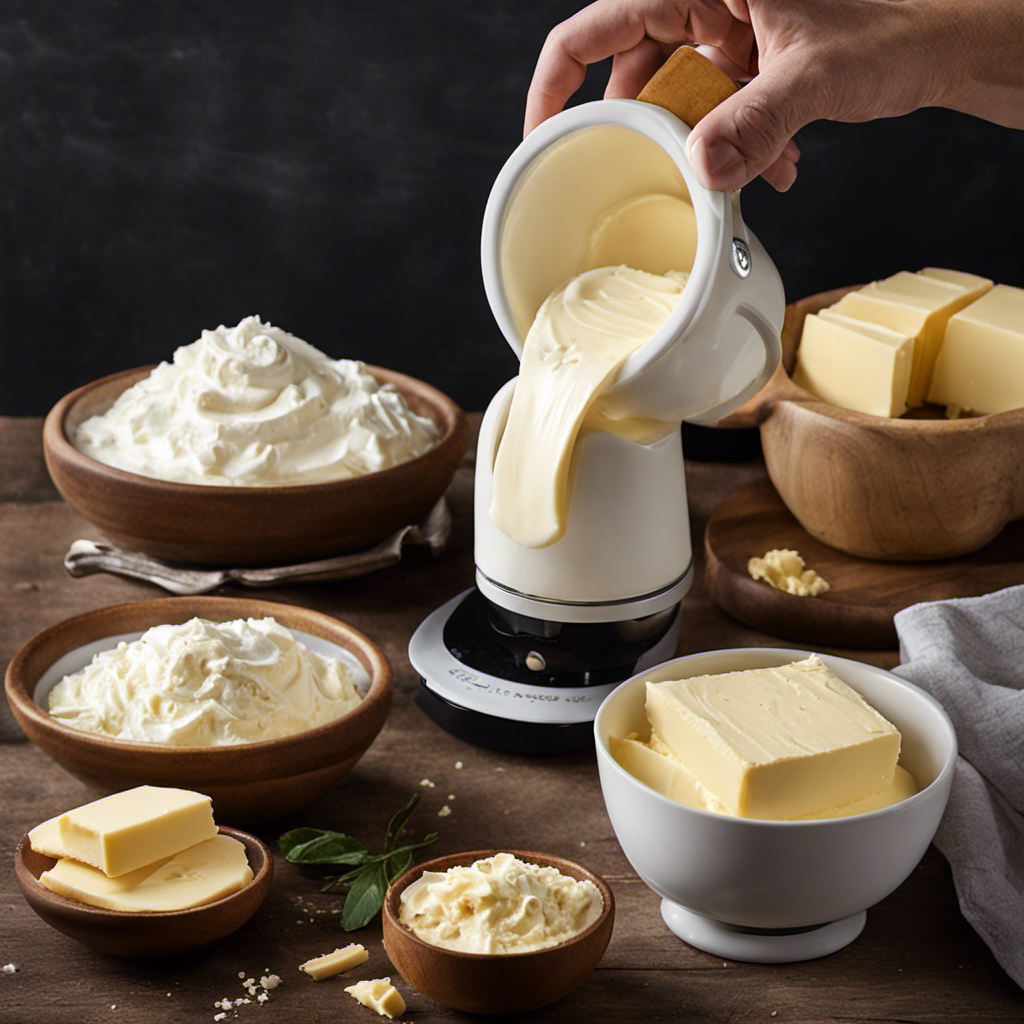
Ever thought about how to turn plain cream into homemade butter? Well, think no more! With the Pampered Chef Whip Cream Maker, I will walk you through the process step by step.
In this article, I’ll share the secrets to choosing the perfect ingredients, assembling the whip cream maker, and operating it like a pro.
Get ready to churn, separate, wash, and shape your way to delicious, homemade butter that will elevate your culinary creations to a whole new level.
Key Takeaways
- Choose heavy cream with a fat content of at least 35% for creamier butter
- Properly assemble and clean the Pampered Chef Whip Cream Maker for optimal performance
- Use chilled heavy cream and follow the specific instructions for the whip cream maker
- Strain the butter to remove excess buttermilk and enhance its texture and flavor
Choosing the Right Ingredients
When making butter with a Pampered Chef whip cream maker, it’s important to choose the right ingredients. The key to achieving creamy and delicious butter lies in the cream you use. The fat content in cream can vary, so it’s essential to understand the differences.
For the best results, opt for heavy cream or whipping cream with a fat content of at least 35%. These creams have a higher fat content, which makes them ideal for butter-making. Avoid using light creams or half-and-half, as they have a lower fat content and may not yield the desired results.
Assembling the Whip Cream Maker
To start assembling the whip cream maker, simply attach the handle to the top of the container. It should easily slide into place and click securely. Once the handle is attached, follow these steps to troubleshoot any assembly issues and ensure a smooth process:
- Make sure all parts are clean and free from any residue or debris.
- Check that the gasket is properly seated in the container to prevent any leaks.
- Ensure that the pressure valve is closed tightly to maintain the pressure during whipping.
- Double-check that all connections are secure and tightened.
Cleaning the whip cream maker is essential to maintain its performance and longevity. After each use, disassemble the parts and wash them with warm soapy water. Rinse thoroughly and allow them to air dry completely before reassembling. Proper cleaning will prevent any clogs or build-up that can affect the quality of your whipped cream.
With the whip cream maker properly assembled and ready, let’s move on to preparing the cream for churning.
Preparing the Cream for Churning
Once you have your desired ingredients measured out, start by chilling the cream in the refrigerator for at least 30 minutes.
Choosing the right cream is crucial for making delicious butter. Heavy cream with a high fat content, around 35%, is the best option. This will ensure a rich and creamy butter. Avoid using light cream or half-and-half, as they have lower fat content and won’t churn properly.
When it comes to churns, there are different types you can use. The Pampered Chef Whip Cream Maker is a popular choice for making butter at home. It is easy to assemble and use, and it provides a quick and efficient way to churn the cream into butter. Other options include hand-crank churns or electric churns, depending on your preference and availability.
Operating the Pampered Chef Whip Cream Maker
When it comes to operating the Pampered Chef Whip Cream Maker, it’s important to understand the proper assembly and use of the device.
First, I’ll discuss the steps for correctly assembling the cream maker to ensure optimal performance.
Then, I’ll address common troubleshooting issues that may arise during the use of the whip cream maker, providing helpful solutions to overcome these challenges.
Proper Assembly and Use
Make sure you’ve properly assembled and are correctly using your Pampered Chef whip cream maker. To ensure a successful butter-making experience, here are some important tips:
- Use chilled heavy cream: This will help the cream whip faster and more efficiently.
- Follow the instructions: Make sure you understand the specific instructions for your whip cream maker model and follow them carefully.
- Shake the cream: Before pouring the cream into the whip cream maker, give it a gentle shake to distribute the fat evenly.
- Experiment with flavors: Once you’ve mastered the basic butter-making process, you can try adding different herbs, spices, or even honey to create unique and delicious flavored butters.
Butter making alternatives can be time-consuming and messy, but the benefits of homemade butter are worth it. You have control over the ingredients, ensuring a healthier and fresher product. Additionally, homemade butter has a richer flavor and a creamier texture compared to store-bought options.
Troubleshooting Common Issues
After learning how to properly assemble and use the Pampered Chef whip cream maker, it’s time to address some troubleshooting issues that may arise during the butter-making process.
Troubleshooting problems can be frustrating, but with some knowledge and patience, they can be easily resolved.
One common issue is the cream not thickening properly. This could be due to using low-fat cream or not chilling the cream and equipment beforehand. To fix this, ensure you use heavy cream and refrigerate it for a few hours before starting.
Another problem could be the cream not turning into butter after extended whipping. This might be caused by not adding enough salt to the cream or not whipping it long enough. Adjust the salt amount and continue whipping until the butter separates from the buttermilk.
Churning the Cream Into Butter
To churn the cream into butter, you’ll need to keep shaking the whip cream maker vigorously. This is a crucial step in the butter-making process, as it helps break down the fat molecules in the cream and encourages them to clump together.
Here are some churning techniques to ensure successful butter-making:
- Shake the whip cream maker in an up and down motion for about 10-15 minutes.
- Take short breaks to release any built-up pressure in the whip cream maker.
- Adjust the shaking speed and intensity based on the consistency of the cream.
- Experiment with different flavor variations by adding herbs, spices, or even honey to the cream before churning.
By following these techniques, you can create homemade butter with unique flavors and textures.
Now, let’s move on to the next step of separating the butter and buttermilk.
Separating the Butter and Buttermilk
Now that we’ve successfully churned the cream into butter, it’s time to separate the butter and buttermilk. This step is crucial to obtain pure, creamy butter.
In this discussion, I’ll explain the churning process in detail. I’ll also provide some useful tips for straining the buttermilk. Additionally, I’ll explore the various different uses for buttermilk in cooking and baking.
Churning Process Explained
First, you’ll want to understand the churning process to make butter using the Pampered Chef whip cream maker. It’s a simple and efficient way to turn cream into delicious homemade butter. Here are some key points to keep in mind:
- Start with cold, heavy cream to ensure successful churning.
- Attach the whip to the whip cream maker and secure the lid tightly.
- Begin cranking the handle at a steady pace, applying consistent pressure.
- As you churn, you’ll notice the cream thickening and separating into butter and buttermilk.
By understanding the churning techniques, you can achieve the desired consistency of your butter. Experiment with different flavors and variations by adding herbs, spices, or even honey to create a personalized touch.
The possibilities are endless, and the satisfaction of making your own butter is truly rewarding.
Tips for Straining Buttermilk
For straining the buttermilk, you’ll need a fine mesh sieve or a cheesecloth to separate the liquid from the butter solids. Straining is an essential step in the butter-making process as it helps remove any remaining buttermilk, ensuring a smoother and fresher tasting butter.
To strain, simply place the sieve or cheesecloth over a container and pour the freshly churned butter into it. Gently press the butter solids with a spoon to help release any trapped buttermilk. The liquid will pass through the mesh or cheesecloth, leaving behind the creamy butter.
This technique not only preserves the freshness of your butter but also removes any excess moisture, making it easier to store and spread. Remember to refrigerate your strained butter to maintain its quality and taste.
Different Uses for Buttermilk
There are numerous ways to incorporate buttermilk into your cooking and baking, adding a tangy flavor and moisture to dishes. Buttermilk is not only delicious, but it also offers several health benefits.
Here are some uses for buttermilk in baking and the reasons why it’s good for you:
- Making tender and fluffy pancakes or waffles.
- Enhancing the flavor and texture of homemade biscuits and scones.
- Creating moist and flavorful cakes, cupcakes, and muffins.
- Adding creaminess to salad dressings and marinades.
In addition to its culinary uses, buttermilk is packed with nutrients. It is a good source of calcium, which is essential for strong bones and teeth. It also contains probiotics that promote a healthy gut. Furthermore, buttermilk is lower in fat and calories compared to regular milk, making it a great option for those watching their waistline.
Washing and Shaping the Butter
After rinsing the butter under cold water, I gently shape it into a ball using my hands. This step is crucial in achieving the desired texture and appearance of homemade butter. By shaping the butter into a ball, it becomes easier to store and use in various recipes.
Here is a table showcasing different butter shaping techniques and the benefits of homemade butter:
| Shaping Technique | Description | Benefits |
|---|---|---|
| Ball | Gently shaping the butter into a ball using hands. | Easy storage and portioning. |
| Log | Rolling the butter into a long cylindrical shape. | Convenient for spreading on bread or toast. |
| Mold | Using a butter mold to create decorative shapes. | Adds an elegant touch to special occasions. |
Homemade butter offers numerous benefits. Firstly, it allows you to control the ingredients, ensuring a healthier and more natural product. Additionally, the rich and creamy texture of homemade butter enhances the taste of dishes. Lastly, making your own butter can be a fun and rewarding experience, giving you a sense of accomplishment and satisfaction.
Storing and Using Homemade Butter
When storing homemade butter, it’s important to keep it in an airtight container to maintain freshness and prevent it from absorbing odors from other foods in the refrigerator. Here are some tips for storing and using your homemade butter:
- Store the butter in a glass or plastic container with a tight-fitting lid to keep out air and moisture.
- Keep the butter in the coldest part of the refrigerator, preferably in the butter compartment or on the top shelf.
If you’re not planning to use the butter within a week, you can freeze it for up to six months. Just make sure to wrap it tightly in freezer-safe packaging.
Don’t throw away the buttermilk that separates from the butter during the churning process. It can be used in various recipes, such as pancakes, biscuits, or salad dressings.
Frequently Asked Questions
Can I Use Any Type of Cream to Make Butter With the Pampered Chef Whip Cream Maker?
Yes, you can use different types of cream to make butter with the Pampered Chef Whip Cream Maker. However, if you don’t have this specific tool, there are alternatives available to achieve the same result.
How Long Does It Take to Churn the Cream Into Butter Using the Whip Cream Maker?
It usually takes about 10-15 minutes to churn cream into butter using the Pampered Chef Whip Cream Maker. However, if the cream is too cold or not whipped properly, it may take longer.
Can I Add Flavorings or Seasonings to the Cream Before Churning It Into Butter?
Yes, you can add flavorings or seasonings to the cream before churning it into butter. This allows for creative butter recipes that can enhance the taste and add a unique twist to your dishes.
Is It Necessary to Wash the Butter After Separating It From the Buttermilk?
Yes, it is safe to eat raw butter without washing it, but washing helps remove excess buttermilk. Homemade butter can be used in baking recipes, adding a rich and creamy flavor.
How Long Can Homemade Butter Be Stored and What Is the Best Way to Store It?
Homemade butter can be stored for up to two weeks if properly stored. The best way to store it is by placing it in an airtight container in the refrigerator to maintain its freshness and extend its shelf life.
Conclusion
In conclusion, making butter with the Pampered Chef Whip Cream Maker is a simple and satisfying process. By following the steps outlined, you can easily transform fresh cream into delicious homemade butter.
Imagine spreading a thick, creamy layer of your own butter on warm, freshly baked bread. The aroma and taste will transport you to a cozy farmhouse kitchen, where the joy of homemade goodness is always present.
So why not give it a try and indulge in the pleasure of making your own butter? You won’t be disappointed!
