I have always thought of butter-making as a form of alchemy – a magical process that changes cream into a golden, spreadable delight.
And what better tool for this magical endeavor than an ice cream maker?
In this article, I will guide you through the scientific art of making butter in an ice cream maker.
We’ll explore the right ingredients, the precise steps of churning, and the finishing touches that elevate your homemade butter to a whole new level.
Get ready to embark on a butter-making journey like no other.
Key Takeaways
- Choosing high-fat heavy cream and using it straight from the refrigerator is important for making butter in an ice cream maker.
- Properly cleaning and chilling the ice cream maker, as well as assembling it correctly, are crucial steps for successful butter-making.
- Monitoring consistency and adjusting churn speed can help achieve the desired texture and prevent issues like a greasy or grainy consistency.
- Draining buttermilk is an essential step and buttermilk can be used in various sweet and savory recipes, while the butter should be stored in an airtight container away from strong-smelling foods in the refrigerator.

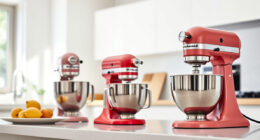
KitchenAid Artisan Series 5 Quart Tilt Head Stand Mixer with Pouring Shield KSM150PS, Milkshake
- Durable Metal Construction: Built to last with 59 touchpoints
- 5 Quart Stainless Steel Bowl: Handles small or large batches, dishwasher safe
- Tilt-Head Design: Easy ingredient addition and access to bowl
As an affiliate, we earn on qualifying purchases.
Choosing the Right Ingredients
When making butter in an ice cream maker, it’s important to choose the right ingredients. The main ingredient you need is heavy cream, which should have a high fat content of at least 35%. This ensures that you get a rich and creamy butter. Additionally, you can choose to add a pinch of salt for flavor.
It’s important to use cold heavy cream straight from the refrigerator as this helps in the separation process. Troubleshooting common problems include using cream that is not fresh or has expired, which may result in a less desirable taste. Another common problem is over-churning the cream, which can lead to a lumpy texture.
Preparing the Ice Cream Maker
Before you start, make sure you’ve properly set up your ice cream maker. This will ensure a smooth butter-making process. Here are some important steps to prepare your ice cream maker:
- Clean the ice cream maker thoroughly to remove any residue or impurities.
- Place the bowl of the ice cream maker in the freezer for the recommended amount of time to properly chill it.
- Assemble the ice cream maker according to the manufacturer’s instructions, ensuring all parts are securely in place.
By following these steps, you’ll set yourself up for success in making butter in your ice cream maker.
However, if you encounter any issues during the process, such as the machine not turning on or the butter not forming properly, don’t worry. In the next section, we’ll troubleshoot common issues and provide solutions to help you achieve the perfect homemade butter.
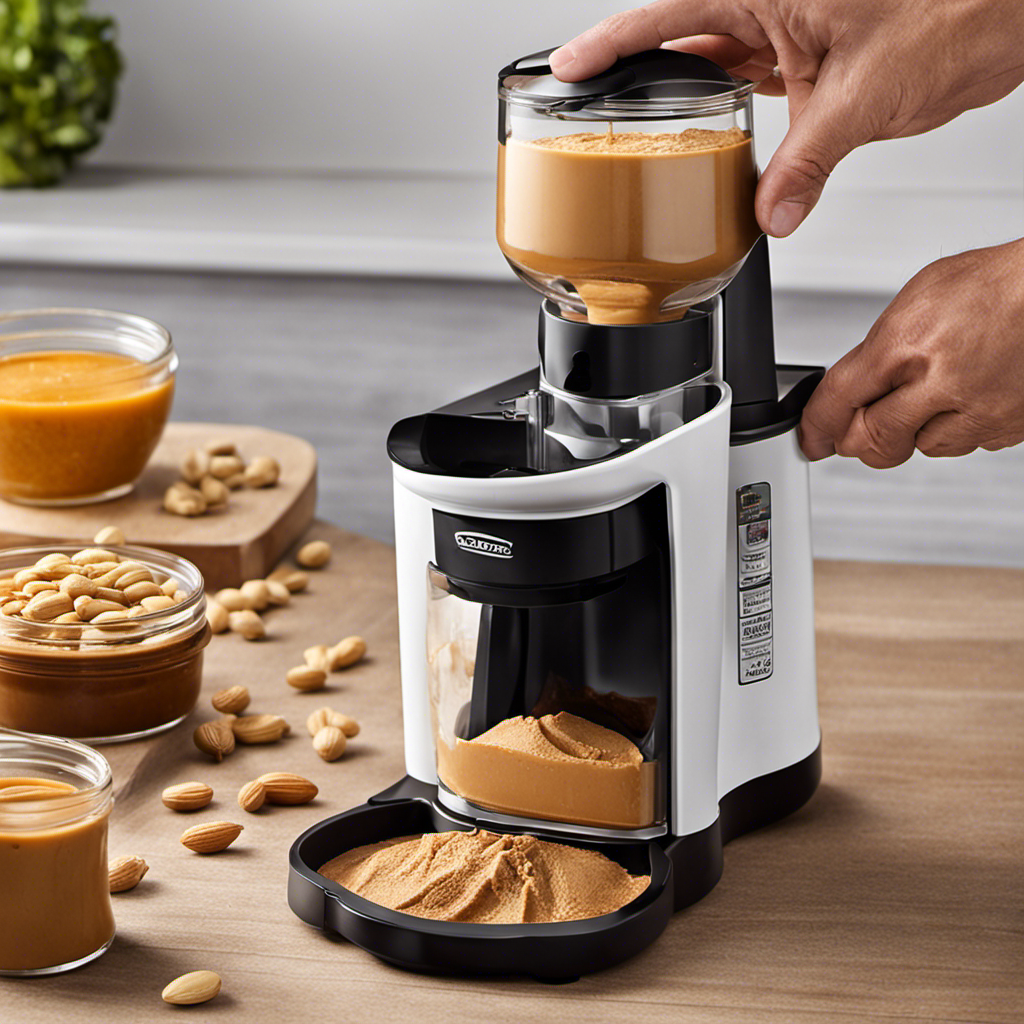
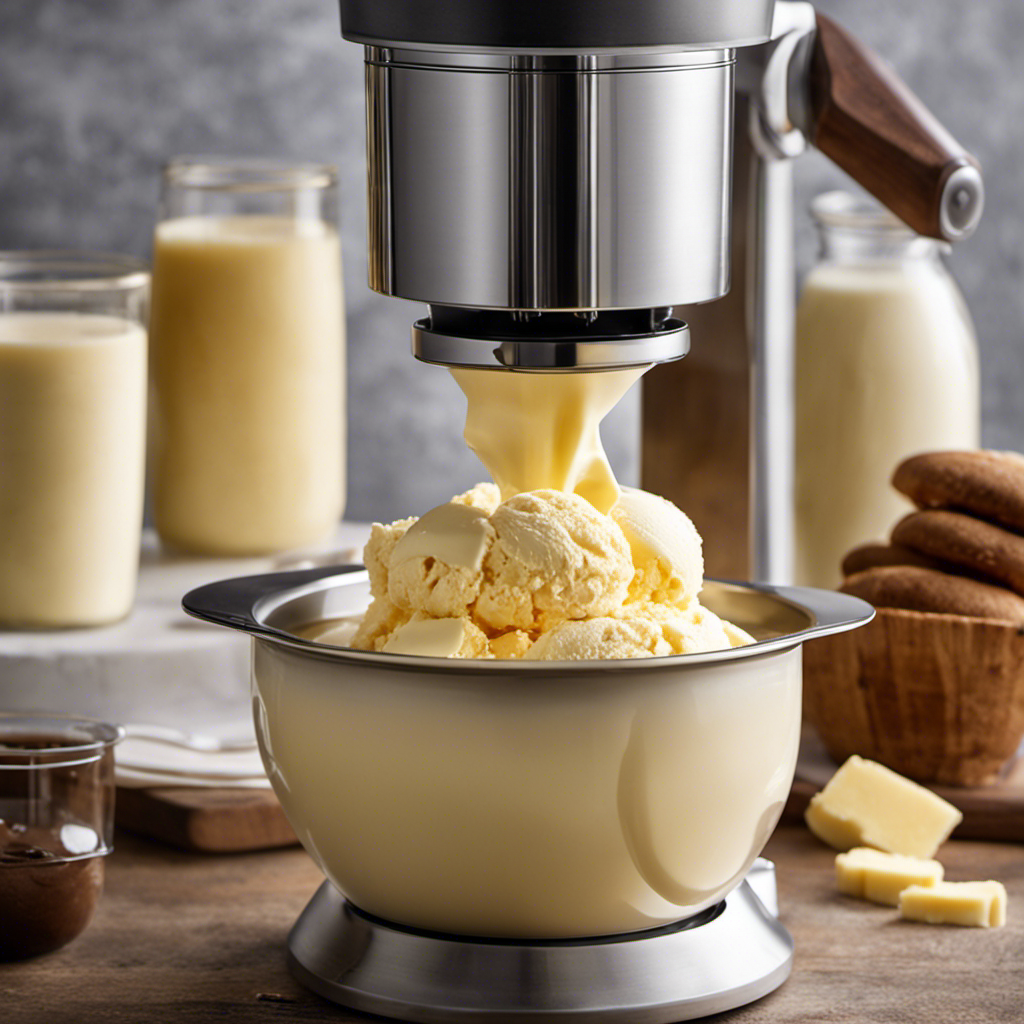
Churning the Cream
To churn the cream into delicious butter, all you need to do is pour the chilled mixture into the prepared ice cream maker and turn it on.
This process can be easily monitored by observing the consistency and texture of the cream as it transforms into butter. As the cream is churned, it will go through different stages, starting with a thickened whipped cream-like consistency and eventually separating into solid butter and liquid buttermilk.
It is important to keep an eye on the process to prevent over-churning, which can result in a greasy texture. Troubleshooting common issues may include adjusting the churning speed or temperature to achieve the desired outcome.
Adding Flavorings and Seasonings
You can easily enhance the flavor of your freshly churned butter by adding various seasonings and flavorings. Experimenting with different flavor pairings can lead to creative combinations that will elevate your butter to a whole new level.
Here are some ideas to get you started:
- Infuse your butter with herbs like rosemary, thyme, or basil for a savory twist.
- Add a touch of sweetness by incorporating honey, maple syrup, or brown sugar.
- For a burst of tanginess, try mixing in citrus zest such as lemon or orange.
By exploring these flavor options, you can create a butter that complements your dishes in unique and delicious ways.
Now that you’ve enhanced the flavor of your butter, let’s move on to monitoring its consistency and ensuring it turns out perfectly.
Monitoring the Consistency
When it comes to monitoring the consistency of homemade ice cream, there are several key points to consider.
First, achieving a smooth texture is crucial for a satisfying mouthfeel.
Second, timing is crucial when it comes to achieving the perfect consistency – too little time and the ice cream may be lumpy, too much time and it may become icy.
Lastly, adjusting the churn speed throughout the process can help control the size of ice crystals and ensure a creamy and smooth end result.
Smooth or Lumpy
For a smoother texture, let the butter sit at room temperature before churning it in the ice cream maker. This will ensure that the butter is soft and easily churned, resulting in a smoother consistency.
However, if you prefer a chunkier texture, you can use cold butter straight from the fridge.
Here are some tips for achieving your desired consistency:
-
Use room temperature cream: Starting with cream that is at room temperature will help the butter churn more evenly and produce a smoother texture.
-
Adjust churning time: The longer you churn the butter, the smoother it will become. If you prefer a chunkier texture, you can stop churning earlier.
-
Strain the butter: After churning, strain the butter to remove any remaining buttermilk. This will help prevent the butter from becoming too wet and clumpy.
Timing Is Crucial
To achieve the desired texture, it’s crucial to time the churning process correctly. When making butter in an ice cream maker, timing can present some challenges.
The first step is to ensure that the cream is at the right temperature before churning. Too cold, and it won’t churn properly; too warm, and it will turn into whipped cream.
Once the churning begins, keep a close eye on the consistency. The butter will start to separate from the buttermilk, and this is when you need to stop the churning process. Over-churning can result in a grainy texture, while under-churning will leave you with a soft and spreadable butter.
Troubleshooting tip: if the butter is still too soft, you can place it in the refrigerator for a short while to firm up.
Adjusting Churn Speed
In my previous subtopic, I discussed the importance of timing when making butter in an ice cream maker. Now, let’s delve into the current subtopic: adjusting churn speed.
This is a crucial step in the butter-making process as it directly affects the texture and consistency of the final product. Here are some key points to consider when adjusting churn speed:
- Start with a slow churn speed to allow the cream to thicken gradually.
- Increase the churn speed gradually to encourage the separation of butterfat from buttermilk.
- Monitor the churn speed closely to prevent over-churning, which can result in a grainy texture.
Troubleshooting common issues during churn speed adjustment:
- If the cream is not thickening, increase the churn speed slightly.
- If the butter starts to clump too quickly, reduce the churn speed to avoid over-churning.
Draining the Buttermilk
When it comes to making butter, draining the buttermilk is a crucial step.
Buttermilk can be used in a variety of ways, from baking to marinating meats.
In this discussion, we will explore the various uses and benefits of buttermilk, as well as alternative methods for effectively draining it from the butter.
Buttermilk Uses and Benefits
Buttermilk’s tangy flavor and creamy texture make it a versatile ingredient in both sweet and savory dishes. It is not only delicious, but also packed with health benefits.
Here are a few ways I like to use buttermilk in my recipes and the benefits it provides:
-
Buttermilk Pancakes: Adding buttermilk to pancake batter creates light and fluffy pancakes with a subtle tanginess.
-
Buttermilk Ranch Dressing: Buttermilk gives a creamy and tangy base to homemade ranch dressing, perfect for salads or as a dip.
-
Buttermilk Marinade: Marinating meats in buttermilk tenderizes the protein and adds flavor.
Health benefits of buttermilk include being a good source of probiotics, which promote a healthy gut, and being rich in vitamins and minerals like calcium and potassium. Additionally, buttermilk is lower in fat and calories compared to whole milk, making it a healthier choice.
Alternative Methods for Draining
One option to drain buttermilk is by using a fine-mesh strainer or cheesecloth. However, there are alternative methods for separating the cream and draining the buttermilk.
One such method is using a butter churn or an electric mixer with a whisk attachment. These devices agitate the cream, causing the fats to separate from the liquid. Once the cream has been churned or whisked, the buttermilk can be poured off, leaving behind the butter.
Another alternative method is the traditional method of using a butter paddle or hands to manually agitate the cream. This method requires more physical effort but can be effective in separating the cream.
Whichever method you choose, the next step is to wash and shape the butter.
Washing and Shaping the Butter
First, you’ll want to wash and shape the butter after it has formed in the ice cream maker. This step is crucial for butter preservation and ensuring its quality. Here’s how to do it:
- Start by rinsing the butter under cold water to remove any residual buttermilk.
- Next, use a wooden spatula to press and shape the butter into a block or any desired shape.
- Finally, wrap the butter tightly in wax paper or plastic wrap to prevent air exposure and moisture loss.
Proper butter packaging is essential for maintaining its freshness and flavor. By following these steps, you can ensure that your homemade butter stays in good condition for an extended period of time.
Now that we have the butter prepared, let’s move on to the next section on storing and using the homemade butter.
Storing and Using the Homemade Butter
To properly store and use your homemade butter, you’ll need to find an airtight container that will keep it fresh and prevent it from absorbing any unwanted odors from the fridge.
Storing butter correctly is essential to maintain its quality and flavor. I recommend using glass or food-grade plastic containers with tight-fitting lids. Avoid using metal containers as they can react with the butter and affect its taste.
Place the butter in the container and seal it tightly to prevent any air from entering. Store the container in the refrigerator, away from strong-smelling foods.
Homemade butter can be used in various recipes, adding richness and flavor. It can be spread on toast or used in baking, cooking, and even making sauces. Experiment with different recipes to enjoy the full potential of your homemade butter.
Conclusion
In conclusion, making butter in an ice cream maker is a truly extraordinary culinary experience.
By carefully selecting the finest ingredients and following the precise steps, you can witness the mesmerizing transformation of cream into a velvety, luscious spread.
The churning process, akin to a graceful dance, creates a whirlwind of flavors and textures.
As the butter takes shape, it becomes a work of art, ready to be savored.
Store this heavenly creation in a jar, and let it elevate your cooking to new heights.
Unleash your inner chef and embark on this butter-making adventure today!