I adore the soothing scent of butter. It’s a fragrance that immediately takes me back to my childhood kitchen.
But have you ever wondered what exactly gives butter its distinct smell? In this article, I’ll explore the factors that contribute to the scent of butter, including freshness and the differences between butter and margarine.
Get ready to dive into the world of buttery fragrances and discover how to enhance that delightful aroma.
Key Takeaways
- The aroma of butter is distinct and easily recognizable, with sweet, creamy, and slightly nutty notes.
- Compounds such as diacetyl and butyric acid give butter its characteristic smell, which are naturally produced during the fermentation process.
- Factors such as the diet of cows, manufacturing process, additives or flavorings, and storage conditions can affect the smell of butter.
- Fresh butter can be identified by its sweet, creamy aroma, while different culinary dishes can give off warm and toasty, rich and buttery, or nutty and savory butter scents.
As an affiliate, we earn on qualifying purchases.
The Aroma of Butter
I love how butter smells, it’s so rich and comforting. The butter fragrance is distinct and easily recognizable. When you open a fresh package of butter, the aroma immediately fills the room.
The butter aroma is a combination of sweet, creamy, and slightly nutty notes. It has a warm and inviting quality that can evoke feelings of nostalgia and home. The scent of butter is often described as buttery, obviously, but it can also be described as buttery-sweet or buttery-rich.
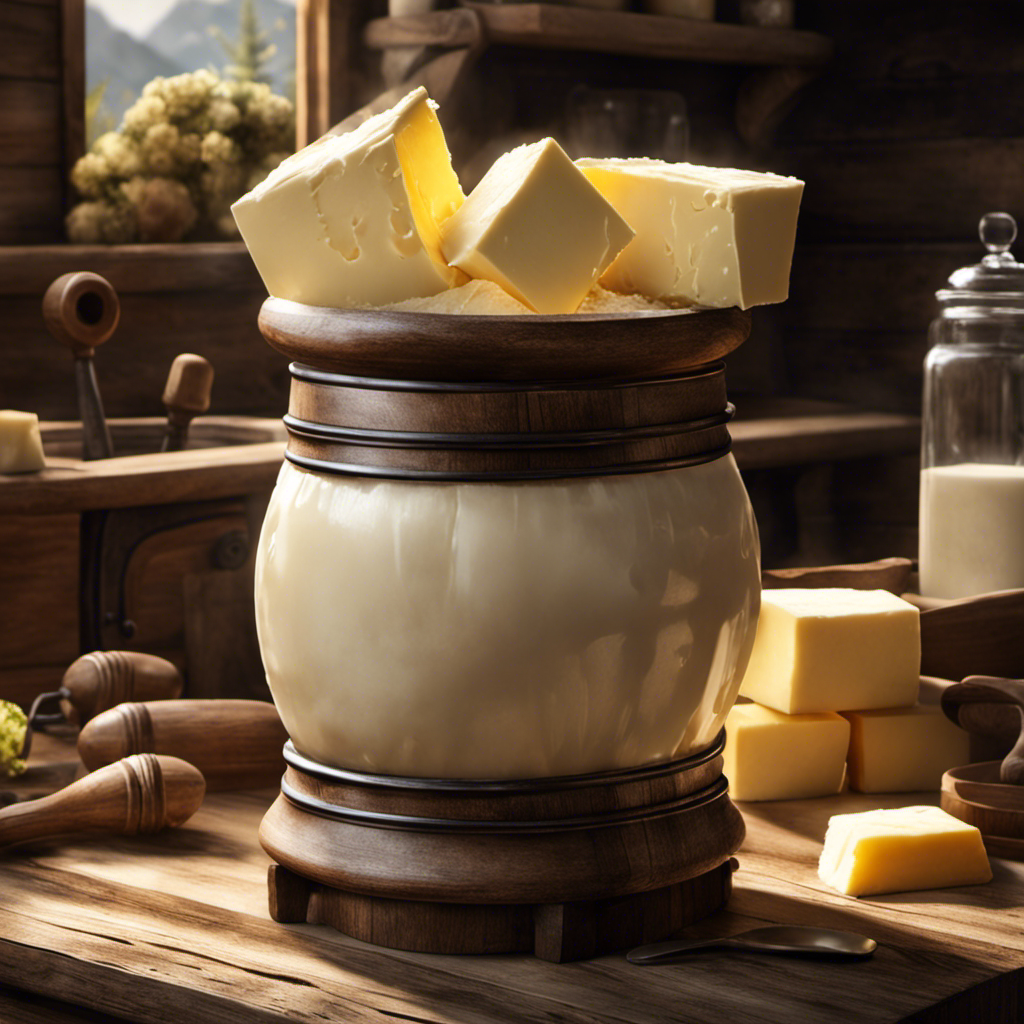
The fragrance of butter is primarily due to the presence of certain compounds, such as diacetyl and butyric acid, which give it its characteristic smell. These compounds are naturally produced during the fermentation process that occurs when cream is churned into butter.
Understanding the factors affecting butter’s scent can help us appreciate its aroma even more.
Factors Affecting Butter’s Scent
One thing that affects the scent of butter is how long it has been stored.
The sensory perception of butter scent is influenced by various factors.
Firstly, the diet of the cows can impact the aroma. Grass-fed cows produce butter with a more pronounced grassy scent, whereas grain-fed cows’ butter may have a milder aroma.
Additionally, the manufacturing process plays a role. Butter made from fermented cream, for instance, has a distinct tangy smell compared to butter made from sweet cream. The presence of additives or flavorings, such as garlic or herbs, also affects the odor.
Lastly, storage conditions are crucial. Butter absorbs odors easily, so it should be stored in airtight containers away from strong-smelling foods.
The scent of butter can therefore vary depending on these factors, leading to a range of sensory experiences.
Identifying Fresh Butter by Smell
To identify fresh butter, it’s important to trust your sense of smell and look for a sweet, creamy aroma. The scent of butter can vary depending on factors such as the preservation techniques used and the specific culinary dish it is used in. Here is a table that showcases the different scents of butter in various culinary dishes:
| Culinary Dish | Butter Scent |
|---|---|
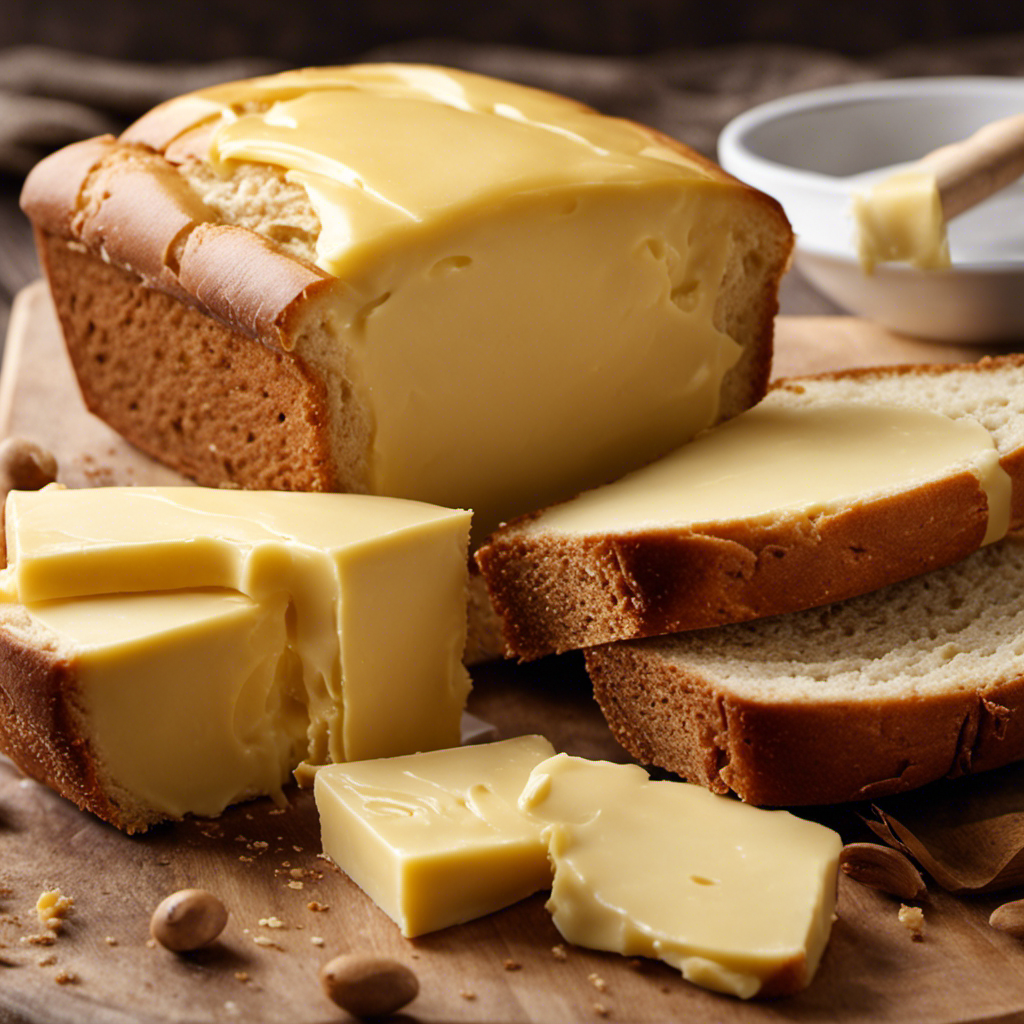
| Freshly baked bread | Warm and toasty |
| Pancakes | Rich and buttery |
| Sauteed vegetables | Nutty and savory |
As you can see, the scent of butter can change depending on how it is used in cooking. This is because butter’s aroma enhances the flavors of different dishes. In the next section, we will explore the scent comparison between butter and margarine, providing further insights into these two popular spreads.
Butter Vs Margarine: Scent Comparison
Comparing butter and margarine, the scent of each spread can be quite distinct and can greatly influence the overall flavor of a dish.
Butter, being a dairy product, has a rich and creamy aroma with a hint of sweetness. It can vary in intensity, depending on its freshness.
On the other hand, margarine, which is a butter alternative made from vegetable oils, has a milder and slightly artificial smell. It lacks the natural richness and complexity of butter.
When choosing between the two, it’s important to consider the health impact. Butter contains saturated fats, which can raise cholesterol levels, while margarine, especially the ones made with healthier oils like olive or avocado, can be a better option for those concerned about their heart health.
Enhancing the Fragrance of Butter
Enhancing the fragrance of butter is a simple way to elevate the overall taste and aroma of a dish. There are several natural ways to improve butter’s fragrance, which can add a delightful and enticing element to your favorite recipes.
Here are three effective methods to enhance the aroma of butter:
-
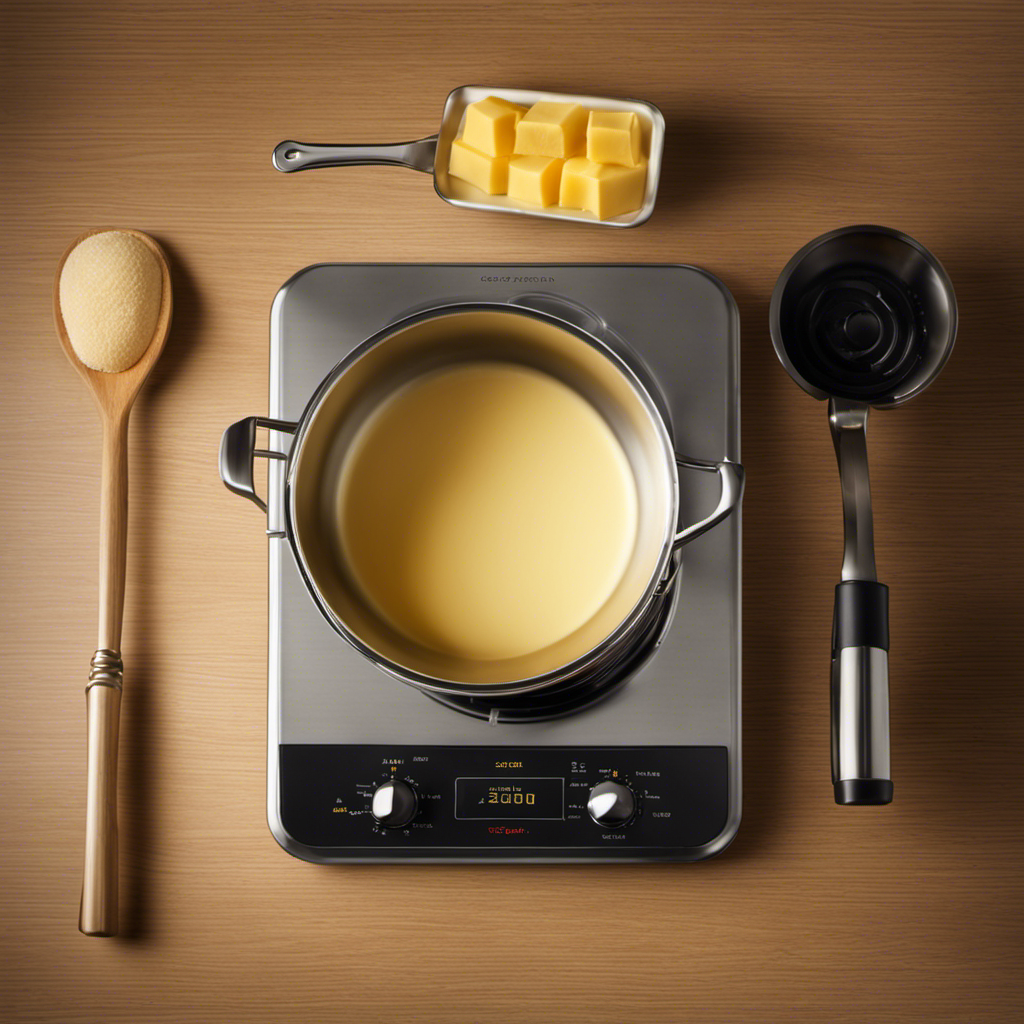
Infusing herbs and spices: Adding herbs like thyme, rosemary, or basil, or spices like cinnamon, nutmeg, or cardamom to melted butter can infuse it with their fragrant oils. Simply heat the butter gently with the desired herbs or spices, strain out the solids, and let the infused butter cool before using it.
-
Incorporating citrus zest: The zest of citrus fruits like lemon, orange, or lime contains aromatic oils that can enhance the fragrance of butter. Grate the zest finely and mix it with softened butter. Allow the mixture to sit for a while to let the flavors meld together.
-
Using floral extracts: Adding a few drops of natural floral extracts, such as rose water or lavender extract, to softened butter can lend a delicate and pleasant aroma. Start with a small amount and adjust according to your preference.
Frequently Asked Questions
What Are Some Common Uses for Butter in Cooking?
Butter is versatile in baking and cooking. It adds richness, moisture, and flavor to dishes like cookies, cakes, and pastries. It can also be used as a flavor enhancer in savory dishes.
How Is Butter Made?
Butter is made through a process called churning. Cream is agitated until it separates into butterfat and buttermilk. There are different techniques for making butter, including traditional hand-churning and modern mechanical methods.
Can the Scent of Butter Change Over Time?
Over time, the scent of butter can evolve due to various factors. Factors such as the type of milk used, the cow’s diet, and the processing methods can all influence the aroma of butter.
Does the Scent of Butter Differ Between Different Brands?
Different brands of butter can have distinct fragrances due to variations in their production processes. Each brand may use different types of cream or added ingredients, resulting in variations in the sensory perception of the butter’s scent.
Are There Any Health Benefits Associated With the Smell of Butter?
Smelling butter can evoke feelings of comfort and pleasure, but there is limited scientific research on specific health benefits associated with its scent. More studies are needed to understand its potential effects on well-being.
Conclusion
In conclusion, the scent of butter is unique and can be easily identified.
Interestingly, studies have shown that the aroma of butter is so distinctive that it can be detected by humans at concentrations as low as 0.05 parts per billion.
This means that even a tiny amount of butter can fill a room with its rich and inviting fragrance, making it a beloved ingredient in cooking and baking.