When you face butter issues, knowing how to troubleshoot can save your recipes. If your butter's grainy, make certain it's at room temperature before mixing slowly. For butter that melts too quickly, store it in the fridge until you're ready to use it. If it's too hard for baking, cut it into small pieces or warm it slightly in water. If you notice separation, whisk it well or add warm liquid to re-emulsify. Finally, to avoid off-flavors, choose high-quality butter and store it properly. Stick around to uncover more tips and tricks for perfecting your butter use!
Key Takeaways
- For grainy butter, let it warm to room temperature and mix slowly with sugar to achieve a smooth texture.
- Store butter in the fridge and only leave it out for short periods to prevent quick melting.
- Use small cubes or grated butter to soften quickly, or place wrapped butter in warm water for effective softening.
- To avoid butter separation, heat gently and whisk vigorously to re-emulsify mixtures.
- Choose high-quality butter and store it in a cool, dark place to prevent off-flavors and spoilage.
Grainy Butter Texture
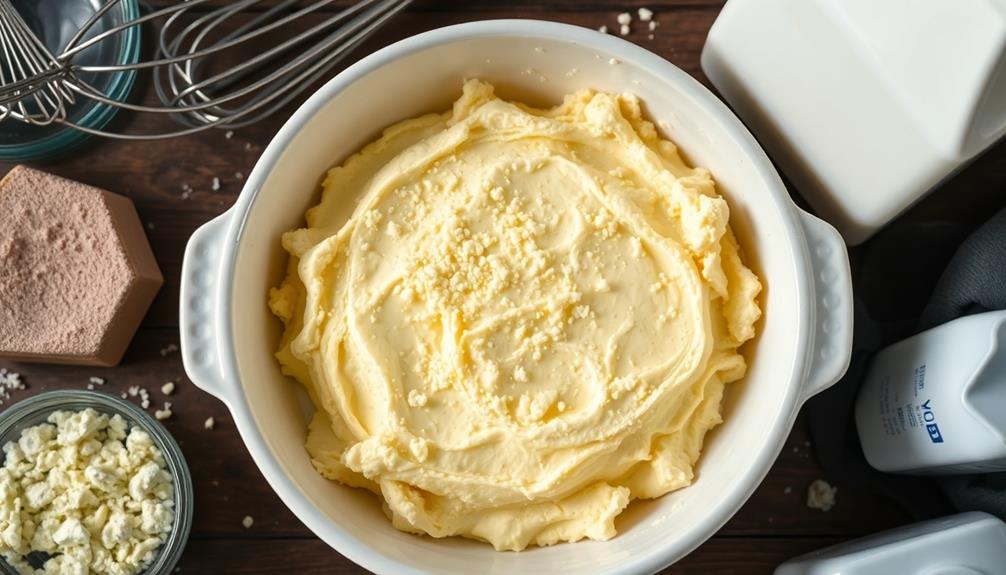
Grainy butter texture can be a frustrating issue, especially when you're aiming for that smooth, creamy consistency. This problem often arises when you're incorporating ingredients into your butter too quickly or at the wrong temperature.
If your butter's too cold, it won't blend well, leading to a grainy outcome. To enhance your butter-making process, consider using specialized tools like the ONGROK Butter Maker for efficient extraction and a better overall texture.
To avoid this, let your butter sit at room temperature until it softens. You'll want it to be pliable but not melted. Once it's ready, mix in your other ingredients gradually. If you're combining butter with sugar, start with a slow speed on your mixer to prevent clumping.
If your butter's already grainy, you can try warming it slightly over a double boiler—just enough to soften it without melting. Once it's warmed, give it a good stir or mix it at a low speed until you achieve that desired texture.
Butter Melting Too Quickly
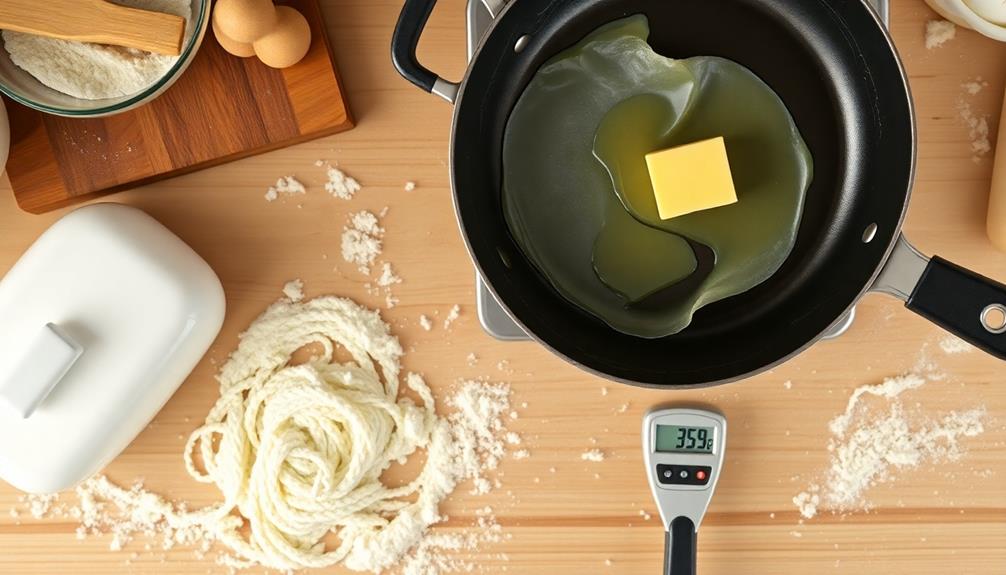
If you're working with butter and it seems to melt too quickly, you're not alone. Many home cooks face this frustrating issue. The temperature of your kitchen can remarkably affect how fast butter melts. If it's warm, your butter will soften and melt faster than you'd like.
To enhance your baking experience, consider using higher fat butter options that can provide better texture and flavor. Try to keep your kitchen cool, especially in warmer months.
Another factor could be the type of butter you're using. Some brands have higher moisture content, which affects melting behavior. If you find that your butter is consistently melting too quickly, consider switching to a high-fat butter that's designed for baking.
Additionally, how you store your butter matters. If you leave it out on the counter, it can reach melting point sooner. Store it in the fridge until you're ready to use it, and only take out what you need.
Hard Butter for Baking

When you're faced with hard butter while baking, it can throw off your entire recipe. This is especially true when using European butter, known for its higher fat content and superior flavor, which can be more challenging to soften.
Luckily, there are effective softening techniques you can use to get that butter ready quickly, or you can explore suitable substitutes if you're in a pinch.
Let's look at how to tackle this issue so you can keep baking without a hitch.
Softening Techniques for Butter
Soft butter is essential for achieving the perfect texture in baked goods, but hard butter can throw a wrench in your plans. Luckily, there are several effective techniques to soften butter quickly, so you can keep your baking on track.
One of the quickest methods is to cut the butter into small cubes. This increases the surface area, allowing it to soften more rapidly at room temperature.
If you're in a hurry, you can also grate the butter using a box grater. The small shreds will soften in just a few minutes.
Another option is to use the microwave, but you'll want to be careful. Place the butter in a microwave-safe bowl and heat it in 5-second intervals, checking often to verify it doesn't melt. You want soft, not liquefied butter.
If you have a little more time, simply leave the butter out at room temperature for about 30 minutes.
You can also place the wrapped butter in warm water for about 10 minutes—just make sure it's not submerged.
With these techniques, you can easily turn hard butter into soft butter, guaranteeing your baked goods come out perfectly every time. Happy baking!
Substitutes for Hard Butter
Hard butter can pose a challenge in baking, especially when you need it to blend smoothly into your dough or batter. If you find yourself with hard butter and no time to soften it, don't worry. There are several substitutes that can work just as well.
One great option is to use margarine. It has a similar fat content and can easily replace hard butter in most recipes.
If you have shortening on hand, that can also be an effective substitute; just remember it might alter the texture slightly.
For a healthier alternative, consider using coconut oil. Melt it down and let it cool before adding, and you'll achieve a nice consistency.
Another option is to use applesauce or yogurt in recipes where moisture is key. Both can replace some of the fat while adding moisture to your baked goods.
If you're feeling adventurous, try nut butters like almond or peanut; they add flavor and richness.
Butter Separation Issues

Butter separation issues can be frustrating, especially when you're aiming for a smooth and creamy texture in your recipes. This problem often arises when butter is heated too quickly or too high, causing the fat and water components to separate.
To avoid this, always melt your butter slowly over low heat or in a microwave using short intervals, stirring in between.
Another common cause of separation is incorporating cold butter into your mixtures. If you're mixing butter with other ingredients, make certain it's at room temperature to promote a cohesive blend. Cold butter can create lumps that lead to uneven separation.
If you notice separation in sauces or batters, try whisking vigorously to re-emulsify the mixture. Sometimes, adding a small amount of warm water or stock can help bring everything back together.
Lastly, be cautious with dairy products that contain butter. If you're using cream or milk, make sure they're fresh and well-blended before adding to your recipes.
Off-Flavors in Butter
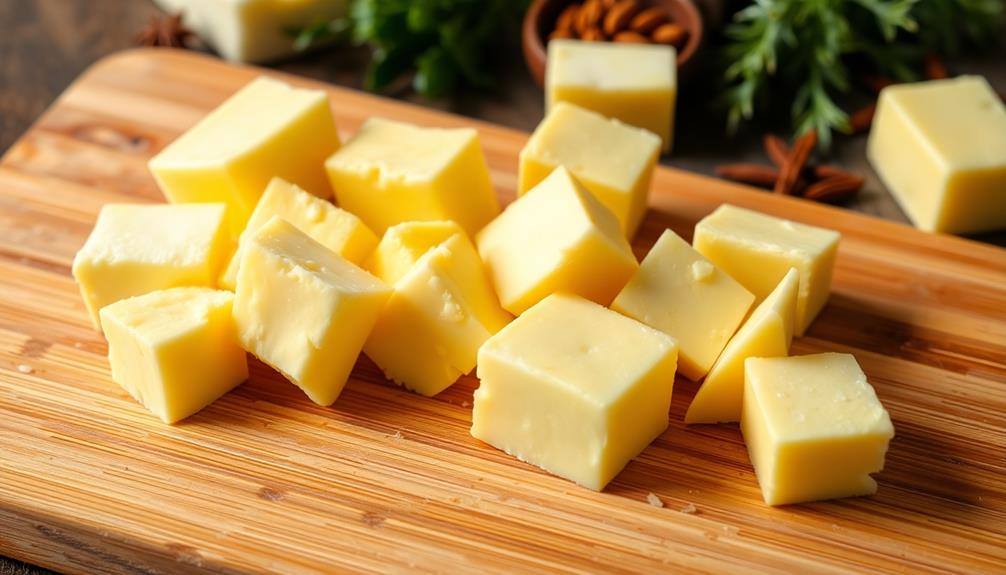
When you notice off-flavors in your butter, it can greatly impact the taste of your dishes. These undesirable flavors often stem from several factors, including the quality of the milk used to produce the butter or how it's been stored.
If the cows' diet includes strong-flavored feed, like garlic or certain herbs, these flavors can transfer into the butter, creating an unpleasant taste.
Another common culprit is rancidity, which occurs when butter is exposed to air or light for too long. This can give your butter a stale or metallic flavor.
Additionally, if butter absorbs odors from surrounding foods, it can develop off-flavors that alter your cooking results.
To prevent off-flavors, always choose high-quality butter from reputable sources. Check for freshness by examining the expiration date and the packaging.
If you've already tasted off-flavors, it might be time to replace the butter. Though it's tempting to use up every last bit, using subpar butter can ruin your culinary creations.
Pay attention to the flavors in your butter, and you'll guarantee your dishes taste their best.
Storing Butter Properly

To keep your butter fresh and flavorful, it's essential to store it at the right temperature.
Using the best storage containers can also make a big difference in preserving its quality.
Let's explore the ideal conditions for butter storage.
Ideal Temperature Range
Storing butter properly is essential for maintaining its freshness and flavor, and the perfect temperature range plays a significant role in this. Generally, butter should be stored at a temperature between 32°F and 35°F (0°C to 2°C) for ideal preservation. This range helps keep the butter firm yet spreadable, preventing it from becoming too hard or too soft.
To help you understand how temperature affects butter, here's a quick reference table:
| Temperature (°F) | Effect on Butter | Recommended Use |
|---|---|---|
| Below 32°F | Butter becomes too hard | Baking, requires softening |
| 32°F – 35°F | Perfect for spreading and cooking | Daily use, spreading |
| 36°F – 40°F | Slightly soft but still stable | Cooking, quick use |
| Above 40°F | Risk of spoilage and rancidity | Not recommended |
| 50°F and above | Rapid spoilage | Discard immediately |
Best Storage Containers
Choosing the right storage container for your butter is just as important as maintaining the ideal temperature. You want to make certain your butter stays fresh and flavorful, and the container plays a big role in that. Opt for a butter dish with a lid or a tightly sealed container to keep out light and air, which can lead to rancidity.
Glass or ceramic containers are excellent choices since they're non-reactive and won't impart any flavors. If you prefer plastic, make sure it's BPA-free to avoid any harmful chemicals. You can also use parchment paper to wrap your butter before placing it in a container. This extra layer of protection helps prevent odors from affecting the taste.
Remember to keep your butter in a cool, dark place, away from heat sources, as this will help maintain its quality. If you use a butter bell, fill the bottom with water to create a seal that keeps your butter spreadable without refrigeration.
Frequently Asked Questions
Can I Use Margarine Instead of Butter in Recipes?
You can use margarine instead of butter in most recipes, but the texture and flavor might differ slightly. Just guarantee it's unsalted if the recipe calls for unsalted butter for the best results.
How Do I Fix Over-Whipped Buttercream?
If you've over-whipped your buttercream, gently fold in a bit of milk or cream. This'll help smooth it out and restore the desired consistency. Avoid over-mixing afterward to keep it light and fluffy.
Is It Safe to Eat Expired Butter?
You can generally eat expired butter if it shows no signs of spoilage, like an off smell or mold. Just check its appearance and smell before using it to verify it's still good.
What Are the Best Substitutes for Butter in Baking?
If butter's a fading star in your baking, swap it for applesauce, coconut oil, or Greek yogurt. These alternatives not only keep your treats moist but also add unique flavors that'll surprise your taste buds!
How Do I Know if My Butter Is Fresh?
To know if your butter's fresh, check the smell; it should be mild and pleasant. Look for a consistent color and texture, avoiding any discoloration or separation. If it's sour or off, toss it out.
Conclusion
In the kitchen, butter can be both a friend and foe, but tackling its common issues can lead to delicious outcomes. Just as butter transforms from solid to liquid, so can your cooking skills evolve with practice. Remember, every mishap isn't just a setback—it's a chance to learn and improve. So, embrace those little challenges; they're often the key ingredients to mastering your culinary artistry and discovering the joy of cooking.
