
Many overlook how essential consistent feeding and adjusting hydration are to keep your sourdough starter lively and healthy. Managing mold, hooch, and temperature properly guarantees your starter ferments effectively, while choosing the right container and knowing when to discard or refresh prevents problems. Small tweaks in hydration or container size can make a big difference. If you want to master these hidden but significant aspects, you’ll discover plenty more tips that can elevate your baking game.
Key Takeaways
- Proper hydration levels vary with flour type; adjusting water content is crucial for a healthy, active starter.
- Regular discarding prevents off-flavors and excessive sourness, maintaining balance and vitality.
- Container choice affects fermentation; non-reactive materials like glass or ceramic are best for consistent results.
- Temperature control within 75-78°F optimizes yeast activity and fermentation pace.
- Recognizing spoilage signs early, like mold or foul odors, saves your starter from waste.
Amazon Product B000N4WN08
As an affiliate, we earn on qualifying purchases.
The Importance of Consistent Feeding Schedules

Maintaining a consistent feeding schedule is essential for keeping your sourdough starter healthy and active. Regular feeding helps regulate fermentation, ensuring your starter stays lively and strong. The key is to establish a feeding frequency that matches your baking routine and environment. For example, if you bake daily, feeding every 12 hours works well; for less frequent baking, once a day may suffice. Additionally, paying attention to starter hydration—how much water you add relative to flour—is vital. Proper hydration supports yeast and bacteria activity, preventing the starter from becoming too thick or too runny. Consistency in both feeding frequency and hydration keeps your starter balanced, reducing the risk of spoilage and ensuring it’s ready when you need it. Monitoring microbial activity is also important to ensure your starter remains healthy and vigorous over time.
Amazon Product B0CP7BHBCT
As an affiliate, we earn on qualifying purchases.
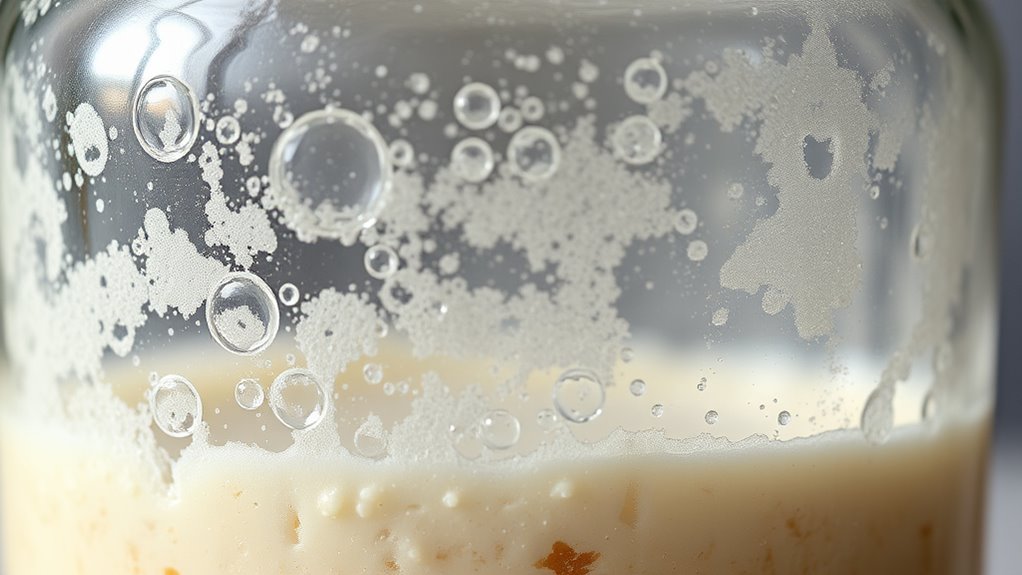
Recognizing and Handling Mold and Hooch
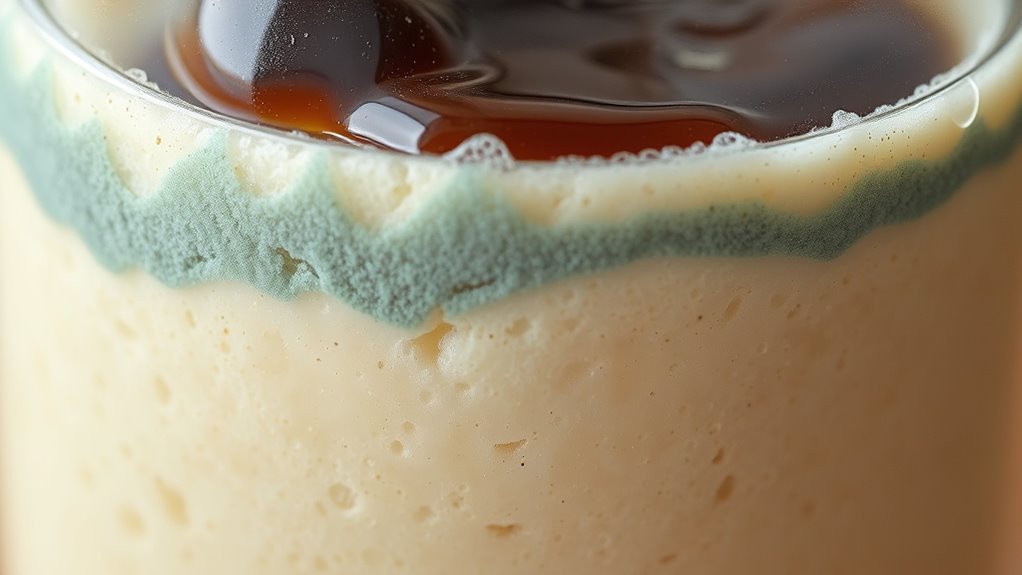
Mold and hooch are common signs that your sourdough starter needs attention. Mold appears as fuzzy spots in green, black, or white, indicating spoilage. Hooch is a dark liquid layer on top, often a sign your starter is hungry. To prevent mold, always use clean utensils and containers, and discard any moldy starter immediately. Proper mold prevention includes maintaining consistent feeding schedules and avoiding contamination. For hooch management, gently stir it back into your starter if it’s thin and not foul-smelling, or pour it off if it’s excessive or has an off odor. Regularly monitoring your starter for these signs helps keep it healthy and active. Additionally, understanding the importance of starter care and proper maintenance can significantly extend its lifespan. Quick action ensures your starter remains safe to use and prevents spoilage.
Amazon Product B00C03D01Q
As an affiliate, we earn on qualifying purchases.
Adjusting Hydration Levels for Different Flours
Different flours absorb water differently, so you may need to tweak your starter’s hydration. Keep an eye on how the mixture feels—should be smooth and slightly sticky, not runny or stiff. Adjust your water gradually, and note how the consistency changes for future reference. Being mindful of flour types can help you fine-tune your hydration for optimal sourdough performance.
Flour Absorption Rates
Since flours vary in their ability to absorb water, adjusting your hydration levels is essential for a healthy sourdough starter. Different flours have unique absorption rates, impacting your starter’s consistency and activity. To optimize starter hydration, consider these key points:
- Test flour absorption by adding water gradually until the mixture reaches your desired consistency.
- Use less water with high-absorption flours (like whole wheat) to prevent an overly loose starter.
- Add more water to low-absorption flours (such as rye) to ensure proper fermentation.
- Understanding the absorption properties of different flours can help you fine-tune your hydration levels more precisely.
Hydration Consistency Tips
Adjusting your hydration levels based on the flour you use guarantees a healthy and active sourdough starter. Different flours absorb water differently, so you may need to tweak your hydration levels for ideal results. For instance, whole grain flours typically require more water than white flour. To achieve consistency, pay close attention to your water temperature; using slightly warmer water can help hydrate dense flours more effectively. When adjusting, add water gradually until the dough reaches a smooth, tacky consistency without being too sticky or stiff. Keep track of your hydration levels and how your flour responds. This way, you can fine-tune your water measurements for different flours, ensuring your starter stays lively and ready for baking. Remember, hydration consistency is key to maintaining a healthy and manageable sourdough starter.
Amazon Product B081HT5LD6
As an affiliate, we earn on qualifying purchases.
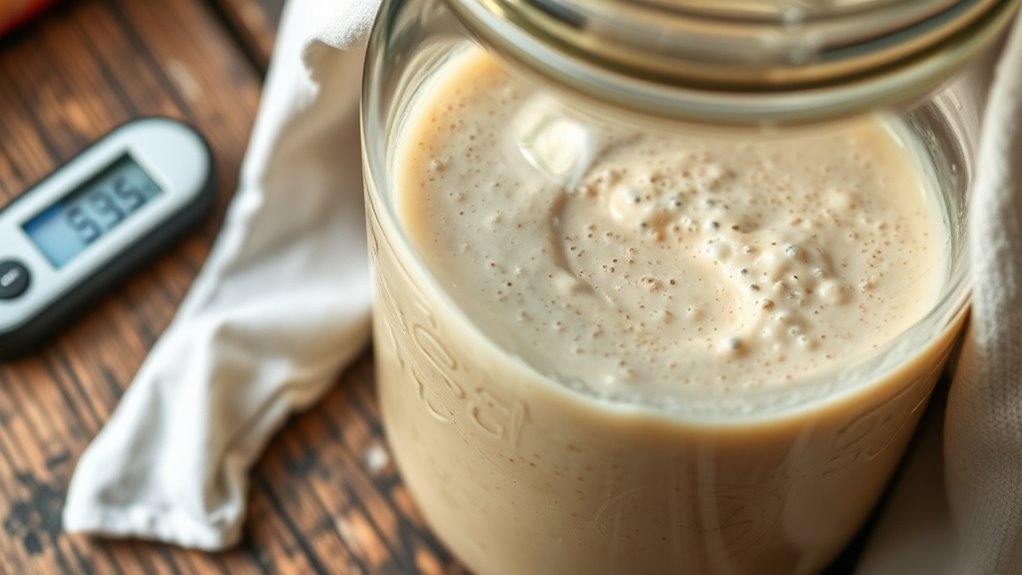
The Role of Temperature in Fermentation Speed
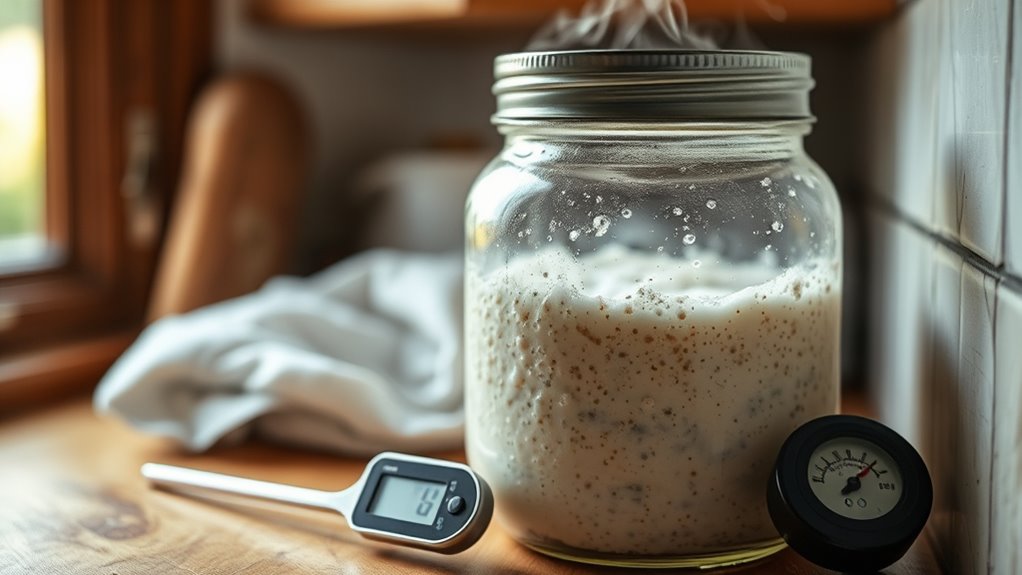
Temperature plays a crucial role in how quickly your sourdough starter ferments, as it directly influences the activity of the yeast and bacteria. Proper temperature regulation helps control the fermentation pace, ensuring consistent results. If it’s too warm, fermentation speeds up, risking overproofing and souring too quickly. If it’s too cold, activity slows, delaying development and gluten formation. To optimize fermentation, keep your starter between 75°F and 78°F (24°C – 26°C). Consider these key points: 1. Higher temperatures accelerate fermentation but can cause overactive bubbling. 2. Cooler temps slow down activity, requiring more patience. 3. Consistent temperature helps prevent unpredictable fermentation swings. Maintaining an ideal temperature range also supports detailed image quality, which is essential for predictable and healthy fermentation.
When and How to Discard and Refresh Your Starter
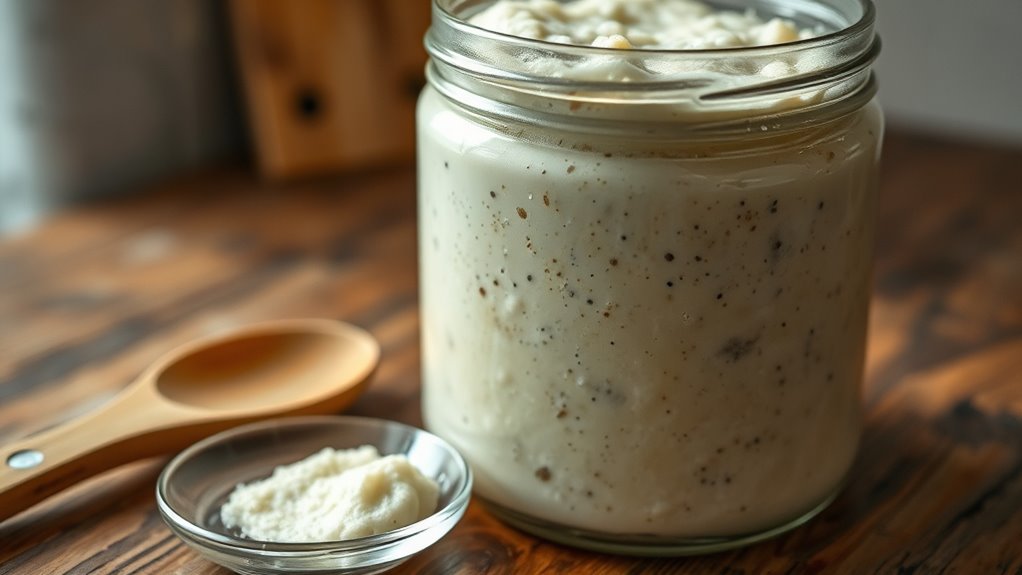
To keep your sourdough starter healthy and active, you need to know when and how to discard and renew it. If your starter develops an off-putting starter flavor or becomes overly sour, it’s time to discard a portion and feed it fresh flour and water. Regular feeding frequency helps maintain balanced fermentation, preventing unwanted flavors and weak activity. When the starter shows a decline in rise or develops dark spots, revitalizing it with new flour resets its environment. Discard enough to leave a manageable amount, usually half, then feed the remaining starter. This process ensures your starter stays vigorous, flavors remain pleasant, and fermentation stays consistent. Proper discard and refresh routines are essential for a reliable, flavorful sourdough.
Understanding the Signs of a Healthy vs. Unhealthy Starter
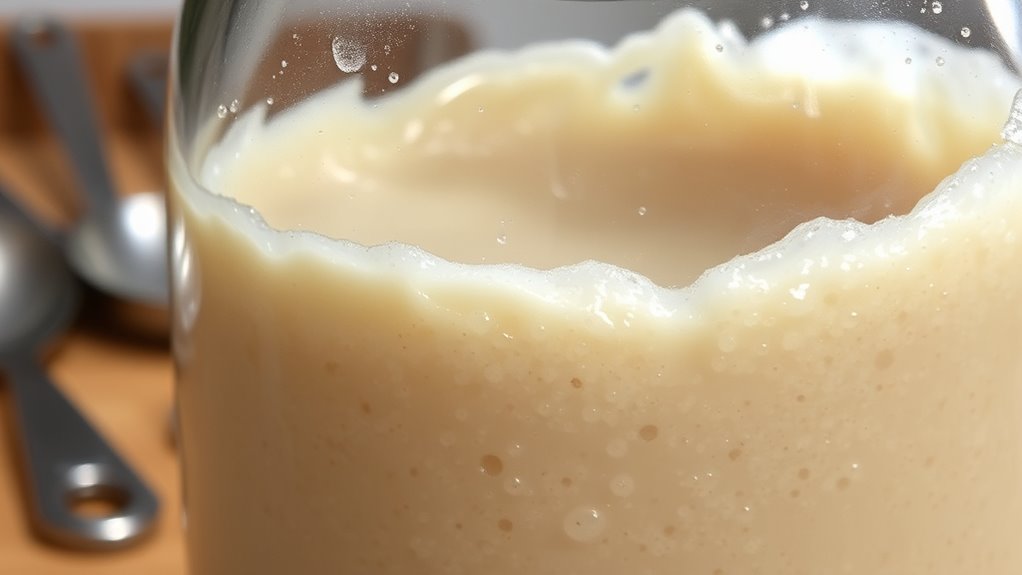
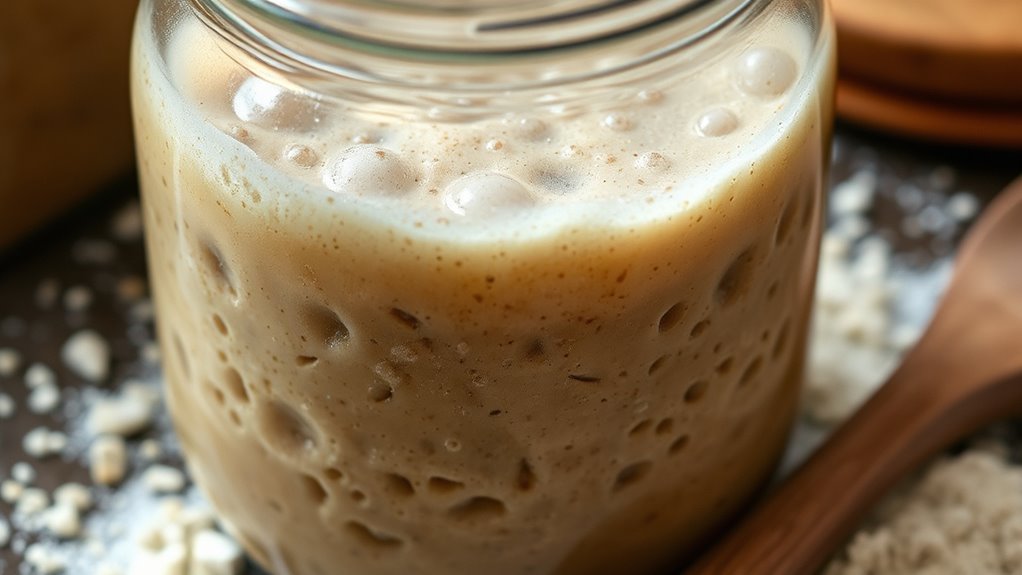
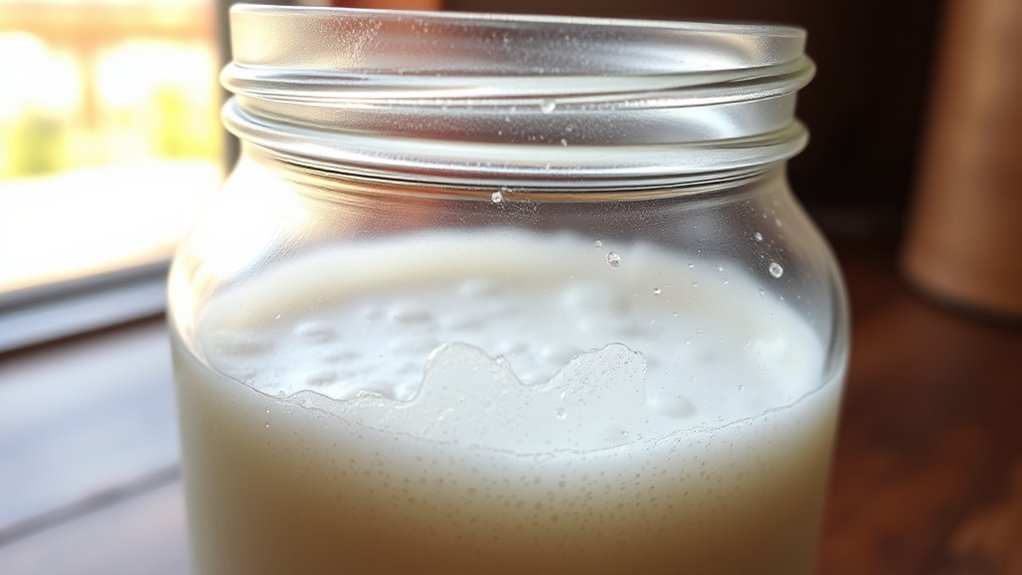
A healthy sourdough starter exhibits consistent bubbling, a pleasant tangy aroma, and a steady rise in volume after feeding. The aroma should be inviting, not sour or off-putting, indicating proper fermentation. Look for active fermentation bubbles throughout the mixture—these are signs your starter is alive and thriving. An unhealthy starter may show:
- Foul or rotten smells, signaling spoilage
- Lack of fermentation bubbles, indicating sluggish activity
- Unusual discoloration or mold growth on the surface
If your starter smells sour but not unpleasant, with plenty of bubbles and consistent rise, you’re on the right track. Trust these signs to gauge your starter’s health and ensure successful baking. Regular monitoring of Glycolic Acid benefits can help maintain a healthy skin glow, much like attentive sourdough care keeps your starter lively and effective.
The Impact of Container Choice on Fermentation
The container you choose can considerably influence your starter’s fermentation process. Different materials affect how the yeast and bacteria develop, while size impacts how much space there is for growth. Keeping your container clean and properly maintained also helps guarantee your starter stays healthy and active. Using the right storage conditions can further enhance fermentation quality.
Material’s Effect on Fermentation
Choosing the right container for your sourdough starter can considerably influence its fermentation process. The material of your container affects how wild yeast interacts with the environment, impacting activity and flavor. For instance, glass is non-reactive, allowing natural fermentation without interference. Ceramic offers similar benefits but may retain more heat, speeding up fermentation. Metal containers, especially aluminum, can react with acids from the flour types you use, potentially hindering wild yeast growth. Additionally, material reactivity can alter the acidity levels, influencing the overall health of your starter.
Consider these points:
- Glass or ceramic containers preserve the natural balance of wild yeast.
- Avoid reactive metals to prevent flavor alterations.
- The material influences temperature regulation and yeast activity, especially with different flour types.
Container Size Considerations
Selecting the right container size is essential because it directly influences how your sourdough starter ferments. A container that’s too small can restrict growth and cause spills, while one that’s too large may slow fermentation due to excess air space. The ideal container should comfortably accommodate your starter volume, allowing room for expansion during fermentation. Typically, choose a container with at least double the current starter volume to prevent overflow and promote proper airflow. Keep in mind, a slightly larger size also makes it easier to stir and feed your starter without mess. Proper container size helps maintain consistent fermentation conditions** , ensuring your sourdough develops flavor and activity efficiently. Remember, the right fit supports healthy, vigorous starter growth** and simplifies care routines.
Proper Cleaning and Maintenance
Proper cleaning and maintenance of your sourdough starter are essential for healthy fermentation, and your choice of container plays a significant role in this process. A clean, well-maintained container helps prevent contamination and supports ideal fermentation. To guarantee good container cleanliness:
- Regularly wash your container with hot water and mild soap, avoiding harsh chemicals.
- Use a non-reactive container, like glass or food-grade plastic, to prevent any unwanted reactions.
- Adjust your feeding frequency based on your starter’s activity; more frequent feedings in a clean container promote consistent fermentation.
Troubleshooting Common Problems in Sourdough Care
When your sourdough starter isn’t thriving, it can be frustrating, but most issues are manageable with some simple troubleshooting. Common problems often relate to inconsistent feeding schedules or improper hydration levels. For example, a sluggish or bubbly starter might need more frequent feedings, while a dry or overly wet starter could benefit from adjusting hydration. Use the table below to identify issues and solutions:
| Problem | Solution |
|---|---|
| Starter isn’t bubbly or rising | Adjust feeding schedule; feed more often or at regular times |
| Too dry or thick | Increase hydration levels slightly |
| Too wet or runny | Decrease hydration or feed with less water |
A healthy starter also requires proper feeding and care to stay active and vigorous.
How to Transition Your Starter From Maintenance to Baking Readiness

Once your sourdough starter is consistently bubbly and active, it’s time to prepare it for baking. To do this, focus on flavor development and adjusting starter hydration. This helps refine its strength and taste. Incorporating mindful decluttering strategies into your baking routine can help you organize your tools and ingredients more efficiently, making the process smoother. Here are three key steps: 1. Gradually increase feeding frequency to boost flavor complexity. 2. Adjust hydration levels—more water for a looser starter, less for a stiffer one—depending on your baking needs. 3. Conduct a ‘proofing’ phase by letting the starter ferment at room temperature for a few hours before baking, enhancing its flavor and rise.
Frequently Asked Questions
Can I Use Non-Traditional Flours in My Sourdough Starter?
Yes, you can use non-traditional flours in your sourdough starter. Alternative grains like rye or spelt work well and often ferment faster. For gluten-free options, use flours like buckwheat or millet, but be aware they may require more adjustments. Keep in mind, each flour type impacts activity and flavor, so experiment to find what works best for your starter and taste preferences.
How Long Can My Starter Go Without Feeding Before It Dies?
Your starter can go about a week without feeding if you keep its hydration level consistent and store it in the fridge. Low fermentation temperatures slow down activity, giving your starter more time before it risks dying. However, if you notice bubbles or a tangy smell, it’s still alive. To revive it, feed it regularly and bring it back to room temperature to restart fermentation.
Is There a Way to Tell if My Starter Has Developed Bad Bacteria?
Spot mold or a sour smell? That’s your first sign your starter’s gone bad. If you see fuzzy mold or notice a rotten, off-putting odor, it’s time to trash it. Trust your nose and eyes—these telltale signs reveal bad bacteria. Regularly inspect your starter for strange colors, sliminess, or foul smells. When in doubt, discard and start fresh to keep your sourdough safe and scrumptious.
What Are Natural Ways to Boost My Starter’s Fermentation?
To boost your starter’s fermentation naturally, encourage wild fermentation by regularly feeding it with whole grain flours, which introduce natural probiotics. Keep it at a consistent warm temperature, around 75-80°F, to promote active fermentation. You can also add a small amount of fruit peel or honey occasionally, which provides natural sugars and microbes. These methods enhance the development of beneficial bacteria, ensuring a lively, robust sourdough starter.
Can I Refrigerate My Starter Long-Term Without Losing Activity?
Yes, you can refrigerate your starter long-term without losing activity. To do so, guarantee you feed it before storing and keep it covered to prevent mold. When you’re ready to revive it, take it out, discard some, and feed it regularly to restore its strength. This process helps with starter revival and mold prevention, keeping your sourdough vibrant and healthy for future baking.
Conclusion
Just like a wise old tree that stands through storms and sunshine, your sourdough starter thrives on patience and attention. By mastering its needs—feeding, temperature, and care—you nurture a living art. Remember, even in the quiet moments of discard and refresh, you’re shaping something beautiful. With consistency, your starter will rise to meet each baking adventure, echoing the timeless dance of nature’s cycles. Embrace the journey, and watch your sourdough flourish.