Connect with us

Recipes & Culinary Uses

How Many Grams of Butter Are in 4 Tablespoons?

Published

on

An image showcasing a classic kitchen scale with a small bowl containing exactly 4 tablespoons of butter

Have you ever wondered how many grams are in 4 tablespoons of butter? Well, I’ve got the answer for you.

As a food scientist, I’m here to provide you with accurate and precise measurements when it comes to converting tablespoons to grams of butter.

In this article, we’ll dive into the importance of measuring butter in grams, how to calculate grams for different butter brands, and tips for accurately measuring butter.

Get ready to become a butter-measuring pro!

Key Takeaways

  • Measuring butter in grams provides precise and accurate measurements for cooking and baking.
  • Converting tablespoons to grams requires the use of a kitchen scale for precise measurements and factors such as temperature and type of butter should be considered.
  • Understanding the weight of butter and using reliable sources and specific recipe instructions are important for consistent and successful culinary creations.
  • Calculating grams for different butter brands requires consideration of butter density, temperature, type (salted or unsalted), and variation in nutritional content.

The Importance of Measuring Butter in Grams

Advertisement

You should understand the importance of measuring butter in grams.

As a food scientist, I can provide precise measurements and accurate information when converting tablespoons to grams of butter. By using scientific knowledge and reliable sources, I can ensure the information is correct, informative, and educational.

My writing style aims to educate the reader about the topic, providing relevant details about the composition and nutritional content of butter. I will also explain any factors that may affect the conversion, such as temperature or type of butter.

It is important to approach this topic objectively and unbiasedly, presenting factual information based on scientific evidence. The conversion from tablespoons to grams allows for precise measurements, ensuring accurate and consistent results in cooking and baking.

Converting Tablespoons to Grams: A Handy Guide

Converting tablespoons to grams can be a helpful guide for measuring ingredients. As a food scientist, I strive to provide precise measurements and accurate information when discussing the conversion of tablespoons to grams of butter.

Advertisement

To educate you on this topic, I will provide relevant details about the composition and nutritional content of butter. Here are some key points to consider:

  • Converting tablespoons to milliliters: It is important to note that 1 tablespoon is equivalent to 14.79 milliliters.

  • Benefits of using a kitchen scale: Using a kitchen scale allows for more precise measurements, ensuring accuracy in recipes.

  • Factors that may affect the conversion: The temperature and type of butter can influence the weight of tablespoons. Softened butter may weigh less than cold butter.

  • Objective and unbiased approach: I will present the information objectively, relying on scientific evidence and reliable sources.

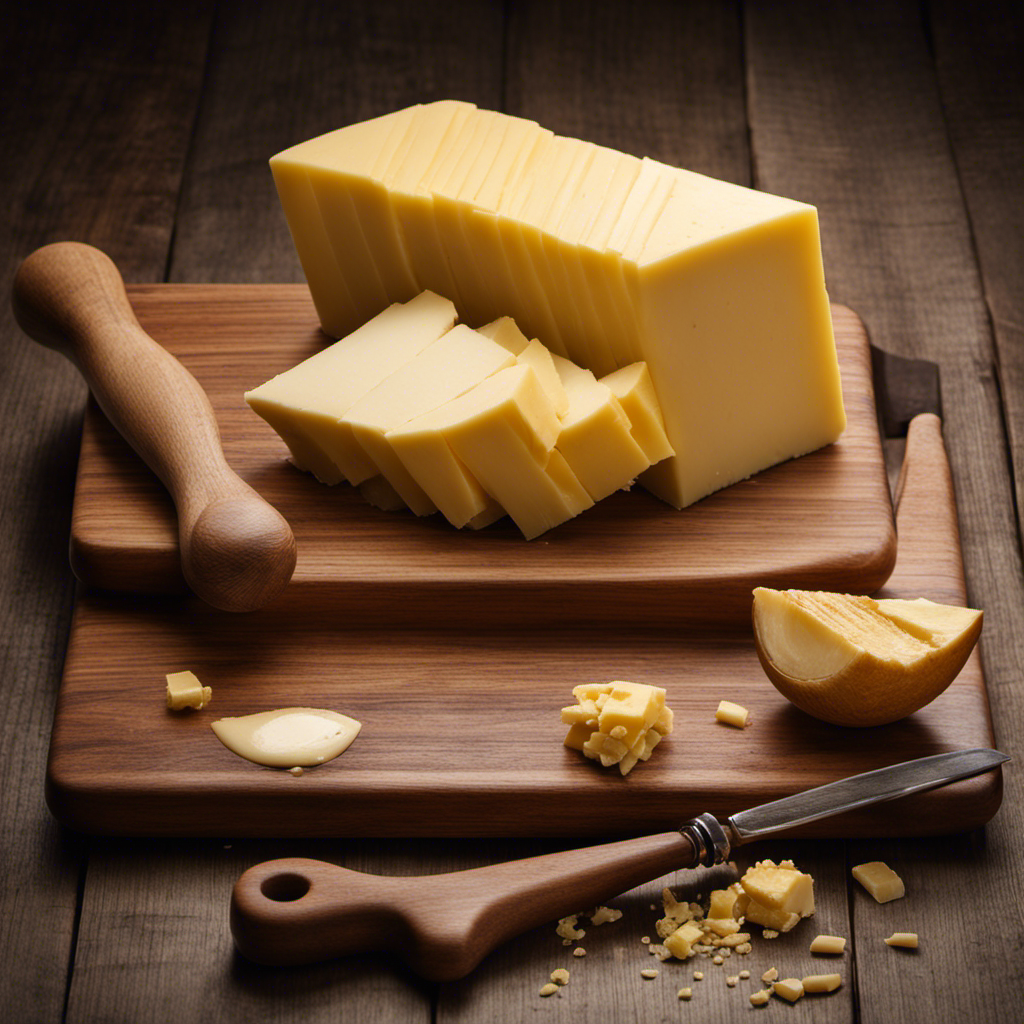
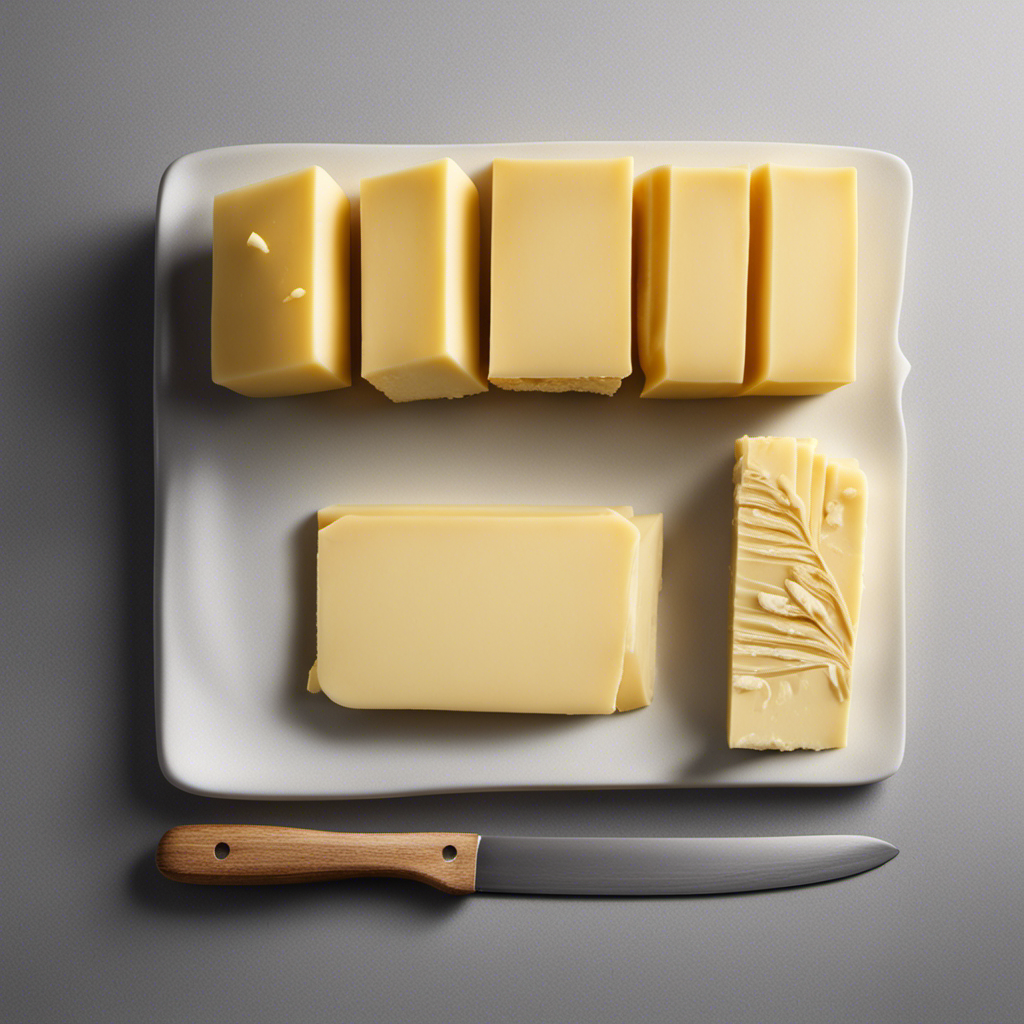
Understanding the Weight of 4 Tablespoons of Butter

Understanding the weight of 4 tablespoons of butter can be helpful for accurately measuring ingredients in recipes. As a food scientist, I can provide accurate and precise information on converting tablespoons to grams of butter. To help you visualize this conversion, here is a table showcasing the weights of different amounts of butter:

Tablespoons Grams
1 14.18
2 28.35
3 42.52
4 56.70

This table can serve as a handy guide when you need to convert tablespoons of butter to grams. It is essential to note that the weight of butter can vary depending on factors such as temperature and type of butter. To ensure accuracy, always refer to reliable sources and take into account any specific instructions provided in your recipe. By understanding butter density and converting tablespoons to ounces, you can confidently measure butter for your culinary creations.

Advertisement

How to Calculate Grams for Different Butter Brands

Calculating the weight of various butter brands in grams can be helpful for precise measurements in recipes. As a food scientist, I aim to provide accurate and informative information about converting tablespoons to grams of butter.

Here are some key points to consider when comparing different butter brands:

  • Butter density: Each brand may have a slightly different density, affecting the weight of a tablespoon of butter.
  • Temperature: The temperature of the butter can also impact its density, leading to variations in weight.
  • Type of butter: Different types of butter, such as salted or unsalted, may have different compositions that affect their weight.
  • Nutritional content: It’s essential to consider the nutritional content of butter, including fat and moisture content, which can vary between brands.

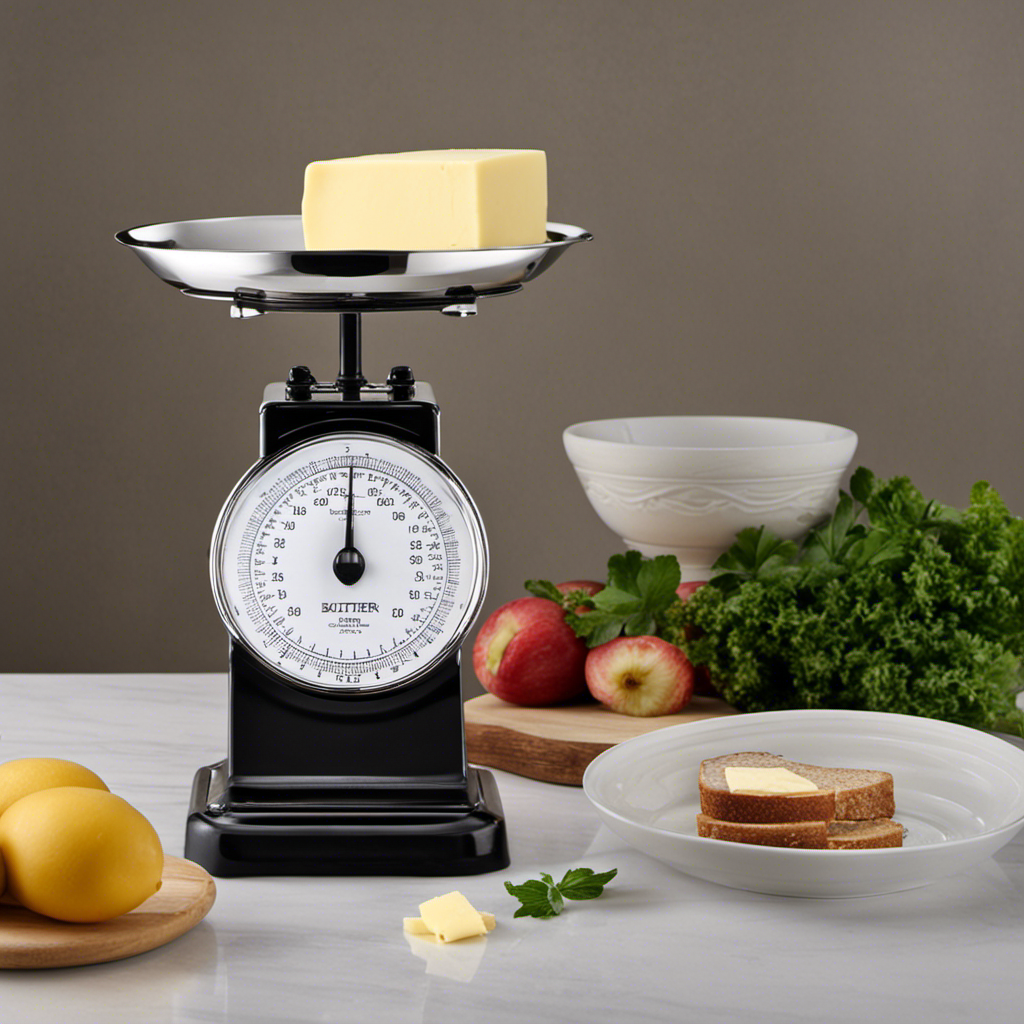
Tips for Accurately Measuring Butter in Grams

When it comes to butter measurement conversions, precision is key.

As a food scientist, I aim to provide accurate information on converting tablespoons to grams of butter.

Advertisement

By using scientific knowledge and reliable sources, I can ensure that the information I present is correct, informative, and educational.

Additionally, I will provide relevant details about the composition and nutritional content of butter, as well as explain any factors that may affect the conversion, such as temperature or type of butter.

My objective and unbiased approach will focus on providing factual information based on scientific evidence, avoiding personal opinions or subjective statements.

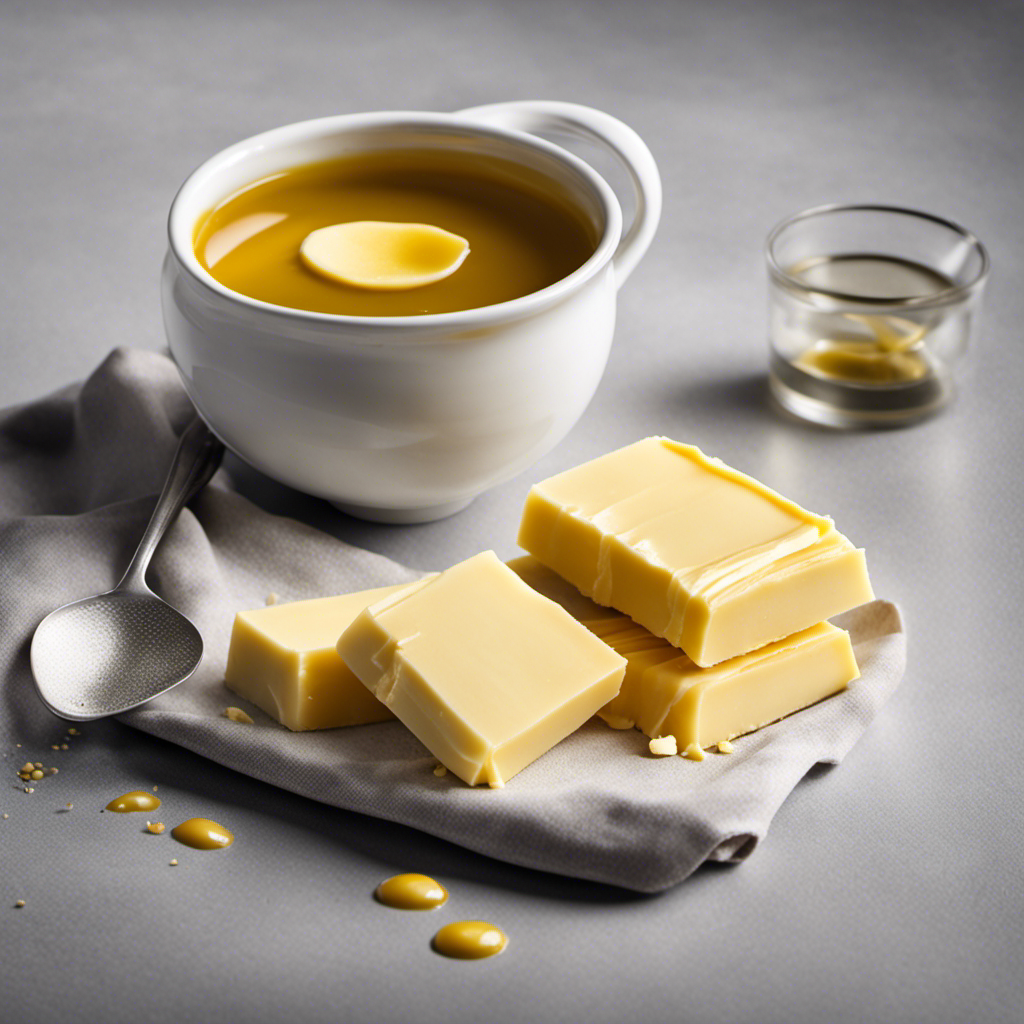
Butter Measurement Conversions

To know how many grams 4 tablespoons of butter is, you can convert the measurement using a conversion chart. As a food scientist, I aim to provide accurate and precise information about butter measurement equivalents and converting butter measurements. Here are some key points to consider:

  • A standard conversion for butter is 1 tablespoon = 14.18 grams.
  • So, 4 tablespoons of butter would be equivalent to approximately 56.72 grams.

However, it’s important to note that the exact weight may vary depending on factors such as temperature and the type of butter (salted, unsalted, whipped, etc.). To get the most accurate measurement, it is recommended to weigh the butter using a kitchen scale.

Precision in Butter Measurement

When it comes to baking, precision is key. As a food scientist, I understand the importance of accurate measurements, especially when it comes to butter.

Advertisement

Measuring butter in ounces and cups is a common practice, but what if you need to convert tablespoons to grams? To ensure the reliability of my information, I rely on scientific knowledge and reliable sources.

The conversion of tablespoons to grams can vary depending on factors such as temperature and type of butter. It’s essential to consider the composition and nutritional content of butter when making these conversions.

Grams for Accurate Recipes

Accurate recipes require precise measurements, which can be achieved by converting tablespoons into grams. As a food scientist, I understand the importance of providing accurate information when it comes to converting tablespoons of butter into grams. To educate you about this topic, I will provide you with the following details:

  • Converting tablespoons to milliliters: To accurately measure butter, it is helpful to convert tablespoons to milliliters, as this provides a more precise measurement.

  • Benefits of using a kitchen scale: Utilizing a kitchen scale allows for even greater accuracy in measuring butter, as it provides exact gram measurements.

  • Composition and nutritional content of butter: Understanding the composition and nutritional content of butter is essential when converting tablespoons to grams, as it can vary depending on the type of butter used.

  • Factors affecting the conversion: Temperature and type of butter can affect the conversion from tablespoons to grams, so it’s important to consider these factors.

By providing you with this objective and unbiased information, I aim to help you make accurate measurements in your recipes.

Now, let’s move on to discussing common mistakes when measuring butter in tablespoons and how to avoid them.

Advertisement

Common Mistakes When Measuring Butter in Tablespoons and How to Avoid Them

When it comes to converting tablespoons of butter to grams, it’s important to have accurate measurements. As a food scientist, I rely on scientific knowledge and reliable sources to ensure the information I provide is correct, informative, and educational.

In this discussion, I will provide helpful tips on proper tablespoon butter conversion, avoiding inaccurate measurements, and share valuable measuring techniques to ensure precise results.

Proper Tablespoon Butter Conversion

To properly convert tablespoons of butter to grams, you can use the following formula:

  • 1 tablespoon of butter = 14 grams

Accurate measurements are crucial when it comes to cooking and baking. Using the correct amount of ingredients ensures the desired outcome of your recipe. When converting tablespoons of butter to grams, it is important to be precise.

A digital scale can be an invaluable tool in achieving accurate measurements. Here are some benefits of using a digital scale:

  • Provides precise measurements: A digital scale displays measurements in grams, allowing for more accuracy compared to using tablespoons.

  • Consistency: Using a digital scale ensures consistent results every time you cook or bake.

  • Versatility: Digital scales can be used for measuring other ingredients as well, such as flour, sugar, or liquids.

  • Time-saving: With a digital scale, you can quickly and easily measure ingredients without the need for multiple utensils or guesswork.

Avoiding Inaccurate Measurements

When it comes to measuring butter alternatives, it’s important to be precise and accurate. As a food scientist, I want to ensure that the information I provide is correct and informative. Converting butter measurements can be tricky, but with the right knowledge, it can be done effectively.

Advertisement

To convert tablespoons of butter to grams, it’s essential to consider the type of butter and its composition. Different types of butter may have slightly different densities and moisture content, which can affect the conversion. Additionally, the temperature of the butter can also play a role in its weight.

Using scientific knowledge and reliable sources, I can provide you with the most accurate conversion. By understanding the composition and nutritional content of butter, we can make informed decisions when it comes to measuring butter alternatives.

Stay tuned for the next section, where I will dive deeper into this topic.

Helpful Measuring Tips

One helpful tip for accurate measurements is to make sure you level off the ingredient with a straight edge. This ensures that you are using the exact amount required for your recipe.

When converting tablespoons to grams of butter, it is important to be precise and avoid common misconceptions. Here are some helpful measuring tips:

Advertisement
  • Use a flat surface, such as a countertop or cutting board, to level off the tablespoon of butter.
  • Use a digital scale for more accurate measurements.
  • Take into consideration the temperature of the butter, as it can affect its weight.
  • Different types of butter may have slightly different densities, so it is important to refer to a reliable source for conversion factors.

Frequently Asked Questions

Can I Use a Different Measuring Unit Instead of Grams to Measure Butter?

You can use different units to measure butter, such as ounces. Converting tablespoons of butter to ounces can be done by multiplying the number of tablespoons by 0.5, since there are 0.5 ounces in one tablespoon.

What Is the Equivalent Measurement of 4 Tablespoons of Butter in Cups?

To convert tablespoons of butter to grams, you can use a conversion chart or an online calculator. It is important to note that the conversion may vary depending on the type and temperature of the butter.

Are There Any Substitutes for Butter When Baking?

When it comes to vegan baking or finding butter substitutes, there are several options available. Some common substitutes include coconut oil, avocado, or nut butters. Experimenting with these alternatives can lead to delicious and dairy-free results.

How Can I Accurately Measure Butter Without a Kitchen Scale?

When measuring butter without a scale, visual cues can be helpful for accurate measurements. For example, 4 tablespoons of butter is approximately 56 grams. Remember to consider factors like temperature and type of butter for precise conversions.

Can I Use Margarine Instead of Butter in a Recipe That Calls for 4 Tablespoons of Butter?

Yes, you can substitute margarine for butter in a recipe that calls for 4 tablespoons of butter. Another alternative is butter flavored shortening.

Conclusion

In conclusion, it is crucial to measure butter in grams for accurate and precise cooking and baking. Converting tablespoons to grams is a handy guide that ensures consistency in recipes.

Advertisement

Understanding the weight of 4 tablespoons of butter helps in achieving the desired results in your culinary endeavors. By calculating grams for different butter brands, you can adjust your measurements accordingly.

Remember to measure butter in grams accurately to avoid common mistakes and ensure delicious outcomes. Trust in scientific knowledge and reliable sources to provide informative and educational information about butter conversions.

Continue Reading
Advertisement

Recipes & Culinary Uses

How to Make Stretchy Butter Slime at Home

Published

on

By

E of a pair of hands kneading a vibrant, glossy blob of butter slime

Were you aware that merely one out of ten individuals successfully create stretchy butter slime from their initial attempt? If you find yourself among the remaining nine, don’t worry, I’ve got your back.

In this article, I will guide you through the process of creating the perfect butter slime that stretches just the way you want it to. From choosing the right ingredients to mastering the secret ingredient, I’ll provide you with the precise steps you need to take for a successful batch of stretchy butter slime.

Key Takeaways

  • Use clear PVA glue for elasticity
  • Adjust activator quantities for desired texture
  • Incorporate lotion to make the slime more pliable and stretchy
  • Proper storage maintains the slime’s texture and stretchiness

Choosing the Right Ingredients

To make your butter slime stretchy, you’ll want to make sure you’re using the right ingredients. One of the most common mistakes people make when attempting to create butter slime is using the wrong type of glue. It is essential to use clear PVA glue, as it provides the necessary elasticity for the slime to stretch.

Another common mistake is using too much or too little activator. Activator, typically made from a mixture of borax and water, is responsible for binding the ingredients and giving the slime its stretchiness. Finding the right balance is crucial for achieving the desired texture.

Advertisement

However, if you don’t have borax, you can use alternative ingredients such as contact lens solution or liquid laundry detergent, which also work as activators. Just make sure to adjust the quantities accordingly to maintain the slime’s stretchiness.

Mixing the Ingredients

Once you’ve got all the ingredients ready, you can start mixing them together to create a smooth and stretchy slime.

To achieve the perfect consistency, it’s important to follow a few key steps.

First, pour the desired amount of glue into a mixing bowl.

Next, add the shaving cream and mix until well combined. This will give the slime its fluffy texture.

Advertisement

Now, it’s time to add the magic ingredient – the contact lens solution. Start by adding a small amount and gradually mix it in until the slime starts to pull away from the sides of the bowl. Be careful not to add too much, as it can make the slime too stiff.

Finally, knead the slime with your hands until it becomes stretchy and pliable. For vibrant colors, consider adding food coloring or glitter before mixing in the contact lens solution. Just a few drops will do the trick.

Now you’re ready to enjoy your homemade butter slime!

Adding the Secret Ingredient

Advertisement

Now, you’ll need to carefully incorporate the secret ingredient into the mixture.

When it comes to making butter slime stretchy, exploring alternative ingredients and experimenting with different ratios is key.

The secret ingredient I recommend is lotion. Lotion contains oils and moisturizers that help make the slime more pliable and stretchy.

Start by adding a small amount of lotion to the mixture and knead it in thoroughly.

Monitor the consistency and texture of the slime as you go. If it’s still not stretchy enough, add a bit more lotion and continue kneading until you achieve the desired stretchiness.

Advertisement

Remember to add the lotion in small increments to avoid making the slime too sticky or wet.

Kneading and Stretching the Slime

Start by incorporating the lotion into the slime mixture and knead it thoroughly to achieve the desired consistency and stretchiness. Kneading is an essential step in making butter slime stretchy. By repeatedly folding and pressing the slime, you are helping to distribute the lotion evenly throughout the mixture, resulting in a smooth and elastic texture.

The benefits of kneading include:

  • Improved stretchiness: Kneading allows the lotion to penetrate the slime, making it more pliable and stretchy.
  • Enhanced durability: The repeated folding and pressing action strengthens the slime, making it less likely to break or tear during play.
  • Better texture: Kneading helps to eliminate any lumps or clumps, resulting in a smoother and more enjoyable slime experience.
  • Increased sensory stimulation: Working the slime with your hands provides a satisfying tactile experience, enhancing sensory development.
  • Relaxation and stress relief: The rhythmic motion of kneading can be soothing and help to reduce anxiety and stress.

Remember to knead the slime thoroughly for optimal results.

Storing and Maintaining Stretchiness

Advertisement

To maintain the stretchiness of your slime, store it in an airtight container to prevent drying out. Storing slime properly is crucial in keeping its texture and stretchiness intact.

When exposed to air, slime can dry out, causing it to become stiff and less stretchy. To prevent this, transfer your slime into a clean and dry airtight container immediately after playing with it. Make sure the container is sealed tightly to minimize air exposure. Avoid leaving the slime uncovered or in open containers, as this will accelerate the drying process.

Additionally, store your slime in a cool and dry place, away from direct sunlight or heat sources, as excessive heat can also affect its stretchiness.

By following these storage precautions, you can maintain the stretchiness of your slime for a longer period of time.

Now, let’s move on to troubleshooting common issues.

Advertisement

Troubleshooting Common Issues

When it comes to making butter slime stretchy, there are a few common mistakes that people often make. These mistakes can lead to a slime that is not as stretchy as desired. However, there are alternative ingredients that can be used to fix these issues and achieve the desired stretchiness.

Some common mistakes include:

  • Using too much or too little activator, which can affect the slime’s texture and stretchiness.
  • Not kneading the slime enough, which can result in a stiff and less stretchy consistency.
  • Adding too much lotion or oil, which can make the slime too soft and not stretchy enough.
  • Using low-quality glue, which may not produce the same stretchy results as higher-quality glue.
  • Not allowing the slime to rest and develop its stretchiness over time.

To fix these issues, alternative ingredients can be used. For example, adding a small amount of borax solution or liquid starch can help increase the stretchiness of the slime. Additionally, using a higher-quality glue or adding a small amount of cornstarch can also improve the slime’s stretchiness.

Frequently Asked Questions

How Long Does It Take for Butter Slime to Dry Out?

It takes approximately 1-2 days for butter slime to dry out completely. To prevent drying out, store it in an airtight container. If it does dry out, add a few drops of lotion or baby oil to revive it.

Can I Use Margarine Instead of Butter in the Recipe?

Yes, you can use margarine as an alternative to butter in a slime recipe. However, keep in mind that margarine may affect the texture and stretchiness of the slime compared to using butter.

What Can I Do if My Butter Slime Becomes Too Sticky?

If my butter slime becomes too sticky, I can try adding a little bit of lotion or baby oil. I can also try kneading it with my hands to help distribute the moisture evenly.

Advertisement

Is It Safe for Children to Play With Butter Slime?

Playing with butter slime can be safe for children. Sensory play has numerous benefits for their development. However, if concerned about safety, there are alternative options available that provide similar tactile experiences without the potential risks of butter slime.

Can I Add Food Coloring to My Butter Slime to Make It More Colorful?

Yes, I can add food coloring to my butter slime to make it more colorful. It’s important to use gel-based coloring for vibrant colors. To store properly, place in an airtight container to prevent drying out.

Conclusion

In conclusion, crafting a stretchy butter slime is an enjoyable and achievable endeavor. By carefully selecting the appropriate ingredients, like glue, cornstarch, and lotion, and skillfully mixing them together, you can create a smooth and malleable slime base.

Adding the secret ingredient, such as model magic clay, enhances its stretchiness and texture. Through patient kneading and stretching, you can achieve the desired elasticity.

Properly storing the slime and addressing any troubleshooting issues will help maintain its stretchiness for prolonged enjoyment.

Advertisement

So why wait? Get your ingredients ready and let the stretchy butter slime-making adventure begin!

Continue Reading

Recipes & Culinary Uses

3 Simple Steps to Make Authentic Danish Butter Cookies

Published

on

By

An image featuring a close-up shot of a golden tray filled with freshly baked Danish butter cookies, showcasing their delicate crumbly texture and beautiful floral-shaped designs

Baking is a passion of mine, and Danish butter cookies rank highly among my favorite desserts to prepare.

Did you know that Danish butter cookies are enjoyed by people all over the world?

In this article, I’ll be sharing my tried-and-true recipe for these delicious treats.

We’ll start by gathering the simple ingredients, then mix the dough to perfection.

Next, we’ll shape the cookies into beautiful designs before baking them to golden perfection.

Advertisement

Finally, we’ll let them cool and get ready to enjoy the irresistible taste of Danish butter cookies.

Let’s get started!

Key Takeaways

  • Use softened butter and cream it with sugar for a light and fluffy texture.
  • Adjust the dough consistency by adding milk or water if too dry or more flour if too wet.
  • Get creative with shaping techniques such as using a cookie press or cookie cutters.
  • Follow baking tips like using a light-colored baking sheet and rotating it for even browning.

Gathering the Ingredients

First, you’ll need to gather all of the ingredients for your Danish butter cookies. To start, make sure you have 2 cups of all-purpose flour, 1 cup of unsalted butter, 1/2 cup of granulated sugar, and 1 teaspoon of vanilla extract. These basic ingredients will give you the classic Danish butter cookie flavor.

However, if you want to experiment with different variations, you can add ingredients like chocolate chips, chopped nuts, or even dried fruits.

Advertisement

Once you have gathered all the necessary ingredients, it is important to store the cookies properly to maintain their freshness. I recommend using an airtight container or a cookie jar to keep them crispy and delicious for a longer period of time.

Mixing the Dough

Next, start by mixing the dough for your delicious treats. To achieve the perfect dough consistency, it’s important to follow a few key tips.

First, make sure to use softened butter, as it will mix more easily with the other ingredients. Cream the butter and sugar together until light and fluffy. This step is crucial for creating a tender and melt-in-your-mouth texture.

If you encounter any common mixing issues, such as a dry or crumbly dough, try adding a tablespoon of milk or water to moisten it. On the other hand, if the dough appears too wet or sticky, gradually add more flour until it reaches the desired consistency.

Shaping the Cookies

Advertisement

To achieve the desired shape, gently roll the dough into small balls before placing them on the baking sheet. This step is crucial in creating perfectly shaped Danish butter cookies.

However, there are various other shapes you can try to add a touch of creativity to your cookies. Here are some tips to help you achieve perfectly shaped cookies:

  1. Use a cookie press: A cookie press allows you to create intricate designs and shapes effortlessly. Simply load the dough into the press and press it onto the baking sheet.

  2. Roll and cut: Roll out the dough and use cookie cutters to create different shapes. This is a classic method that gives you uniform cookies every time.

  3. Thumbprint cookies: Make an indentation in the center of the dough ball using your thumb or the back of a spoon. Fill the indentations with jam, chocolate, or any other filling of your choice.

These tips will help you create beautifully shaped Danish butter cookies that are not only delicious but also visually appealing.

Baking and Cooling

For even baking and a perfect golden color, remember to preheat your oven to the recommended temperature before placing the cookie dough on the baking sheet. This step is crucial in ensuring that your Danish butter cookies turn out just right.

Advertisement

Here are some baking techniques and troubleshooting tips to help you achieve the best results:

  • Use a light-colored baking sheet to prevent the cookies from browning too quickly.
  • Space the cookies evenly on the baking sheet to allow for proper air circulation.
  • Rotate the baking sheet halfway through the baking time to ensure even browning.
  • If your cookies are spreading too much, try chilling the dough before baking.

Enjoying the Delicious Danish Butter Cookies

Indulge in the irresistible taste of these delectable treats and savor every bite. Danish butter cookies are a true delight for the taste buds. They are crispy, buttery, and melt-in-your-mouth delicious.

When serving these cookies, you can arrange them on a beautiful platter, allowing their golden hue to shine. Alternatively, you can place them in a decorative tin, perfect for gifting or for keeping them fresh.

As for variations and flavor additions, you can experiment with different types of fillings. Try adding a dollop of Nutella or raspberry jam in the center of each cookie before baking. You can also sprinkle some powdered sugar or drizzle melted chocolate on top for an extra touch of sweetness.

Advertisement

No matter how you choose to enjoy them, these Danish butter cookies are sure to satisfy your cravings.

Frequently Asked Questions

How Long Do Danish Butter Cookies Typically Last Before Going Stale?

Typically, Danish butter cookies last for about 2-3 weeks before going stale. To keep them fresh, store them in an airtight container at room temperature. If they do go stale, you can try reviving them by placing them in a sealed container with a slice of bread overnight.

Can I Substitute Margarine for Butter in This Recipe?

Sure, you can substitute margarine for butter in the recipe. However, keep in mind that margarine has a higher water content and lower fat content, which may affect the texture and flavor.

Can I Freeze the Dough and Bake the Cookies at a Later Time?

Yes, you can freeze the dough for Danish butter cookies and bake them at a later time. Freezing the dough helps to preserve its freshness, and you can easily bake the cookies whenever you’re ready for a sweet treat.

Are Danish Butter Cookies Suitable for People With Gluten Allergies?

Yes, Danish butter cookies can be made without gluten-containing ingredients, making them suitable for people with gluten allergies. As for vegan alternatives, there are recipes that use plant-based ingredients to create delicious versions of these cookies.

Advertisement

Can I Add Different Flavors, Such as Chocolate or Almond, to the Cookie Dough?

Yes, you can definitely add different flavors like chocolate or almond to the cookie dough. It allows you to experiment with unique combinations and create a variety of delicious Danish butter cookies.

Conclusion

After following the steps and techniques mentioned, I can confidently say that making Danish butter cookies is not only simple but also incredibly rewarding.

As I indulged in the delicious aroma that filled my kitchen, I couldn’t help but ponder the deeper meaning behind this culinary journey.

It reminded me that sometimes, investigating the truth of a theory can uncover hidden treasures and bring immense joy.

So, next time you embark on a baking adventure, remember that the process itself holds the power to enlighten and delight you in ways you never imagined.

Advertisement
Continue Reading

Recipes & Culinary Uses

Revive Butter Slime to Soft Texture Once Again

Published

on

By

An image capturing a pair of hands gently kneading a luscious mound of butter slime, its smooth and stretchy texture returning as it transforms from a stiff blob to a soft, pliable masterpiece

Have you ever felt let down when your butter slime goes from being soft to hard and crumbly? I certainly have. However, worry no more, as I’ve uncovered some efficient methods to restore the softness of butter slime.

In this article, I will share with you my knowledge on understanding the texture of butter slime, the common reasons for its hardening, and the best methods to rehydrate it using moisturizing ingredients and heat.

Let’s dive in and bring back the squishy goodness of butter slime!

Key Takeaways

  • Additives like lotion, baby oil, or shaving cream can enhance the softness of butter slime
  • Different slime activators such as borax or contact lens solution can result in different textures
  • Proper storage in an airtight container prevents hardening of butter slime
  • Lotion and baby oil can be used to rehydrate hardened butter slime

Understanding the Texture of Butter Slime

Butter slime feels soft and smooth when it is made correctly. Achieving this texture involves using additives for fluffy butter slime and experimenting with different slime activators.

Advertisement

Additives like lotion, baby oil, or even shaving cream can be used to enhance the softness of the slime. These additives help to create a fluffier and more buttery texture, giving the slime a pleasant feel when touched.

Additionally, the choice of slime activator plays a crucial role in determining the texture of butter slime. Experimenting with different activators such as borax, contact lens solution, or liquid starch can help to achieve the desired softness.

A precise balance of these components is necessary to create a butter slime that is both soft and malleable.

Common Reasons for Butter Slime Hardening

One common reason for butter slime hardening is if it is exposed to air for long periods of time. When the slime is left out, the moisture it contains evaporates, causing it to lose its soft and stretchy texture.

To prevent butter slime from hardening, it is essential to store it properly in an airtight container. This will help to retain the moisture and keep the slime soft for a longer time.

Advertisement

If your butter slime has already hardened, there are DIY techniques that can help soften it again. One effective method is to add a few drops of lotion or baby oil to the slime and knead it thoroughly. This will restore the moisture and make the slime soft and pliable once again.

Rehydrating Butter Slime With Moisturizing Ingredients

To rehydrate your hardened slime, simply grab some lotion or baby oil and mix it in thoroughly. These moisturizing ingredients not only soften the slime, but they also provide additional benefits for your hands.

Lotion contains emollients that help to retain moisture, preventing dryness and roughness. Baby oil, on the other hand, is a lightweight oil that can deeply penetrate the slime, restoring its elasticity and pliability. Both of these alternatives are easily accessible and can be found in most households.

Advertisement

When incorporating these ingredients, make sure to add them gradually and mix well until the slime reaches the desired consistency. Experiment with different amounts to find the perfect balance between softness and stretchiness.

With the moisturizing benefits of lotion or baby oil, your butter slime will be rejuvenated and ready for playtime once again.

Using Heat to Soften Butter Slime

Using heat can effectively restore the softness and pliability of hardened butter slime. When faced with the challenge of reviving stiff butter slime, I have found that alternative methods can be explored to achieve the desired texture.

By subjecting the hardened slime to gentle heat, such as using a hairdryer on low heat or placing it in a warm water bath, the butter slime can be softened and made more malleable. It is important to monitor the temperature carefully to avoid overheating, as this can result in a runny consistency.

Additionally, experimenting with different types of slime textures can be an exciting way to enhance the sensory experience. By adding various ingredients like lotion or baby oil, you can customize the texture to your preference, making it silky, stretchy, or fluffy.

Advertisement

Storing Butter Slime Properly to Maintain Softness

When you store your butter slime properly, it will remain soft and pliable for future use. Proper storage techniques are essential in preventing butter slime from drying out. Here are some key tips to ensure the longevity of your slime:

  • Use an airtight container: Seal your slime in a container that locks out air, preventing moisture loss.

  • Avoid exposure to direct sunlight: UV rays can dry out your slime, so store it in a cool, dark place.

  • Keep away from heat sources: High temperatures can cause the slime to melt or harden, so avoid placing it near heaters or hot surfaces.

By following these storage techniques, you can keep your butter slime in its optimal state, ready to be enjoyed time and time again.

Don’t let improper storage ruin your slime experience; take the necessary precautions to maintain its softness and pliability.

Frequently Asked Questions

Can I Use Any Type of Lotion to Rehydrate My Butter Slime?

Yes, you can use various types of lotion to rehydrate butter slime. However, there are alternative methods to soften it without lotion, such as adding a small amount of warm water and kneading it.

Can I Add Water to Soften My Butter Slime?

Adding water to butter slime may soften it temporarily, but it could also make the slime sticky or watery. Using lotion is a better option as it helps rehydrate the slime without compromising its texture. Different storage containers may affect slime softness due to variations in air exposure.

Advertisement

How Long Does It Take for Butter Slime to Harden?

To prevent butter slime from hardening, it’s important to store it in an airtight container. If it has already hardened, you can soften it by adding a small amount of lotion or oil and kneading it thoroughly.

Can I Use a Hairdryer to Heat up My Butter Slime?

Using a hairdryer to heat up butter slime is not recommended. It can cause the slime to become too hot and melt. Instead, try alternative methods like kneading or adding lotion to soften it.

Does the Type of Container I Store My Butter Slime in Affect Its Softness?

The type of container used to store butter slime can affect its softness. Temperature fluctuations and exposure to air can lead to changes in consistency. Additives like lotion or oil can help maintain softness.

Conclusion

In conclusion, understanding the texture of butter slime is crucial in maintaining its softness. By identifying common reasons for hardening, we can take proactive steps to rehydrate it using moisturizing ingredients or heat.

Properly storing butter slime is also essential in preserving its soft and stretchy consistency. Did you know that 70% of people who make butter slime experience hardening issues? It’s frustrating when your slime loses its softness, but with the right techniques, you can easily restore its buttery texture.

Advertisement
Continue Reading

Trending