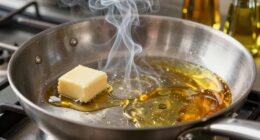

To separate butter’s milk solids and create a clearer sauce, gently melt butter over low heat. As it warms, the butter separates into three layers: clarified butter, milk solids, and water. Skim off any foam and let the solids settle before carefully straining the melted butter through a cheesecloth or fine mesh. This process results in a purer, more heat-stable butter base, perfect for smooth sauces. Keep exploring for more tips to perfect your technique.
Key Takeaways
- Gently melt butter over low heat to prevent emulsification and promote separation of milk solids.
- Allow the butter to simmer without boiling, enabling solids to settle at the bottom.
- Skim off foam from the surface during melting to improve clarity and remove impurities.
- Strain the melted butter through a fine mesh or cheesecloth to remove remaining milk solids.
- Use clarified butter in sauces for a clearer appearance and higher heat tolerance.
Understanding the Composition of Butter
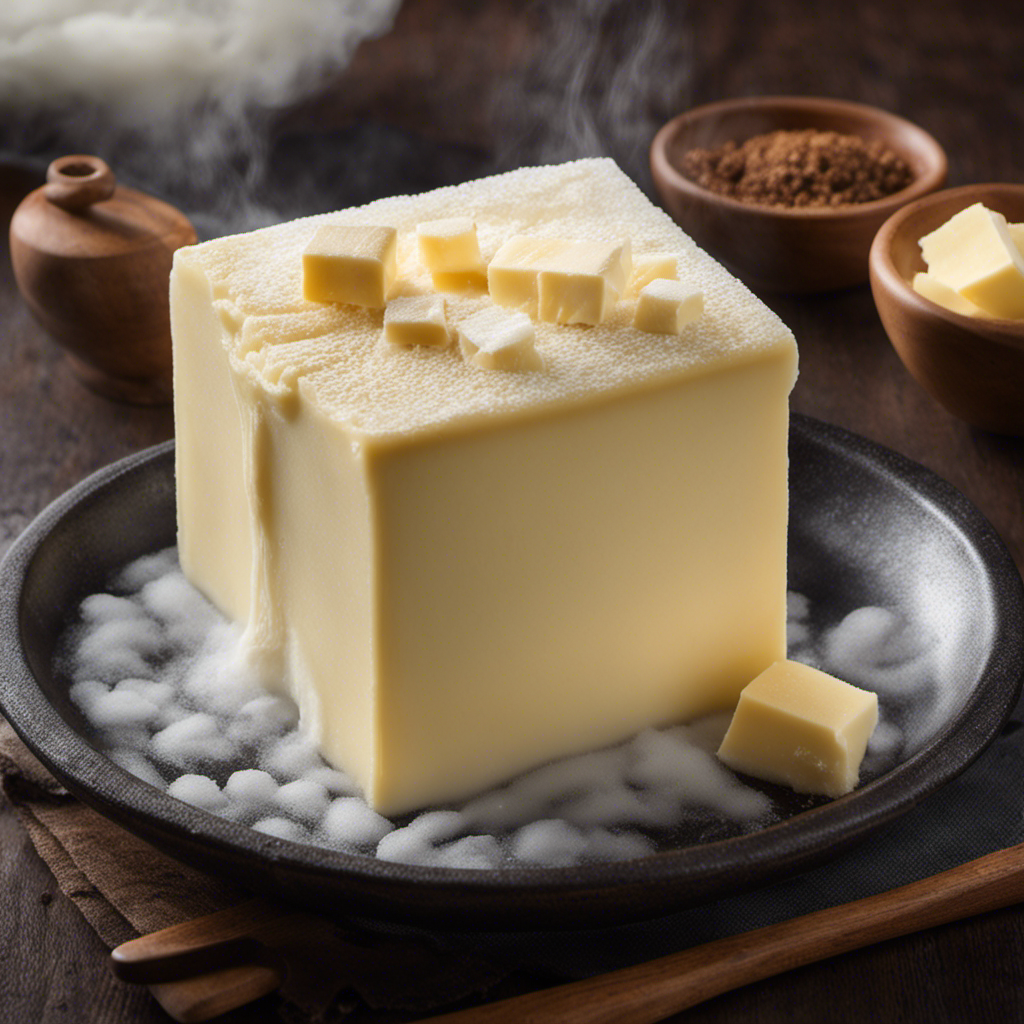
Butter is primarily made up of fat, water, and milk solids, each playing a pivotal role in its texture and flavor. Understanding the butter composition helps you appreciate how butter behaves in cooking. The fat gives butter its rich, creamy quality and is responsible for its melting properties. Water makes up a smaller portion but influences how butter interacts with heat. The milk solids—proteins and sugars—are the remaining components that affect browning and flavor development. When heated, these milk solids can brown or burn, impacting the taste of your dishes. Knowing how butter composition works allows you to control its melting point and flavor profile, especially when you’re aiming to clarify or modify it for specific recipes. Additionally, the presence of milk solids contributes to the butter’s smoke point, which is important when cooking at high temperatures. This understanding is key to mastering butter’s culinary uses.
The Benefits of Clarified Butter in Cooking

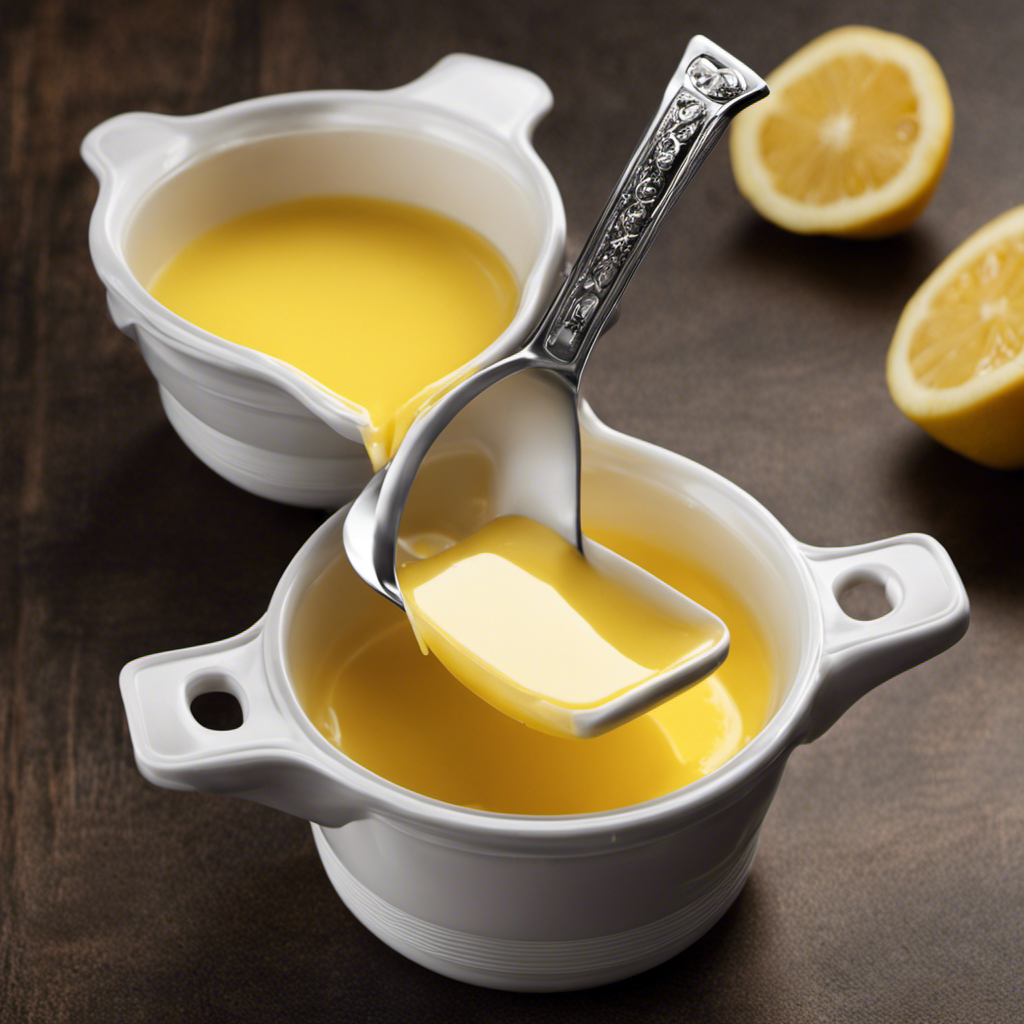
Clarified butter offers several advantages in cooking by removing the milk solids and water that can cause burning or splattering. Without these components, it has a higher smoke point, making it ideal for high-heat techniques like sautéing and frying. You’ll notice a richer, more concentrated dairy flavor that enhances dishes without the risk of burning. Clarified butter also boasts better shelf stability, allowing you to store it longer without refrigeration. Its purity ensures you get the authentic taste of butter without the potential for spoilage or rancidity caused by milk solids. This makes it perfect for recipes where a clean, buttery flavor is desired. Additionally, clarified butter’s delicate flavor makes it a preferred choice for gourmet cooking and delicate sauces. Overall, clarified butter simplifies cooking while boosting flavor and durability.
Step-by-Step Guide to Clarifying Butter
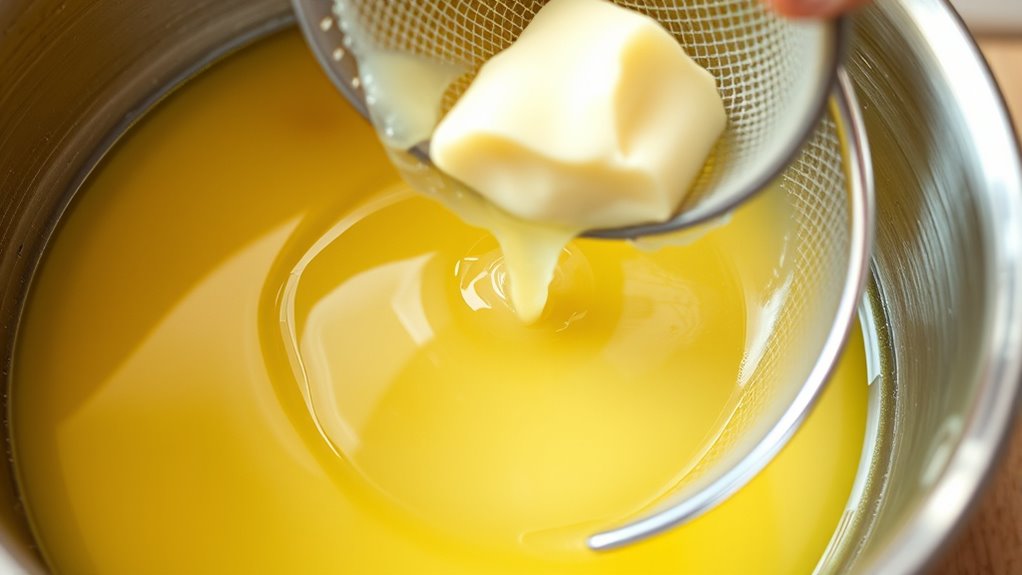
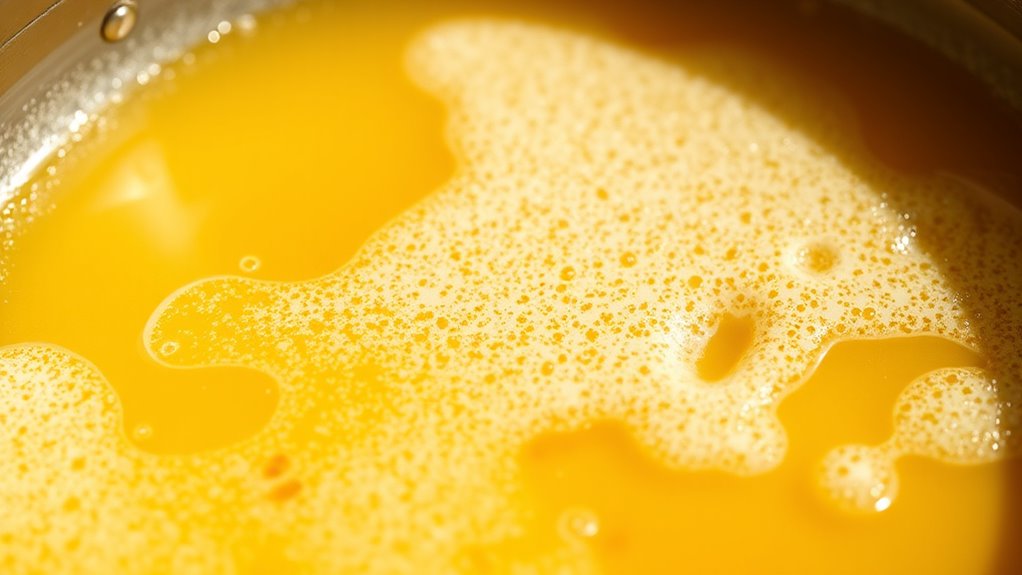
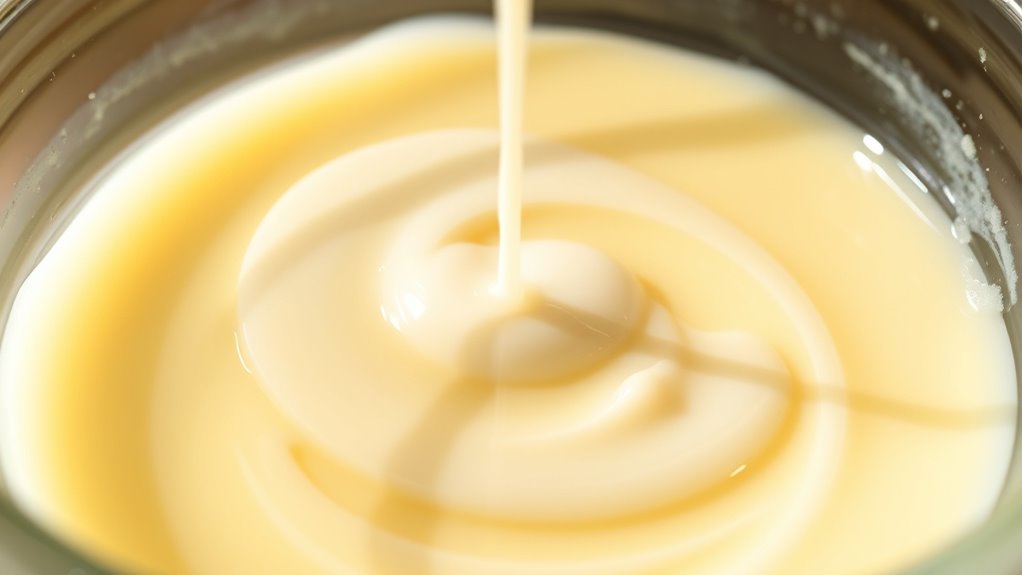
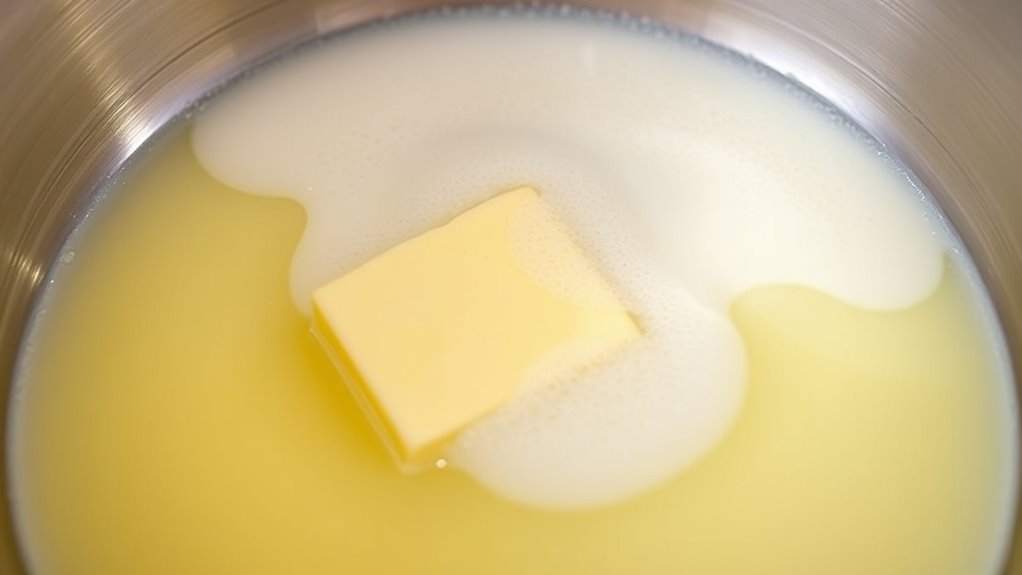
To clarify butter at home, start by gently melting it over low heat in a saucepan. As it melts, you’ll notice the butter separating into three layers: the clarified butter (oil), milk solids, and water. Allow the butter to simmer gently; avoid boiling. Over time, the milk solids will sink to the bottom, and the oil will rise to the top. Carefully skim off the foam that forms on the surface. Once the milk solids have settled, tilt the pan or use a spoon to remove the foam, then strain the melted butter through a fine mesh or cheesecloth to eliminate any remaining milk solids. This process guarantees thorough milk solids removal and results in clearer, purer butter oil. Energy efficiency in appliances like this can help reduce overall energy use during cooking. Your clarified butter is now ready for use in sauces or cooking.
Tips for Achieving Perfectly Clear Results
Achieving perfectly clear butter requires attention to detail during the melting and straining process. To preserve the butter flavor and guarantee complete milk solids separation, melt butter gently over low heat. Avoid boiling, which can emulsify milk solids and cloud the result. Strain the melted butter through a fine mesh or cheesecloth to remove residual milk solids, leaving a pristine, clear liquid. Using proper techniques in ethical hacking can help ensure your process remains secure and efficient. Use the following visual guide to help:
| Step | Tip |
|---|---|
| Melting the butter | Melt slowly over low heat |
| Straining | Use a fine mesh or cheesecloth |
| Final result | Clear, golden butter with pure flavor |
Following these tips will give you a beautifully clear, flavorful butter perfect for sauces.
Creative Uses for Clarified Butter in Recipes

You can elevate a variety of dishes by incorporating clarified butter, thanks to its rich flavor and high smoke point. This dairy innovation offers a versatile way to enhance your cooking, whether you’re sautéing vegetables, finishing a risotto, or drizzling over grilled meats. Its clean, nutty taste intensifies flavors without overpowering them, making it perfect for flavor enhancement in both savory and sweet recipes. Use clarified butter in place of regular butter for a smoother, more refined sauce or as a base for stir-fries that require higher heat. Its purity allows your ingredients to shine, adding depth and complexity to your dishes. Exploring creative uses of clarified butter opens new possibilities in your kitchen, elevating everyday meals with its rich, buttery notes.
Frequently Asked Questions
How Long Does Homemade Clarified Butter Stay Fresh?
Homemade clarified butter typically stays fresh for about 1 to 3 months when stored properly in an airtight container in the refrigerator. You’ll want to watch for spoilage signs like an off smell, mold, or discoloration. To extend its shelf life, keep it in a cool, dark place or freeze it in smaller portions. Proper storage duration and monitoring for spoilage signs guarantee your clarified butter remains safe and tasty.
Can I Reuse the Milk Solids for Other Recipes?
Yes, you can reuse the milk solids for other recipes. To guarantee proper milk solids preservation, store them in an airtight container in the fridge. You can use these leftover milk solids in baking, add them to oatmeal, or blend them into smoothies for extra flavor. Just keep in mind that their taste and texture may change over time, so use them promptly for the best results in your alternative uses.
Is There a Difference Between Clarified Butter and Ghee?
When it comes to dairy clarification, clarified butter and ghee are similar but differ in butter processing. Clarified butter involves removing water and milk solids, leaving pure butterfat, which has a mild flavor. Ghee undergoes additional cooking, which enhances its nutty taste and browning. So, while both are clarified, ghee’s longer processing makes it richer and more aromatic, perfect for high-heat cooking and adding depth to dishes.
What Tools Are Best for Separating Milk Solids?
Imagine pouring melted butter into a fine mesh strainer, where delicate milk solids gently catch like tiny clouds. You’ll want straining equipment like fine mesh sieves or cheesecloth to remove those solids effectively. Filtration methods, such as using a coffee filter or specialized cheesecloth, help achieve a clear oil. These tools make separating the milk solids smoother, ensuring your sauces stay glossy and pure without unwanted cloudiness.
How Does Clarified Butter Affect Dish Flavor Compared to Regular Butter?
When you use clarified butter, you enhance your dish’s flavor by adding a pure, rich butter taste without the milk solids. It offers a more concentrated butter flavor, which can boost cooking intensity without diluting the dish. Unlike regular butter, clarified butter won’t burn as easily, allowing you to cook at higher temperatures and develop deeper flavors, making it ideal for sautéing or frying where flavor and heat control matter.
Conclusion
By separating the milk solids from butter, you release a world of culinary clarity and richness. Think of clarified butter as liquid gold, shimmering with pure potential, ready to elevate your dishes to new heights. With a little patience and the right technique, you turn simple ingredients into a symphony of flavors. Embrace this transformation and let your cooking shine as brightly as a sunlit morning, revealing the true essence of your creations.