
I’ve always been impressed by how easily and quickly butter can be melted in the microwave.
Did you know that melting butter in the microwave is not only a time-saving technique, but also helps to preserve its flavor and texture?
In this article, I will guide you through the steps to safely and efficiently melt butter in the microwave.
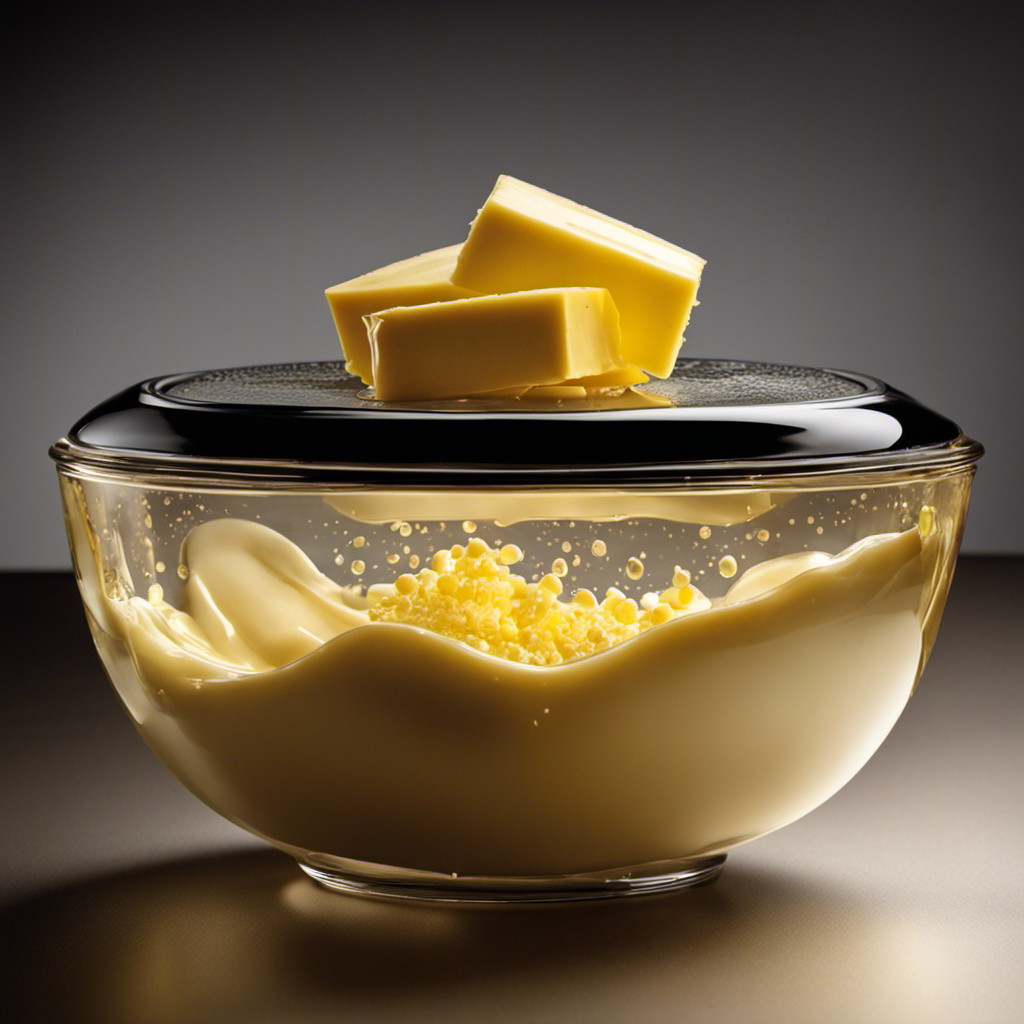
Grab your favorite microwave-safe bowl and let’s get started!
Key Takeaways
- Consider the fat content and flavor when choosing a butter brand.
- Opt for unsalted butter for more control over the flavor.
- Use a microwave-safe container labeled as such, or use glass or ceramic bowls as alternatives.
- Adjust the power level and time settings on your microwave, and pause and stir the butter at regular intervals to ensure even melting and prevent burning.
TOPKITCH ETL Listed 4 Pan Commercial Food Warmer,Electric Countertop Bain Marie Stainless Steel Buffet Steam Table for Catering and Restaurants(4×1/2 GN Pan,120V/1700 Watts
4×1/2 Size GN pan for Diversity: 4×1/2 GN Pan Equipped,4×12Qt super large capacity, allowing you to store four...
As an affiliate, we earn on qualifying purchases.
Selecting the Right Butter and Microwave Safe Container
To melt butter in the microwave, you’ll want to make sure you select the right butter and a microwave-safe container.
When it comes to choosing the best butter brand, it’s important to consider its fat content and flavor. Look for a brand that has a high fat content, as this will ensure a smooth and creamy melt. Additionally, opt for unsalted butter to have more control over the flavor of your dish.
As for the container, make sure it is labeled as microwave-safe to avoid any accidents or damage. If you don’t have a microwave-safe container, you can use a glass or ceramic bowl instead. Just be cautious and avoid using plastic or metal, as they can cause the butter to melt unevenly or even spark a fire.

CAMMOO 1200W Electric Steam Table Food Warmer, Bain Marie 86-185°F Adjustable Temp, Countertop Stainless Steel Buffet Steam, Commercial Food Steamer for Catering Restaurant
Our thermostat complies with UL safety requirements, locking in the set temperature with precision. Combined with a 304...
As an affiliate, we earn on qualifying purchases.
Preparing the Butter for Melting
When it comes to melting butter in the microwave, there are two key points to keep in mind: optimal microwave settings and avoiding butter splatters.
To achieve the perfect consistency, it’s important to use the right power level and time settings on your microwave.
Additionally, to prevent messy splatters, covering the container with a microwave-safe lid or paper towel is essential.
Optimal Microwave Settings
The best way to melt butter in the microwave is by using a lower power setting. This allows for a slower and more even melting process, preventing the butter from overheating or splattering. The appropriate microwave wattage and melting point of butter are important factors to consider when determining the optimal power level.
Here’s a table to help you determine the ideal power setting based on your microwave wattage and the desired consistency of melted butter:
| Microwave Wattage | Melting Point of Butter | Optimal Power Setting |
|---|---|---|
| 600-800 watts | 90-95°F (32-35°C) | 30-40% power |
| 800-1000 watts | 95-100°F (35-38°C) | 30-50% power |
| 1000+ watts | 100-105°F (38-41°C) | 40-60% power |
Avoiding Butter Splatters
By adjusting the power level on your microwave, you can prevent splatters while melting butter. Setting the power level to 50% or lower will ensure a slower and more controlled melting process, reducing the chances of butter splattering all over the microwave.
This simple adjustment can help you avoid potential microwave accidents and the hassle of cleaning up butter spills.
To begin, place the desired amount of butter in a microwave-safe bowl and cover it with a microwave-safe lid or microwave-safe plastic wrap, leaving a small vent for steam to escape. Then, set the power level to 50% or lower and microwave the butter in short intervals, checking and stirring every 15 seconds until it reaches the desired consistency.
This method will prevent hot butter from exploding and spreading all over the microwave, making your butter melting experience much safer and mess-free.
Breville Barista Express Espresso Machine BES870XL, Brushed Stainless Steel
The Breville Barista Express delivers third wave specialty coffee at home using the 4 keys formula and is...
As an affiliate, we earn on qualifying purchases.
Setting the Microwave Power and Time
To set the microwave power and time, you’ll need to press the appropriate buttons on the control panel. Adjusting the power level and time is crucial to ensure the butter melts evenly without overheating or splattering. The wattage of your microwave and the initial temperature of the butter will determine the ideal settings. Refer to the table below for a general guideline:
| Microwave Wattage | Butter Temperature | Power Level | Time (seconds) |
|---|---|---|---|
| 600-800 | Cold | 50% | 30-40 |
| 600-800 | Room Temperature | 50% | 20-30 |
| 800-1000 | Cold | 50% | 20-30 |
| 800-1000 | Room Temperature | 50% | 15-25 |
| 1000+ | Cold | 30% | 15-20 |
| 1000+ | Room Temperature | 30% | 10-15 |
Remember to check the butter every few seconds to prevent overheating. Adjust the time accordingly if needed. With the right microwave settings, you’ll achieve perfectly melted butter for your recipes.

Koalalko Electric Automatic Dough Cutter Machine, 400W, 110V, Stainless Steel, 3 Sizes Molds, 25mm-40mm, 0-500g Adjustable Weight, Suitable for Food Processing Plants, Restaurants, Bakeries
Automatic Dough Cutter Machine ,Power:400W ,110V 60HZ,Size:62*42*72cm(24.4"*16.5"*28.3") 52kg 115LB ,Machine Contains 3 Default Round Molds with Diameters of...
As an affiliate, we earn on qualifying purchases.
Melting Butter in Intervals and Stirring
Make sure you pause and stir the butter at regular intervals while heating it in the microwave. This is crucial to ensure that the butter melts evenly and doesn’t overheat. When you microwave butter without pausing and stirring, you can end up with hot spots and partially melted butter, which can affect the texture and consistency of your recipes.
Here are three reasons why pausing and stirring is important:
-
Even Heat Distribution: By pausing and stirring, you allow the heat to distribute evenly throughout the butter, resulting in a smooth and consistent melt.
-
Avoid Burning: Pausing and stirring prevents the butter from reaching its smoke point and burning, which can give your dishes a burnt and unpleasant taste.
-
Faster Melting: Pausing and stirring helps speed up the melting process, as the heat is distributed more evenly, allowing the butter to melt more quickly.
Checking the Butter Consistency
When it comes to melting butter, two key points to consider are the consistency and the time it takes to melt.
The first thing to look out for is whether the butter is smooth or lumpy after melting. Smooth butter indicates that it has melted evenly and will be easier to incorporate into recipes.
The second aspect to assess is the time it takes for the butter to melt, as this can vary depending on the quantity and initial temperature of the butter.
Smooth or Lumpy
You can tell if your melted butter is smooth or lumpy by checking its consistency and appearance. When melting butter, it is important to use the proper techniques to ensure a smooth texture. If your melted butter appears lumpy, it may indicate that it was not melted evenly or at the correct temperature.
To troubleshoot butter melting, consider the following:
- Use a microwave-safe container: Choosing the right container helps distribute heat evenly and prevents the butter from overheating.
- Cut the butter into small pieces: Smaller pieces melt more evenly and quickly, reducing the chances of lumps forming.
- Stir and check frequently: Stirring the butter during the melting process helps distribute the heat and prevents uneven melting.
Time for Melting?
If you’re unsure about the appropriate amount of time to heat your butter, it’s best to refer to a recipe or consult a cooking guide. The time it takes to melt butter in the microwave can vary depending on the wattage of your microwave and the starting temperature of the butter. To give you a general idea, I’ve created a table below with some estimated melting times based on different microwave wattages and butter temperatures:
| Microwave Wattage | Butter Temperature | Melting Time |
|---|---|---|
| 800W | Room Temperature | 20-30 seconds |
| 1000W | Cold from Fridge | 15-25 seconds |
| 1200W | Frozen | 10-20 seconds |
Keep in mind that these times are just rough estimates and can vary. Always keep an eye on the butter and stop the microwave once it’s melted to avoid overheating. Speaking of safety, let’s now move on to some important safety tips and precautions to keep in mind when melting butter in the microwave.
Safety Tips and Precautions
Always remember to use a microwave-safe container when melting butter in the microwave. This is a crucial safety precaution to follow to avoid any accidents or damage to your microwave.
Here are some additional safety tips and precautions to keep in mind:
-
Never microwave butter in a container that is not labeled as microwave-safe. Non-safe containers can release harmful chemicals or melt, causing a mess or even a fire hazard.
-
Always cover the container with a microwave-safe lid or microwave-safe plastic wrap to prevent any splattering or explosions.
-
Be cautious when removing the container from the microwave as it can become hot. Use oven mitts or a towel to handle it safely.
Frequently Asked Questions
Can I Use Margarine Instead of Butter for Melting in the Microwave?
Yes, you can use margarine instead of butter to melt in the microwave. However, keep in mind that the taste may vary slightly. One benefit of using margarine is that it tends to melt faster.
Can I Use a Plastic Container to Melt Butter in the Microwave?
Using alternative containers to melt butter in the microwave is possible, but caution must be taken. It’s best to use microwave-safe dishes or glass containers. Set the microwave to a low power level to avoid overheating or melting the plastic.
How Long Should I Let the Butter Sit at Room Temperature Before Melting It in the Microwave?
How long does it take to melt butter in the microwave? Does melting butter in the microwave affect its taste? It usually takes about 30 seconds to melt butter in the microwave, and melting it this way doesn’t usually affect its taste.
What Should I Do if the Butter Starts to Splatter While Melting in the Microwave?
If the butter starts to splatter in the microwave, I immediately stop the microwave and carefully stir it to prevent any further splattering. This helps distribute the heat evenly and prevents the butter from overheating.
Can I Melt Butter in the Microwave Without Covering It?
Sure, you can melt butter in the microwave without covering it. But let me tell you, it’s like playing a game of buttery roulette. Splatters are bound to happen, so be prepared for a messy microwave. Microwave safety first!
Conclusion
In conclusion, melting butter in the microwave is a quick and easy process that can be done with the right tools and precautions.
By selecting the right butter and microwave-safe container, preparing the butter properly, and setting the microwave power and time correctly, you can achieve perfectly melted butter.
Remember to melt the butter in intervals and stir it to ensure even consistency.
Lastly, always prioritize safety by using microwave-safe containers and handling hot butter with care.
So, go ahead and melt that butter with confidence!