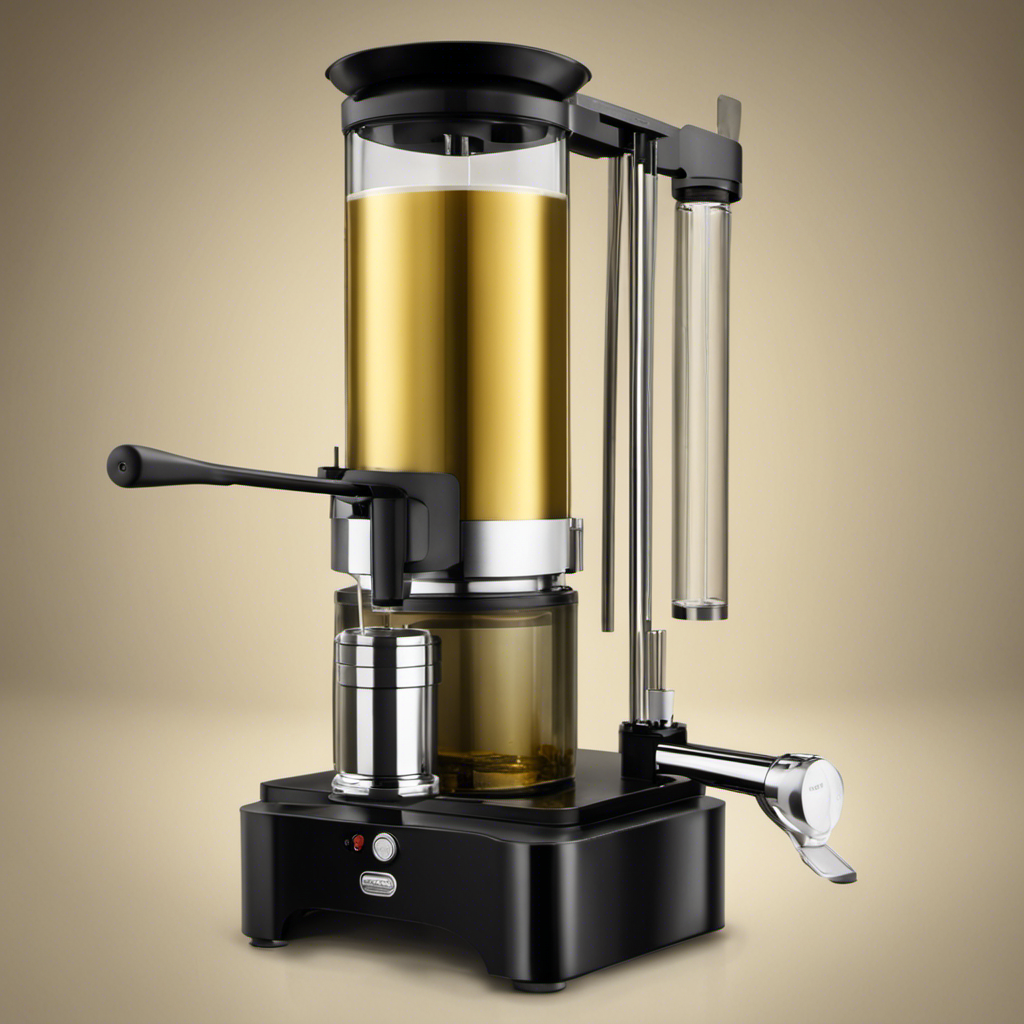
I’ve come across a revolutionary technique for creating tincture-infused butter with the magic butter maker. Believe me, after you’ve tried this approach, you’ll never revert to your old methods.
In just a few simple steps, you’ll be able to create your own delicious and potent tincture butter at home. Whether you’re a seasoned cannabis enthusiast or a curious beginner, this article will guide you through the process, offering tips and tricks along the way.
Get ready to elevate your culinary creations to a whole new level with the tincture magic butter maker.
Key Takeaways
- Gathering the necessary ingredients and preparing the tincture mixture are essential steps in making tincture magic butter.
- Choosing the right butter maker involves considering factors like price, quality, capacity, size, and ease of use.
- Setting up the Magic Butter Maker requires optimal ingredient measurements, time, temperature, and adding the tincture mixture.
- Maximizing potency and shelf life involves storing infused butter properly, while using tincture magic butter can be experimented with in various recipes and flavors.

DUPASU Electric Lunch Box Food Warmer, 100W Heated Lunch Box for Adults
- Rapid 100W Heating: Heats meals quickly and evenly
- Large 1.8L Capacity: Includes stainless steel container and salad box
- Leak-Resistant Design: Food-grade materials with silicone seal
As an affiliate, we earn on qualifying purchases.
Gathering the Necessary Ingredients
To make tincture magic butter, you’ll need to gather all the necessary ingredients. Choosing the right equipment and selecting the best ingredients are crucial steps in creating a successful tincture magic butter.
When it comes to equipment, I recommend using a high-quality butter maker that is specifically designed for tincture infusions. This will ensure that you achieve the best results and have full control over the process.
When selecting your ingredients, it’s important to choose high-quality cannabis buds or trim that are rich in cannabinoids. Look for strains that have the desired effects you’re aiming for, whether it’s relaxation, creativity, or pain relief. Additionally, consider the potency of the cannabis and adjust accordingly to your personal preference.
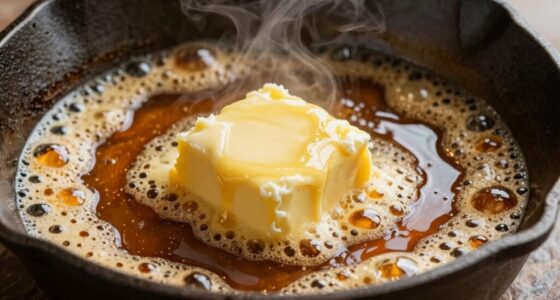
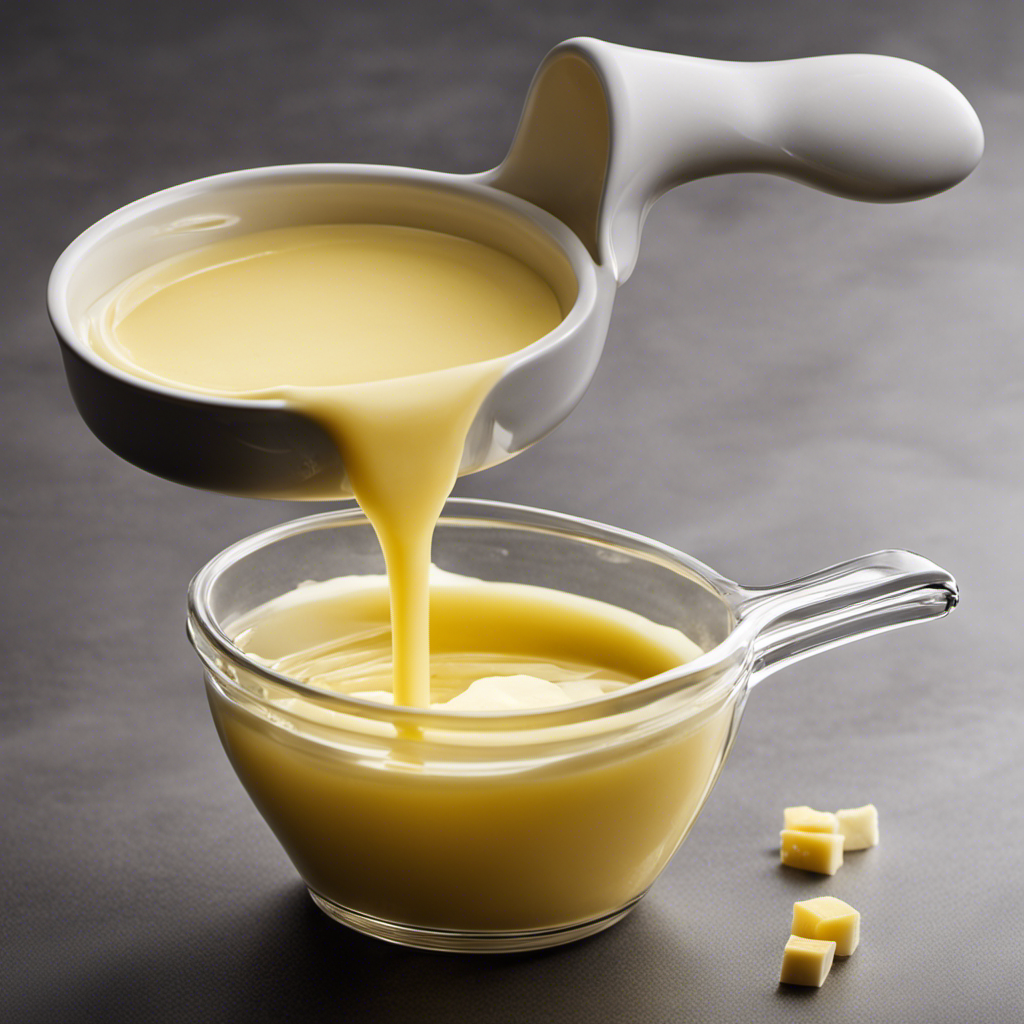
In addition to cannabis, you’ll also need a fat source such as butter or coconut oil. Opt for organic and unsalted options to ensure a clean and pure end product. Lastly, don’t forget to gather any additional flavorings or herbs that you’d like to incorporate into your tincture magic butter.
Preparing the Tincture Mixture
First, gather all of your ingredients and measure out the desired amount of herb for your tincture mixture. Making a tincture with a magical butter maker is an art that requires precision and patience. To ensure the best results, it is important to use the optimal cooking time and infusion techniques.
Once you have measured out your herb, it’s time to prepare the tincture mixture. Start by grinding the herb to a fine consistency. This will help maximize the extraction of the herb’s medicinal properties. Next, add the ground herb to the magical butter maker along with the desired amount of alcohol, such as vodka or Everclear. The alcohol acts as a solvent and helps extract the beneficial compounds from the herb.
Set the magical butter maker to the recommended cooking time for tinctures, which is typically around 4 hours. During this time, the machine will gently heat and infuse the mixture, allowing the alcohol to extract the desired compounds. It is important to follow the recommended cooking time to achieve the optimal potency and flavor of your tincture.
Once the cooking time is complete, strain the mixture through a fine mesh strainer or cheesecloth to remove any plant material. Your tincture is now ready to be stored in a dark glass bottle for future use.
Now that you have prepared your tincture mixture, it’s time to move on to the next step: choosing the right butter maker.
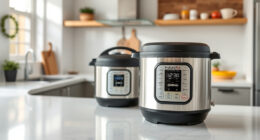
Choosing the Right Butter Maker
When it comes to choosing the right butter maker, there are a few key points to consider.
First, you’ll want to weigh the trade-off between price and quality. While a more expensive butter maker may offer higher quality results, it’s important to find a balance that fits within your budget.
Next, consider the capacity and size of the butter maker. Depending on your needs, you may require a larger machine that can process a larger volume of ingredients.
Price Vs. Quality
The price of the magic butter maker doesn’t necessarily determine its quality. As an experienced user, I have learned that there are several factors to consider when assessing the quality of a butter maker, beyond its price. Here are three important points to remember:
-
Construction: Look for a butter maker made of durable materials such as stainless steel or high-quality plastic. This ensures longevity and prevents any unwanted chemicals from leaching into your butter.
-
Features: Consider the features offered by different models. Does it have a precise temperature control? Is it easy to use and clean? These factors greatly impact the overall experience and quality of the butter maker.
-
Customer Reviews: Read reviews from other users to get a sense of their experience with the butter maker. This will give you valuable insights into the product’s performance, reliability, and overall satisfaction.
By considering these factors, you can make a more informed decision when comparing prices and assessing the quality of a magic butter maker.
Now, let’s delve into the next section – capacity and size.
Capacity and Size
Considering the capacity and size of a butter maker is crucial in determining its suitability for your needs. As an experienced butter maker enthusiast, I know that having the right capacity options and size considerations can greatly enhance the butter making experience. To help you better understand the importance of these factors, let me present a table that showcases different capacity options and their corresponding size considerations:
| Capacity Options | Size Considerations |
|---|---|
| Small (1-2 cups) | Compact and portable |
| Medium (3-4 cups) | Versatile and efficient |
| Large (5-6 cups) | Ideal for bulk production |
| Extra Large (7+ cups) | Perfect for commercial use |
Ease of Use
To effortlessly create delicious homemade butter, you’ll love how easy it is to use the Tincture Magic Butter Maker. As someone who has been making butter for years, I can confidently say that this machine takes the guesswork out of the process. Here are three reasons why it’s a breeze to use:
-
Adjusting Temperature: The Tincture Magic Butter Maker allows you to easily adjust the temperature, ensuring that your butter is perfectly infused and flavorful. Whether you prefer a lower temperature for a longer infusion time or a higher temperature for a quicker result, this machine gives you full control.
-
Infusion Time: With the Tincture Magic Butter Maker, you can set the infusion time to suit your preferences. Whether you want a subtle hint of flavor or a stronger infusion, this machine allows you to customize the process to achieve your desired outcome.
-
User-Friendly Interface: The Tincture Magic Butter Maker features a user-friendly interface that makes it simple to operate. With clear instructions and intuitive controls, even beginners can effortlessly make delicious homemade butter with this machine.
Setting up the Magic Butter Maker
When it comes to using the Magic Butter Maker, there are a few key points to keep in mind for optimal results.
First, getting the ingredient measurements right is crucial. Whether you’re making infused butter or oil, precision is key to achieve the desired potency.
Additionally, setting the right time and temperature is equally important. This will ensure that your infusion process is efficient and that you extract the maximum amount of cannabinoids from your chosen ingredients.
Optimal Ingredient Measurements
For the best results, it’s important to use the optimal ingredient measurements in making the tincture with the Magic Butter Maker. As a seasoned tincture maker, I have mastered the art of measurement techniques and learned how to optimize infusion time for the perfect outcome.
Here are three key tips to help you achieve the best results with your tincture:
-
Precise measurements: Accurately measuring your ingredients is crucial for consistency and potency. Use a reliable scale to weigh your herbs and other ingredients, ensuring you follow the recipe closely.
-
Herb-to-alcohol ratio: Finding the right balance between herbs and alcohol is essential. Generally, a 1:5 ratio works well, meaning one part herb to five parts alcohol. This ratio allows for proper extraction without overpowering the tincture.
-
Stirring frequency: During the infusion process, stir the mixture every few hours to promote even distribution and enhance the extraction of beneficial compounds from the herbs.
By following these measurement techniques and infusion time optimization strategies, you can create a potent and flavorful tincture.
Now, let’s move on to the next section, where we’ll discuss setting the time and temperature for your Magic Butter Maker.
Setting Time and Temperature
Once you’ve mastered the optimal ingredient measurements, it’s time to set the time and temperature for your infusion process. Adjusting the infusion parameters is crucial for achieving the desired potency in your tincture. The right combination of time and temperature ensures that the active compounds are properly extracted from the ingredients, resulting in a potent and effective infusion.
To help you visualize the process, here’s a table outlining the recommended time and temperature for different ingredients:
| Ingredient | Time (hours) | Temperature (°C) |
|---|---|---|
| Cannabis | 2-4 | 82-93 |
| Herbs | 4-6 | 71-82 |
| Fruits | 1-2 | 60-71 |
| Spices | 2-3 | 71-82 |
Adding the Tincture Mixture to the Butter Maker
Simply mix the tincture mixture into the butter maker and let it infuse for the recommended time. This step is crucial in ensuring that your infused butter turns out perfectly potent and flavorful. Here are the three key points to consider when adding the tincture mixture to the butter maker:
-
Adjusting Infusion Time: It’s important to follow the recommended infusion time provided by the recipe or your own experience. However, you may also want to experiment with adjusting the infusion time to achieve your desired potency. Increasing the infusion time can result in a stronger tincture, while reducing it can yield a milder infusion. Keep in mind that longer infusion times may also intensify the flavor of the tincture, so consider your taste preferences when making adjustments.
-
Straining Techniques: After the infusion time is complete, it’s time to strain the mixture. There are various straining techniques you can use, such as using a cheesecloth, fine mesh strainer, or a specialized butter maker with built-in straining capabilities. Choose the method that works best for you and ensure that the tincture is properly strained to remove any plant material or impurities, resulting in a smooth and clean infusion.
-
Proper Mixing: Once the tincture has been strained, thoroughly mix it into the butter maker. This ensures that the tincture is evenly distributed throughout the butter, maximizing the potency and flavor. Take your time to mix it well, ensuring that every bit of butter is infused with the tincture mixture.
Adjusting the Settings for Optimal Results
When it comes to making infused butter using the tincture magic butter maker, one of the most crucial aspects is perfecting the infusion time.
As an experienced user, I have found that allowing the mixture to infuse for the right amount of time can greatly enhance the potency and flavor of the final product.
Additionally, temperature control is another key factor to consider, as maintaining the ideal temperature throughout the infusion process ensures the activation of cannabinoids without compromising the integrity of the ingredients.
Perfecting Infusion Time
To achieve the perfect infusion time, it’s important to monitor the tincture closely. As someone who has experimented with different infusion times, I’ve learned a few tricks to help you achieve your desired potency. Here are three key factors to consider when adjusting the infusion time:
-
Strain selection: Different strains of cannabis have varying levels of potency. Consider the THC and CBD levels in the strain you’re using, as this will affect the intensity of the infusion. Adjust the infusion time accordingly to ensure the desired potency.
-
Desired effects: Think about the effects you want to achieve with your tincture. If you’re looking for a more potent and psychoactive experience, you may want to increase the infusion time. On the other hand, if you’re aiming for a milder and more medicinal tincture, a shorter infusion time might be suitable.
-
Taste preference: Infusion time can also affect the taste of your tincture. Longer infusion times can result in a stronger, earthier flavor, while shorter infusion times may yield a milder taste. Consider your personal preference and adjust the infusion time accordingly.
Temperature Control Tips
Temperature control is crucial for achieving the desired potency and flavor in your tincture, so it’s important to monitor the heat closely. When it comes to temperature control techniques, there are a few tips that I have learned through my experience in making tinctures.
First and foremost, invest in a reliable digital thermometer to accurately measure the temperature of your infusion. This will ensure consistent results every time.
Secondly, use a double boiler or a slow cooker with a temperature control feature to maintain a steady heat. This will prevent overheating and burning of your ingredients.
Lastly, be patient and allow the tincture to infuse at a low and gentle heat for an extended period. This slow extraction process yields a more potent and flavorful tincture.
Starting the Infusion Process
Once you’ve gathered all your ingredients, it’s time to start the infusion process in the magic butter maker. This is where the true magic happens, as the machine effortlessly infuses your chosen herbs or botanicals into butter or oil.
To ensure a successful infusion, follow these steps:
-
Adjusting Temperature Settings: The magic butter maker allows you to easily adjust the temperature settings to suit your needs. Depending on the recipe and desired potency, you can select a low, medium, or high temperature. This flexibility ensures that you have full control over the infusion process and can achieve the desired results.
-
Loading the Ingredients: After adjusting the temperature settings, it’s time to load your ingredients into the magic butter maker. Whether you’re using dried herbs, fresh botanicals, or a combination of both, make sure to measure them accurately according to your recipe. This will help you achieve the perfect balance of flavors and potency.
-
Starting the Infusion: Once your ingredients are loaded, simply close the lid and press the start button. The magic butter maker will begin the infusion process, gently heating and stirring the mixture to extract the desired compounds. This automated process ensures consistent results every time.
Monitoring the Progress of Infusion
As I monitor the progress of my infusion, I keep an eye on the color and aroma of the mixture to gauge its potency. These indicators are vital in ensuring that my tincture is of the highest quality. To achieve this, I employ temperature control techniques and optimize the infusion time.
Temperature control is crucial during the infusion process. I use a thermometer to maintain a consistent temperature, as fluctuations can affect the potency and flavor of the tincture. By keeping the temperature within the optimal range, I can maximize the extraction of beneficial compounds from the herbs or botanicals.
Infusion time optimization is another key factor in creating a potent tincture. I have experimented with different infusion times to find the perfect balance between extracting the desired compounds and avoiding any bitter or unpleasant flavors. It is important to note that longer infusion times do not always equate to a more potent tincture. By carefully monitoring the color and aroma, I can determine when the infusion is complete, ensuring a potent and flavorful tincture.
Straining the Mixture for a Smooth Texture
To achieve a smooth texture for your infusion, strain the mixture through a fine mesh sieve or cheesecloth. This step is crucial in removing any solid particles or sediment that may have been introduced during the infusion process.
Here are three key points to keep in mind during the straining process:
-
Choose the right straining tool: When selecting a straining tool, opt for a fine mesh sieve or cheesecloth. These materials have smaller openings that can catch even the tiniest particles, ensuring a smoother end result.
-
Take your time: Straining can be a slow and meticulous process, but it is worth the effort. Allow the mixture to pass through the sieve or cheesecloth naturally, without forcing it. This will help prevent any unwanted debris from slipping through.
-
Double-straining for extra smoothness: For an even smoother texture, consider double-straining your infusion. This involves pouring the strained liquid through a fresh layer of cheesecloth or a finer mesh sieve. This extra step can help remove any remaining impurities, giving your infusion a velvety smooth consistency.
Storing the Infused Butter Properly
When it comes to storing infused butter, choosing the right storage containers is crucial. I’ve found that airtight glass containers are the best option, as they help preserve the potency and flavor of the butter.
As for refrigeration or room temperature, it really depends on how quickly you plan to use the butter. Refrigeration can help extend its shelf life, but if you’ll be using it frequently, room temperature storage is fine.
However, it’s important to keep in mind the shelf life concerns and make sure to use the butter within a reasonable timeframe to ensure its freshness and effectiveness.
Best Storage Containers
For the best storage containers, you’ll want to opt for airtight jars or bottles with dark glass to preserve the potency of your tincture. Here are three reasons why glass is superior to plastic and why airtight is better than breathable:
-
Protection from light: Dark glass containers shield your tincture from harmful UV rays, preventing degradation and maintaining its effectiveness over time.
-
Non-reactive material: Glass is inert and does not react with the tincture, ensuring that the flavors and properties remain unchanged. Plastic containers, on the other hand, can interact with the tincture, compromising its quality.
-
Airtight seal: Airtight containers prevent air from entering and oxygen from oxidizing the tincture, which can lead to degradation. This helps to preserve the potency and freshness of the tincture for longer periods.
So, when it comes to storing your tincture, it’s crucial to choose glass over plastic and opt for airtight containers to protect its potency and quality.
Now, let’s discuss whether refrigeration or room temperature is best for storing your infused butter.
Refrigeration or Room Temperature
Refrigeration is recommended for storing infused butter to maintain its freshness and prevent spoilage. While room temperature storage may seem convenient, refrigeration is essential for preserving potency and extending the shelf life of your infused butter. When stored at room temperature, infused butter can quickly spoil, leading to a loss of flavor and potency. By refrigerating your infused butter, you can ensure that it remains fresh and potent for a longer period of time.
To help you understand the benefits of refrigeration versus room temperature storage, here is a table outlining the key differences:
| Refrigeration | Room Temperature |
|---|---|
| Preserves potency | Decreases potency |
| Extends shelf life | Shortens shelf life |
| Maintains freshness | Can lead to spoilage |
| Prevents bacterial growth | Increases the risk of bacterial growth |
| Easy to store and organize | Can be messy and prone to spills |
As you can see, refrigeration offers numerous advantages when it comes to storing infused butter. By keeping it chilled, you can preserve the potency and freshness of your butter for a longer time, ensuring that you can enjoy its magic for weeks or even months. However, there are still some shelf life concerns that we need to address.
Shelf Life Concerns?
One important consideration is how long infused butter will remain fresh and potent. Here are three ways to maximize potency and extend the shelf life of your infused butter:
-
Store it properly: After making the infused butter, allow it to cool completely before transferring it to an airtight container. Keep it in the refrigerator to slow down the degradation process.
-
Use quality ingredients: Starting with high-quality cannabis and butter will ensure a better final product. Fresh, potent cannabis and unsalted, high-fat butter will give you the best results.
-
Keep it away from light and heat: Light and heat can degrade the cannabinoids in your infused butter. Store it in a cool, dark place to maintain its potency for longer.
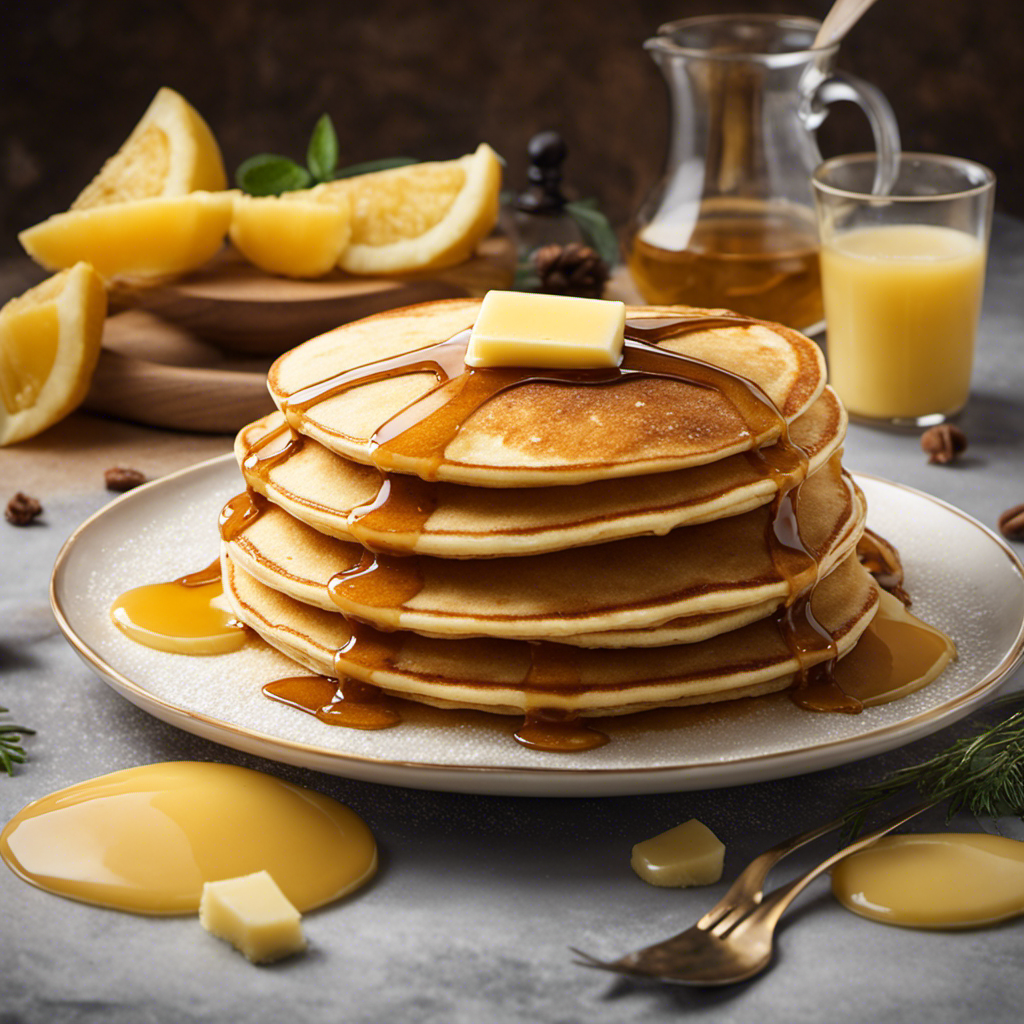
Using the Tincture Magic Butter in Recipes
When you’re using the Tincture Magic Butter in recipes, you’ll notice a rich and herb-infused flavor that adds depth to your dishes. Incorporating tincture magic butter into baked goods is a great way to elevate your desserts and give them a unique twist. The infusion of the tincture adds a subtle cannabis flavor that pairs well with a variety of ingredients.
Here are some delicious recipes using tincture magic butter that you can try:
| Recipe | Ingredients |
|---|---|
| Cannabis Chocolate Chip Cookies | – 1 cup Tincture Magic Butter – 1 cup brown sugar – 1/2 cup granulated sugar – 2 eggs – 2 cups all-purpose flour – 1 teaspoon baking soda – 1/2 teaspoon salt – 1 cup chocolate chips |
| Cannabis Banana Bread | – 1 cup Tincture Magic Butter – 3 ripe bananas – 1/2 cup granulated sugar – 1/2 cup brown sugar – 2 eggs – 1 teaspoon vanilla extract – 2 cups all-purpose flour – 1 teaspoon baking soda – 1/2 teaspoon salt |
| Cannabis Blueberry Muffins | – 1 cup Tincture Magic Butter – 2 cups all-purpose flour – 1/2 cup granulated sugar – 2 teaspoons baking powder – 1/2 teaspoon salt – 1 cup milk – 2 eggs – 1 teaspoon vanilla extract – 1 cup blueberries |
These recipes are just a starting point, and you can get creative by experimenting with different flavors and ingredients. Now let’s move on to the next section where we’ll explore the exciting world of experimenting with different tincture flavors.
Experimenting With Different Tincture Flavors
After exploring the diverse ways to incorporate tincture magic butter into recipes, I am excited to delve into the world of experimenting with different tincture flavors. With the Tincture Magic Butter Maker, the possibilities are endless.
Here are three enticing combinations that will surely take your culinary creations to the next level:
-
Citrus Burst: Infuse your magic butter with a combination of lemon, lime, and orange zest. The bright and tangy flavors will add a refreshing twist to your dishes, especially in desserts like citrus-infused cupcakes or lemon bars.
-
Herbal Infusion: Take your tincture magic butter to new heights by combining an array of fresh herbs like rosemary, thyme, and basil. This infusion technique will impart a savory undertone to your culinary creations and elevate dishes like roasted vegetables or homemade pasta sauces.
-
Spicy Sensation: For those who crave a kick of heat, experiment with infusing your magic butter with chili peppers, jalapenos, and cayenne powder. The resulting tincture will add a fiery touch to dishes like spicy buffalo wings or zesty nachos.
Troubleshooting Common Issues
To troubleshoot any common issues you may encounter, simply refer to the troubleshooting guide provided with your Tincture Magic Butter Maker. This guide is designed to help you identify and resolve any problems that may arise during the tincture making process.
One of the most common issues that users face is with the equipment itself. If you find that your Magic Butter Maker is not working properly, check to ensure that all the components are properly connected and that there are no loose or damaged parts. Additionally, make sure that you are using the correct settings and following the instructions carefully.
Another common issue is adjusting the infusion time. If you find that your tincture is too weak or too strong, you may need to adjust the infusion time. This can be done by either increasing or decreasing the time that the tincture is left to infuse.
Cleaning and Maintaining the Magic Butter Maker
Now that we’ve covered some common troubleshooting issues with the Magic Butter Maker, let’s turn our attention to cleaning and maintaining this wonderful device. As someone who has been using the Magic Butter Maker for years, I’ve learned a few cleaning techniques and developed a maintenance schedule to keep it in top shape. Here are three essential steps to help you keep your Magic Butter Maker clean and functioning flawlessly:
-
Regular Cleaning: After each use, it’s important to clean the Magic Butter Maker thoroughly. Start by disassembling the parts and rinsing them with warm soapy water. Use a soft brush or sponge to remove any residue. Be sure to clean the stainless steel components with a non-abrasive cleaner to maintain their shine.
-
Deep Cleaning: Every few uses, perform a deep cleaning to remove any stubborn buildup. Fill the Magic Butter Maker with a mixture of water and vinegar, and run a cycle without any ingredients. This will help dissolve any residue and eliminate odors.
-
Maintenance Schedule: Set a regular maintenance schedule to keep your Magic Butter Maker in optimal condition. This may include lubricating moving parts, checking the electrical connections, and replacing any worn-out components.
Tips and Tricks for Successful Tincture-Infused Butter Making
One key tip for successful infusion is to ensure you use decarboxylated herbs or flowers, as this will activate the cannabinoids and enhance the potency of your tincture-infused creation.
When it comes to making tincture-infused butter, there are endless possibilities and benefits. Infused butter recipes allow you to incorporate the therapeutic properties of cannabis into your cooking in a delicious and versatile way.
The benefits of tincture-infused butter are numerous. Firstly, it provides a convenient and discreet method of consuming cannabis. By infusing butter with tincture, you can easily incorporate it into your favorite recipes, such as cookies, brownies, or even savory dishes. This allows for precise dosing and eliminates the need to smoke or vape cannabis.
Additionally, tincture-infused butter offers a longer-lasting effect compared to other consumption methods. When ingested, cannabinoids are metabolized in the liver, resulting in a slower and more sustained release. This can be particularly beneficial for those seeking pain relief or a more prolonged therapeutic experience.
Moreover, tincture-infused butter allows for better control over the dosage. By using a tincture, you can accurately measure the amount of cannabinoids you want to incorporate into your butter. This makes it easier to adjust the dosage based on your personal preferences and desired effects.
In conclusion, tincture-infused butter is a fantastic way to enjoy the benefits of cannabis in your cooking. By using decarboxylated herbs or flowers, you can activate the cannabinoids and enhance the potency of your creations. Whether you’re looking for a discreet consumption method, a longer-lasting effect, or better control over your dosage, tincture-infused butter has got you covered.
Get creative with your infused butter recipes and explore the wonderful world of cannabis-infused cuisine.
Frequently Asked Questions
Can I Use Any Type of Butter Maker for This Recipe?
Yes, you can use any type of butter maker for this recipe. The Tincture Magic Butter Maker is just one option, but different types of butter makers can achieve the same results. Experiment and find what works best for you.
How Long Does It Typically Take for the Infusion Process to Complete?
Typically, the infusion process takes a few hours to complete in a compatible butter maker. It’s important to follow the instructions and monitor the infusion time to ensure the desired potency and flavor.
Can I Use Different Types of Tinctures for Different Flavors?
Yes, you can absolutely use different types of tinctures for different flavors! The beauty of experimenting with different tincture combinations is that it adds a whole new level of creativity and depth to your cooking. Plus, each tincture brings its own unique benefits to the table.
How Long Can I Store the Infused Butter Before It Goes Bad?
How long can I keep infused butter before it spoils? Proper storage techniques are key. Store it in an airtight container in the fridge for up to two weeks. If it smells rancid or has mold, it’s time to say goodbye.
What Are Some Common Issues That May Arise During the Tincture-Infused Butter Making Process and How Can I Troubleshoot Them?
Common issues during tincture-infused butter making process may include uneven potency, separation, or a strong herbal taste. To troubleshoot, ensure proper decarboxylation, use a reliable tincture, mix well, and strain thoroughly.
Conclusion
As I carefully clean and store my Magic Butter Maker, I can’t help but feel a sense of accomplishment and satisfaction. This simple machine has become a vessel of creativity and magic in my kitchen.
With its help, I have transformed ordinary ingredients into extraordinary tincture-infused butter, unlocking a world of flavors and possibilities. The process of making tincture magic butter has not only allowed me to experiment and create unique combinations, but it has also become a symbol of my culinary prowess and passion.
With each batch I make, I am reminded of the joy and wonder that cooking can bring. So, as I bid farewell to my trusty Magic Butter Maker for now, I eagerly await the next adventure it will bring into my kitchen.