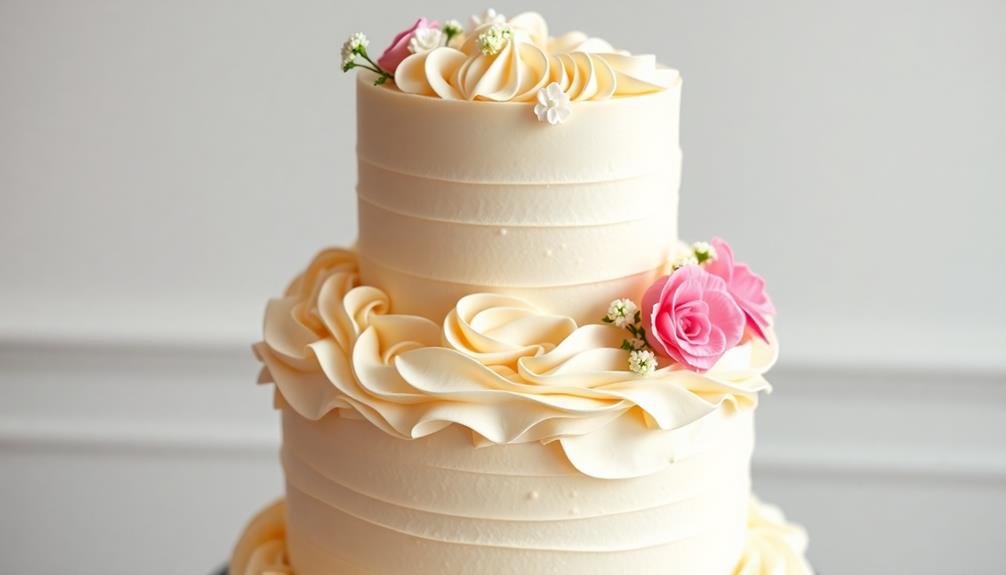
Birthdays just got a whole lot sweeter with the rich, moist decadence of the classic birthday butter cake. This timeless treat, dating back to 17th-century Europe, has evolved over centuries to become a beloved symbol of joy and nostalgia. Its versatile flavor profile and customizable nature make it a crowd-pleaser across all age groups. With a simple dusting of powdered sugar or an elaborate design, the birthday butter cake serves as the perfect centerpiece, generating excitement and creating unforgettable memories. And if you'd like to learn more about the history, recipe, and tips for baking this incredible cake, just keep reading.
Key Takeaways
- Birthday Butter Cake is a classic, rich, and moist cake that has its origins in 17th-century Europe and has evolved over centuries.
- The cake's versatile flavor profile and customizability make it suitable for celebrations across all age groups.
- The cake's preparation involves creaming butter and sugar, alternately folding in dry and wet ingredients, and baking to achieve the perfect texture.
- Proper cooling and frosting techniques are crucial for the cake's overall appearance and taste, ensuring it becomes the centerpiece of any birthday celebration.
- The anticipation and excitement generated when the birthday cake is revealed, along with the joy of the first bite, make it a beloved and unforgettable treat.

Wilton Performance Pans Aluminum Round Cake Pan, 9 x 2 in., Pack of 2
- Size: 9-inch diameter, 2-inch deep
- Material: Anodized aluminum for durability
- Design: Straight sides for tall, even layers
As an affiliate, we earn on qualifying purchases.
As an affiliate, we earn on qualifying purchases.
History
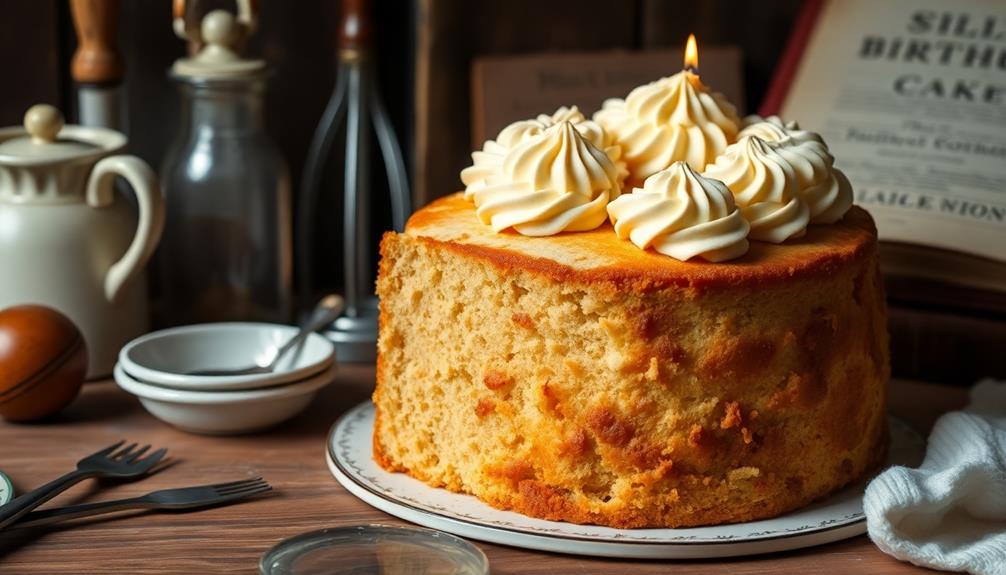
Birthday cakes have long been a beloved tradition, with the butter cake being a particularly cherished variant. This rich, moist treat has a storied past, with its roots tracing back to 17th-century Europe. As the industrial revolution ushered in new techniques and ingredients, the butter cake evolved, becoming a staple at birthday celebrations across the globe.
The butter cake's enduring popularity can be attributed to its decadent texture and versatile flavor profile. Whether adorned with creamy frosting, fresh fruit, or a simple dusting of powdered sugar, this cake has a way of elevating any birthday celebration.
Its ability to be customized to individual tastes has made it a go-to choice for people of all ages, from childhood to adulthood.
Today, the butter cake remains a cherished symbol of special occasions, a delightful indulgence that brings joy and nostalgia with every bite. Its rich history and enduring appeal make it a timeless classic in the world of birthday cakes.
Recipe
Birthdays are a time to celebrate and indulge in delectable treats. One such classic delight is the Birthday Butter Cake. This decadent creation boasts a moist and tender crumb, while the rich butter flavor provides a luxurious experience with every bite.
The key to the cake's success lies in the careful selection and precise combination of ingredients. Each component plays a vital role in creating the perfect balance of flavors and textures, ensuring that every slice is a true delight.
Ingredients:
- 2 cups all-purpose flour
- 1 1/2 teaspoons baking powder
- 1/2 teaspoon salt
- 1 cup unsalted butter, softened
- 1 1/2 cups granulated sugar
- 4 large eggs
- 1 teaspoon vanilla extract
- 1 cup milk
To prepare the cake, preheat the oven to 350°F (175°C). Grease and flour a 9-inch round baking pan. In a medium bowl, whisk together the flour, baking powder, and salt.
In a large bowl, cream the butter and sugar until light and fluffy. Beat in the eggs one at a time, then stir in the vanilla. Alternate adding the flour mixture and milk, mixing just until incorporated.
Pour the batter into the prepared pan and bake for 35-40 minutes, or until a toothpick inserted into the center comes out clean.
When baking this Birthday Butter Cake, it's important to ensure that the butter is at room temperature to achieve the desired creamy texture. Additionally, be mindful not to overmix the batter, as this can result in a dense and tough cake.
Allow the cake to cool completely before frosting and serving, as this will help the texture to be ideal.
Cooking Steps

Get ready to bake an irresistible birthday treat!
First, cream the butter and sugar together until light and fluffy.
Next, add the eggs one at a time, beating well after each addition.
Finally, sift the dry ingredients and fold them into the batter alternately with the flour mixture.
Let's get that cake in the oven at 350°F for 30-35 minutes!
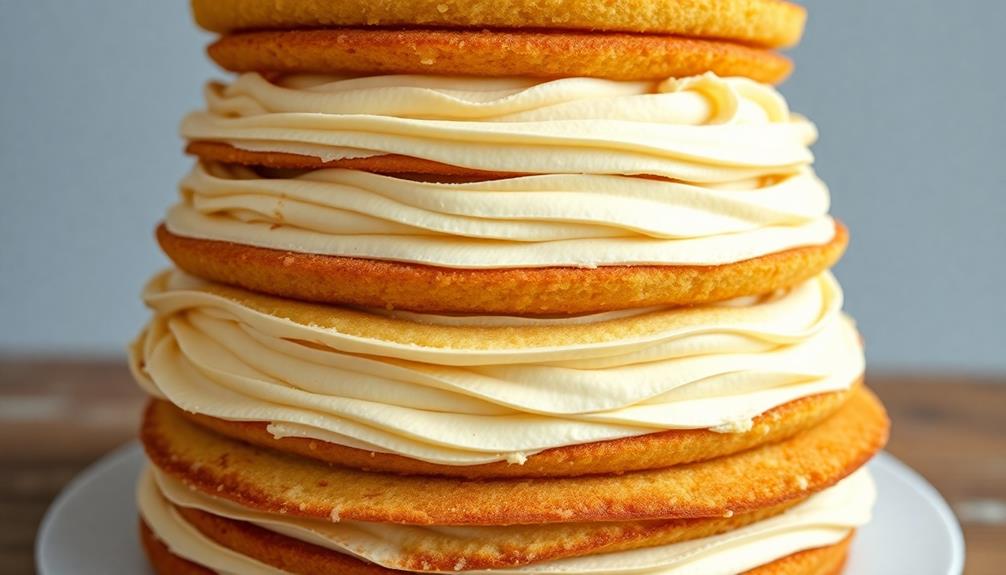
Step 1. Cream Butter and Sugar Together
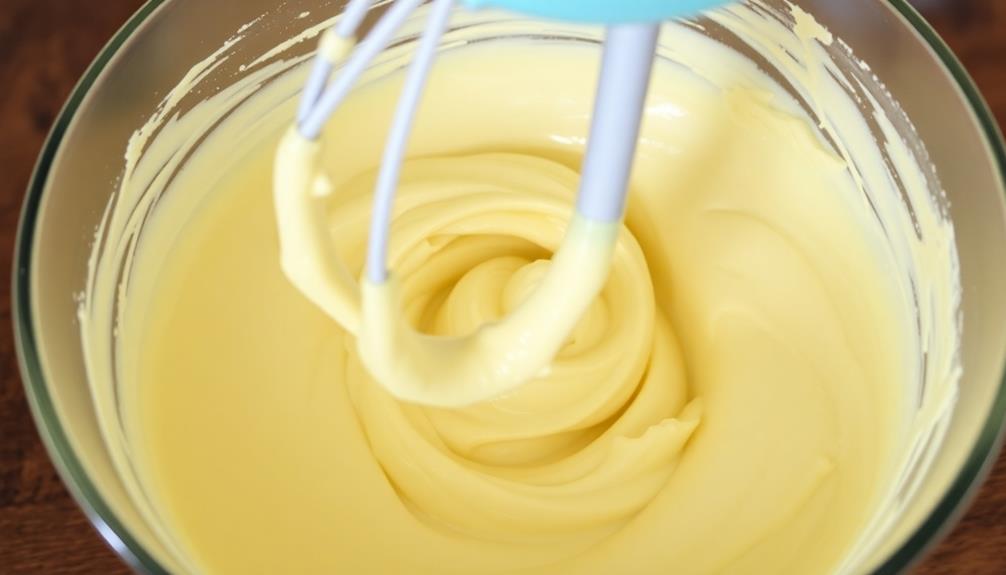
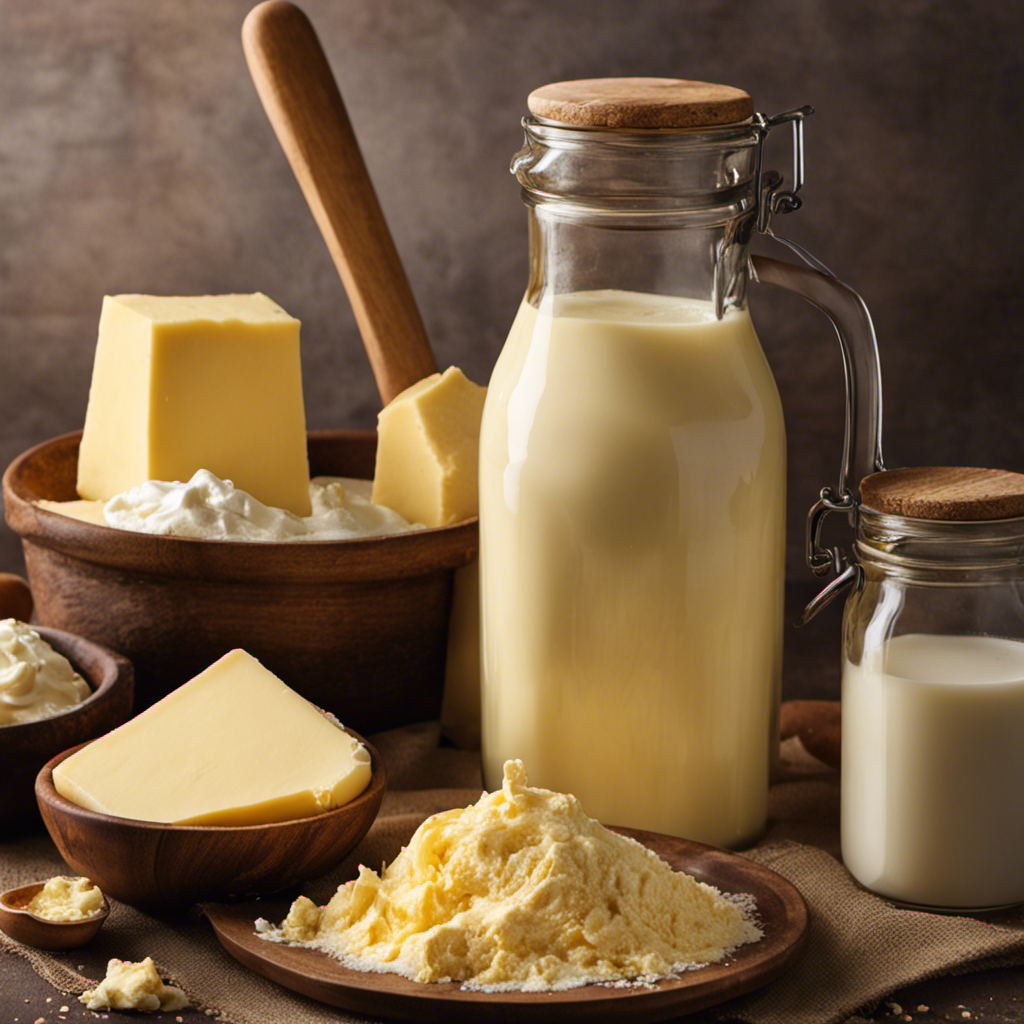
To begin the cake-making process, cream the butter and sugar together in a large mixing bowl. Using an electric hand mixer or a sturdy wooden spoon, beat the two ingredients until they're light and fluffy, about 3-5 minutes.
You'll know it's ready when the mixture has a smooth, creamy consistency and has lightened in color. This step is essential because using high-quality unsalted butter will enhance the cake's flavor, providing a rich base to build upon, as choosing and using butter wisely can significantly impact your baking results.
As you cream the butter and sugar, you'll feel the texture transform from grainy to silky smooth. The sugar crystals will dissolve into the butter, creating a rich, buttery base for your cake.
Pause occasionally to scrape down the sides of the bowl, ensuring everything is evenly incorporated.
This crucial first step sets the stage for a moist, tender crumb. The aerated butter and sugar mixture will trap tiny air pockets, which will expand during baking and result in a light, yet decadent cake.
With the foundation laid, you're one step closer to baking a birthday cake that will wow your guests.
Step 2. Add Eggs One at a Time

Next, add the eggs one at a time, beating well after each addition. This step is crucial for creating the perfect texture and rise in your birthday butter cake.
As you crack the first egg into the creamy butter and sugar mixture, feel the batter come together. Whisk vigorously, ensuring the egg is fully incorporated before moving on to the next.
Repeat this process, adding the eggs one by one, until all four have been mixed in. You'll notice the batter transforming from a light, fluffy consistency to a rich, velvety smoothness.
This gradual incorporation of the eggs is key to developing the cake's moist, tender crumb. Be patient and take your time – the extra effort will pay off in the end with a beautifully risen, perfectly textured birthday masterpiece.
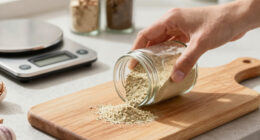
Step 3. Sift Dry Ingredients Together

While the eggs are being incorporated, turn your attention to the dry ingredients. Grab a fine-mesh sieve and position it over a large mixing bowl. Scoop in the all-purpose flour, baking powder, and salt. Give the sieve a gentle shake, allowing the dry ingredients to fall gracefully into the bowl below. This simple step of sifting aerates the flour, ensuring your cake has a light and tender crumb.
Next, use a spoon to gently stir the sifted dry ingredients together. Mixing them this way helps evenly distribute the baking powder and salt throughout the flour.
It's an essential technique that shouldn't be skipped, as properly sifting and blending the dry ingredients lays the foundation for your cake's perfect rise and texture. Take your time with this step, as it only takes a minute but makes a big difference in the final result.
Once the dry ingredients are well combined, you're ready to gradually incorporate them into the creamed butter and sugar mixture.
Step 4. Fold in Flour Mixture Alternately
With the dry ingredients ready, you can now start incorporating them into the creamed butter and sugar mixture.
Grab your rubber spatula and gently fold the flour mixture into the batter, alternating with the milk. Fold just until the dry ingredients are incorporated – don't overmix! This step is crucial for achieving that wonderfully moist and tender crumb.
As you fold, you'll notice the batter transform, becoming silkier and more unified. It's almost magical how the dry and wet ingredients come together to create such a heavenly cake batter.
Be sure to scrape the sides and bottom of the bowl, ensuring everything is well combined.
Now, pour the batter into your prepared pan and smooth the top.
You're one step closer to baking up the most delightful birthday cake ever! The rich, buttery flavor and soft, velvety texture will have your guests swooning with every bite.
Get ready to celebrate in style.
Step 5. Bake at 350°F for 30-35 Minutes
Preheat your oven to a toasty 350°F and slide the prepared cake pan onto the middle rack.
Now it's time to bake your delightful Birthday Butter Cake! This is the moment you've been waiting for – the aroma of buttery goodness will soon fill your kitchen.
Set a timer for 30-35 minutes and keep a watchful eye on the oven. As the cake bakes, the top will turn a beautiful golden brown and a tantalizing scent will waft through the air, making your mouth water in anticipation.
Use the toothpick test to ensure the cake is perfectly cooked – insert a toothpick into the center, and if it comes out clean, your cake is ready.
Once the timer chimes, carefully remove the pan from the oven using oven mitts. Allow the cake to cool in the pan for 10 minutes before inverting it onto a wire rack.
This gentle cooling process will prevent the cake from cracking or falling apart. Your Birthday Butter Cake is now ready to be frosted and decorated, ready to delight your guests on your special day!
Final Thoughts
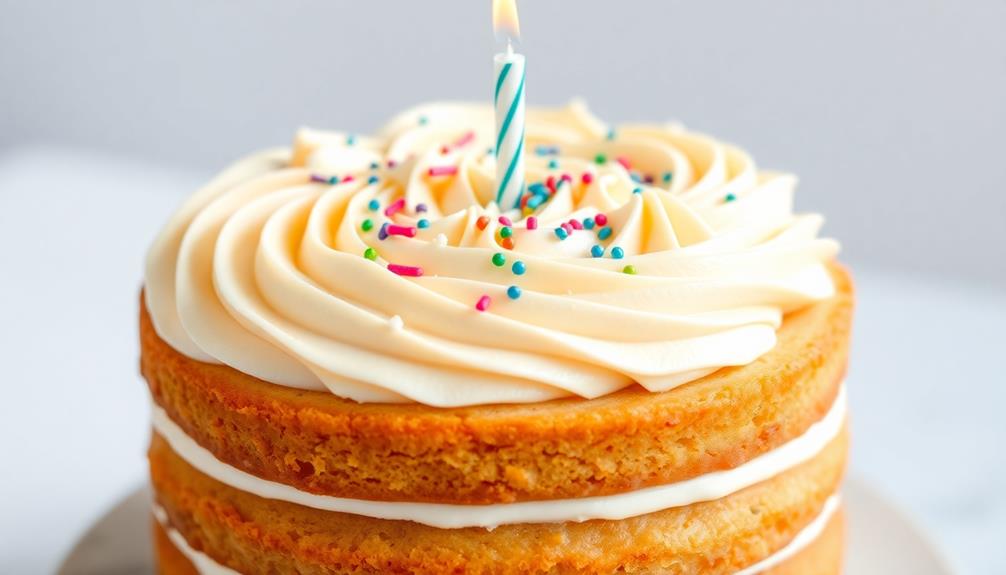
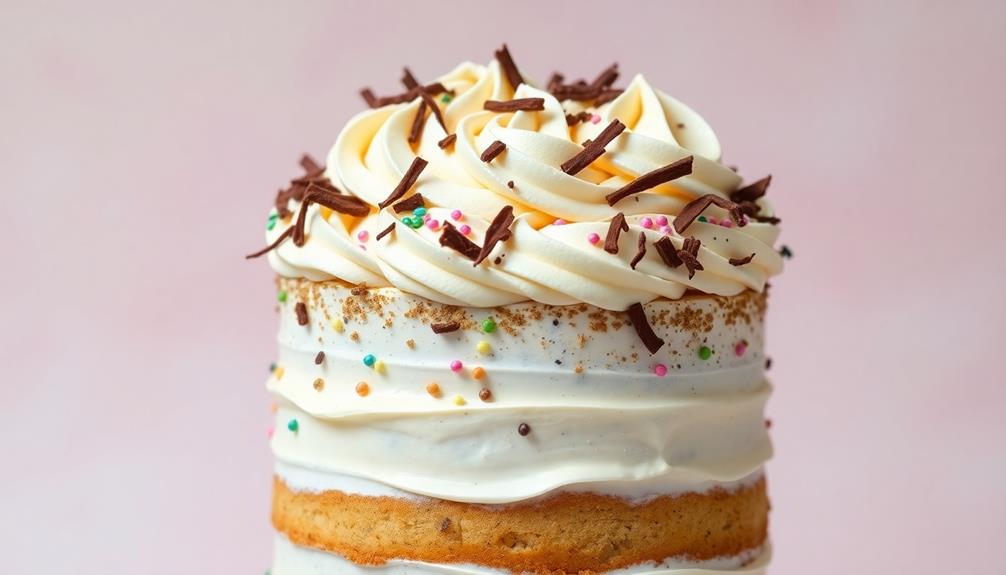
This birthday cake is a delightful treat that you'll want to make again and again. The rich, buttery flavor and moist texture are sure to delight your taste buds and impress your guests.
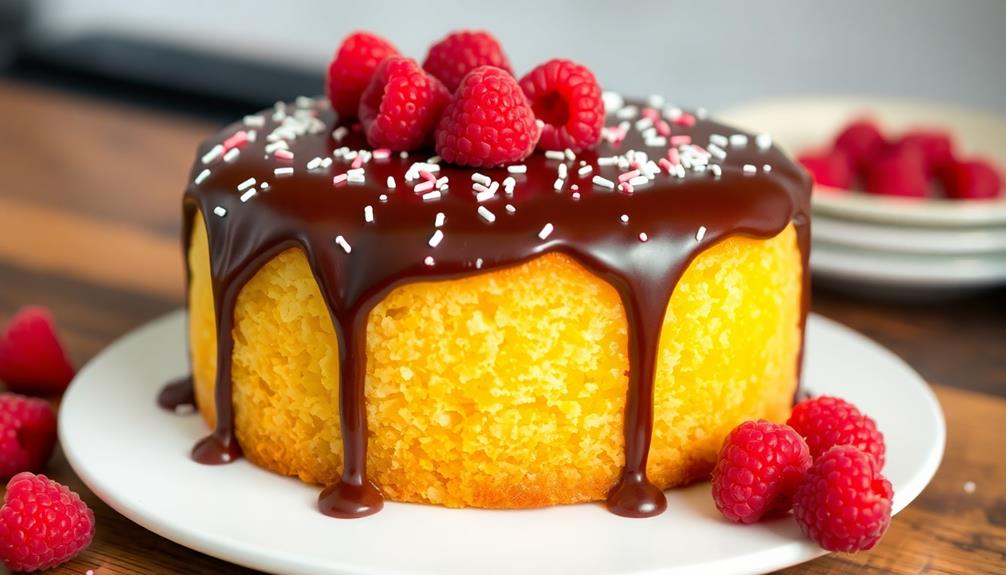
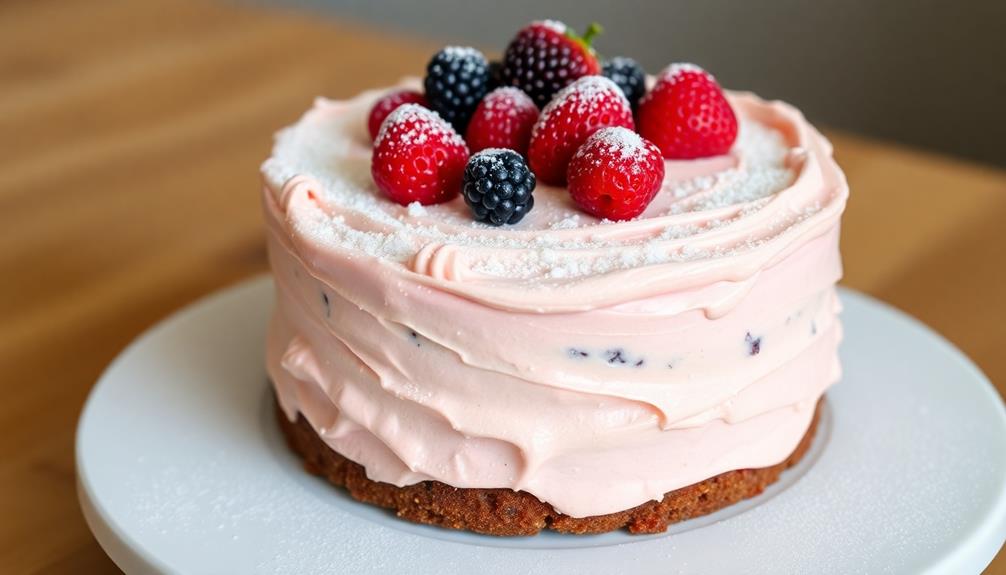
The decorations are the perfect finishing touch, allowing you to personalize the cake for the birthday celebrant. Whether you opt for a simple dusting of powdered sugar or an elaborate design, this cake is sure to be the star of the show.
Imagine the look on the birthday person's face as they see their special cake for the first time. The anticipation and excitement will be palpable as you gather around to sing "Happy Birthday" and take the first bite.
This birthday butter cake is a true celebration in and of itself. With its rich, indulgent flavor and moist, tender crumb, it's a dessert that will have everyone reaching for seconds.
Embrace the joy of baking and sharing this beloved treat – it's sure to make any birthday truly unforgettable.
Frequently Asked Questions
Can I Use a Different Type of Butter?
You can certainly use a different type of butter in your recipe. Experiment with unsalted, salted, or even flavored butters to find the one that best suits your taste preferences and desired outcome.
How Do I Store the Leftover Cake?
To store the leftover cake, wrap it tightly in plastic wrap or place it in an airtight container. Then, keep it in the refrigerator for up to 5 days. This will help preserve the cake's moisture and freshness.
Can I Substitute the Flour With Gluten-Free Flour?
Yes, you can substitute the flour with gluten-free flour, but you'll need to adjust the recipe accordingly. The texture and flavor may differ, so you might need to experiment to find the right balance.
Is This Cake Suitable for a Vegan Diet?
This cake isn't suitable for a vegan diet as it contains dairy ingredients like butter and eggs. You'd need to make significant substitutions to make it vegan-friendly, such as using plant-based milk and egg replacers.
Can I Prepare This Cake in Advance?
You can absolutely prepare this cake in advance. The moist texture and rich flavor will hold up beautifully, making it a convenient option for your upcoming celebration. Just be sure to store it properly to maintain its freshness.