Hello there!
Ready to dive into the delicious world of pear butter making? Well, buckle up because I’m about to take you on a flavor-packed journey.
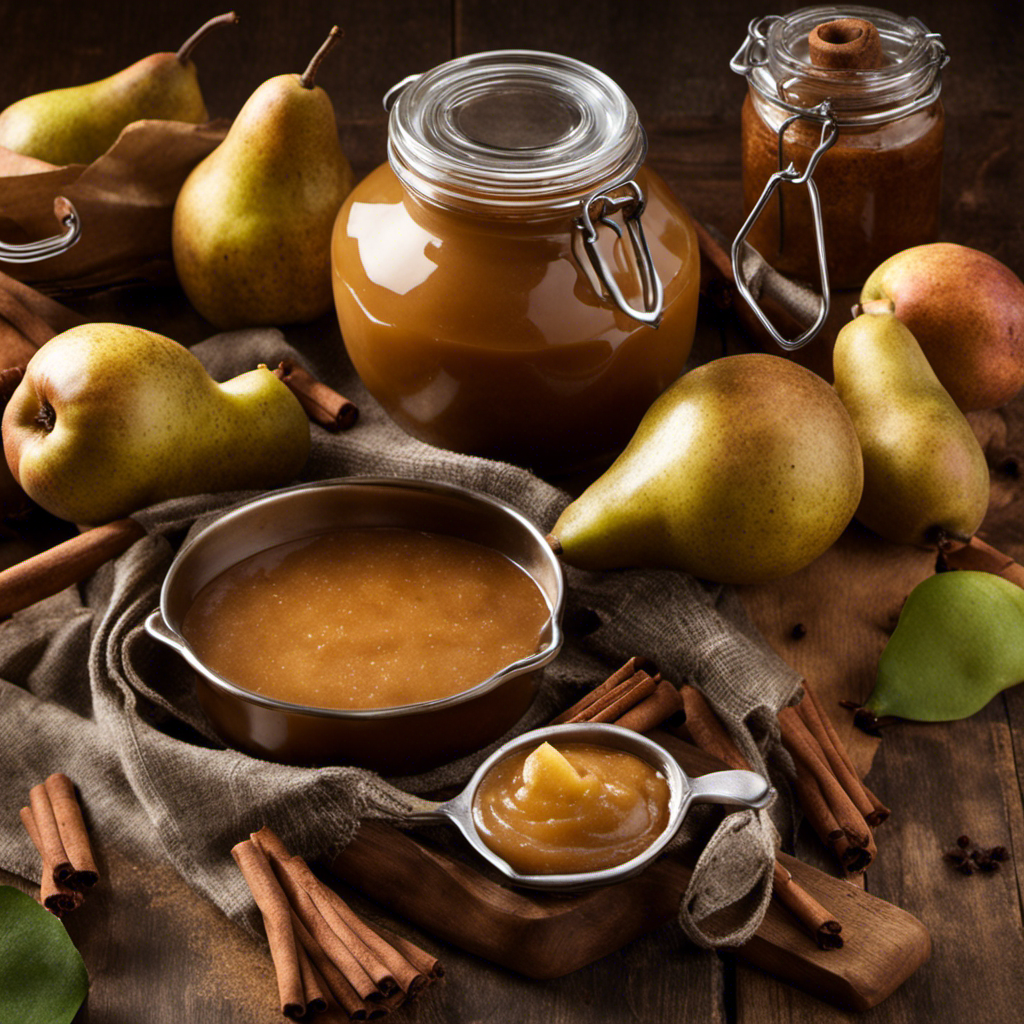
Picture this: juicy, ripe pears transformed into a smooth and luscious spread that will make your taste buds dance with joy. Trust me, once you try homemade pear butter, there’s no going back to store-bought.
So, grab your apron and let’s get cooking!
Key Takeaways
- Choose ripe, firm, and unbruised pears with vibrant color and a sweet aroma.
- Cook and simmer the pears to develop rich flavors, using stovetop or slow cooker methods.
- Blend the cooked pears for a smooth consistency, gradually increasing the speed for a silky texture.
- Properly sterilize jars for canning and store the homemade pear butter in a cool, dark place for optimal preservation.

Vitamix Ascent X3 Blender with Three Blending Programs, Self-Cleaning Program, Professional-Grade Blender for Smoothies, Soups and More, Stainless-Steel Blades, 48 Oz Container, Shadow Black
Included: Ascent X3 blender motor base, 48-ounce container, S2 low-profile tamper, tamper holder, and digital recipe book; this...
As an affiliate, we earn on qualifying purchases.
Selecting the Perfect Pears
When selecting pears for making pear butter, it’s important to choose ripe, fragrant ones. The key to choosing ripe pears is to use your senses.
Look for pears that are firm but give slightly when gently pressed. Avoid pears that are too soft or have bruises. The color of the pear should be vibrant and even, without any blemishes.
To test the ripeness, gently sniff the stem end of the pear. A sweet, fragrant aroma indicates that the pear is ripe and ready to be used for making pear butter.
Once you have chosen the perfect pears, it’s time to prepare them for butter making.

Instant Pot 4QT RIO Mini 7-in-1 Multi-Cooker, Pressure Cooker, Slow cook, Sauté, Steam, Rice Maker, Yogurt, & Warmer, Black, 4 Quarts
7 Cooking Functions: Pressure cook, slow cook, sauté, steam, cook rice, make yogurt, or keep your meals warm,...
As an affiliate, we earn on qualifying purchases.
Preparing the Pears for Butter Making
First, wash and peel the pears before moving on to the next step.
Peeling techniques can vary depending on personal preference and the type of pear you are using. Some people prefer to use a vegetable peeler, while others find that a paring knife provides better control. Regardless of the method you choose, make sure to remove all the skin, as it can be tough and affect the texture of your pear butter.
Once peeled, you can start to see the beautiful variations in color and texture of the pears. Some pears are pale yellow, while others have a blush of red. These flavor variations will add depth and complexity to your pear butter, resulting in a rich and delicious spread.

Cosori 9-in-1 TurboBlaze Air Fryer 6 Qt, Smart Control, 90°–450°F, Shake Reminders, Precise Heating for Even Results, Air Fry, Roast, Bake, Broil, Dry, Frozen, Proof, Reheat, Keep Warm, 120V, Cream
𝘼𝙞𝙧 𝙁𝙧𝙮𝙚𝙧 𝙐𝙥𝙜𝙧𝙖𝙙𝙚: Innovative TurboBlaze Technology delivers a powerful 3600 rpm fan speed and temperatures up to 450℉,...
As an affiliate, we earn on qualifying purchases.
Cooking and Simmering the Pear Mixture
Once the pears are peeled and ready, it’s time to start cooking and simmering the mixture. This is where the magic happens and the flavors of the pears really start to develop.
There are several cooking techniques you can use to make pear butter, such as stovetop cooking or using a slow cooker. I prefer to use the stovetop method because it allows me to have more control over the heat and the consistency of the pear butter.
As the pears cook and simmer, their natural sugars caramelize, creating a rich and sweet flavor. You can also experiment with different flavor variations by adding spices like cinnamon, nutmeg, or ginger to the mixture. These spices add warmth and depth to the pear butter, making it even more delicious.
Once the pears have cooked down and become soft and tender, it’s time to move on to the next step: blending and straining the pear butter.
Vitamix 5200 Blender, Professional-Grade Blender for Smoothies, Soups, Ice Cream and More, Stainless-Steel Blades, Self-Cleaning Kitchen Appliance, 64 Oz Container, Black
Included: Vitamix 5200 blender motor base, 64-ounce classic container, and tamper; this kitchen blender container allows for small-...
As an affiliate, we earn on qualifying purchases.
Blending and Straining the Pear Butter
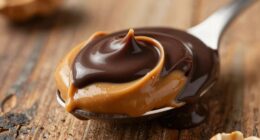
To achieve a smooth consistency, you’ll want to blend the simmered pear mixture until it becomes velvety and free of lumps. Blending techniques are crucial in creating a luscious pear butter that spreads effortlessly on toast or pairs perfectly with cheese.
Once the pears have simmered to perfection, carefully transfer them to a blender or food processor. Start by pulsing the mixture on low speed to break down any large chunks. Gradually increase the speed to achieve a silky texture.
If you prefer a completely smooth pear butter, you can strain the blended mixture through a fine-mesh sieve to remove any remaining fibrous bits. This extra step ensures a velvety consistency that will delight your taste buds.
Canning and Storing Your Homemade Pear Butter
When canning and storing your homemade pear butter, remember to properly sterilize your jars to ensure a safe and long-lasting shelf life. This step is crucial to prevent any bacterial growth or spoilage.
Here are some important canning safety precautions to keep in mind:
- Wash the jars and lids with hot soapy water before sterilizing.
- Place the jars in a large pot and fill it with enough water to cover them completely.
- Bring the water to a rolling boil and let the jars simmer for at least 10 minutes.
- Use jar lifters to remove the jars from the pot and let them cool on a clean towel.
Now that you have your jars properly sterilized and filled with delicious pear butter, let me share some creative uses for this delightful spread:
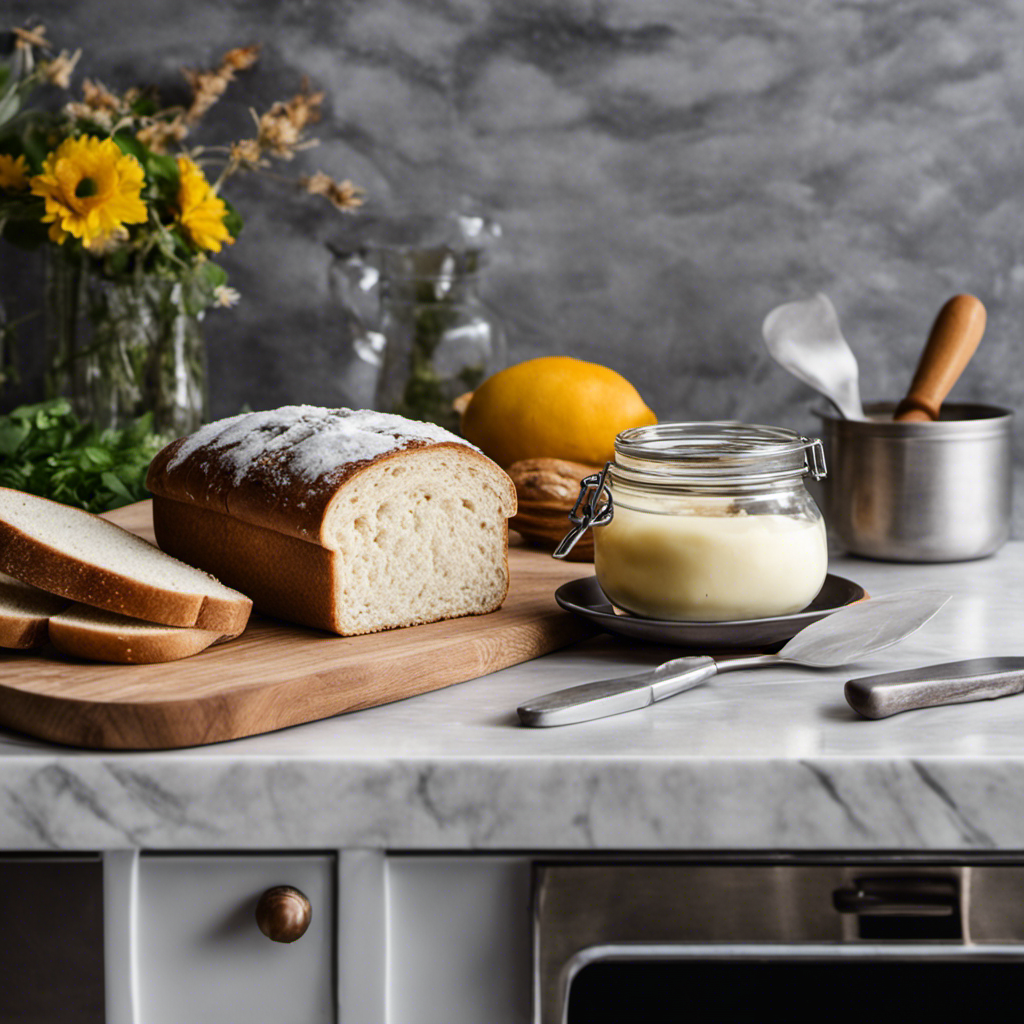
- Spread it on toast or muffins for a tasty breakfast treat.
- Use it as a filling for pastries or thumbprint cookies for a burst of flavor.
Get creative and experiment with different ways to enjoy your homemade pear butter. The possibilities are endless!
Frequently Asked Questions
How Many Pears Do I Need to Make Pear Butter?
To make pear butter, you’ll need a good amount of pears. The exact number depends on the recipe you choose and how much butter you want to make.
Can I Use Different Types of Pears to Make Pear Butter?
Yes, you can definitely use different types of pears to make pear butter! Some recommended pear varieties for pear butter include Bartlett, Bosc, and Anjou. The combination of flavors will make your pear butter even more delicious.
How Long Does It Take to Cook and Simmer the Pear Mixture?
When making pear butter, the cooking time and simmering duration are crucial. It typically takes around 2-3 hours to cook and simmer the pear mixture until it reaches a thick and spreadable consistency. Patience is key for the perfect pear butter!
Do I Need Any Special Equipment to Blend and Strain the Pear Butter?
I don’t need any special equipment to blend and strain the pear butter. I simply use a blender and a fine mesh strainer. It’s a simple process that ensures a smooth and velvety texture.
How Long Can I Store My Homemade Pear Butter?
The shelf life of homemade pear butter can vary depending on the preserving techniques used. With proper canning and storage, it can last up to a year or more. Enjoy the delicious taste for months to come!
Conclusion
So there you have it, my friends! Making pear butter is easier than you think.
From selecting the perfect pears to canning and storing the final product, I’ve walked you through each step of the process.
Now, imagine spreading that sweet and velvety pear butter on a warm slice of toast. Can you taste the pure bliss?
So why not give it a try? Get your hands on some fresh, ripe pears and embark on this delicious adventure. Trust me, your taste buds will thank you.