
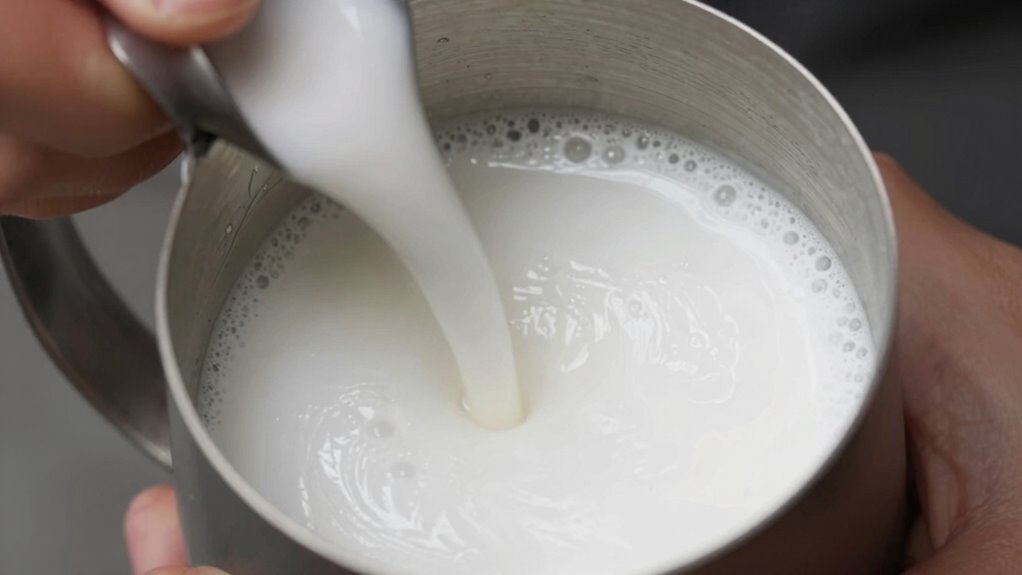
To achieve microfoam instead of big bubbles, focus on proper frothing techniques: use fresh, cold milk heated to around 140°F, and keep the steam wand just below the surface to introduce gentle air. Keep the pitcher small, steady, and controlled, twisting your wrist to create a smooth vortex. Maintain the right milk temperature and avoid overfilling. For more tips on perfecting your milk microfoam, keep exploring the best methods and tools.
Key Takeaways
- Use fresh, cold milk and heat it to around 140°F (60°C) for optimal microfoam.
- Keep the steam wand just below the milk surface to introduce gentle air for tiny bubbles.
- Maintain steady, controlled hand motion and swirl the milk to create a smooth vortex.
- Use a narrow spout pitcher and fill no more than one-third to control foam texture effectively.
- Practice consistent steaming techniques and monitor temperature to prevent large bubbles and rough foam.
What Is Microfoam and How Does It Differ From Big Bubbles?

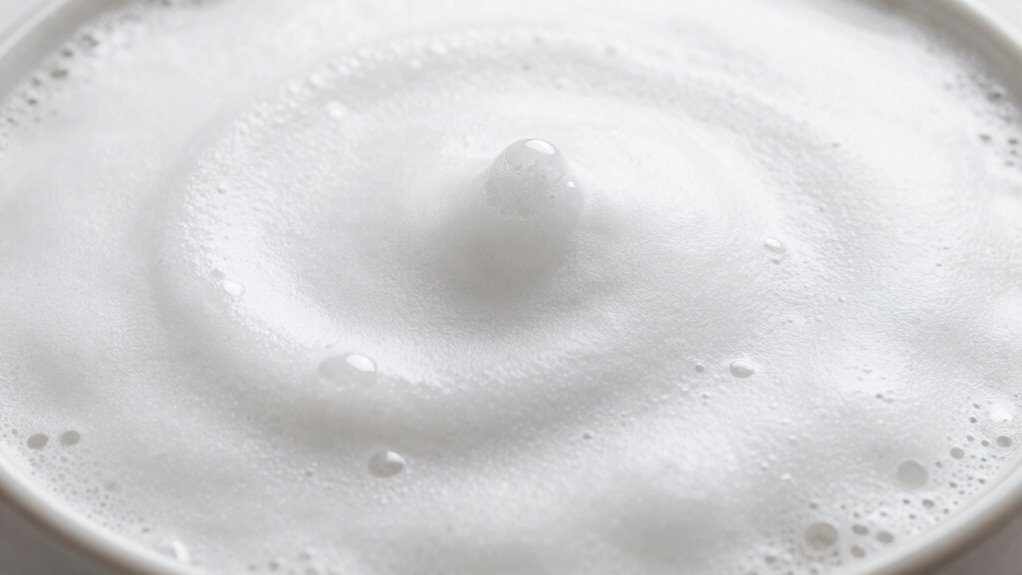
Have you ever wondered what sets microfoam apart from larger bubbles in your milk froth? It all comes down to milk composition and frothing temperature. Microfoam consists of tiny, velvety bubbles created when you properly aerate milk with the right temperature. When milk reaches the ideal frothing temperature—around 140-150°F—you activate proteins and fats that help produce smooth, stable microbubbles. Larger bubbles form when the milk isn’t textured enough or is overheated, causing the foam to be rough and less uniform. The key difference lies in the size and consistency of the bubbles, which directly impacts the texture and appearance of your latte art. Understanding how milk’s composition reacts to temperature is essential for achieving perfect microfoam instead of big, unwieldy bubbles. Proper technique and milk science knowledge can significantly improve your frothing results. Additionally, being aware of the frotting process helps ensure consistent results every time.
How to Prepare Milk and Tools for Perfect Microfoam
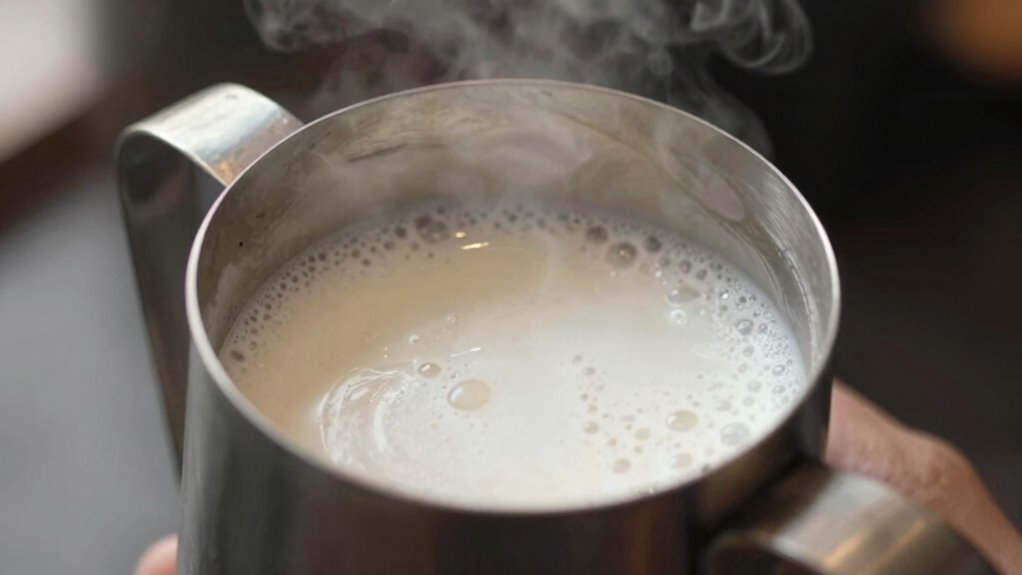
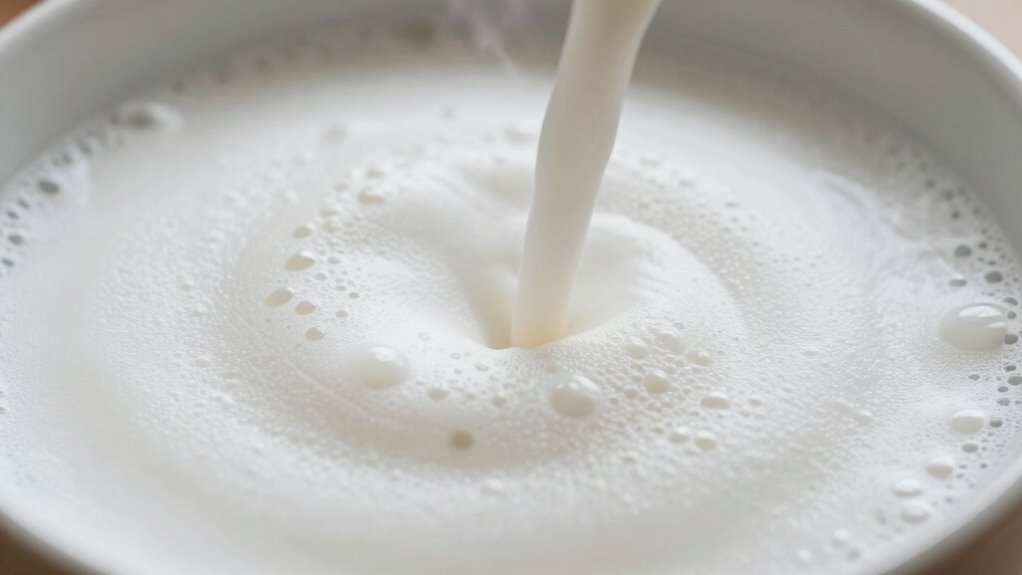
Achieving perfect microfoam starts with selecting the right milk and preparing your tools properly. Use fresh, cold milk—ideally between 38°C and 43°C—to guarantee excellent microfoam. A clean frothing pitcher helps maintain hygiene and prevents unwanted bubbles. Before frothing, rinse your pitcher to remove residue. Select a pitcher with a narrow spout for better control. Fill the pitcher no more than one-third full to allow room for expansion. Proper preparation sets the foundation for velvety microfoam. Additionally, choosing the right milk type can significantly impact the texture and quality of your microfoam. Using proper steaming techniques ensures the milk develops a smooth, glossy texture without large bubbles.
Techniques for Frothing Milk to Achieve a Smooth, Velvety Microfoam
Mastering the right frothing technique is essential for creating smooth, velvety microfoam. To achieve this, focus on your milk temperature and frothing hand technique. Here are key steps:
- Ensure your milk heats to about 140°F (60°C) for ideal microfoam.
- Keep the steam wand just below the milk surface to introduce air gently, avoiding large bubbles.
- Use a steady, controlled hand motion—twist and tilt the pitcher to maintain a vortex.
- Adjust your frothing hand technique by keeping the wand tip slightly submerged, producing a silky, shiny microfoam.
- Remember that maintaining a consistent steam wand position and proper technique helps prevent large bubbles and ensures a smooth texture. Additionally, choosing the right milk type can influence the quality of your microfoam for a more refined finish.
Troubleshooting Common Microfoam Problems and How to Fix Them

Even with the best frothing techniques, issues can still arise when creating microfoam. One common problem is large bubbles or uneven texture, often caused by incorrect milk temperature or using a frothing pitcher that’s too big or small. If the milk is too cold, it won’t foam well; too hot, and the foam collapses. Ensure your milk is around 140-150°F for *ideal* microfoam. Using a frothing pitcher that’s too large can make it harder to control the steam and create consistent microfoam, while a too-small pitcher can cause splattering. Keep the milk temperature steady and select a pitcher size that matches your quantity. Adjust your technique accordingly to troubleshoot these issues and achieve smooth, velvety microfoam. Additionally, understanding the importance of proper steaming techniques can significantly enhance your results. Mastering milk temperature control is essential for consistent microfoam quality and avoiding common pitfalls. For best results, practice steam wand positioning to evenly distribute heat and incorporate air properly. Being mindful of foam density and how it affects texture can help you refine your microfoam further. Moreover, paying attention to milk fat content can also influence the quality and stability of your microfoam, leading to a creamier texture.
Practice Tips to Continuously Improve Your Milk Frothing Skills
To continually improve your milk frothing skills, consistent practice is essential. Focus on refining your technique and paying attention to milk temperature for best microfoam. Here are four tips to help you progress:
- Practice milk art regularly to develop control over your pour and create beautiful patterns. Incorporating decorating tools can enhance your ability to craft intricate designs and elevate your presentation skills. Using precision frothing techniques can also help you achieve more consistent results.
- Monitor milk temperature closely, aiming for around 140°F (60°C) for ideal microfoam.
- Adjust your frothing speed and angle to produce smooth, velvety milk without bubbles.
- Record your progress by noting what works best, then revisit techniques to refine your craft.
- Incorporate smart kitchen tools that help you maintain precise temperature control and consistent frothing results.
Frequently Asked Questions
Can Non-Dairy Milk Create Microfoam Similar to Dairy Milk?
Yes, non-dairy milk can create microfoam similar to dairy milk. You just need to choose the right alternative milk options, like oat or soy milk, which froth well. Use plant-based frothing techniques such as steaming at the right temperature and incorporating the right equipment. With practice, you’ll achieve smooth, velvety microfoam perfect for lattes or cappuccinos, just like traditional dairy milk.
What Is the Ideal Temperature Range for Perfect Microfoam?
You should aim for a temperature range of 140-150°F to achieve perfect microfoam. While temperature stability is key, milk composition also influences foam quality. Too hot, and the microfoam collapses; too cool, and it won’t develop fully. Maintaining consistent heat ensures your milk’s ideal texture, creating silky microfoam with tiny bubbles. Keep your milk within this range for *best* frothing results that elevate your coffee experience.
How Does Milk Fat Content Affect Frothing Quality?
You’ll notice that milk with higher fat content generally produces better frothing quality because the fats help create a creamier, more stable microfoam. Low-fat or skim milk can still froth, but the resulting microfoam tends to be lighter and less velvety. To improve your frothing results, choose milk with the right fat level for your preferred texture, and make sure to steam it to the ideal temperature.
Are There Specific Steam Wand Techniques for Different Milk Types?
You should adjust your steam wand positioning and milk type adjustments based on the milk you’re using. For whole milk, keep the wand just below the surface to create smooth microfoam, while for skim milk, you may need to tilt the pitcher slightly and position the wand deeper to prevent bubbles. Always tailor your technique to the milk’s fat content and temperature, ensuring ideal microfoam quality.
How Do I Store Milk to Maintain Its Frothing Properties?
To maintain frothing properties, you should store milk properly by keeping it in the coldest part of your fridge, ideally at or below 4°C (39°F). Always close the container tightly to prevent contamination and flavor absorption. For frothing preservation, use fresh milk within its expiration date and avoid freezing, as it alters texture. Proper milk storage helps confirm consistent microfoam and smooth frothing results every time.
Conclusion
Mastering microfoam transforms your coffee game from ordinary to extraordinary—it’s like turning milk into liquid velvet. With patience and practice, you’ll craft the perfect velvety texture that makes every sip feel like a warm, cozy hug. Don’t let bubbles or frothy messes hold you back; instead, embrace the journey to milk frothing mastery. Keep experimenting, and soon you’ll be creating latte art so beautiful, it might just steal the show at your local café.