To make cultured butter at home, start by letting 2 cups of high-quality heavy cream sit at room temperature for 12 to 24 hours. This allows beneficial bacteria to ferment the cream, adding a tangy flavor. Once it's thickened, pour it into a mixer and churn on medium speed for about 10 to 15 minutes until the butter separates from the buttermilk. Strain it, rinse under cold water, and knead to remove excess liquid. Store your butter in airtight containers in the fridge or freeze it for longer enjoyment. There's so much more to explore about the process!
Key Takeaways
- Allow 2 cups of heavy cream to sit at room temperature for 12 to 24 hours to culture properly.
- Mix the cultured cream in a stand mixer or hand mixer for 10 to 15 minutes until butter separates from buttermilk.
- Strain the mixture through a fine mesh sieve or cheesecloth to collect the butter.
- Rinse the butter under cold water and knead it to remove excess buttermilk.
- Store the finished cultured butter in an airtight container, refrigerating for up to two weeks or freezing for longer.
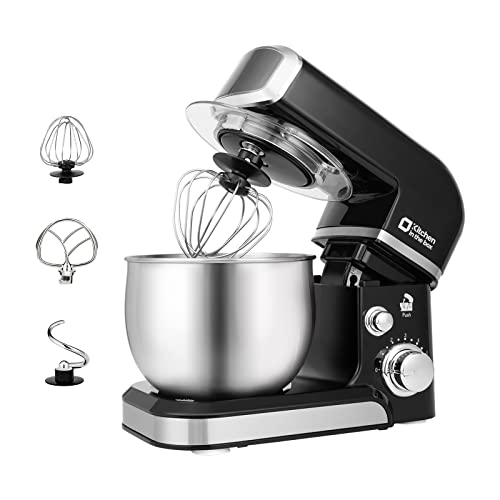
Kitchen in the box Stand Mixer,3.2Qt Small Electric Food Mixer,6 Speeds Portable Lightweight Kitchen Mixer for Daily Use with Egg Whisk,Dough Hook,Flat Beater (Black)
- Compact and Lightweight: Less than 7lbs, space-saving design
- Multiple Color Options: Variety of colors to match kitchen decor
- 3.2Qt Stainless Steel Bowl: Ideal size for small families or baking
As an affiliate, we earn on qualifying purchases.
As an affiliate, we earn on qualifying purchases.
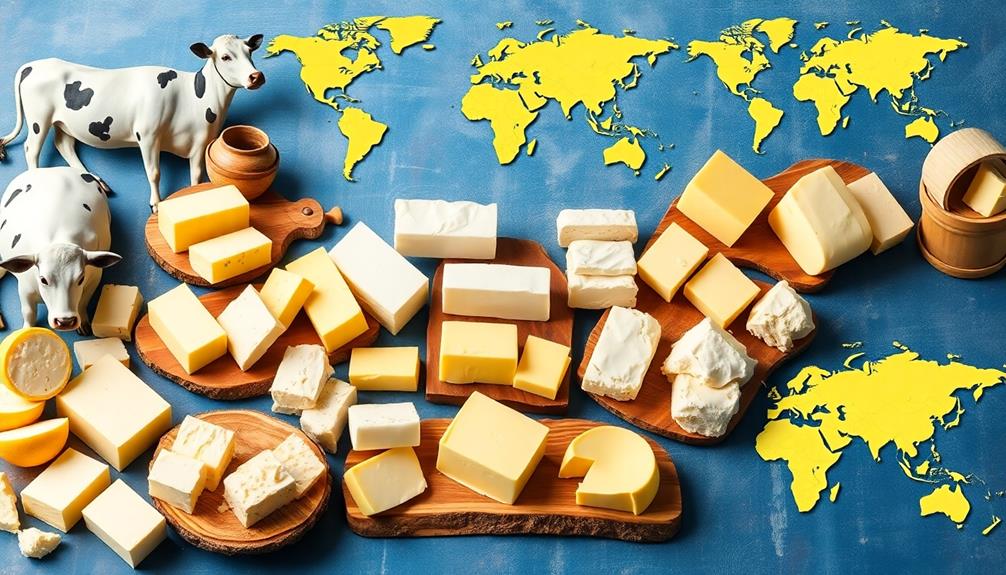
Understanding Cultured Butter
Understanding cultured butter is essential if you want to elevate your homemade butter game. Unlike regular butter, cultured butter undergoes a fermentation process, which gives it a distinctive tangy flavor and a creamier texture. This unique taste comes from the beneficial bacteria added to the cream before churning. These cultures transform the cream, enhancing its complexity and depth.
Additionally, using high-quality butter products, such as top butter brands, can greatly enhance the final flavor profile of your cultured butter.
When you make cultured butter, you're not just creating a spread; you're crafting an ingredient that can elevate your culinary creations. Its rich, tangy flavor pairs beautifully with baked goods, spreads easily on toast, and can even enhance sauces and dressings. You'll notice that the fermentation process also increases its shelf life, allowing you to enjoy your butter longer.
The key to mastering cultured butter lies in patience. While it takes time for the cultures to work their magic, the result is worth the wait. You'll find that the process is simple, requiring minimal equipment.
Plus, once you understand the basics, you can experiment with different cultures and flavors. Embrace the art of cultured butter, and you'll soon impress family and friends with your delicious homemade creations.
Ingredients Needed
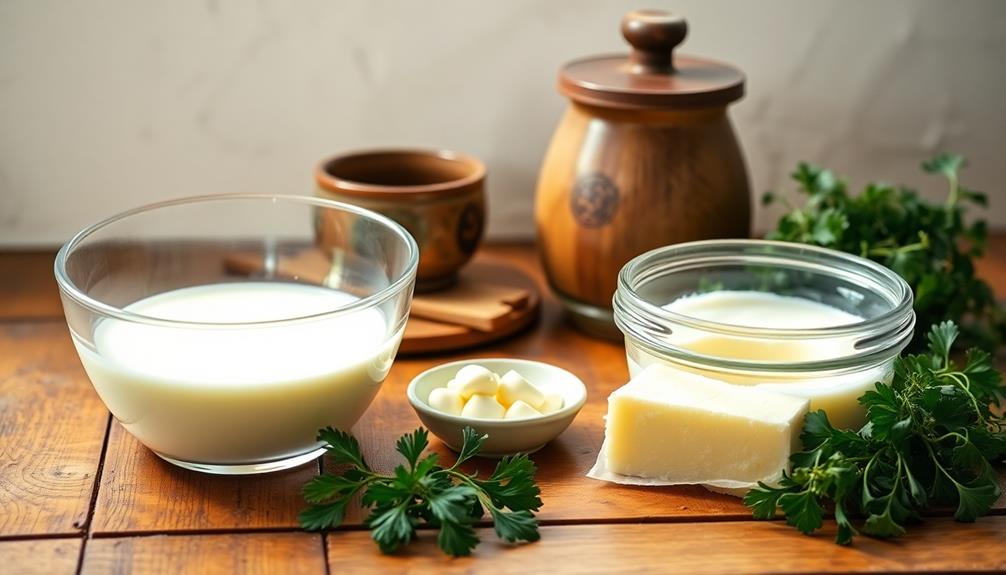
Creating delicious cultured butter starts with gathering the right ingredients. You'll need a few essential items to guarantee your butter turns out rich and flavorful. Here's a quick checklist to help you get started:
| Ingredient | Quantity |
|---|---|
| Heavy Cream | 2 cups |
| Live Culture (buttermilk or yogurt) | 2 tablespoons |
| Salt | 1/2 teaspoon (optional) |
| Milk (for washing) | As needed |
| Ice Water | As needed |
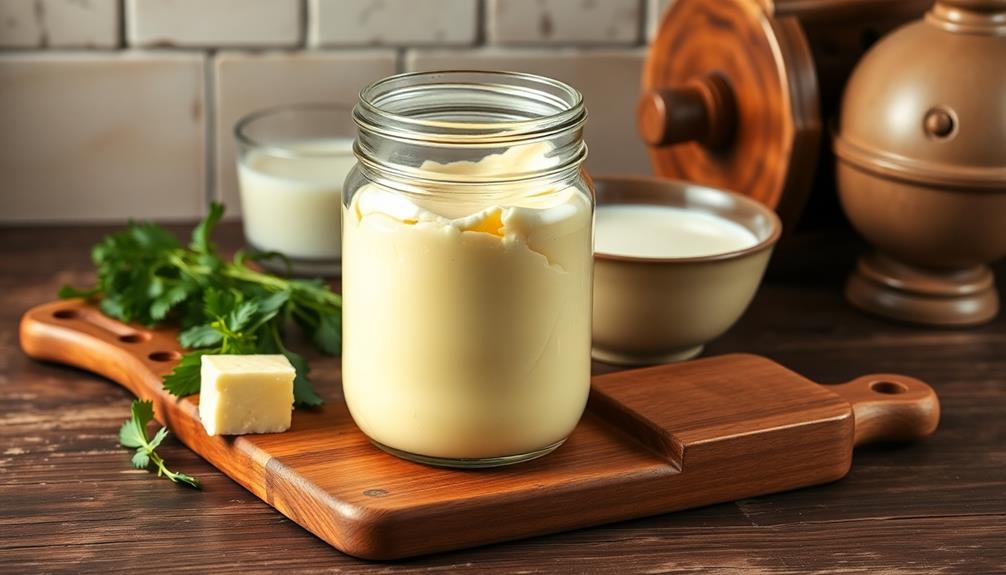
First, make certain you choose high-quality heavy cream, as it forms the base of your butter. The live culture, whether from buttermilk or yogurt, is essential for the fermentation process, giving your butter that tangy flavor. While salt is optional, it enhances the taste and helps preserve the butter. You might also need some milk for washing the butter after churning, guaranteeing a smooth texture. Finally, keep some ice water handy to help cool the butter during the process. With these ingredients in hand, you're well on your way to making your own cultured butter at home!
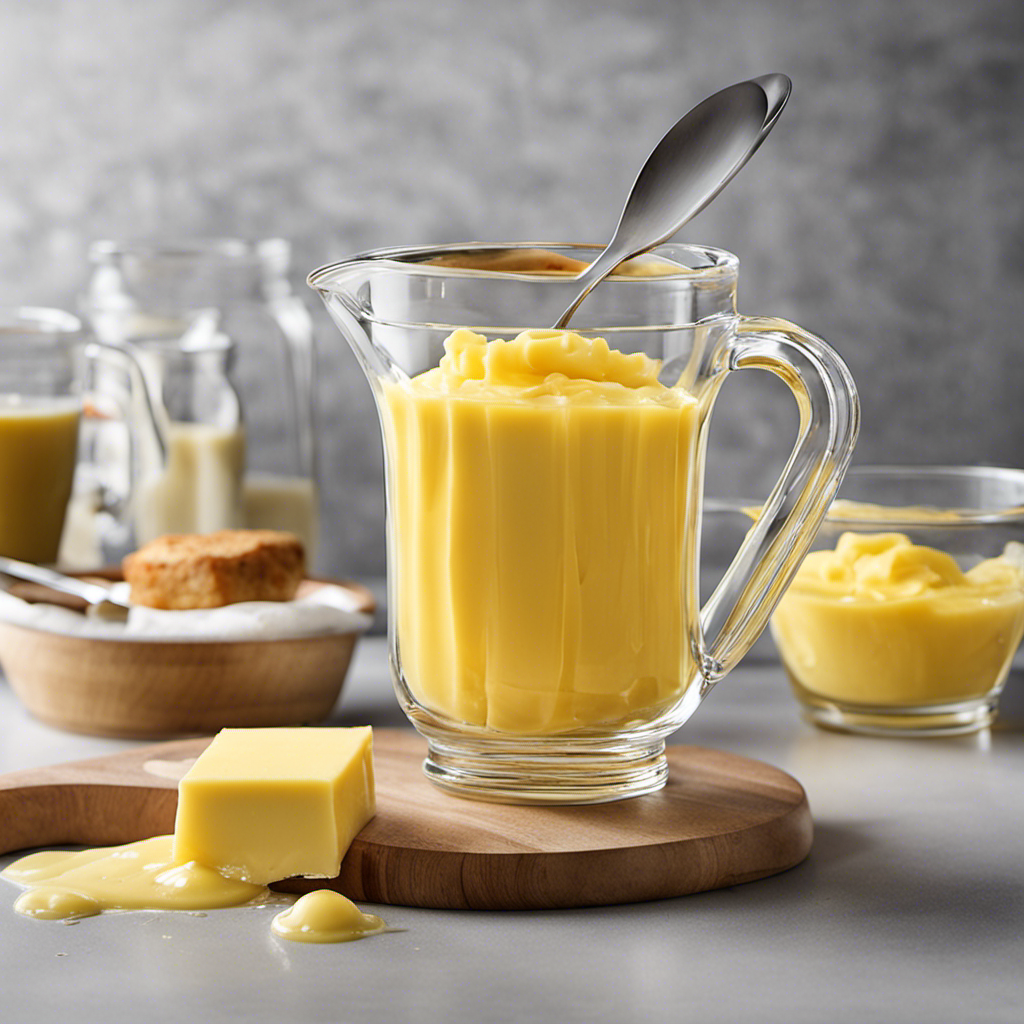
Culturing the Cream
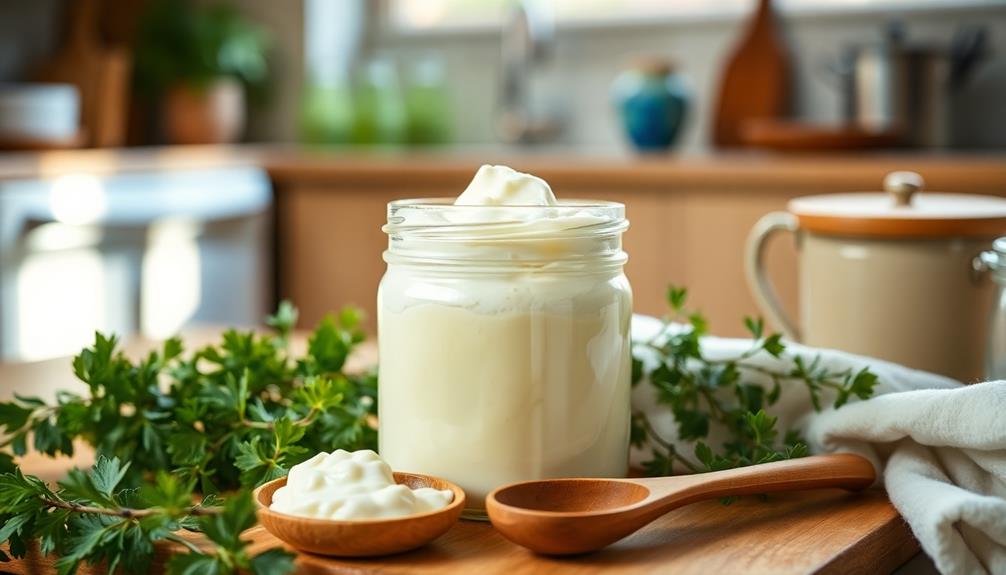
Culturing the cream is a crucial step in making delicious cultured butter. To start, you'll need to let your fresh cream sit at room temperature for about 12 to 24 hours. This allows the natural bacteria present in the cream to thrive, which is essential for developing that rich, tangy flavor you're aiming for.
You can speed up the process by adding a small amount of buttermilk or a culture starter specifically designed for butter. If you choose to add buttermilk, just a couple of tablespoons will do the trick. Mix it gently into the cream, ensuring it's well incorporated.
Once added, cover the bowl with a clean cloth or plastic wrap to protect it from contaminants while allowing airflow. Keep the cream in a warm spot, ideally around 70°F to 75°F, where it'll ferment nicely.
After the culturing time, you'll notice the cream thickening and developing a pleasant aroma. This is a sign that the bacteria have done their job, transforming the cream into a luscious base for your butter.
Now you're ready to move on to the next step: churning the butter!
Churning the Butter
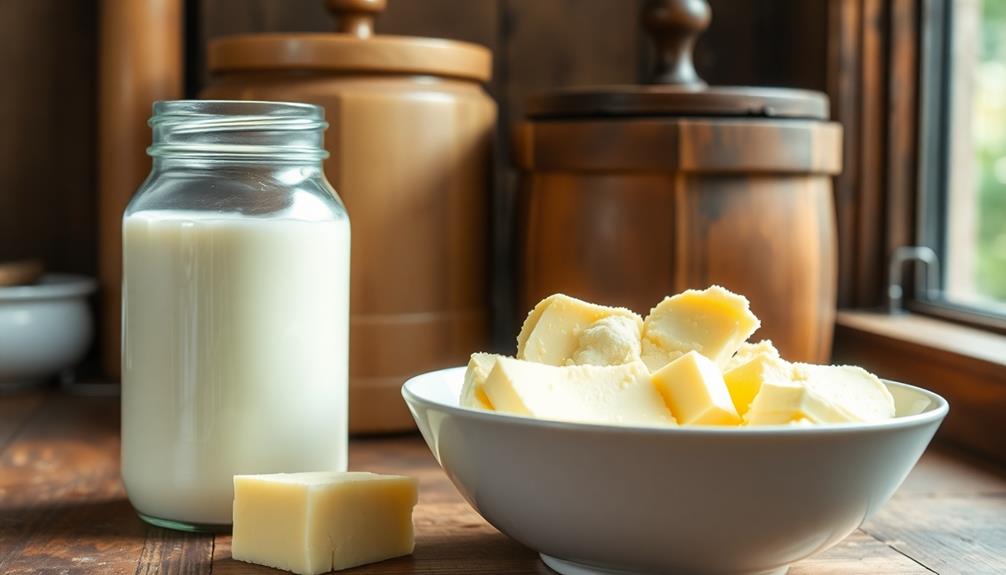
Now that your cream is perfectly cultured, it's time to churn the butter. You can use a stand mixer, a hand mixer, or even a traditional butter churn if you're feeling adventurous.
Start by pouring your cultured cream into the mixing bowl. If you're using a stand mixer, fit it with the paddle attachment and set it on medium speed. You'll notice the cream thickening and eventually turning into whipped cream.
Keep mixing until the butter separates from the buttermilk, which usually takes about 10 to 15 minutes.
Once you see the butter forming, you can stop the mixer. You'll want to strain the mixture through a fine mesh sieve or cheesecloth to separate the butter from the buttermilk.
Save the buttermilk for baking or cooking—it's a delicious addition! Rinse the butter under cold water to remove any remaining buttermilk, which helps improve its shelf life.
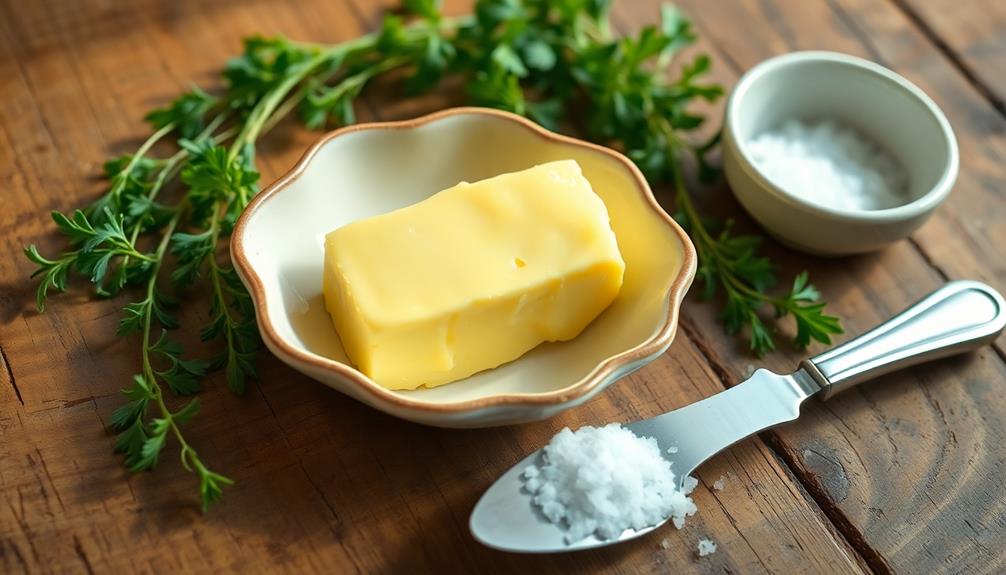
Knead the butter gently to help expel any excess liquid. At this point, you can add salt or herbs to flavor your butter, but that's totally up to you.
Enjoy the satisfaction of creating your own delicious cultured butter!
Storing and Enjoying
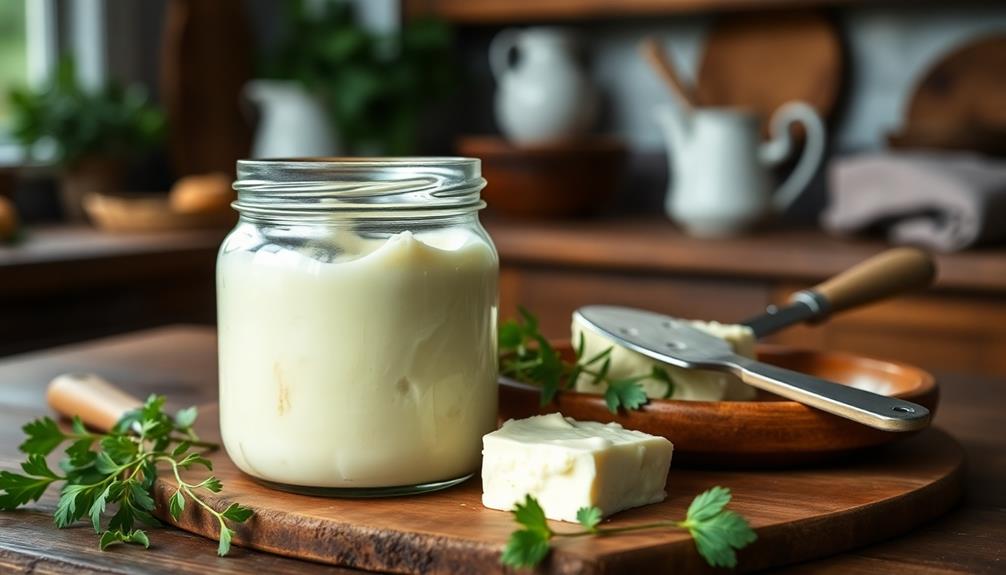
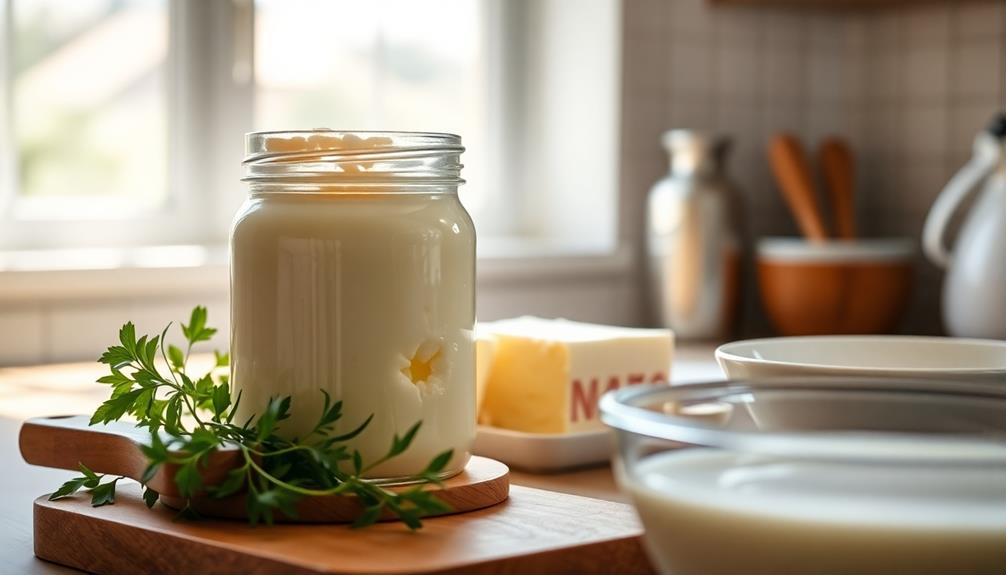
Once you've churned your delicious butter, proper storage is key to maintaining its freshness and flavor.
Start by transferring your butter to an airtight container. This will help keep out moisture and any unwanted odors from your fridge. You can also wrap it tightly in parchment paper or wax paper if you prefer a more traditional method.
For best enjoyment, consider these storage tips:
- Refrigerate: Store your butter in the fridge for up to two weeks.
- Freeze: For longer storage, freeze your butter in small portions. This way, you can easily take out just what you need.
- Label: Don't forget to label your containers with the date you made the butter. This helps you keep track of freshness.
- Serve: When you're ready to enjoy your cultured butter, let it sit at room temperature for about 30 minutes before serving. This softens it up and brings out the flavor.
Frequently Asked Questions
Can I Use Non-Dairy Alternatives for Cultured Butter?
You can definitely use non-dairy alternatives for cultured butter! Many plant-based options, like coconut cream or cashew cream, work well. Just remember to add a probiotic culture to achieve that tangy flavor you're after.
How Long Does Cultured Butter Last in the Refrigerator?
Cultured butter's practically immortal in your fridge, lasting up to two months if stored properly! Just keep it sealed tight, and you'll savor its rich flavor long after you thought it'd vanished from existence. Enjoy!
Is It Necessary to Pasteurize the Cream Before Culturing?
It isn't strictly necessary to pasteurize the cream before culturing, but doing so can reduce harmful bacteria and create a safer environment for fermentation. You'll have a more consistent and flavorful final product if you choose to pasteurize.
Can I Add Flavors or Herbs to My Cultured Butter?
Absolutely, you can add flavors or herbs to your cultured butter! Just mix in your desired ingredients, like garlic or fresh herbs, after the butter's been whipped. It'll elevate the taste and make it uniquely yours.
What Equipment Do I Need to Make Cultured Butter at Home?
To create your creamy masterpiece, you'll need a mixing bowl, a whisk or electric mixer, a spatula, a fine mesh strainer, and a container for storage. With these tools, you're ready to craft deliciousness!
Conclusion
Now that you've crafted your own creamy, tangy cultured butter, imagine spreading it over warm, crusty bread as it melts into golden pools. Each bite bursts with flavor, transforming the ordinary into something extraordinary. You've not just made butter; you've created a delightful experience that enhances every meal. So go ahead, savor your creation, share it with loved ones, and let the rich, buttery goodness inspire your culinary adventures. Enjoy the fruits of your labor!