I have always been intrigued by the process of making butter from scratch. Were you aware that you can make butter using only half and half? It’s absolutely true!
In this article, I’ll guide you through the step-by-step process of churning your own homemade butter using half and half. From gathering the ingredients to storing and using the final product, I’ll provide you with all the precise and detailed instructions you need to successfully make your own butter.
Let’s get started!
Key Takeaways
- Half and half is a readily available ingredient for making butter, as it contains equal parts of milk and cream.
- Different churning methods, such as the jar method, hand crank churn, and electric churn, can be used to transform half and half into butter.
- Straining the butter and pressing it against a strainer with a spoon helps separate excess liquid and buttermilk from the creamy butter.
- Washing and kneading the butter, preferably at around 50°F (10°C), helps remove residual buttermilk and achieve the desired smooth texture.
Gathering the Ingredients
First, you’ll need to gather the half and half, which is the main ingredient for making butter. Half and half is a dairy product that contains equal parts of milk and cream. It is readily available at most grocery stores.
To begin the butter making process, you will also need a few pieces of equipment. Firstly, you will need a large mixing bowl to hold the half and half. Secondly, you will need a whisk or an electric mixer to agitate the liquid and separate the butterfat from the milk solids. Lastly, you will need a fine mesh strainer or cheesecloth to strain out the liquid once the butter has formed.
Now that you have gathered the necessary ingredients and equipment, you can move on to churning the half and half into butter.
Churning the Half and Half
To start churning, you’ll need to pour the mixture into a jar or container.
The churning process is what transforms the half and half into creamy butter.
There are different techniques and types of churns that can be used.
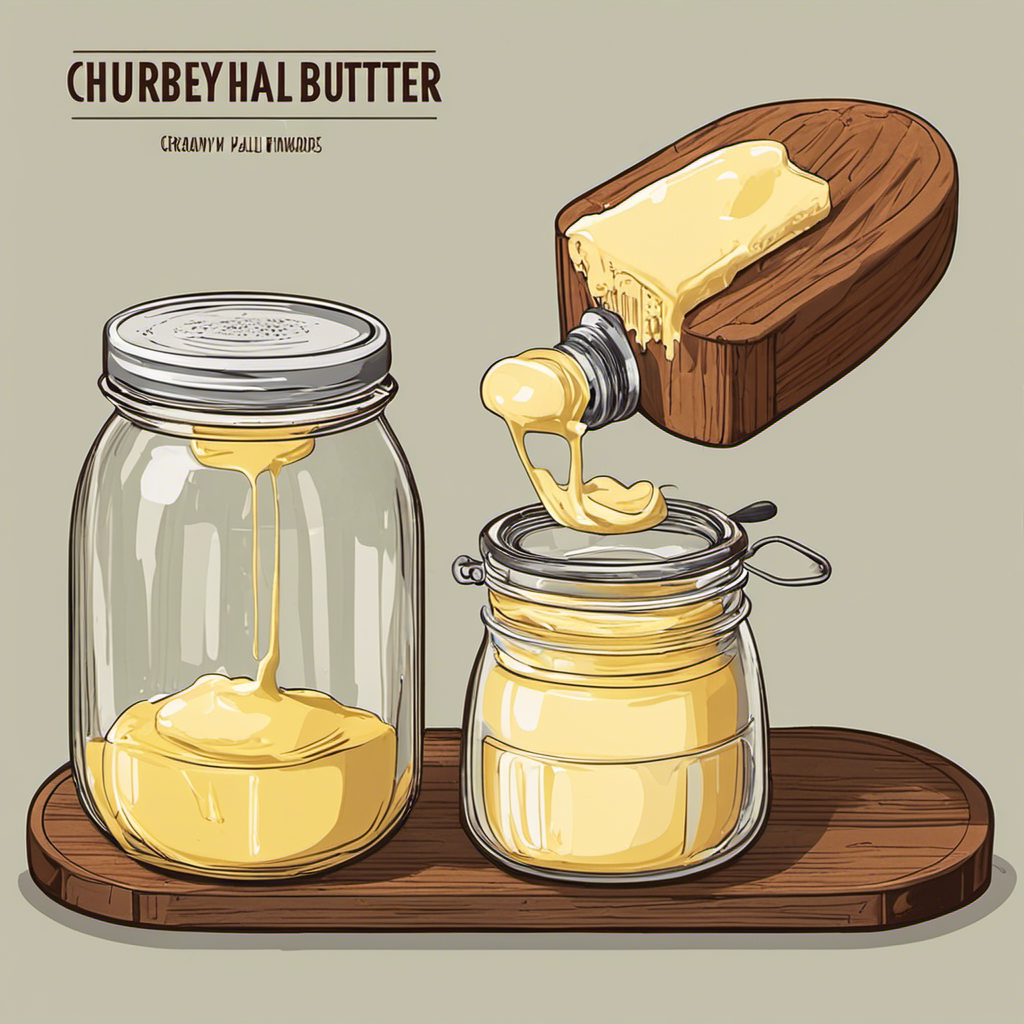
One common technique is the jar method, where you simply shake the jar vigorously until the butter separates from the liquid.
Another technique is using a hand crank churn, which requires more physical effort but produces larger batches of butter.
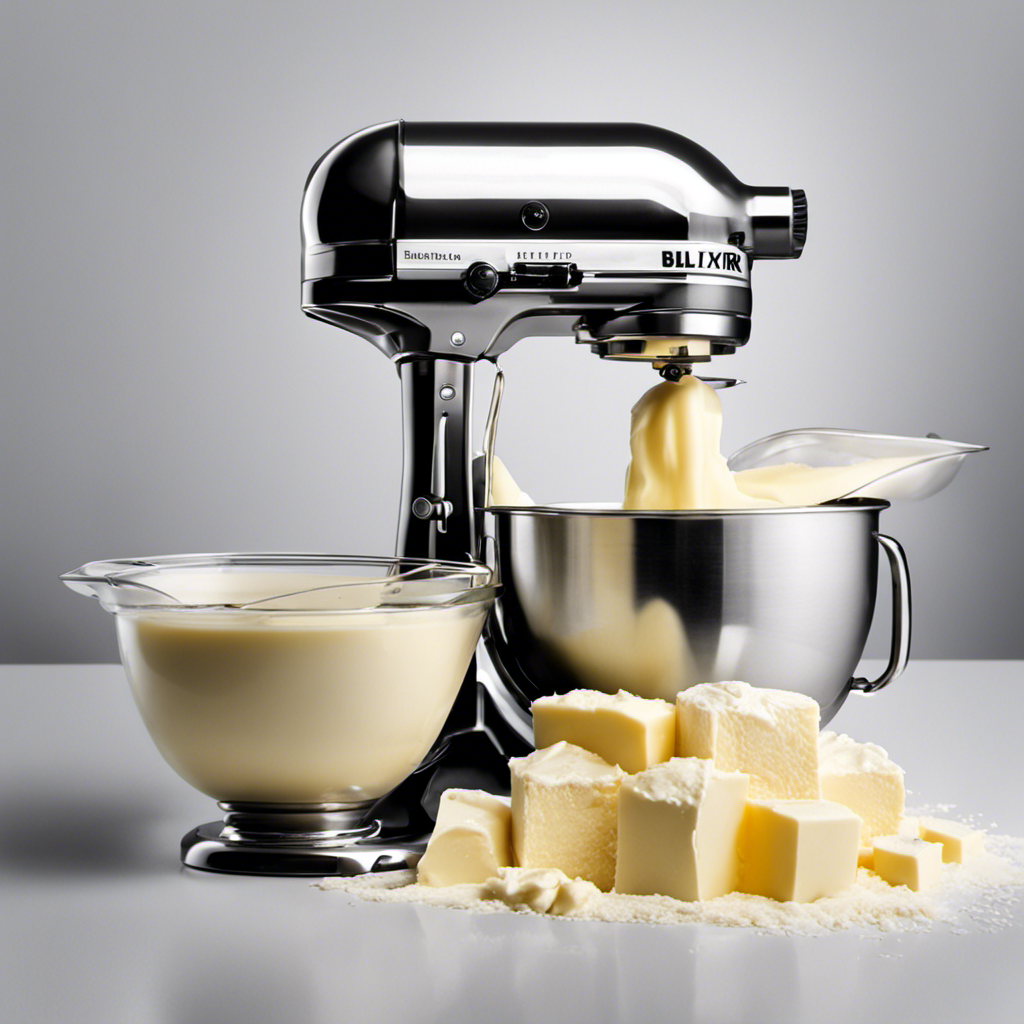
Finally, there are electric churns that automate the churning process, making it easier and faster.
Whichever method you choose, the end result will be delicious homemade butter that you can use in your cooking and baking.
Separating the Butter From the Buttermilk
Once shaken vigorously, you’ll see the creamy butter begin to separate from the buttermilk in the jar. It’s an exciting moment, as it means we’re one step closer to enjoying our homemade butter.
To maximize the butter yield, I like to use a strainer lined with cheesecloth to strain out the buttermilk. This helps remove any excess liquid and ensures a rich and creamy butter.
As the butter sits, you might notice some residual buttermilk clinging to it. To remove this, I gently press the butter against the strainer with the back of a spoon.
Now, what to do with all that leftover buttermilk? Don’t let it go to waste! Buttermilk can be used in a variety of recipes, from pancakes and biscuits to marinades and dressings. It adds a tangy flavor and tender texture to baked goods, making them extra delicious.
Washing and Kneading the Butter
When it comes to washing and kneading butter, there are a few key points to keep in mind.
First, finding the optimal washing time is crucial for removing any remaining buttermilk and achieving a smooth texture.
Secondly, using effective kneading techniques is essential for ensuring that the butter is properly worked and any excess moisture is removed.
Lastly, the desired butter consistency can be achieved by adjusting the washing and kneading processes to suit personal preferences.
Optimal Washing Time
For the best results, make sure you don’t overwash the butter. Overwashing can lead to a loss of flavor and texture. To achieve the perfect balance, follow these guidelines:
-
Optimal Temperature: The best temperature to wash butter is around 50°F (10°C). This temperature allows the butter to solidify and prevents excessive moisture absorption.
-
Alternative Washing Methods: If you prefer not to use water, you can use chilled buttermilk or ice-cold heavy cream to wash the butter. These alternatives will effectively remove excess buttermilk while keeping the butter’s flavor intact.
-
Test for Clarity: To determine if the butter is adequately washed, pour off the cloudy water and replace it with fresh cold water. Repeat this process until the water runs clear. This ensures that all the remaining buttermilk is removed.
Effective Kneading Techniques
To achieve perfectly kneaded dough, gently fold and press the dough with the heel of your hand, ensuring all ingredients are evenly incorporated. Temperature control is crucial during the kneading process, as it affects the texture and consistency of the dough. When kneading dough, the ideal temperature range is typically between 75°F and 85°F. This allows the dough to rise properly and develop gluten, resulting in a light and airy texture.
When it comes to achieving the desired butter texture, there are various techniques to consider. One technique is the rubbing-in method, where cold butter is rubbed into the dry ingredients until it resembles coarse crumbs. Another technique is the folding method, where butter is incorporated into the dough by folding it in layers. This creates a flaky texture in pastries and croissants. The creaming method involves beating softened butter with sugar to create a light and fluffy texture in cakes and cookies. These techniques are essential for achieving the desired butter texture in various baked goods.
| Technique | Description |
|---|---|
| Rubbing-in method | Rubbing cold butter into dry ingredients |
| Folding method | Incorporating butter into dough by folding it in layers |
| Creaming method | Beating softened butter with sugar for a light and fluffy texture |
| Other techniques | Various other techniques can be used depending on the desired texture |
| and consistency of the butter |
Butter Consistency Achieved
Achieving the desired butter consistency can be accomplished by incorporating the butter into the dough using various techniques. Here are three key factors to consider when aiming for the perfect butter texture in your homemade butter making process:
-
Temperature: Ensure the butter is at room temperature before incorporating it into the dough. Softened butter blends more easily, resulting in a smoother texture.
-
Mixing Method: Depending on the desired texture, you can mix the butter into the dough using a stand mixer, food processor, or even by hand. Each method will yield a slightly different result, so choose the technique that best suits your preference.
-
Incorporation Time: Take your time when blending the butter into the dough. Gradually add small amounts at a time, allowing it to fully incorporate before adding more. This will ensure an even distribution and a consistent texture throughout.
By following these techniques, you can achieve the desired butter consistency that will enhance the overall taste and texture of your baked goods.
Now, let’s move on to the optional step of adding salt to further enhance the flavor.
Adding Salt (Optional
If you want to add salt to your butter, you can simply sprinkle it in and mix it well. Salt not only enhances the flavor of butter but also acts as a preservative, extending its shelf life. By adding salt to your butter, you can create different flavor variations to suit your taste preferences. Here is a table showing the recommended salt to butter ratio for different flavor intensities:
| Salt to Butter Ratio | Flavor Intensity |
|---|---|
| 1/4 teaspoon | Mild |
| 1/2 teaspoon | Medium |
| 1 teaspoon | Strong |
| 1 1/2 teaspoons | Extra strong |
| 2 teaspoons | Very strong |
Experiment with different ratios to find your desired flavor. Remember to mix the salt thoroughly to ensure even distribution throughout the butter. Enjoy the enhanced taste and extended shelf life of your homemade butter!
Storing and Using the Homemade Butter
Once you have made your homemade butter, storing it in an airtight container in the refrigerator will help maintain its freshness and quality. Here are three important things to keep in mind when storing your homemade butter:
-
Temperature: Butter should always be stored in the refrigerator to keep it firm and prevent it from spoiling. Avoid leaving it at room temperature for long periods as it can lead to rancidity.
-
Airtight Container: To preserve the flavor and prevent any odors from seeping into the butter, store it in an airtight container. This will also prevent it from absorbing any unwanted flavors from other foods in the fridge.
-
Use within a Reasonable Time: While homemade butter can last up to a month in the refrigerator, it’s best to use it within two weeks for optimal flavor and quality. Be sure to check for any signs of spoilage before using it.
Tips and Troubleshooting
Remember to check for any signs of spoilage before using your homemade butter. Troubleshooting tips can help you avoid common mistakes and ensure your butter turns out perfectly. Here are some tips to keep in mind:
| Common Mistakes | Troubleshooting Tips |
|---|---|
| Butter doesn’t form | Make sure your cream is fresh and at room temperature before churning. Cold cream won’t emulsify properly. |
| Butter is too soft | If your butter is too soft, place it in the refrigerator for a while to firm up. |
| Butter has an off odor | This could be a sign of spoilage. Discard the butter and start over with fresh ingredients. |
Frequently Asked Questions
How Long Can Homemade Butter Made From Half and Half Be Stored?
The shelf life of homemade butter made from half and half depends on storage conditions. To ensure freshness, store it in an airtight container in the refrigerator. Properly stored, it can last for about 1-2 weeks.
Can I Use Heavy Cream Instead of Half and Half to Make Butter?
Yes, heavy cream can be used instead of half and half to make butter. However, the fat content of heavy cream is higher, so it may result in a richer and creamier butter.
Can I Use a Blender or Food Processor Instead of a Jar to Churn the Half and Half?
Using a blender or food processor to churn half and half into butter? The better method between blender and jar is subjective. However, a blender or food processor can both effectively make butter from half and half.
What Can I Do With the Leftover Buttermilk After Separating the Butter?
After separating the butter, I can use the leftover buttermilk in various ways. Some uses for leftover buttermilk include making pancakes, biscuits, or even using it as a marinade for chicken. If I don’t have buttermilk, I can make it from scratch by adding vinegar or lemon juice to regular milk.
Is It Necessary to Wash the Butter Before Adding Salt?
No, it’s not necessary to wash the butter before adding salt. However, if you want to enhance the flavor of homemade butter with different seasonings, it’s best to wash it to remove any leftover buttermilk.
Conclusion
So there you have it, folks! Making butter with half and half is a simple and satisfying process.
By following these steps, you can transform this everyday ingredient into a delicious homemade butter. From gathering the ingredients to storing the final product, we’ve covered it all.
Just imagine the creamy, rich taste of your very own butter spread on a warm piece of toast – it’s like a little slice of heaven!
So go ahead and give it a try, and enjoy the satisfaction of creating something truly special in your own kitchen.