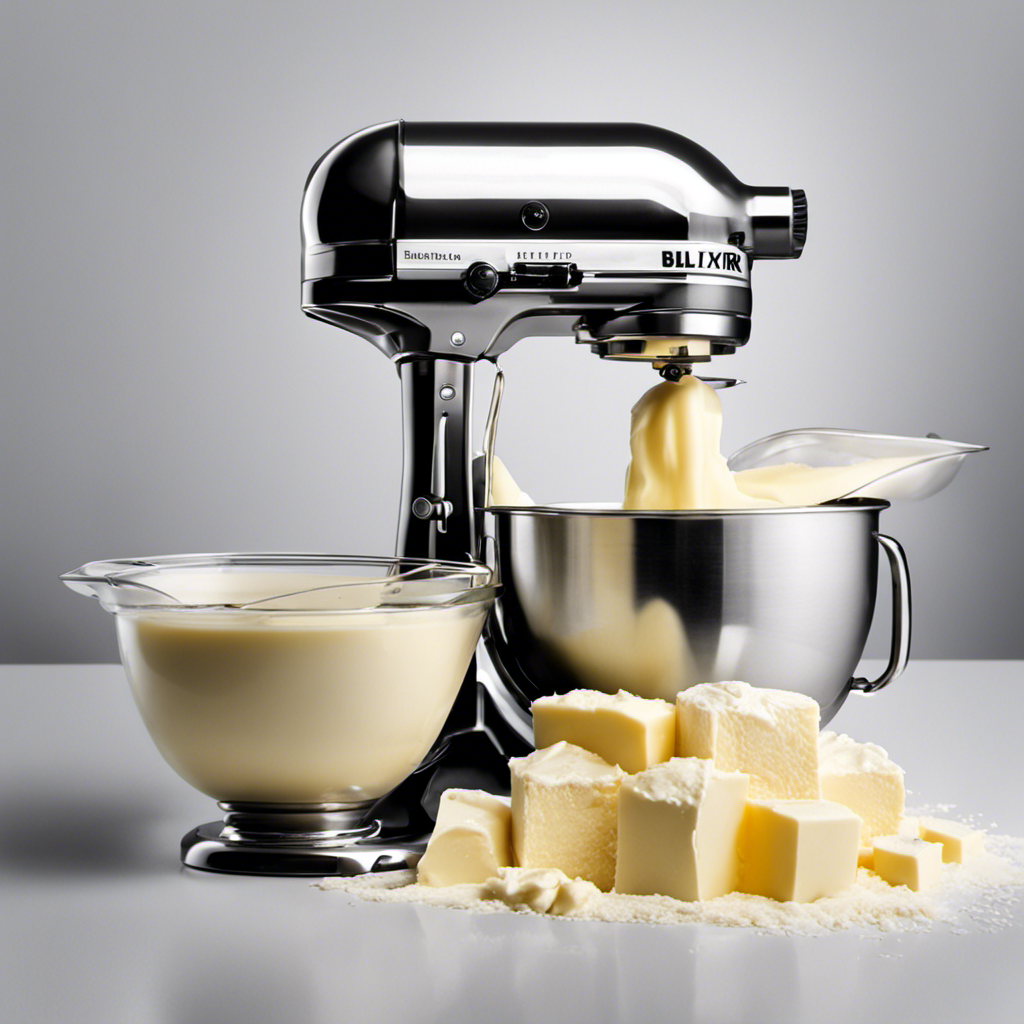
Ever thought about making homemade butter using a mixer? You’re in for a treat! Follow along in this article as I walk you through the process of turning cream into tasty butter.
With just a few simple ingredients and some basic equipment, you’ll be churning out your own butter in no time.
So, let’s get started and discover the joy of making butter with a mixer!
Key Takeaways
- Properly preparing the mixer and equipment is essential before starting the butter-making process.
- Churning the cream at a higher speed can improve emulsion and reduce overall time.
- Removing excess liquid through proper straining techniques maximizes butter flavor and consistency.
- Maximizing flavor and butter yield can be achieved through choosing high-quality cream, washing the butter, seasoning and storing it properly, and experimenting with different flavors and variations.
Gathering the Ingredients and Equipment
Now that you’ve gathered all the ingredients and equipment, it’s time to start making butter with your mixer.
One of the key factors in achieving the perfect butter consistency is ensuring that you have the right equipment. While a stand mixer is the ideal choice, there are alternatives available if you don’t have one. A handheld mixer can also do the job, although it may require a bit more effort and time. Another option is using a food processor with the whisk attachment. This will give you a similar result but may require additional steps. Whichever equipment you choose, make sure it’s clean and in good working condition to ensure the best outcome.
Now that we have our equipment ready, let’s move on to preparing the mixer for butter-making.
Preparing the Mixer
First, you’ll need to attach the appropriate mixing attachment to your mixer. This step is crucial in ensuring that your butter-making process goes smoothly.
Here are some tips for preparing your mixer:
-
Check for any signs of wear or damage on the mixing attachment. It’s important to maintain your mixer properly to avoid any mishaps during the process.
-
Make sure the mixing bowl is clean and dry before attaching it to the mixer. Any moisture or residue can affect the quality of your butter.
-
Adjust the mixer speed to the appropriate setting. For making butter, a medium to high speed is usually recommended. However, it’s always best to refer to your mixer’s manual for specific guidelines.
-
Lastly, give your mixer a quick check to ensure everything is securely in place before starting the process. This will prevent any accidents or malfunctions during the butter-making process.
Churning the Cream
When it comes to churning the cream to make butter, there are a few key points to consider.
First, the speed and consistency of the churning process play a crucial role in achieving the desired results.
Second, employing the right mixing techniques can greatly impact the quality of the butter.
Lastly, the time required for churning varies depending on factors such as the temperature of the cream and the desired texture of the butter.
Speed and Consistency
Mixing at a higher speed will help achieve a smoother and more consistent texture for your homemade butter. When it comes to butter making techniques, speed control plays a crucial role. Here are four reasons why mixing at a higher speed is beneficial:
-
Improved emulsion: Higher speed creates more turbulence, leading to better incorporation of fat globules into the buttermilk. This results in a more stable and creamy butter.
-
Enhanced separation: The increased centrifugal force aids in separating the fat from the liquid. This allows for easier removal of excess liquid, resulting in a richer and firmer butter.
-
Faster churning: Mixing at a higher speed accelerates the churning process, reducing the overall time required to make butter.
-
Consistency control: With speed control, you can adjust the mixing speed to achieve the desired consistency, whether it be soft and spreadable or firm and moldable.
By understanding the importance of speed control in butter making techniques, you can achieve a superior texture and quality in your homemade butter.
Now, let’s delve into the various mixing techniques that can further enhance your butter making process.
Mixing Techniques
To enhance the quality of your homemade butter, you can experiment with different mixing techniques. The speed at which you mix the cream and the temperature of the cream can greatly affect the outcome of your butter. Here are some mixing techniques to try:
| Mixing Technique | Mixing Speed | Cream Temperature |
|---|---|---|
| Whipping | High | Chilled |
| Beating | Medium | Room temperature |
| Kneading | Low | Slightly warmed |
| Folding | Low | Chilled |
| Whisking | High | Room temperature |
Time Required for Churning
The amount of time needed for churning butter depends on the desired consistency and taste. Here are some factors to consider for churning duration:
-
Fat content: Higher fat content in cream tends to result in faster churning. Cream with at least 30% fat is recommended for quicker butter production.
-
Temperature: Cream should be chilled, around 50-55°F, as this helps the fat globules to separate more easily during churning.
-
Mixing speed: Use a medium-high speed setting on your mixer to achieve faster churning. This helps create more air pockets, aiding in the separation of butterfat.
-
Timing: Keep an eye on the process and stop churning as soon as the butter begins to clump together and separate from the buttermilk.
By following these tips for faster churning, you can reduce the time it takes to make butter.
Now, let’s move on to the next step of separating the buttermilk.
Separating the Buttermilk
When it comes to separating the buttermilk from freshly churned butter, there are a few key points to keep in mind.
Firstly, removing excess liquid is crucial in order to achieve a creamy and spreadable texture.
Secondly, employing a proper straining technique is essential to ensure that no buttermilk remains in the butter.
Lastly, maximizing butter yield can be achieved by using tools such as a butter paddle or a cheesecloth to squeeze out any remaining liquid.
Removing Excess Liquid
First, you’ll need to drain any excess liquid from the butter mixture. This step is crucial in maximizing butter flavor and achieving the desired consistency. Here’s how to do it:
- Place a fine-mesh strainer or cheesecloth over a bowl or sink.
- Pour the butter mixture into the strainer, allowing the liquid to drain through.
- Gently press down on the butter with a spatula or the back of a spoon to remove any remaining liquid.
- Once the excess liquid has been drained, transfer the butter to a clean container or wrap it in parchment paper for storage.
Proper Straining Technique
To achieve the desired consistency, gently press down on the butter mixture with a spatula or the back of a spoon to remove any remaining liquid. This step is crucial in ensuring that your homemade butter is smooth and creamy.
Once you have pressed down on the mixture, it’s time to strain it to separate the liquid from the solid butter. To do this, you will need a few straining tools such as a fine mesh sieve or cheesecloth. Place the straining tool over a bowl or jar and pour the butter mixture into it.
Allow the liquid to drain through the straining tool for the proper straining time, which is usually around 10-15 minutes. This will help remove any excess liquid and leave you with pure, delicious butter.
Now that you have properly strained your butter, it’s time to move on to the next step: maximizing butter yield.
Maximizing Butter Yield
Now you can get the most out of your butter by using a few simple techniques. When it comes to maximizing flavor and butter yield, it’s important to consider the type of cream you use.
Here are four key factors to keep in mind:
-
Quality of Cream: Choose high-quality cream with a higher fat content. This will result in a richer and more flavorful butter.
-
Freshness of Cream: Use fresh cream to ensure optimal flavor. Cream that has been sitting in the fridge for too long may develop off-flavors.
-
Temperature of Cream: Start with cream that is slightly chilled. This will make it easier to whip and will result in a smoother texture.
-
Cultured Cream: Consider using cultured cream, such as creme fraiche or sour cream. These types of cream add a tangy and complex flavor to the butter.
Washing the Butter
After churning the cream in the mixer, it’s time to rinse the butter to remove any excess liquid. This step is crucial for maximizing butter flavor and achieving that perfect texture.
To wash the butter, I usually place it in a bowl of cold water and gently knead it with my hands. The water helps to remove any remaining buttermilk, which can cause the butter to spoil faster. I repeat this process a few times until the water runs clear.
Another method is to use a butter churn, which comes in different types such as hand-cranked or electric. These churns make the rinsing process easier and more efficient.
Whether you choose to wash the butter by hand or use a churn, the goal is to ensure that the excess liquid is completely removed, resulting in a creamy and flavorful butter.
Seasoning and Storing the Butter
One option for seasoning and storing your butter is to add a pinch of salt and shape it into a log using parchment paper. This technique not only adds flavor to the butter but also makes it easier to use and store.
Here are four storing techniques and flavor options to consider:
-
Refrigeration: Keeping your butter in the refrigerator will help it stay fresh for a longer period of time. Make sure to wrap it tightly in parchment paper to prevent any unwanted odors or flavors from seeping in.
-
Freezing: If you want to store your butter for an extended period, freezing is a great option. Simply wrap the butter log in plastic wrap, then place it in an airtight container or freezer bag. It will last for several months in the freezer.
-
Herb-infused butter: For a burst of flavor, you can mix in your favorite herbs and spices into the butter. Some popular options include garlic, chives, rosemary, or even chili flakes. Experiment with different combinations to find your favorite flavors.
-
Sweet options: If you prefer a sweeter butter, you can add honey, maple syrup, or cinnamon to the mixture. These flavorings work well in both savory and sweet recipes, giving your dishes a unique twist.
Troubleshooting Tips
If your herb-infused butter is too soft, you can chill it in the refrigerator for a few minutes to firm it up. However, there are other troubleshooting tips to consider when making butter with a mixer.
One common mistake is not using cold cream. It is essential to start with cold cream as it helps the butter solidify faster.
Another mistake is overmixing the cream. Overmixing can cause the butter to separate, resulting in a watery texture. It is important to stop mixing as soon as the butter has formed and the liquid has separated.
Additionally, not properly draining the liquid from the butter can lead to spoilage. Make sure to thoroughly drain the liquid and store the butter in an airtight container in the refrigerator to prevent any bacterial growth.
Alternative Methods and Variations
To achieve a unique flavor, you could try infusing your butter with different herbs or spices. This allows you to experiment with alternative recipes and create exciting flavor variations.
Here are four ways you can infuse your butter:
-
Herbs: Chop up fresh herbs like rosemary, thyme, or basil and mix them into softened butter. This will add a fragrant and savory taste to your butter.
-
Spices: Add a pinch of your favorite spices like cinnamon, nutmeg, or cardamom to the butter. This will give it a warm and aromatic flavor.
-
Citrus Zest: Grate the zest of citrus fruits like lemons or oranges and mix it into the butter. This will add a refreshing and tangy twist to your butter.
-
Garlic and Onion: Finely chop garlic or onion and mix it into softened butter. This will give your butter a bold and savory taste that works great in savory dishes.
By infusing your butter with different herbs, spices, or other ingredients, you can create a variety of flavors to elevate your dishes and impress your guests.
Frequently Asked Questions
How Long Does It Take to Make Butter Using a Mixer?
It takes approximately 10-15 minutes to make butter using a mixer. The optimal mixing speed is medium-high. To achieve a creamy texture, ensure the cream is chilled and stop mixing once the butter separates from the buttermilk.
Can I Use Any Type of Cream to Make Butter?
Yes, you can use different types of cream to make butter. However, it is important to use fresh cream for the best results. Fresh cream contains a higher fat content, which makes it easier to churn into butter.
Do I Need to Refrigerate the Cream Before Churning It?
Yes, you can churn butter with room temperature cream. It is not necessary to refrigerate it before churning. However, adding a pinch of salt to the cream before churning can enhance the flavor.
Can I Use a Hand Mixer Instead of a Stand Mixer?
Yes, you can use a hand mixer as an alternative to a stand mixer. However, using a stand mixer offers benefits such as stability and power, which can make the process of making butter easier and more efficient.
Can I Use Flavored Cream to Make Flavored Butter?
Using flavored cream to make butter is a delicious twist! You can create various flavors like garlic, herb, or honey butter. To achieve the perfect consistency, ensure the cream is chilled and whip it until it separates into butter and buttermilk.
Conclusion
After going through the process of gathering the ingredients and equipment, preparing the mixer, churning the cream, separating the buttermilk, washing the butter, and seasoning and storing it, I finally achieved the perfect homemade butter.
The anticipation built as I followed each step, eager to taste the final result. And let me tell you, the satisfaction and pride I felt when taking that first bite was absolutely worth it.
Making butter with a mixer is a labor of love that yields delicious, creamy results that you won’t find in any store-bought version. So go ahead, give it a try, and experience the joy of homemade butter for yourself.
