
I understand your hesitation when it comes to making butter rolls from scratch. But trust me, **it’s simpler than you imagine**. Whether you’re a novice or experienced baker, this recipe is sure to delight your taste buds. So let’s roll up our sleeves and get baking!
In this article, I’ll guide you through the process of creating these delicious, fluffy rolls that are perfect for any meal. From gathering the ingredients to adding the finishing glaze, you’ll be amazed at how simple and rewarding it can be to make your own homemade butter rolls.
So, let’s get started!
Key Takeaways
- Choose high-quality all-purpose flour and unsalted butter for the best results.
- Properly activate the yeast and allow the dough to rise until it doubles in size.
- Knead the dough until smooth and elastic, then roll it out into a rectangle shape.
- Explore different shaping variations and fillings to create unique and delicious butter rolls.

VEVOR Chamber Vacuum Sealer, 320W Sealing Power, Vacuum Packing Machine for Wet Foods, Meats, Marinades and More, Compact Size with 12.6 in Sealing Length, Applied in Home Kitchen and Commercial Use
-100KPa Vacuum Power: This vacuum sealer nearly removes all air to block oxidation and slow spoilage. Meat and...
As an affiliate, we earn on qualifying purchases.
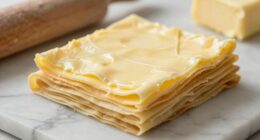
Gathering the Ingredients
First, you’ll need to gather all of the necessary ingredients for making butter rolls. When it comes to choosing the best ingredients, there are a few tips to keep in mind.
For the dough, opt for high-quality all-purpose flour that is fresh and finely milled. This will ensure a tender and flaky texture.
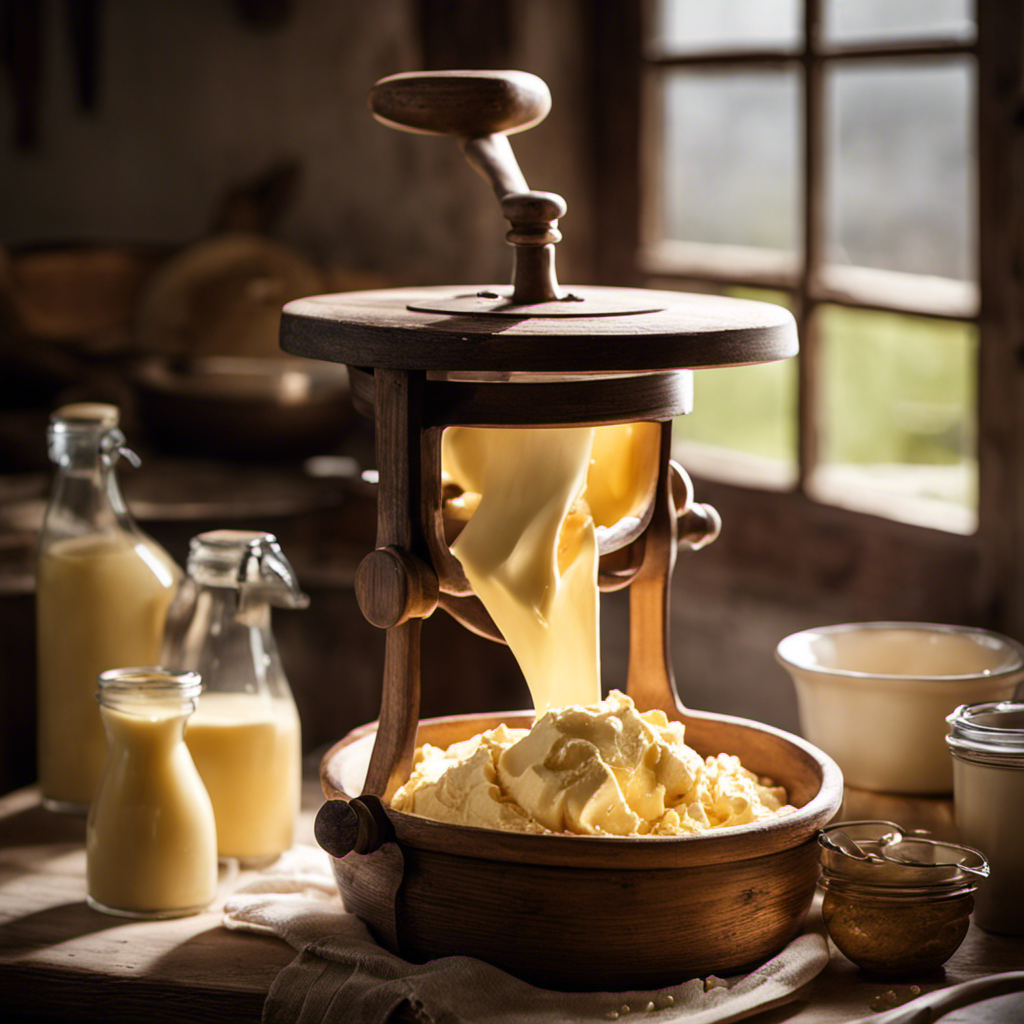
When it comes to butter, always go for unsalted butter as it allows you to control the saltiness of the rolls. Additionally, make sure the butter is at room temperature for easy incorporation into the dough.
Common mistakes to avoid when gathering ingredients include using expired flour or butter, as it can affect the taste and texture of the final product. Also, be cautious with substitutions as they may alter the outcome of the rolls.

Avid Armor USV32 Chamber Vacuum Sealer Machine – 11.5" Sealing Bar, Glass Lid, Seal Meats, Soups, Sauces & Liquids, Marinate in Minutes, Sous Vide Ready, Accessory Hose Included, Stainless Steel
SEALS LIQUIDS WITHOUT PULLING THEM OUT — Unlike suction sealers that draw liquid straight into the machine, the...
As an affiliate, we earn on qualifying purchases.
Preparing the Dough
Next, knead the dough until it becomes smooth and elastic. This is an essential step in the bread-making process as it helps in developing gluten, which gives the rolls their fluffy texture.
To effectively knead the dough, follow these steps:
- Begin by lightly flouring your work surface to prevent sticking.
- Place the dough on the surface and use the heel of your hand to push it away from you.
- Fold the dough over itself and give it a quarter turn.
- Continue this process for about 10 minutes or until the dough feels smooth and springs back when gently pressed.
During the kneading process, the yeast gets activated. Yeast is a crucial ingredient in bread-making as it helps the dough rise by fermenting the sugars present in the flour. Kneading ensures that the yeast is evenly distributed throughout the dough, allowing it to work its magic.
Amazon Product B0GNB4ZK9M
As an affiliate, we earn on qualifying purchases.
Rolling and Shaping the Rolls
When it comes to baking rolls, mastering the proper rolling technique is crucial. It’s all about achieving that perfect thickness and texture.
In addition, exploring different shaping variations can take your rolls to the next level, adding visual appeal and uniqueness to your baked goods.
Let’s dive into the art of rolling and shaping, and discover the secrets behind creating irresistible rolls that will leave everyone coming back for more.
Proper Rolling Technique
To achieve the desired flakiness, gently roll out the dough using a rolling pin. Rolling the dough properly is crucial to create light and airy butter rolls. Here are some rolling tips and tricks to help you achieve perfection:
- Use a lightly floured surface to prevent the dough from sticking.
- Roll the dough in one direction, applying even pressure to maintain an even thickness.
- If the dough starts to stick, sprinkle a little more flour on top.
- Roll the dough into a rectangle shape to make it easier to shape the rolls.
Now, let’s talk about common mistakes to avoid while rolling butter rolls:
- Avoid overworking the dough, as it can make the rolls tough.
- Don’t press too hard with the rolling pin, as it can compress the layers and hinder the flakiness.
- Be careful not to roll the dough too thin, as the rolls might become too crispy.
Shaping Variations for Rolls
There are various ways to shape rolls, such as twisting, knotting, or folding the dough.
When it comes to butter rolls, the possibilities are endless. One creative idea is to incorporate different fillings into the rolls. Imagine biting into a warm, fluffy butter roll filled with gooey chocolate or sweet raspberry jam.
Another idea is to play with the presentation of the rolls. You can shape them into adorable animals, like bunnies or teddy bears, for a fun and whimsical touch. Or, for a more elegant presentation, you can braid the dough to create a beautiful, braided butter roll.
As you shape the rolls, remember to let them rise for a second time to ensure a light and airy texture.

Vacmaster VP230 Chamber Vacuum Sealer
EASY-TO-USE CONTROL PANEL AND PRESSURE INDICATOR: Perfect vacuum and seal with minimal effort using one-touch controls on this...
As an affiliate, we earn on qualifying purchases.
Letting the Rolls Rise
First, let your rolls rise in a warm place for about an hour. This is a crucial step in the proofing process, allowing the yeast to activate and work its magic. As you watch the rolls rise, you can almost feel the anticipation building.
Here are two key reasons why this step is important:
- Proper proofing ensures that the rolls will have a light and fluffy texture.
- Allowing the dough to rise gives the flavors time to develop, resulting in a more delicious end product.
Once your rolls have doubled in size, you’ll know they’re ready for the next step: baking. The aroma of freshly baked butter rolls wafting through the air is enough to make anyone’s mouth water. But before we get to that part, let’s dive into the process of shaping the rolls to give them their distinctive appearance.
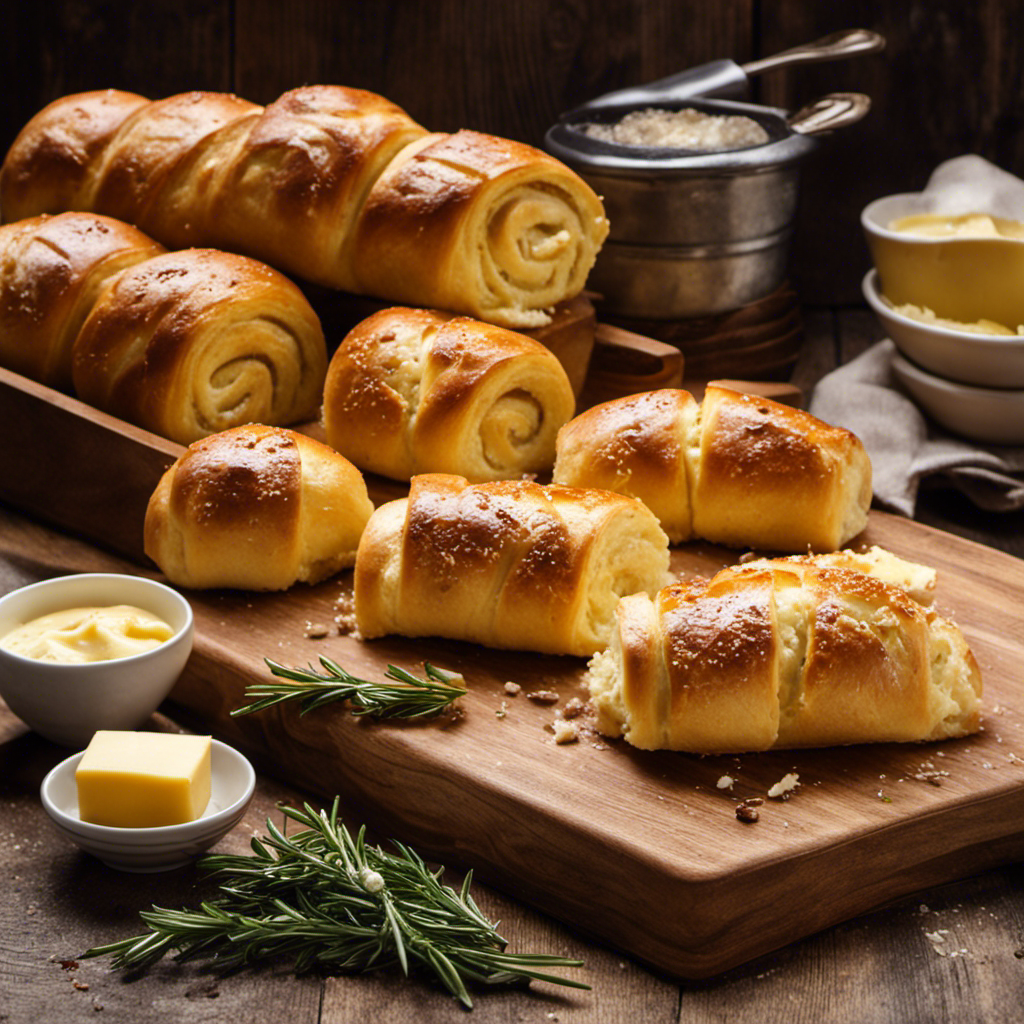
Baking the Butter Rolls
Once your rolls have finished proofing, it’s time to pop them in the oven and let the baking process work its magic. The aroma of fresh, warm butter rolls filling the kitchen is enough to make anyone’s mouth water. The key to perfect butter rolls lies in the baking process, so here are a few tips to ensure they turn out just right.
First, preheat your oven to the recommended temperature stated in the butter roll recipe. This will ensure even baking and a golden-brown crust.
Next, place the rolls on a baking sheet lined with parchment paper, leaving enough space between each roll for them to expand. Now, brush the tops of the rolls with melted butter. This will give them a glossy finish and enhance the flavor.
Finally, carefully place the baking sheet in the oven and set the timer. Keep an eye on them as they bake, ensuring they don’t overcook or burn. In just a short time, your kitchen will be filled with the heavenly aroma of freshly baked butter rolls.
When they are golden brown and have a slight crust on the outside, they are ready to be taken out of the oven. Follow these tips for perfect butter rolls, and you’ll be rewarded with soft, fluffy, and buttery delights that will make any meal complete.
Adding the Glaze
Now it’s time to add the glaze to give the butter rolls a sweet and shiny finish. The glaze not only adds a touch of sweetness but also helps to seal in the moisture, keeping the rolls soft and delicious.
Here are a couple of options for glaze alternatives that you can try:
- Powdered sugar glaze: Mix powdered sugar with a little milk or lemon juice to create a smooth and creamy glaze. Adjust the consistency by adding more liquid or sugar as needed.
- Honey glaze: Warm up honey and brush it over the freshly baked rolls for a natural and slightly floral sweetness.
If you encounter any issues with your glaze, here are a few troubleshooting tips:
- Too thick: Add a little more liquid, such as milk or water, to thin out the glaze to your desired consistency.
- Too thin: Gradually add more powdered sugar until the glaze thickens up.
- Not shiny enough: Brush a thin layer of melted butter over the rolls before adding the glaze for an extra glossy finish.
With these glaze alternatives and troubleshooting tips, you can easily create a perfect glaze for your butter rolls.
Serving and Enjoying the Butter Rolls
To fully savor the deliciousness of the butter rolls, take a warm roll and slather it with your favorite spread or enjoy it plain. The versatility of butter rolls allows for endless serving suggestions and flavor variations. Here are some ideas to enhance your butter roll experience:
| Serving Suggestions | Flavor Variations |
|---|---|
| Toasted with jam | Cinnamon sugar |
| Grilled with cheese | Garlic Parmesan |
| Sliced and dipped in soup | Herb-infused butter |
For a sweet treat, try toasting a butter roll and spreading it with your favorite jam. The warm, buttery roll pairs perfectly with the fruity sweetness of the jam. If you’re in the mood for something savory, grill a butter roll with some cheese for a gooey, melty delight. To add a touch of sophistication, slice a butter roll and serve it alongside a bowl of hot soup for a comforting and satisfying meal. Experiment with different flavor variations to find your favorite combination. Whether you prefer sweet or savory, there’s a serving suggestion and flavor variation that will surely satisfy your taste buds.
Frequently Asked Questions
How Can I Store the Leftover Butter Rolls?
After making delicious butter rolls, I often have leftovers. To store them, I wrap them tightly in foil or place them in an airtight container. When reheating, I suggest using the oven for a few minutes to ensure they stay soft and buttery.
Can I Freeze the Dough Before Baking?
Freezing dough can be a great way to prepare in advance for baking. It allows you to have freshly made butter rolls whenever you want without the hassle of making the dough from scratch each time.
Can I Use Margarine Instead of Butter for the Rolls?
Sure, you can use margarine instead of butter for the rolls. However, keep in mind that margarine has a higher water content, which may affect the texture. It’s also important to note that butter adds a rich flavor that margarine may not replicate.
How Long Does It Take for the Rolls to Rise?
I can’t wait to see those butter rolls rise! The optimal room temperature for bread rising is around 75°F. However, keep in mind that different factors like humidity can affect the rising time.
Can I Substitute Whole Wheat Flour for All-Purpose Flour in This Recipe?
Using whole wheat flour instead of all-purpose flour in butter rolls will result in a denser texture and nuttier flavor. However, you can try a combination of both flours for a compromise between health benefits and traditional taste.
Conclusion
Well, there you have it folks. After all the hard work and effort, we have our delicious, mouthwatering butter rolls.
It’s truly a marvel how something so simple can bring so much joy and satisfaction. So go ahead, indulge in these little pillows of buttery goodness.
Just be prepared for the inevitable addiction that follows. But hey, who needs willpower when you have butter rolls?
Happy baking!