The rich, velvety flavor of freshly made butter has always captivated me, yet the idea of creating it on my own seemed out of reach until I stumbled upon the amazing capabilities of the PC whipped cream maker.
With just a few simple steps, this handy kitchen gadget can transform a carton of cream into a silky, spreadable delight.
In this article, I’ll walk you through the process of making butter using the PC whipped cream maker, from choosing the right equipment to shaping and storing the finished product.
Get ready to elevate your butter game to a whole new level!
Key Takeaways
- Consider factors like capacity, speed settings, and ease of cleaning when choosing the right whipped cream maker.
- Ensure you have all the necessary ingredients and equipment, including the PC whipped cream maker or alternatives like a stand mixer or hand mixer.
- Clean and assemble the PC whipped cream maker properly, troubleshooting any issues that may arise during the butter-making process.
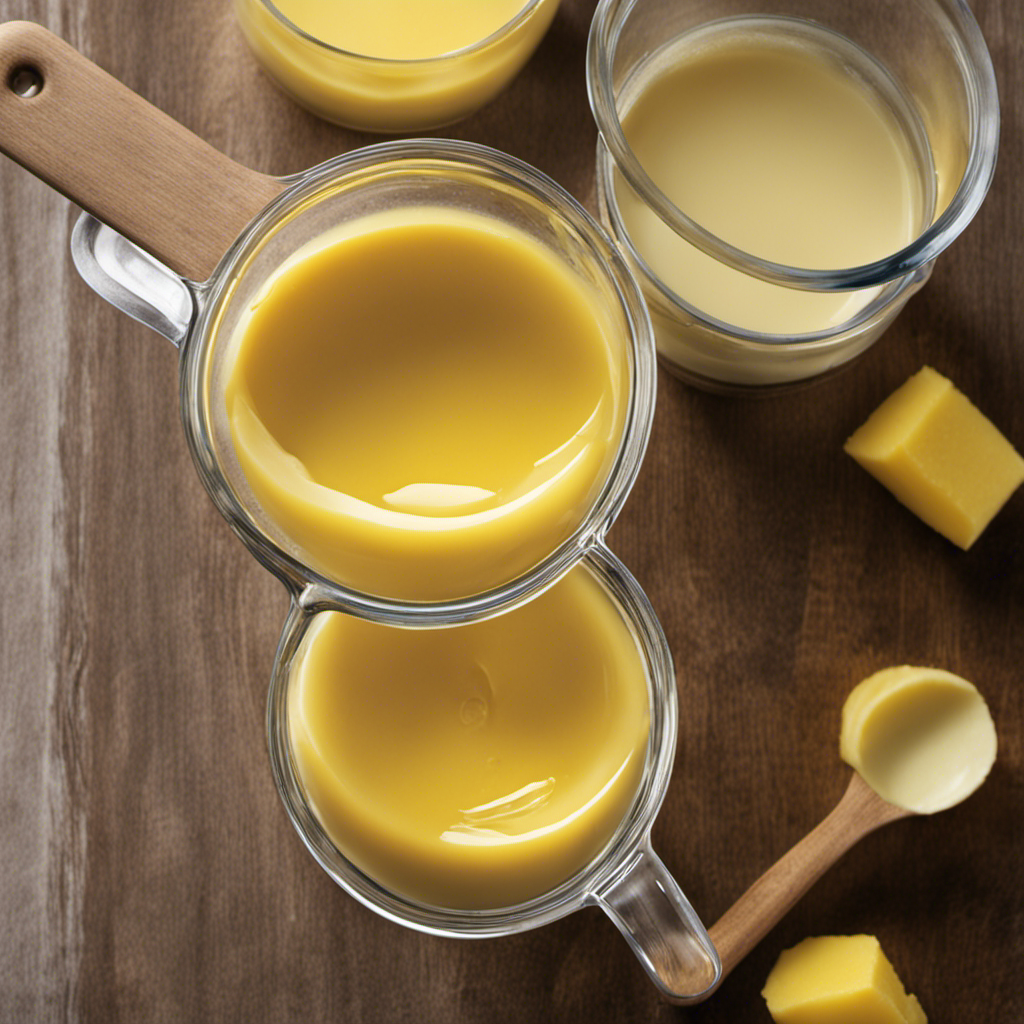
- Pour cold cream into the canister of your whipped cream maker, using heavy cream with a fat content of at least 35% for best results.

Earth Balance, Spread Buttery Whipped Organic, 13 Ounce
- Trans fat free: 0 grams trans fat
- Non-GMO: Non-GMO ingredients
- Product size: 13-ounce container
As an affiliate, we earn on qualifying purchases.
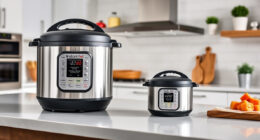
Choosing the Right Whipped Cream Maker
To choose the right whipped cream maker, you’ll need to consider factors like capacity, speed settings, and ease of cleaning.
When it comes to capacity, it’s important to choose a size that suits your needs. If you only plan on making small batches of whipped cream, a smaller capacity machine will suffice. However, if you often entertain or have a large family, you may want to opt for a larger capacity machine to ensure you have enough whipped cream for everyone.
In terms of speed settings, it’s good to have options. Look for a whipped cream maker that offers multiple speed settings, allowing you to adjust the speed based on the desired consistency of your whipped cream. This will give you more control over the final product and allow you to achieve the perfect texture.
Cleaning and maintenance are also important considerations. Look for a whipped cream maker that is easy to clean, with removable parts that can be washed separately. Some machines even come with dishwasher-safe parts, which can save you time and effort.
With these factors in mind, you can choose the right whipped cream maker that suits your needs. Now, let’s move on to the next step: gathering the necessary ingredients and equipment.
Gathering Ingredients and Equipment
Once you’ve got all the ingredients and the necessary equipment, it’s time to start making your homemade butter in the PC whipped cream maker. If you don’t have a whipped cream maker, don’t worry! There are alternatives you can use, such as a stand mixer or a hand mixer. These tools will still help you achieve the desired consistency for your butter.
Before you begin, make sure your whipped cream maker is clean and in good working condition. If you encounter any issues during the butter-making process, there are a few troubleshooting steps you can take.
First, check that the blades are properly attached and secure. Sometimes, loose blades can prevent the cream from whipping properly.
Next, ensure that the cream is cold before whipping. Warm cream tends to take longer to whip and may result in a thinner consistency.
Finally, be patient. Whipping cream takes time, and it’s important to let the process run its course.
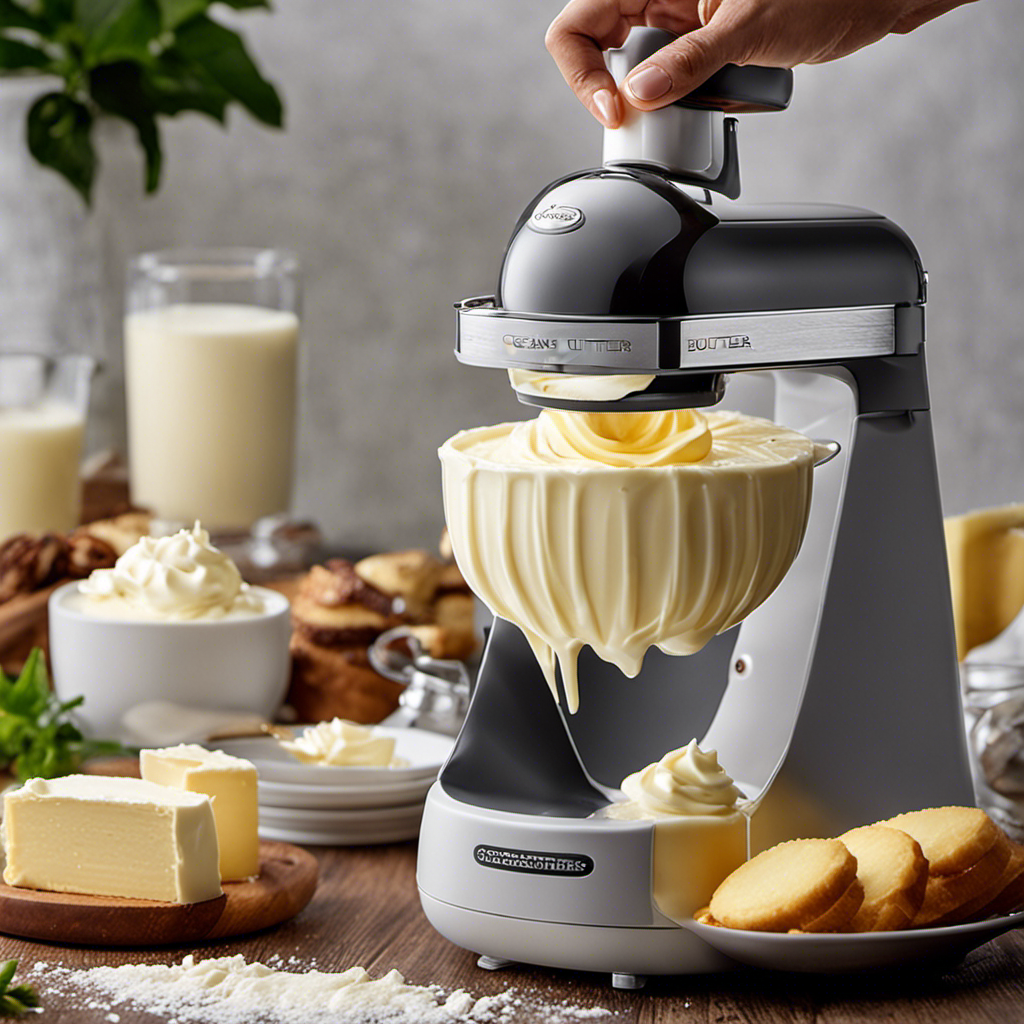
Preparing the Whipped Cream Maker
Before you start, make sure your equipment is clean and in good working condition. Choosing the right tools is crucial for successfully making butter in a PC whipped cream maker.
Firstly, ensure that the PC whipped cream maker is clean and free from any residue. This will prevent any unwanted flavors or contaminants from affecting the butter. Additionally, make sure that the whipper is properly assembled and all parts are securely attached.
Next, troubleshoot any common issues that may arise during the butter-making process. If the whipped cream maker is not pressurizing properly, check that the charger is properly inserted and the seal is intact. If the butter is not forming, make sure that the cream is cold enough before adding it to the whipper. If the butter is too soft, refrigerate the cream for a few minutes before whipping.
Adding Cream to the Whipped Cream Maker
Now that everything is in place, you’ll need to pour the cold cream into the canister of your whipped cream maker. This step is crucial in creating delicious homemade butter.
Here are some tips to help you choose the right cream type and troubleshoot common issues:
-
Choosing the right cream type:
-
Look for heavy cream or heavy whipping cream with a fat content of at least 35%. This higher fat content will yield better results when making butter.
-
Avoid using light cream or half-and-half, as they have a lower fat content and may not whip properly.
-
Troubleshooting common issues:
-
If your cream is not thickening, make sure it is cold enough. Chilled cream whips better and produces a smoother consistency.
-
If your cream is over-whipped and starts to separate into butter and buttermilk, don’t worry! You can still salvage it by draining the buttermilk and kneading the butter to remove excess liquid.
-
If your whipped cream maker is not producing the desired results, check that it is assembled correctly and all parts are tightly secured.
By following these tips, you’ll be on your way to creating creamy and delicious homemade butter using your whipped cream maker.
Enjoy the process and savor the satisfaction of making your own butter from scratch!
Setting the Whipped Cream Maker to the Correct Speed
To achieve the desired consistency, you’ll want to adjust the speed on your whipped cream maker. Proper maintenance of your whipped cream maker is essential for optimal performance. One important aspect of maintenance is adjusting the speed settings for different recipes.
When using a whipped cream maker, it’s crucial to understand that the speed at which you whip the cream can greatly affect the final result. For lighter, fluffier whipped cream, a higher speed setting is recommended. This will incorporate more air into the cream, resulting in a lighter texture. On the other hand, if you’re looking for a denser, firmer whipped cream, a lower speed setting should be used. This will minimize the amount of air incorporated, giving you a denser final product.
When adjusting the speed settings, it’s important to refer to the manufacturer’s instructions for your specific whipped cream maker. Different models may have different speed settings or methods for adjusting the speed. By following the recommended speed settings for each recipe, you can ensure that your whipped cream turns out just right every time.
Regular maintenance of your whipped cream maker, including cleaning and checking for any wear or damage, will also help prolong its lifespan and ensure consistent performance.
Monitoring the Cream as It Whips
Keep an eye on the cream as it’s whipping to prevent it from over-whipping and becoming too thick. This is an important step in the process of making butter using a PC whipped cream maker. Monitoring the cream consistency ensures that you achieve the perfect texture for your butter.
Here are some tips to help you troubleshoot the whipping process and ensure a successful outcome:
- Pay attention to the color and texture of the cream. It should start off as a liquid and gradually thicken into a smooth and fluffy consistency.
- Use a timer to keep track of the whipping time. Over-whipping can lead to the cream breaking down and turning into butter.
- Set the timer for the recommended whipping time, usually around 3-5 minutes.
- Stop the whipping process as soon as the cream reaches the desired consistency.
- If you notice the cream becoming too thick or forming stiff peaks, you may have over-whipped it. Stop the machine immediately to prevent it from turning into butter.
Checking for Soft Peaks
Check if the peaks formed by the cream are soft and gently fold over when you lift the whisk. This step is crucial in achieving the perfect whipped cream consistency. If the peaks are too soft and don’t hold their shape, you might need to troubleshoot the issue.
One common problem when making whipped cream is using the wrong type of cream. Heavy whipping cream is the best choice, as it has a high fat content that helps create stable peaks. Avoid using light whipping cream or half-and-half, as they don’t have enough fat to hold the peaks properly.
Another alternative to whipped cream is using stabilized whipped cream. This is made by adding a stabilizer, such as gelatin or cornstarch, to the cream. The stabilizer helps the whipped cream hold its shape for a longer period, making it ideal for desserts that need to be refrigerated or served at room temperature.
If your peaks are still not forming properly, make sure your cream and equipment are cold. Chilled cream whips up better and faster. Also, ensure that your whisk or beaters are clean and dry, as any traces of grease or water can inhibit proper whipping.
Continuing to Whip the Cream
When it comes to whipping cream, there are different techniques you can use to achieve the desired consistency.
One popular technique is to use an electric mixer on medium-high speed, gradually increasing the speed until the cream forms stiff peaks.
Another technique is to use a whisk, vigorously whisking the cream in a circular motion until it thickens.
The time required for whipping cream will vary depending on the method used, but it generally takes around 2-4 minutes with an electric mixer and 5-7 minutes with a whisk.
Whipping Techniques for Cream
To achieve the perfect whipped cream consistency, start by ensuring that the cream is chilled before placing it in the PC whipped cream maker. This will help the cream hold its shape and create fluffy peaks.
Once the cream is chilled, follow these whipping techniques for optimal results:
-
Whipping Speed:
-
Start at a low speed to incorporate air into the cream gradually.
-
Gradually increase the speed to medium-high to create volume and stiffness.
-
Cream Consistency:
-
Monitor the cream closely to avoid over-whipping, which can result in a grainy texture.
-
Stop whipping when soft peaks form, meaning the cream holds its shape but still has a slight droop when the beaters are lifted.
Time Required for Whipping
The time required for achieving the perfect whipped cream consistency may vary depending on the desired volume and stiffness. When whipping cream, it is important to be patient and not rush the process.
Generally, it takes about 2-3 minutes to whip cream to soft peaks, where the cream holds its shape but still has a slight droop. For medium peaks, which are firmer and hold their shape better, it may take an additional 1-2 minutes. If you are aiming for stiff peaks, where the cream is very firm and holds its shape completely, you will need to continue whipping for another 1-2 minutes.
It is essential to keep an eye on the cream while whipping to prevent over-whipping, which can lead to a grainy texture. Troubleshooting tips include using chilled equipment and cream, ensuring the cream has enough fat content, and avoiding over-whipping.
Watching for Stiff Peaks
Once the cream starts to thicken, you’ll know it’s time to watch for stiff peaks. This is a crucial step in achieving the perfect whipped cream consistency. Stiff peaks refer to the point when the whipped cream holds its shape when the beaters are lifted.
Here are some tips to help you achieve the desired consistency and troubleshoot any issues:
- Properly chilled cream: Make sure the cream is well chilled before whipping. This helps it thicken faster and hold its shape better.
- Use a cold bowl and beaters: Cold temperatures help the cream whip up more quickly and maintain its stiffness. Chill your mixing bowl and beaters in the freezer for a few minutes before starting.
Troubleshooting whipped cream:
- Overwhipped cream: If you beat the cream for too long, it can become overwhipped, resulting in a grainy texture. To avoid this, stop beating once stiff peaks form.
- Underwhipped cream: If your whipped cream is too soft and doesn’t hold its shape, it may be underwhipped. Continue beating until stiff peaks form.
- Adding sugar too early: If you add sugar to the cream too early, it can hinder the whipping process. Wait until the cream starts to thicken before adding sugar.
Separating the Butter and Buttermilk
Separating the butter and buttermilk is a crucial step in the process of making homemade butter. After the heavy cream has been whipped into stiff peaks, it is time to separate the butter and buttermilk.
There are a few methods to achieve this, but the best methods involve using cold water or a butter mold.
To separate the butter and buttermilk using cold water, follow these steps:
- Fill a large bowl with ice-cold water.
- Scoop the whipped cream into the bowl.
- Gently knead and squeeze the cream to release the buttermilk.
- The butter will start to form into a solid mass.
- Remove the butter from the water and place it on a clean surface.
Another method is to use a butter mold. This is a traditional method that produces beautifully shaped butter. Simply press the whipped cream into the mold, and the butter will separate from the buttermilk inside the mold.
Troubleshooting tips:
- If the butter is too soft and not separating properly, refrigerate it for a few minutes before trying again.
- If the buttermilk is not fully separated, gently knead the butter a bit more.
Now that the butter and buttermilk have been separated, it is time to move on to the next step of the process: straining the buttermilk.
Straining the Buttermilk
After the butter and buttermilk have been separated, it’s time to strain the buttermilk. This step is crucial in removing any remaining solids from the liquid to ensure a smooth and pure buttermilk.
Here are the steps to strain the buttermilk:
-
Prepare a fine-mesh sieve or cheesecloth: Place a fine-mesh sieve or a double layer of cheesecloth over a clean container. Make sure the container is large enough to hold all the buttermilk.
-
Pour the buttermilk: Slowly pour the buttermilk through the sieve or cheesecloth, allowing it to strain into the container. The sieve or cheesecloth will catch any remaining solids, leaving you with pure buttermilk.
-
Press out the solids (optional): If you notice any solids caught in the sieve or cheesecloth, you can gently press them with a spoon to extract any remaining liquid.
Now that you have strained the buttermilk, you can store it in airtight containers in the refrigerator. This will help preserve its freshness and flavor. Remember to use the strained buttermilk within a week for optimal taste.
Washing the Butter
When it comes to washing the butter, it’s essential to use the best techniques to ensure a clean and high-quality product.
The washing process helps remove any remaining buttermilk, which can cause the butter to spoil faster.
Rinsing the butter thoroughly is of utmost importance to maintain its freshness and taste.
Best Washing Techniques
To get the best results, you should start by rinsing the butter in cold water. This step is crucial in removing any excess buttermilk and impurities from the butter. Here are the best washing techniques to ensure your butter is clean and of high quality:
- Fill a bowl with cold water.
- Place the butter in the bowl and gently knead it with your hands. This helps to remove any remaining buttermilk and improve the texture of the butter.
- Once the water turns cloudy, discard it and refill the bowl with fresh cold water.
- Repeat the process until the water remains clear. This ensures that all traces of buttermilk are removed, which extends the shelf life of the butter.
Hand washing butter has several benefits:
- It helps to improve the flavor of the butter by removing any residual buttermilk.
- It enhances the texture and consistency of the butter, making it smoother and easier to spread.
- Hand washing also removes impurities, ensuring a cleaner and purer product.
- Lastly, it prolongs the shelf life of the butter by reducing the risk of spoilage.
Importance of Rinsing
Rinsing the butter in cold water is crucial for removing impurities and improving its quality. When butter is made, it contains residual buttermilk and other impurities that can affect its taste and texture. By rinsing the butter, these impurities are washed away, resulting in a cleaner and fresher final product.
The benefits of rinsing go beyond just removing impurities. It also helps to remove excess salt and prevent the butter from turning rancid. To rinse the butter properly, fill a bowl with cold water and submerge the butter in it. Gently knead and squeeze the butter to release any remaining impurities. Change the water and repeat the process until the water runs clear.
This simple rinsing technique can greatly enhance the overall quality of your homemade butter.
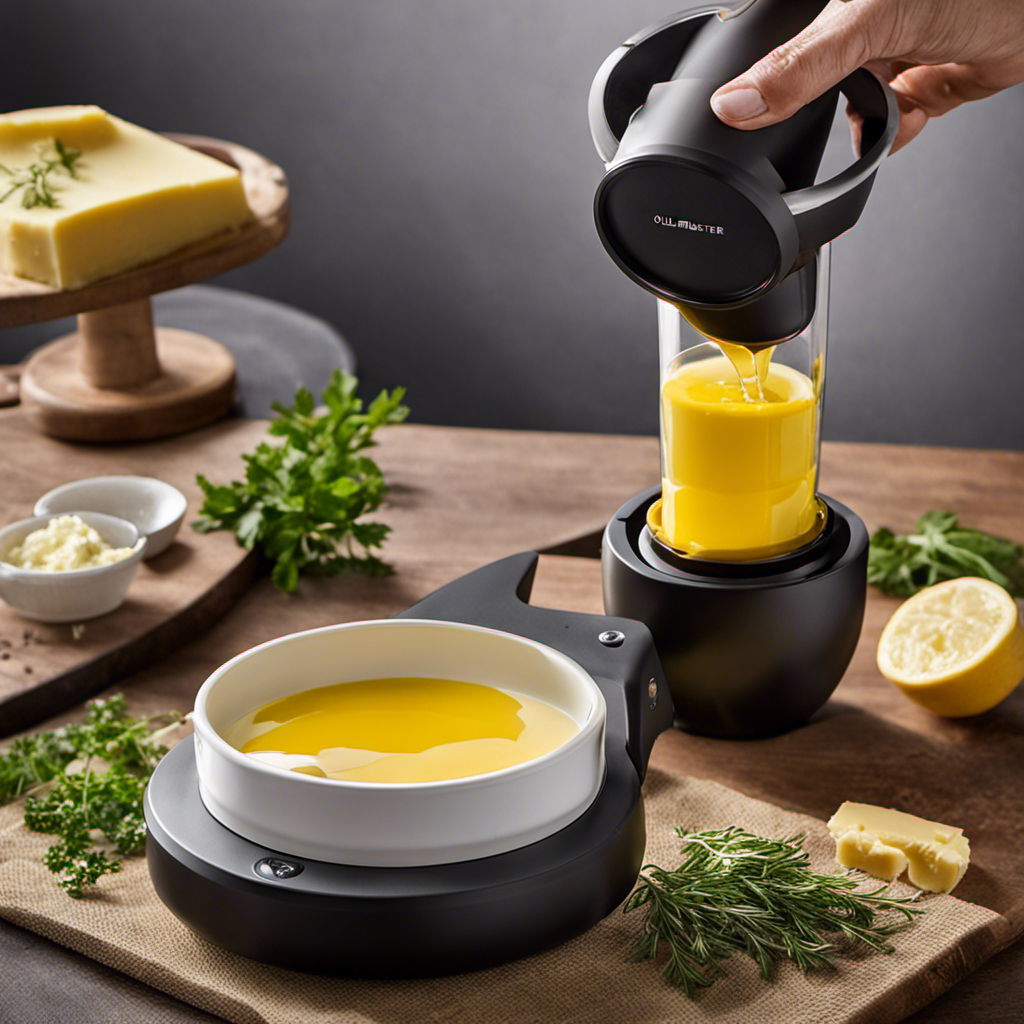
Adding Salt (Optional
Adding salt is an optional step in making butter using the pc whipped cream maker. While salt is commonly added for flavor, there are alternatives available for those looking to reduce their sodium intake or experiment with different flavors.
Here are some options to consider:
-
Salt alternatives:
-
Herbs and spices: Instead of salt, you can add herbs and spices such as garlic powder, onion powder, paprika, or dried herbs like rosemary, thyme, or dill. These will give your butter a unique and flavorful twist.
-
Citrus zest: Grate the zest of a lemon, lime, or orange and mix it into the butter. This will add a refreshing and tangy taste to your homemade butter.
-
Health benefits:
-
Reduced sodium intake: By opting for salt alternatives, you can reduce your sodium intake, which is beneficial for individuals with high blood pressure or those looking to maintain a healthy diet.
-
Enhanced flavor profile: Experimenting with different flavors can make your butter more interesting and enjoyable. Using herbs, spices, or citrus zest adds depth and complexity to your butter.
Shaping and Storing the Butter
When shaping and storing the butter, it’s important to use clean hands or utensils to prevent contamination. Proper shaping techniques help create an aesthetically pleasing and easy-to-use butter. To shape the butter, you can use various methods such as rolling it into logs, molding it into blocks, or even using butter molds to create intricate shapes. The choice of shaping technique depends on personal preference and the intended use of the butter. Once shaped, it’s crucial to store the butter properly to maintain its freshness and prevent spoilage. The table below provides a visual representation of the shaping techniques and proper storage methods for butter:
| Shaping Techniques | Proper Storage |
|---|---|
| Rolling into logs | Wrap in parchment paper and store in the refrigerator. |
| Molding into blocks | Place in an airtight container and store in the refrigerator. |
| Using butter molds | Store in the freezer for longer shelf life. |
Cleaning and Maintaining the Whipped Cream Maker
To keep your whipped cream maker in good condition, it’s essential to regularly clean and maintain it. Neglecting this task can lead to a build-up of residue and mold, affecting the quality of your whipped cream.
Here are some cleaning techniques and tips to prevent mold growth:
-
Rinse: After each use, rinse the whipped cream maker with warm water to remove any leftover cream or residue.
-
Disassemble: Take apart the different components of the whipped cream maker, such as the canister, nozzle, and gasket, for a thorough cleaning.
-
Hand wash: Use a mild dish soap and a soft sponge or brush to clean the parts. Avoid using abrasive cleaners or scouring pads, as they can damage the surface.
-
Dry thoroughly: After washing, make sure to dry all the parts completely before reassembling. Moisture can lead to mold growth.
Preventing Mold:
-
Store in a dry place: Mold thrives in damp environments, so it’s important to store your whipped cream maker in a dry area.
-
Clean after each use: Regularly cleaning your whipped cream maker helps prevent the build-up of cream and reduces the chances of mold growth.
Frequently Asked Questions
Can I Use a Regular Blender Instead of a Whipped Cream Maker?
Yes, you can use a regular blender instead of a whipped cream maker to make butter. The butter making process in a blender is similar to using a whipped cream maker, but the results may vary in texture and consistency.
How Long Should I Let the Cream Whip Before Checking for Soft Peaks?
I whip the cream until soft peaks form, checking for the perfect consistency. Troubleshooting issues like over-whipping or grainy texture can be resolved by adjusting the whipping time. Adding flavors like herbs or honey enhances homemade butter.
Can I Use Any Type of Cream to Make Butter?
Yes, you can use different types of cream to make butter. Using a whipped cream maker has benefits like faster and easier butter-making process. It’s a convenient tool for achieving homemade butter.
How Much Salt Should I Add to the Butter?
When it comes to adding salt to homemade butter, it’s all about personal preference. Some like a pinch, others prefer a generous sprinkle. Just remember to properly store your butter and experiment with different flavors for a tasty twist.
How Long Can I Store the Butter Before It Goes Bad?
The shelf life of homemade butter depends on how it is stored. To extend its freshness, keep it in an airtight container in the refrigerator. It can last up to a few weeks.
Conclusion
In conclusion, making butter in a PC whipped cream maker is a simple and efficient process. By choosing the right whipped cream maker, gathering the necessary ingredients and equipment, and following the steps for preparation and cream setting, you can easily create homemade butter.
Not only is it a fun and educational activity, but it also allows you to customize your butter with optional additions like salt or herbs. Imagine serving your guests warm, freshly baked bread with your own homemade butter – a delightful and impressive touch to any meal.