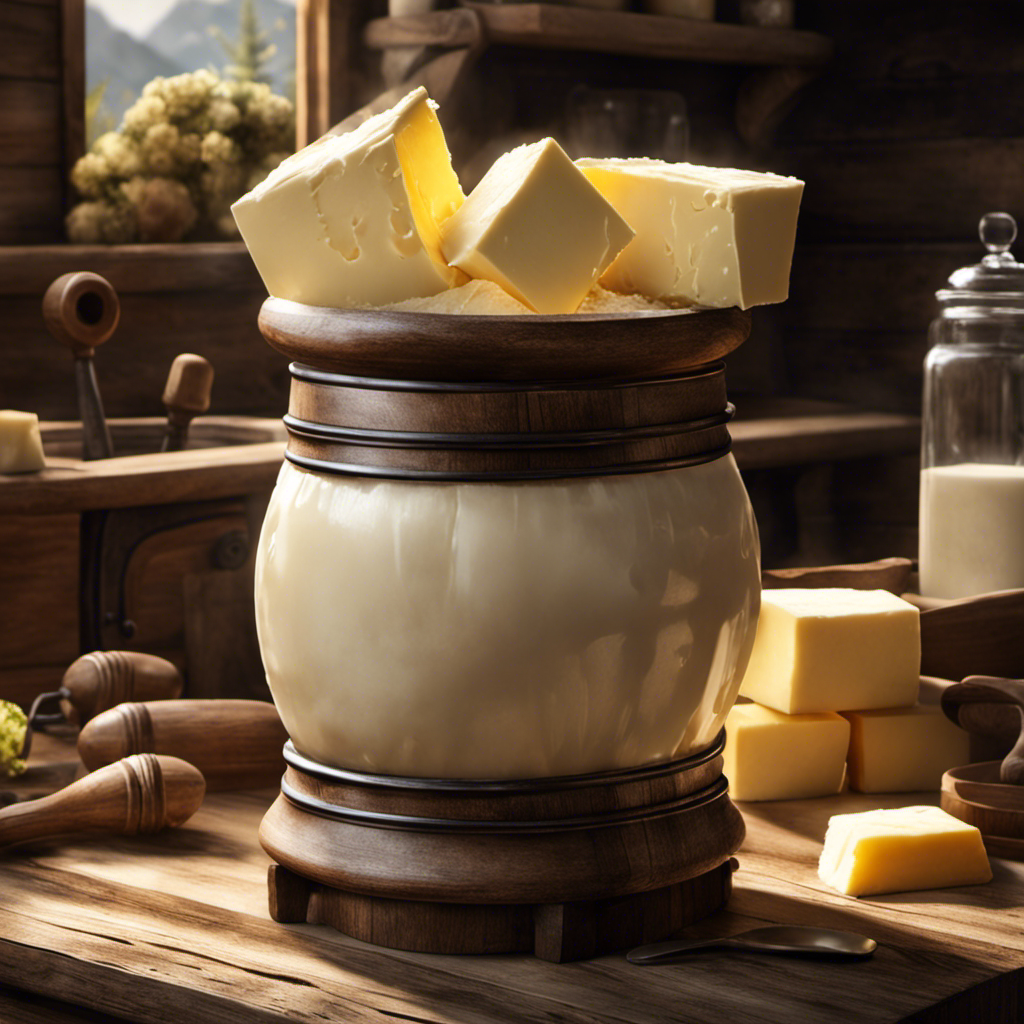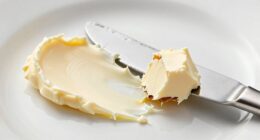
Have you ever thought about how to create creamy, homemade butter with only a stand mixer? Don’t worry, I’ve got you covered!
In this article, I’ll guide you through the step-by-step process of transforming fresh cream into delicious butter. With the right mixer and attachments, a few simple ingredients, and a little bit of patience, you’ll be churning out your very own butter in no time.
So, let’s get started and discover the joy of homemade butter!
Key Takeaways
- Choose a reliable and durable stand mixer with a powerful motor and sturdy construction.
- Look for attachments such as a flat beater, wire whip, and paddle to assist in the butter-making process.
- Gather cream and flavorings of your choice to make homemade butter.
- Follow the mixing and churning process, separating the butter from buttermilk, and strain the mixture to obtain pure butter.

The Wisemen Buttermeister Pro Electric Butter Churn 1 Gallon
As an affiliate, we earn on qualifying purchases.
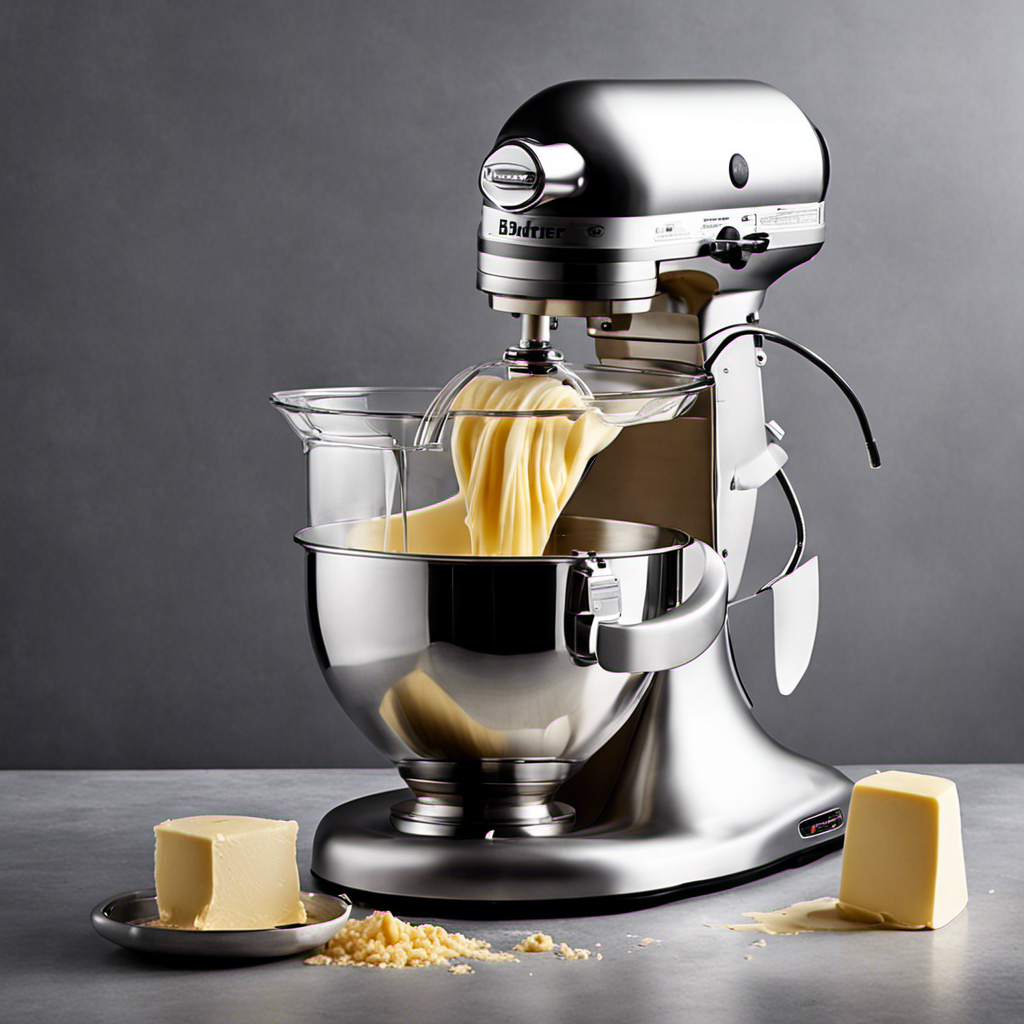
Choosing the Right Mixer and Attachments
I’ll need to decide on the right mixer and attachments for making butter in my stand mixer. When it comes to stand mixer maintenance, it’s important to choose a reliable and durable model that can handle the demands of making butter. Look for mixers with a powerful motor and sturdy construction.
Additionally, consider the attachments that come with the mixer. A flat beater attachment is ideal for creaming butter, while a wire whip attachment can help incorporate air into the mixture. It’s also beneficial to have a paddle attachment for mixing ingredients smoothly.
When troubleshooting common mixer problems, such as overheating or uneven mixing, refer to the manufacturer’s instructions for guidance. Regular cleaning and proper storage can also help prolong the life of your mixer.
Buttermeister Butter Churn (1 Gallon)
As an affiliate, we earn on qualifying purchases.
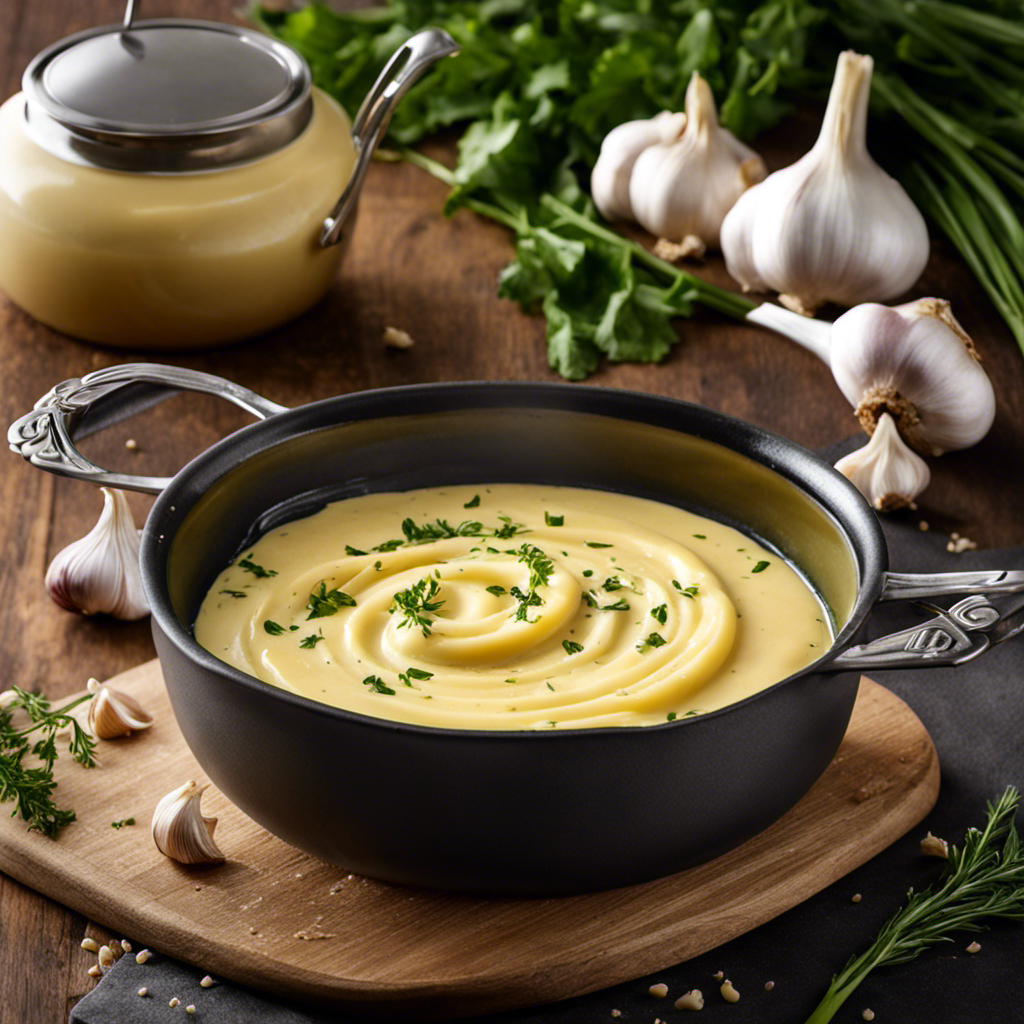
Gathering the Ingredients and Tools
First, let’s gather all the necessary ingredients and tools for making butter in the stand mixer. To make homemade butter, you will need cream and flavorings. There are different types of cream that can be used for making butter, such as heavy cream, light cream, or whipping cream. Choose the type of cream based on your preference and the desired richness of the butter. Next, you can add different flavorings to your homemade butter to enhance its taste. Some popular options include salt, herbs, garlic, honey, or even cinnamon sugar. These flavorings can be added during the mixing process or after the butter is formed. Now, let’s take a look at the table below for a visual representation of the different types of cream and flavorings for making butter.
| Types of Cream | Flavorings |
|---|---|
| Heavy Cream | Salt |
| Light Cream | Herbs |
| Whipping Cream | Garlic |
| Honey | |
| Cinnamon Sugar |

IFOLO Electric Butter Churn – One-Touch Butter Maker in 5–10 Mins, 34oz Glass Jar with High-Speed Brushless Motor, High-Speed Mixing for Creamy Results
🥛[Make Butter Effortlessly – One Touch Magic] – Forget hunching over a manual churn that leaves your wrists...
As an affiliate, we earn on qualifying purchases.
Mixing and Churning the Cream
After gathering the ingredients and tools, I pour the cream into a mixing bowl and begin churning it to make homemade butter. Churning butter can be done using various methods, but for this recipe, I’m using a stand mixer.
Here are some tips to achieve the perfect consistency in homemade butter:
- Start the mixer on low speed to prevent splashing.
- Increase the speed gradually until the cream thickens and separates into butter and buttermilk.
- Stop the mixer once the butter clumps together and separates completely from the buttermilk.
- Drain the buttermilk and rinse the butter under cold water to remove any remaining buttermilk.
- Finally, use a wooden spoon or butter paddles to shape and press the butter to remove excess moisture.
8.4QT Commercial Stand Mixer 800W with Aluminum Die Casting Meets the Standard of NSF/ANSI 8-2023, Mixers Kitchen Electric Stand Mixer with Stainless Steel 8L Bowl, Dough Hook, Whisk and Beater
High Capacity & High Efficiency: The maximum amount of dough is 3 kg/6.6 lbs/105.8 oz. Compared with other...
As an affiliate, we earn on qualifying purchases.
Separating the Butter and Buttermilk
To separate the butter and buttermilk, I strain the mixture through a fine-mesh sieve. This is an important step in the butter making process as it allows us to remove the liquid portion and obtain pure butter.
Once the cream has been churned in the stand mixer and the butter has formed, there will be a mixture of butter and buttermilk. By pouring the mixture into a fine-mesh sieve, the buttermilk will drain out while the butter remains in the sieve. Be sure to press down gently on the butter to release any excess buttermilk.
Once separated, you can use the buttermilk for other recipes or discard it.
Now that we’ve our homemade butter, let’s move on to storing and using it in various recipes.
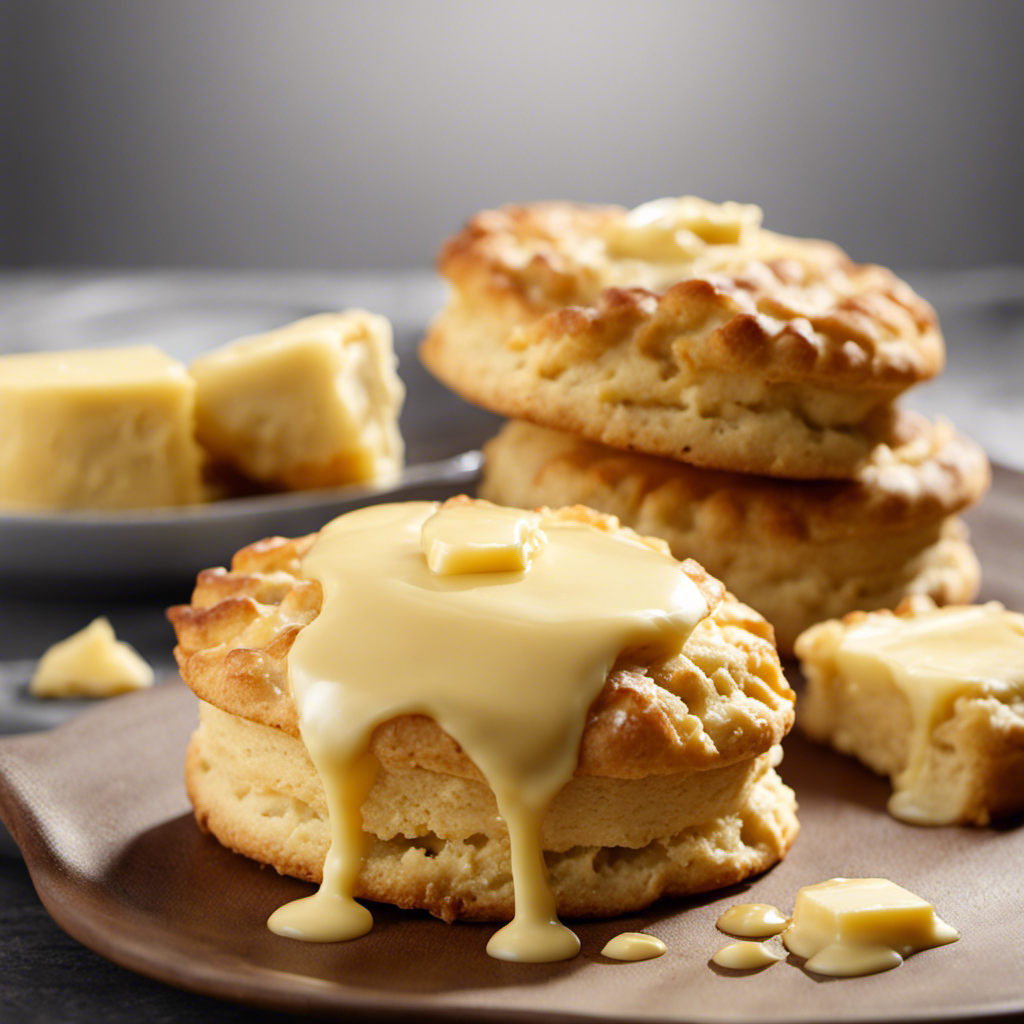
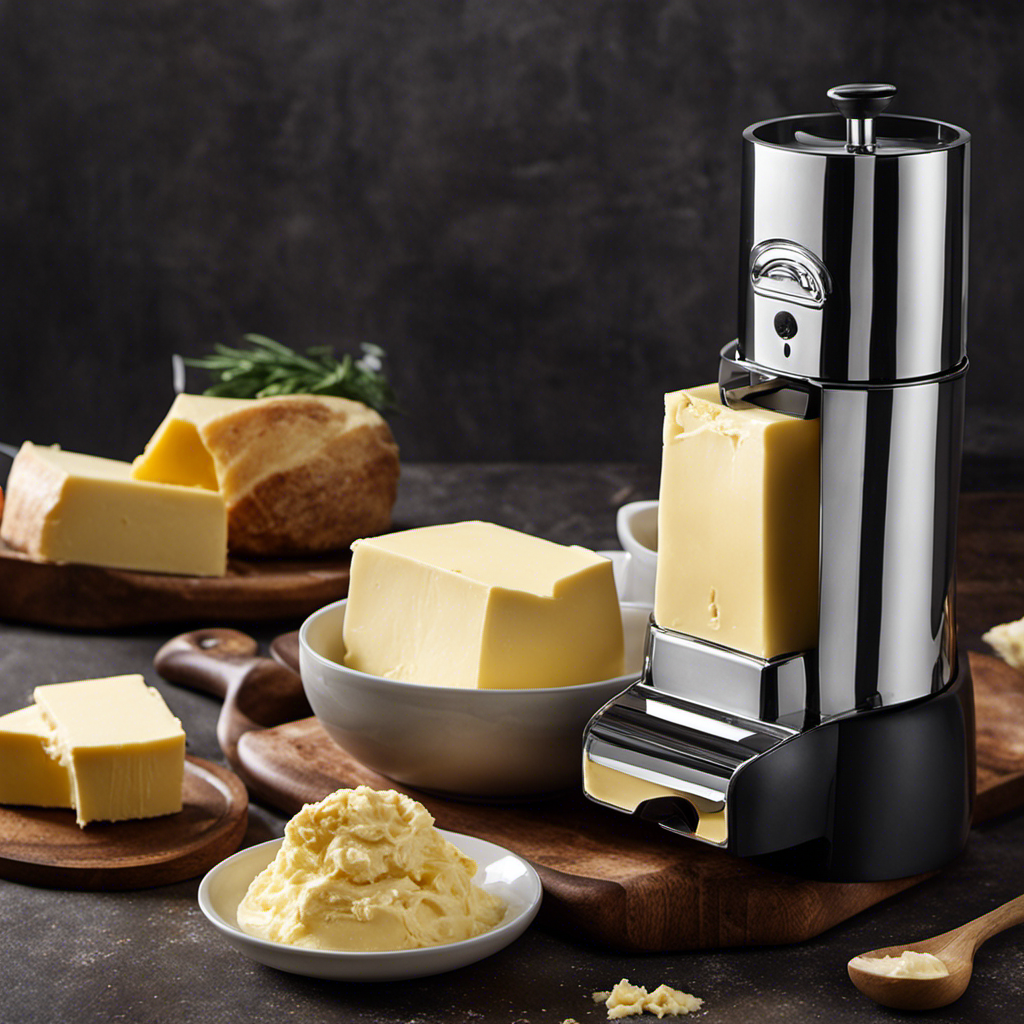
Storing and Using Your Homemade Butter
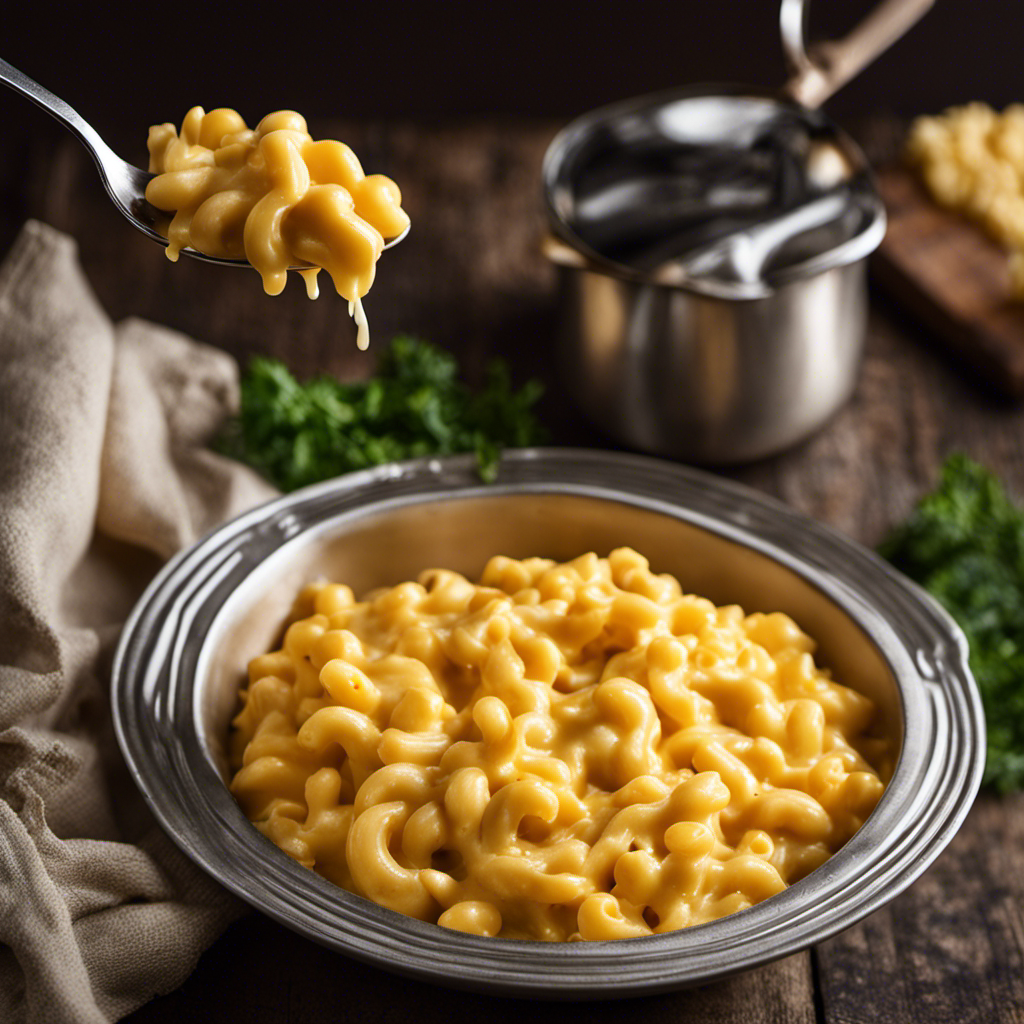
Now that I’ve separated the butter and buttermilk, I can focus on storing and using my homemade butter in various recipes. Homemade butter has a distinct flavor and texture that sets it apart from store-bought options. Here are some creative recipes using homemade butter:
- Fluffy and buttery pancakes
- Creamy mashed potatoes
- Rich and indulgent chocolate chip cookies
- Buttery garlic bread
- Smooth and velvety buttercream frosting
The benefits of homemade butter compared to store-bought options are numerous. Homemade butter is often made from high-quality cream, resulting in a richer and more flavorful product. It also allows you to control the amount of salt or other additives you want to include.
Additionally, making your own butter can be a fun and rewarding experience, giving you a sense of accomplishment in your culinary skills. So go ahead and experiment with homemade butter in your favorite recipes to elevate the flavors and enjoy the taste of pure, creamy goodness.
Frequently Asked Questions
How Long Does It Take to Make Butter in a Stand Mixer?
To make butter in a stand mixer, you need to know how long it takes. Well, it depends on a few factors. The speed of your mixer and the temperature of your cream can affect the time. Generally, it takes around 10-15 minutes to churn butter in a stand mixer.
However, it’s important to keep an eye on it and stop once the butter has separated from the buttermilk.
Following a few tips for making butter in a stand mixer can help you achieve great results.
Can I Use Any Type of Cream to Make Butter in a Stand Mixer?
Yes, you can use different types of cream to make butter in a stand mixer. Heavy cream and whipping cream are commonly used, but you can also use light cream or even half-and-half.
However, keep in mind that the fat content of the cream will affect the yield and texture of the butter. When using lighter creams, you may need to churn for a longer time to obtain the desired consistency.
Experiment and adjust as needed to achieve the perfect homemade butter.
Is It Necessary to Add Salt When Making Butter in a Stand Mixer?
Adding salt when making butter in a stand mixer can have both pros and cons.
On one hand, salt enhances the flavor of the butter and can give it a more savory taste. It also acts as a preservative, helping to extend the shelf life of the homemade butter.
However, adding salt can also affect the texture of the butter, making it slightly firmer.
Ultimately, whether or not to add salt depends on personal preference and the desired outcome of the homemade butter.
Can I Use a Hand Mixer Instead of a Stand Mixer to Make Butter?
Yes, you can definitely use a hand mixer instead of a stand mixer to make butter. While a stand mixer offers convenience and stability, a hand mixer can also get the job done effectively.
Just like with a stand mixer, you’ll need to whip the cream until it separates into butter and buttermilk.
Using a blender is another alternative to using a stand mixer for making butter.
How Long Can I Store Homemade Butter in the Refrigerator?
Storing homemade butter in the refrigerator is essential to keep it fresh and delicious. To properly store it, make sure to place it in an airtight container to prevent any odors from seeping in.
It’s best to consume homemade butter within a week to enjoy its optimal taste and texture. To determine if it has gone bad, look for any changes in color, texture, or smell. Trust your senses, they won’t steer you wrong!
Conclusion
Well, there you have it folks – the art of making butter in a stand mixer.
Who knew that a simple kitchen appliance could churn out such creamy goodness?
So go ahead, give it a whirl and impress your friends with your homemade butter.
Just remember, patience is key and a little elbow grease never hurt anyone.
Happy churning!