To whip up your own butter, grab some heavy whipping cream with high fat content. Pour it into a clean jar. Shake vigorously for about 15-20 minutes until cream thickens. Strain the mixture to separate whey. Rinse the forming butter under cold water. Store in the fridge for freshness! Unscrew the lid gently to scoop out your homemade butter from the jar. Shape it as you like. Want to extend the shelf life of your butter? Rinse in cold water to eliminate excess whey. If you're keen on creamy butter, keep going to discover more tips for success!
Key Takeaways
- Start with high-fat cream for successful butter making.
- Shake cream vigorously for 15-20 minutes until fats clump.
- Strain to separate whey, then rinse butter under cold water.
- Store in the refrigerator for freshness and longer shelf life.
- Shape butter as desired after removing from the jar.
Gather Ingredients
To make DIY butter from milk, gather heavy whipping cream and optionally salt for flavoring. The heavy whipping cream is the star ingredient here, containing about 40% butterfat, essential for successful butter making. This high-fat content cream is vital for churning into butter effectively. When selecting your heavy whipping cream, opt for a brand that offers a higher fat content to guarantee a rich and creamy end product. Remember, the fat content plays a significant role in the quality of the butter you'll produce.
Additionally, having salt on hand is a good idea if you prefer to add some flavor to your butter. While salt is optional, it can enhance the taste of the final product according to your preferences.
Now that you have your heavy whipping cream and optional salt ready, you're all set to proceed with making your own delicious butter at home.
Make Butter in Jar
Gather your clean 24 oz jar to start making butter from heavy whipping cream. Pour the heavy cream into the jar and follow these steps to make your homemade butter:
- Shake the jar: Vigorously shake the jar with both hands until the cream thickens into whipped cream, and solid butter forms.
- Separate liquid whey: Strain the butter to separate the liquid whey, which can be saved for baking, and rinse the solid butter under cold water.
- Add cold water: Extend the shelf life of your homemade butter by adding cold water to the butter in the jar. Shake to remove excess whey until the water becomes clear.
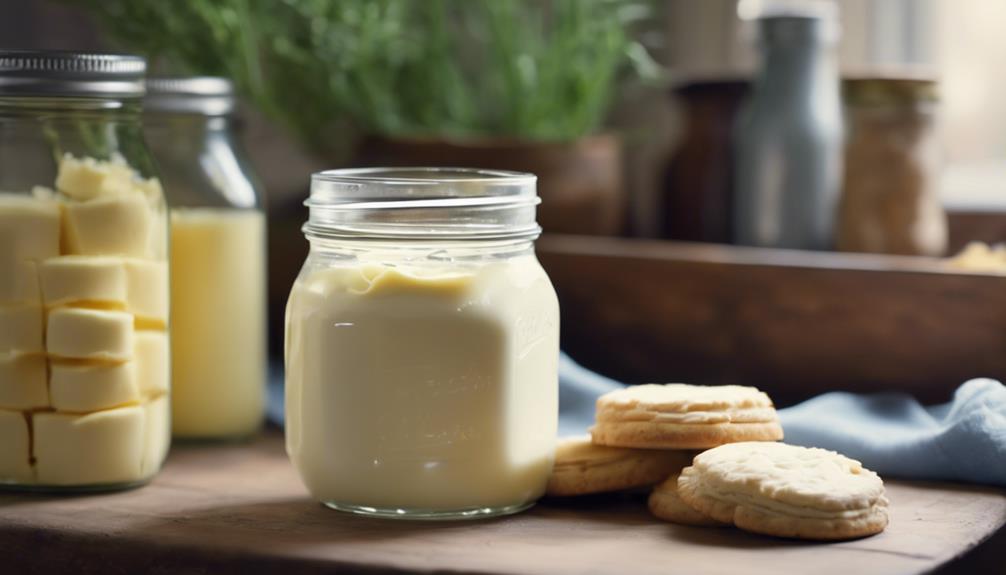
- Store in refrigerator: Place the homemade butter in a small bowl or butter mold. Consider using silicone molds for shaping and freezing for easier removal. Store the butter in the refrigerator for freshness.
Shake Cream Vigorously

Begin shaking the cream vigorously for 15-20 minutes to allow the fats to clump together and separate from the liquid. As you shake, the cream will transform into whipped cream before the fats start to come together to form butter, leaving behind buttermilk.
After shaking, carefully pour out the buttermilk to separate it from the solid butter. To ensure freshness, rinse the butter under cold water, removing any remaining buttermilk.
Storing the homemade butter in the refrigerator is vital to maintain its quality and extend its shelf life. By shaking the cream thoroughly, you're facilitating the process of turning it into delicious homemade butter. Remember, the key is to keep shaking until you see the fats clump together and the transformation from cream to butter is complete.
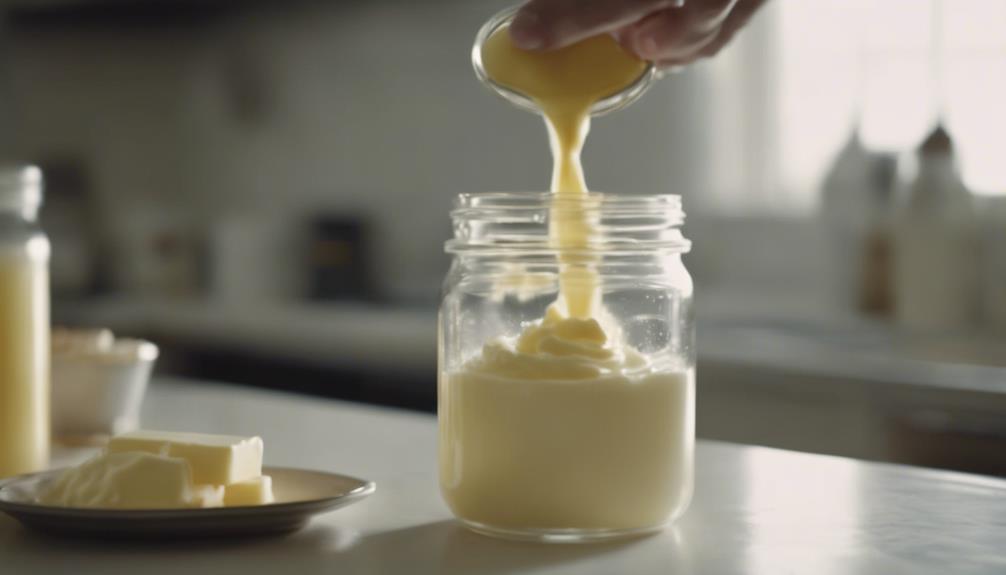
Remove Butter From Jar
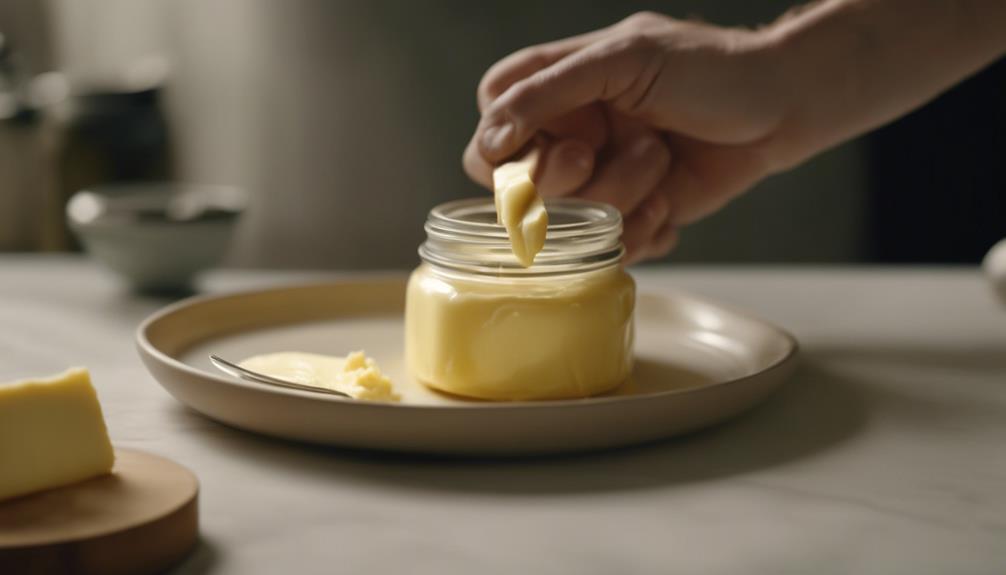
After straining the butter to separate it from the buttermilk, proceed to remove the solid butter from the jar. Here's how to do it:
- Unscrew the lid: Gently unscrew the lid of the jar to access the solid butter.
- Shake a little: Give the jar a gentle shake to loosen the butter from the sides.
- Remove the butter: Carefully scoop out the solid butter from the jar using a spoon or spatula.
- Rinse the butter: Rinse the butter under cold water to remove any remaining buttermilk and shape it as desired.
Remember to save the liquid (whey) for baking purposes or other recipes.
If you wish, consider adding a bit of salt to the butter for flavor – start with a small amount and adjust to taste.
Enjoy your homemade butter!
Increase Butter Shelf Life
To increase the shelf life of your homemade butter, consider rinsing it with cold water to eliminate excess whey. When making butter, shaking it in cold water helps separate and wash out any remaining buttermilk, which can lead to the butter spoiling more quickly.
If the water appears cloudy during rinsing, it indicates the presence of whey that must be eliminated to prolong the butter's shelf life. Keep shaking the butter in clean water until the water runs clear; this guarantees that all excess whey has been removed.
Clear water after rinsing indicates that the butter is free from excess whey, improving its longevity. By taking these steps to remove excess whey through rinsing with cold water until the water runs clear, you can help preserve the freshness of your homemade butter for a longer period.
Frequently Asked Questions
Can You Shake Milk and Turn It Into Butter?
Yes, you can shake milk and turn it into butter by vigorously shaking it to separate the fats into butter and buttermilk. It's a simple and enjoyable process that anyone can try at home!
How to Make Butter With Raw Milk by Shaking?
To make butter with raw milk by shaking, pour the milk in a jar, shake vigorously until butter forms. Strain, rinse under cold water, knead to remove excess liquid, season if desired. Enjoy your freshly made, creamy butter!
How Long to Shake to Make Butter?
To make butter, shake vigorously for about 15-20 minutes. Over-shaking cream can lead to whipped cream. The cream will turn into whipped cream before separating into butter and buttermilk. Consistent stirring guarantees the cream breaks into butter clumps.
How Do You Make Butter Directly From Milk?
Feeling curious about making butter straight from milk? Separate cream, let it ripen, then shake vigorously. Watch fats clump, forming butter! Strain, rinse, shape into a ball. Store in the fridge for later use.
Conclusion
To sum up, making butter at home is a straightforward and fulfilling process. By following these simple steps, you can savor the luscious and velvety flavor of homemade butter without any additives or preservatives.
So next time you're feeling daring in the kitchen, give this DIY butter recipe a try and astonish your friends and family with your culinary skills. Who knows, you might just become the next Martha Stewart of homemade dairy products!